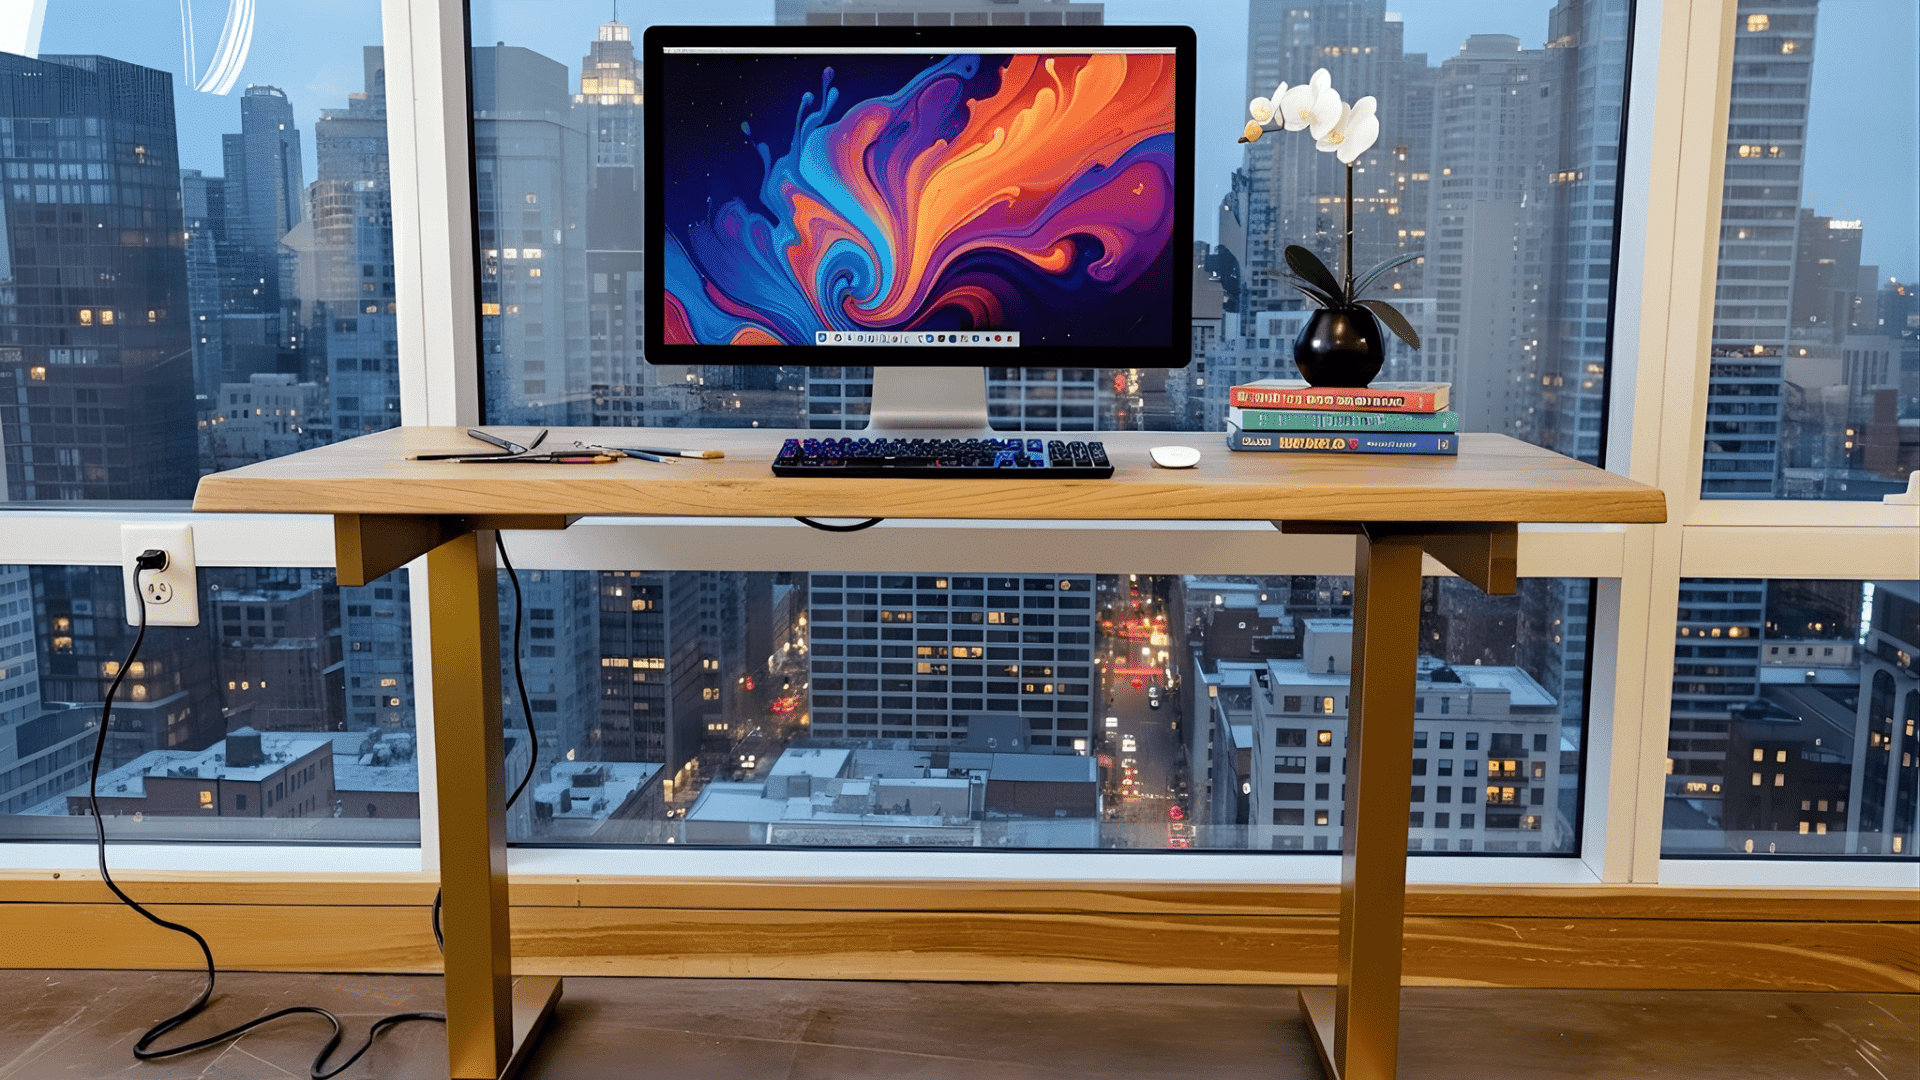
If you’ve been wanting a workspace that actually feels like yours, a DIY standing desk is one of the most satisfying projects you can take on.
It gives you more freedom, more control, and a setup that matches your space instead of forcing you to adjust to it.
This guide walks you through clear build options, a few step-by-step plans, and everything you need to know, so you always know what you’re getting into.
Why Build a DIY Standing Desk?
A DIY standing desk is a great choice if you want a setup that fits your space, your budget, and your working style. It also gives you more control over how your desk looks and feels.
Building your own desk can save a lot of money. You can pick materials that last longer and feel better than many store-bought options.
A DIY build also lets you choose the size you need. You can make it wider, deeper, or taller than most standard desks.
You can also customize the style. You get to choose the wood, the finish, and even small details like edges and hardware.
If you like having a desk that fits you instead of the other way around, DIY makes a lot of sense.
DIY Standing Desk for Beginners: Step-by-Step Process
This step-by-step guide walks you through the entire process so you can build a desk that’s sturdy, practical, and perfect for everyday use.
Tools & Materials You’ll Need
- Circular saw
- Rip-cut guide (for straight cuts)
- Drill + drill bits
- Kreg pocket-hole jig
- Sander + 120/220 grit paper
- Paint sprayer or roller
- ¾-inch birch plywood (3 sheets)
- Adjustable sit-stand desk frame
- IKEA Sektion cabinets (storage base)
- Pocket-hole screws
- Brad nails
- Edge banding
- Wood conditioner + stain
- Polyurethane finish
- Cable clips + pass-through hole (for cable management)
You’re all set with the tools and materials, so let’s walk through the build from start to finish.
Step 1: Prep the Workspace and Paint the Room
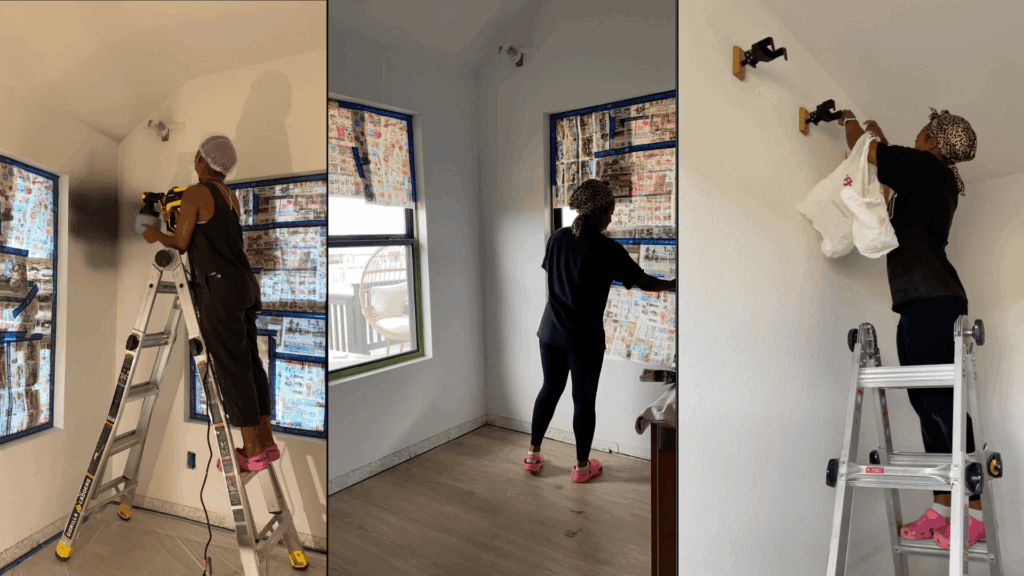
Clear the room and create enough space to move around safely. Gather all your tools, plywood, and the sit-stand frame so everything is close by.
If you’re repainting the room, do it now to avoid having to work around furniture later. Measure the area for the desk and note your sitting and standing heights so you can build with accuracy.
Step 2: Cut and Build the Desktop
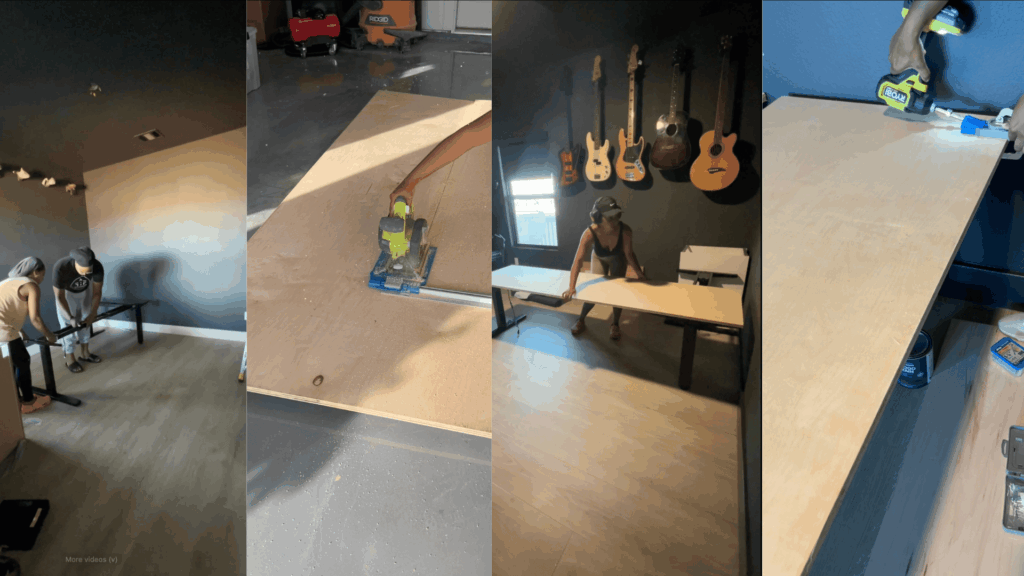
Use ¾-inch birch plywood for a strong and smooth desktop. Cut the pieces with a circular saw and a guide to keep the lines straight. Join the top panels with pocket holes to create a seamless surface.
Sand the edges and label your measurements clearly. This gives you a sturdy, custom-sized desk surface.
Step 3: Assemble the Desk Frame
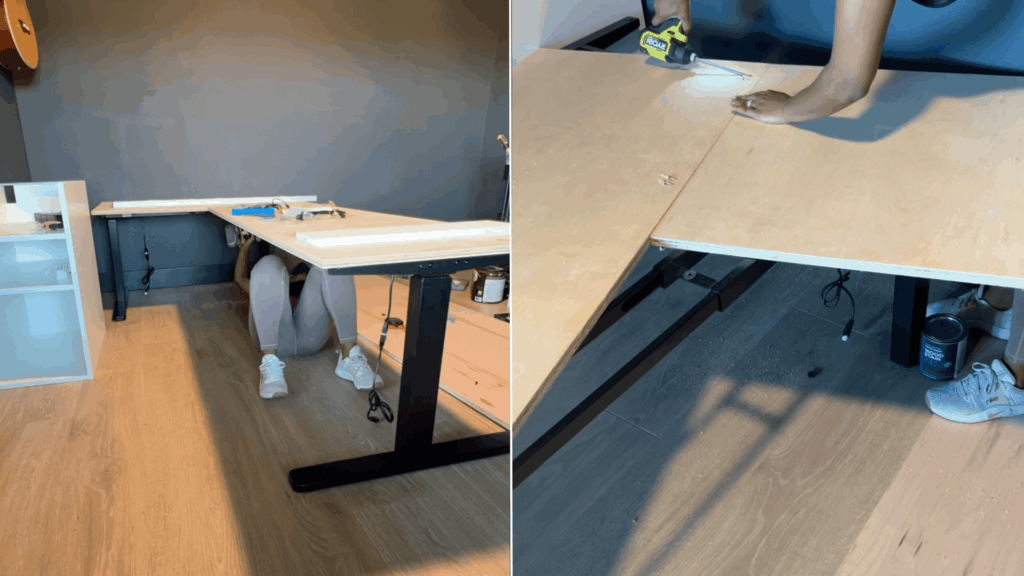
Put together the adjustable sit-stand frame using the included screws and instructions. If you’re adding IKEA cabinets for storage, place them under the desk and confirm they match the frame height.
Test the up-and-down motion before attaching anything. This ensures the frame moves smoothly and stays well-balanced.
Step 4: Build the Outer Desk Shell
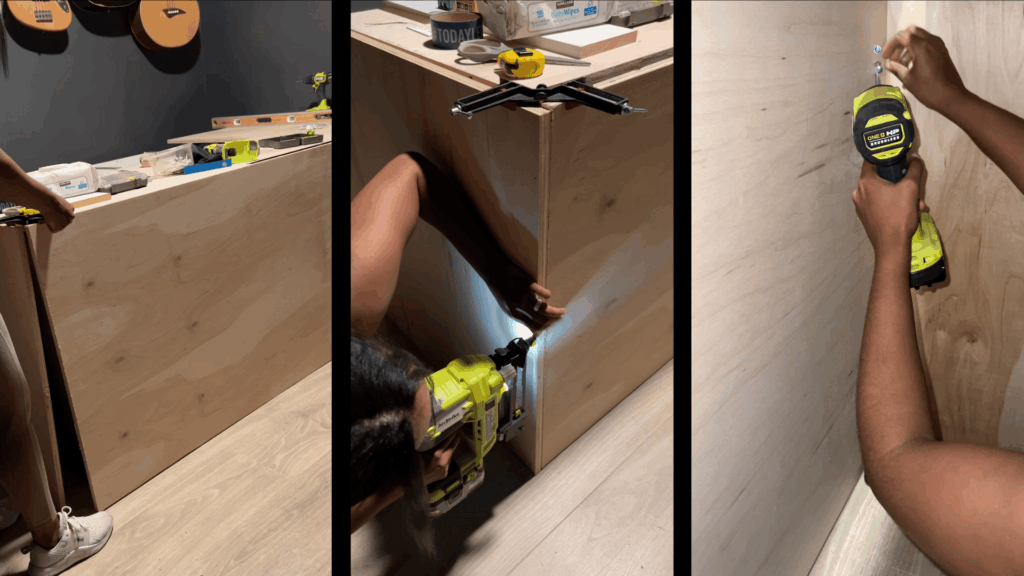
Cut plywood panels for the sides and back to create the closed, built-in look. Attach the pieces using pocket holes, brad nails, and screws.
Leave openings for cables or trim pieces. This outer shell hides the frame and gives the desk a clean, finished appearance that looks more like custom furniture.
Step 5: Handle Cable Management
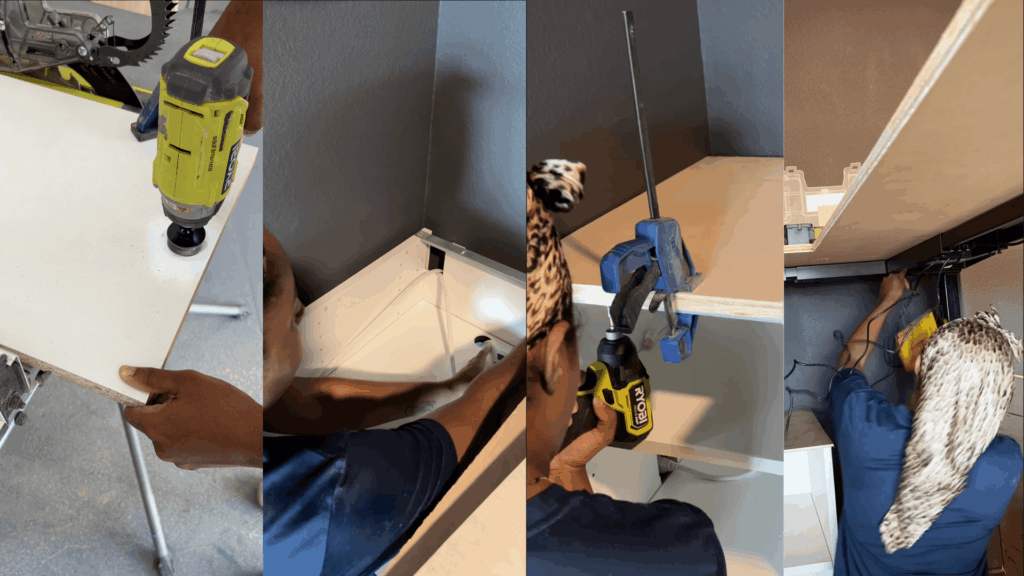
Cut holes in the cabinets for outlet access and cable pass-throughs. Secure cords with staples or clips so nothing gets caught when the desk moves up and down.
Keep wires away from the motor and metal parts. Good cable management keeps your setup safe, tidy, and easy to use every day.
Step 6: Test Fit and Adjust
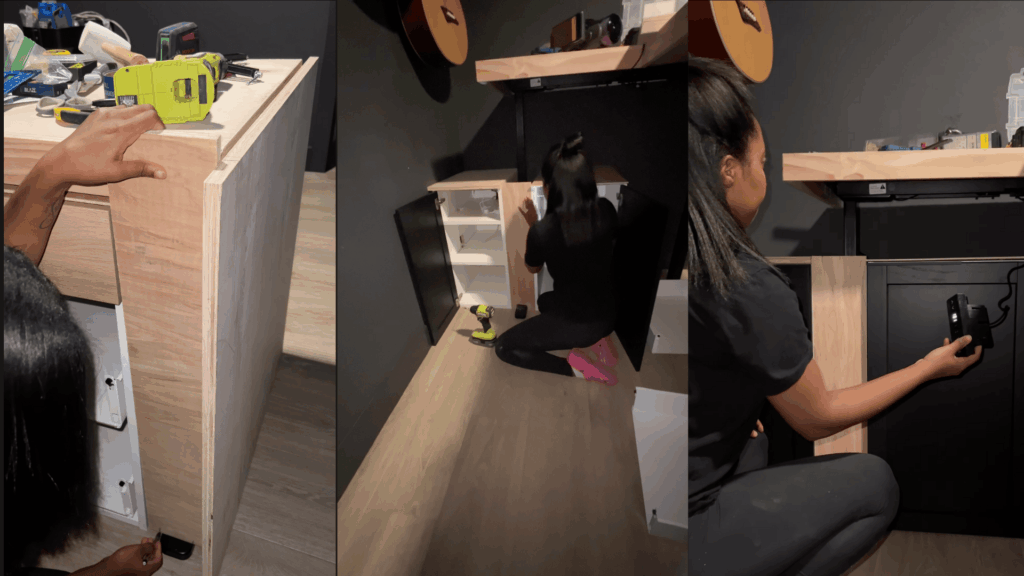
Before finishing the desk, dry-fit all the pieces together. Check that the inner desktop slides smoothly inside the outer shell and that the cabinets fit without pushing or rubbing against the frame.
Make any needed adjustments now. Fixing spacing issues at this stage saves a lot of time later and ensures everything operates correctly.
Step 7: Finish, Stain, and Install
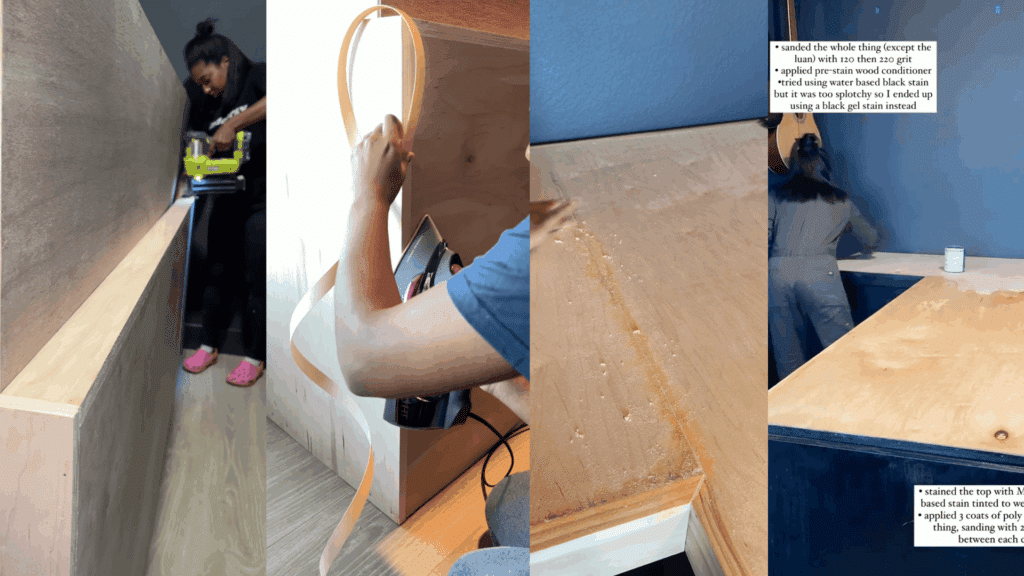
Apply edge banding to cover raw plywood edges. Fill the seams with wood filler, then sand the entire surface smooth.
Use wood conditioner, then apply stain and a few coats of polyurethane for protection. Once dry, fully assemble the desk, slide the inner top into the outer shell, and test the height adjustment.
The final setup should feel stable, smooth, and custom-made.
You can also watch the full build in action if you like, following along visually. Here’s the complete video tutorial from @kaylasimonehome, showing every step from start to finish:
DIY Standing Desk Build Plan Ideas
If you want to build your own standing desk, these step-by-step plans make it easy to choose the right style. Pick the build that fits your budget, your tools, and how hands-on you want to be.
Build 1: Budget Standing Desk
A great choice if you want a simple, affordable setup that still gives you electric height control. This build is quick to assemble and perfect for first-time DIYers.
- Unbox & Organize Parts: Lay out all desk components, screws, and tools. Keep the labeled hardware in order to make assembly easier.
- Assemble the Frame Base: Attach the legs to the crossbar, add the feet, and install the side plates. Insert the transmission rod, lock it to the motor side, and cover open holes with rubber grommets.
- Join the Desktop Panels: Connect the two desktop pieces using the wooden dowels, then secure them from underneath with the metal brackets.
- Attach Frame & Finalize Setup: Place the frame on the desktop and screw it in. Add the hooks, mount the controller, connect cables, tidy wires, flip the desk upright, and insert the table grommets.
Below, you can also watch the full build from @SHELTECH4to see how everything comes together in real time:
Build 2: IKEA Hack Standing Desk
This option gives you a solid-wood top, custom stain, and a clean aesthetic without spending a fortune. Ideal if you want a mix of DIY creativity and ready-made parts.
- Choose and Prepare the Desk Frame: Pick a sturdy electric standing desk frame that fits your tabletop. Adjust the frame so the top overhangs by 1–2 inches on each side.
- Sand and Test Your Wood Stain: Lightly sand the tabletop with low- and fine-grit sandpaper. Test stain colors on the underside, then stain the top once you choose one.
- Apply Stain and Let it Cure: Apply stain in thin coats, letting each layer dry. Allow the tabletop to cure for 24 hours. Add a protective coating for extra durability.
- Assemble the Frame and Attach the Top: Build the frame as instructed. Place the stained tabletop upside down, align the frame, and secure it with wood screws.
- Install Cable Management and Extras: Add a cable tray and mount a power strip under the desk. Add optional items, such as a desk mat or an LED strip. Flip the desk upright and set your height.
You can also watch the full IKEA hack build on @CreatedTech to see each step in action, or you can also check it out below:
Build 3: Motorized DIY Standing Desk
Designed for makers who want full control and a powerful lift system. This build uses actuators and custom tracks for a smooth, engineered standing desk experience.
- Build the Sliding Leg Tracks: Cut plywood for the desk legs and install the 20-inch drawer sliders on each side. These tracks let the legs move smoothly and keep them stable during height changes.
- Install the Actuators and Stops: Mount both linear actuators so they lift evenly. Add small wood blocks in front of the tracks to prevent overextension and protect the sliders.
- Reinforce and Shape the Tabletop: Cut the plywood top to size and attach an extra strip underneath to prevent sagging. Trim rough edges and keep the surface level while cutting.
- Assemble the Desk Base and Attach the Top: Position the frame, secure the legs, and fasten the tabletop with screws. Make sure everything lines up so the desk stays stable at full height.
- Wire the Power System and Organize Cables: Install the power supply, run the wiring, and use quick-connect plugs for easy actuator removal. Mount the switch, secure cables away from moving parts, and test the desk’s movement.
You can also watch the full motorized desk build on the @EXOcontralto to see each step in action.
Here’s the video if you want to follow along visually:
Each build gives you a solid setup you can rely on every day, whether you want something simple or fully motorized.
Cost Breakdown for Every DIY Type
Here’s a quick side-by-side look at what each DIY standing desk will cost you, to pick the build that fits your budget, time, and skill level:
| Build Type/DIY Type | Total Estimated Cost | Key Benefits | Main Drawbacks |
|---|---|---|---|
| DIY Standing Desk | $350 – $700 | Custom furniture look, built-in storage, highly stable, and a fully personalized design | Most expensive; requires many tools and advanced skills |
| Budget Standing Desk | $150 – $250 | Easiest motorized option, quick setup, budget-friendly | Limited customization; basic materials |
| IKEA Hack Standing Desk | $220 – $400 | Solid-wood top, customizable stain, great balance of cost and quality | Requires sanding, staining, and some build time |
| Motorized DIY Desk | $250 – $450 | Powerful actuators, a very strong lift system, and the most engineering flexibility | Requires wiring, precision cutting, and more technical skill |
No matter which build you choose, each offers a reliable standing desk that suits different needs and budgets.
Community Experiences & Popular Builds
Real DIYers share what worked, what didn’t, and what they wish they knew before building a standing desk. These firsthand experiences help you avoid common mistakes and build smarter from the start:
From a DIY blog recounting community feedback:
“Don’t leave any wood glue residue or it WILL mess up the wood stain!” — Liz Pacini
From a guide, closing reflections:
“A standing desk can make a world of difference but being able to make one custom … can make it that much better.”
These honest reviews reflect what real builders experience, not polished marketing claims. Their wins and setbacks offer practical insight you can keep in mind as you plan your own build.
Tips for Comfort and Productivity
A few simple adjustments can make your standing desk much more comfortable to use. These quick tips help you improve posture, reduce strain, and stay focused longer:
- Ideal Desk Height: Keep your elbows at a 90° angle, and your shoulders relaxed.
- Monitor Positioning: Place the screen at eye level and about an arm’s length away.
- Anti-Fatigue Mats: Use a cushioned mat to reduce leg and back strain when standing.
- Cable Management Ideas: Use trays, clips, or Velcro straps to keep wires neat and out of the way.
Conclusion
You’ve reached the end of this reading, and now you have everything you need to build a DIY standing desk that truly suits your space, budget, and work style.
From choosing your build type to understanding costs, you now know what matters most before getting started.
The best part? You get to create a desk that feels personal and actually works the way you work; something store-bought setups rarely offer.
A DIY standing desk isn’t just a project; it’s an upgrade to your daily routine. And now you’re ready, so what are you waiting for? Just start building a workspace you’ll love using every day!


