I’ve always loved the charm of a cane chair, but over time, the seat or back can start to sag, crack, or break. When that happened to one of mine, I didn’t want to throw it out – I wanted to fix it.
At first, I thought cane chair repair would be too hard or expensive. But after a little research and trial and error, I realized it’s actually something you can do at home with a few tools and some patience.
In this guide, I’ll walk you through the simple steps I used to repair my cane chair. Whether the damage is small or the whole panel needs replacing, there’s a way to bring it back to life.
Restoring your chair can save money, reduce waste, and keep a favorite piece in your home for years to come. Let’s get started!
What Is a Cane Chair?
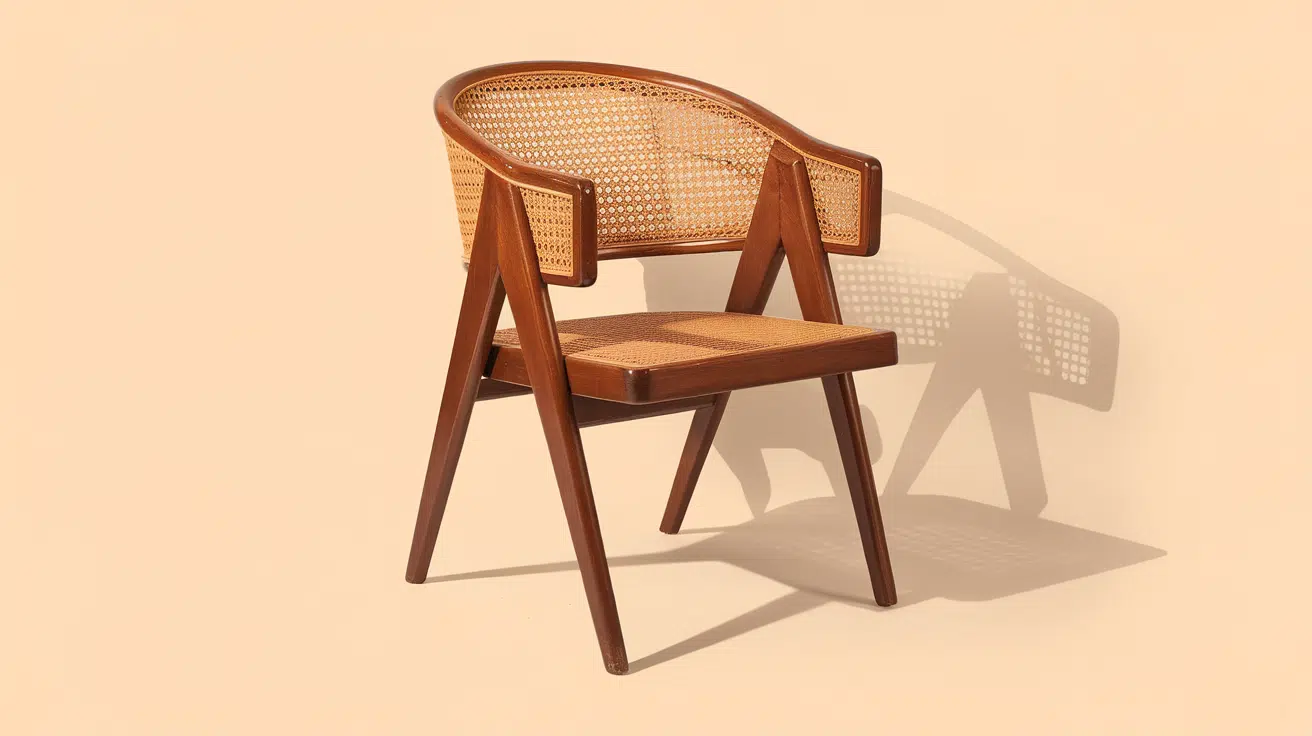
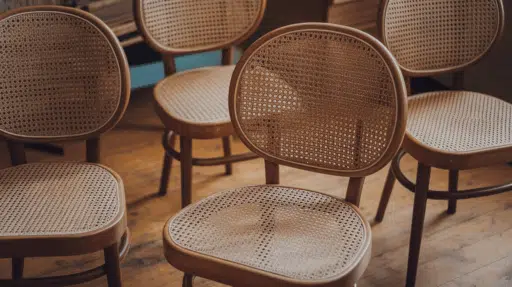
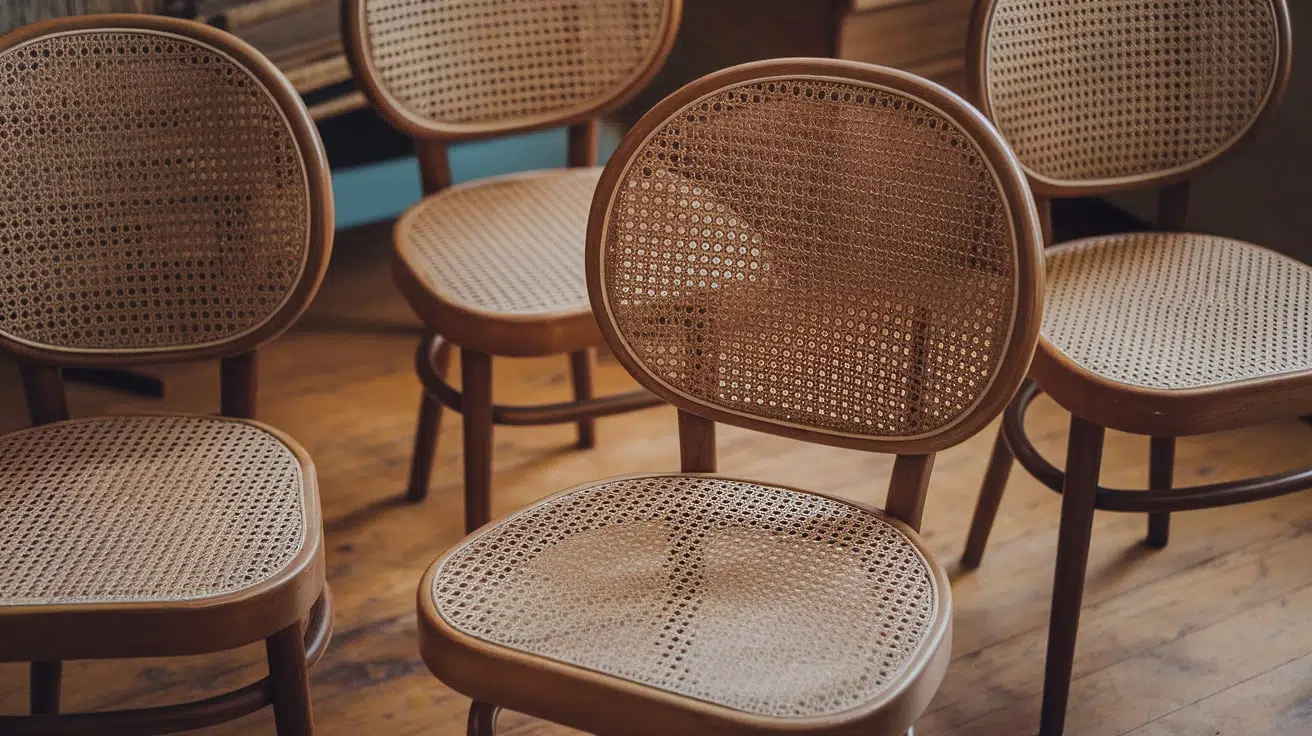
A cane chairis a wooden chair with a woven seat, backrest, or both made from cane, which comes from the outer layer of the rattan plant.
The cane is carefully woven into a mesh-like pattern, giving the chair a lightweight, breathable, and stylish appearance.
These chairs are often seen in vintage, farmhouse, and colonial-style homes, but they also blend well with modern interiors.
Cane chairs are popular for their natural texture, comfort, and classic design. While they may look delicate, they’re actually strong and long-lasting when properly cared for.
Over time, the cane can sag or wear out, but it’s usually easy to repair.
That’s one reason many people choose cane chairs—they’re beautiful, functional, and can be refreshed instead of replaced, making them a smart and sustainable furniture choice.
Types of Repairs a Cane Chair Might Need
- Replacing a cane seat or backrest: When the cane starts to sag, crack, or tear, a full replacement may be needed using either pre-woven cane or hand-woven strands.
- Replacing a spline: If the spline (the strip that holds the cane in the groove) comes loose or breaks, it can be removed and replaced without changing the entire seat.
- Patching minor cane damage: Small holes or splits in the cane can sometimes be patched with new pieces woven into the existing pattern.
- Re-gluing loose joints: Cane chairs with wobbly legs or arms often just need the wood joints tightened and glued back in place.
- Refinishing the wood frame: If the wood is scratched, faded, or stained, sanding and applying a new finish can refresh the chair’s appearance.
- Reinforcing the seat: Adding a support board or cushion underneath the cane can provide extra strength without requiring a complete replacement of the weave.
Cane Chair Repair Guide: Replacing Pressed Cane Webbing
Repairing a cane chair with pre-woven webbing is easier than it looks. With a few basic steps, you can make your chair sturdy and stylish again.
Tools and Materials Needed
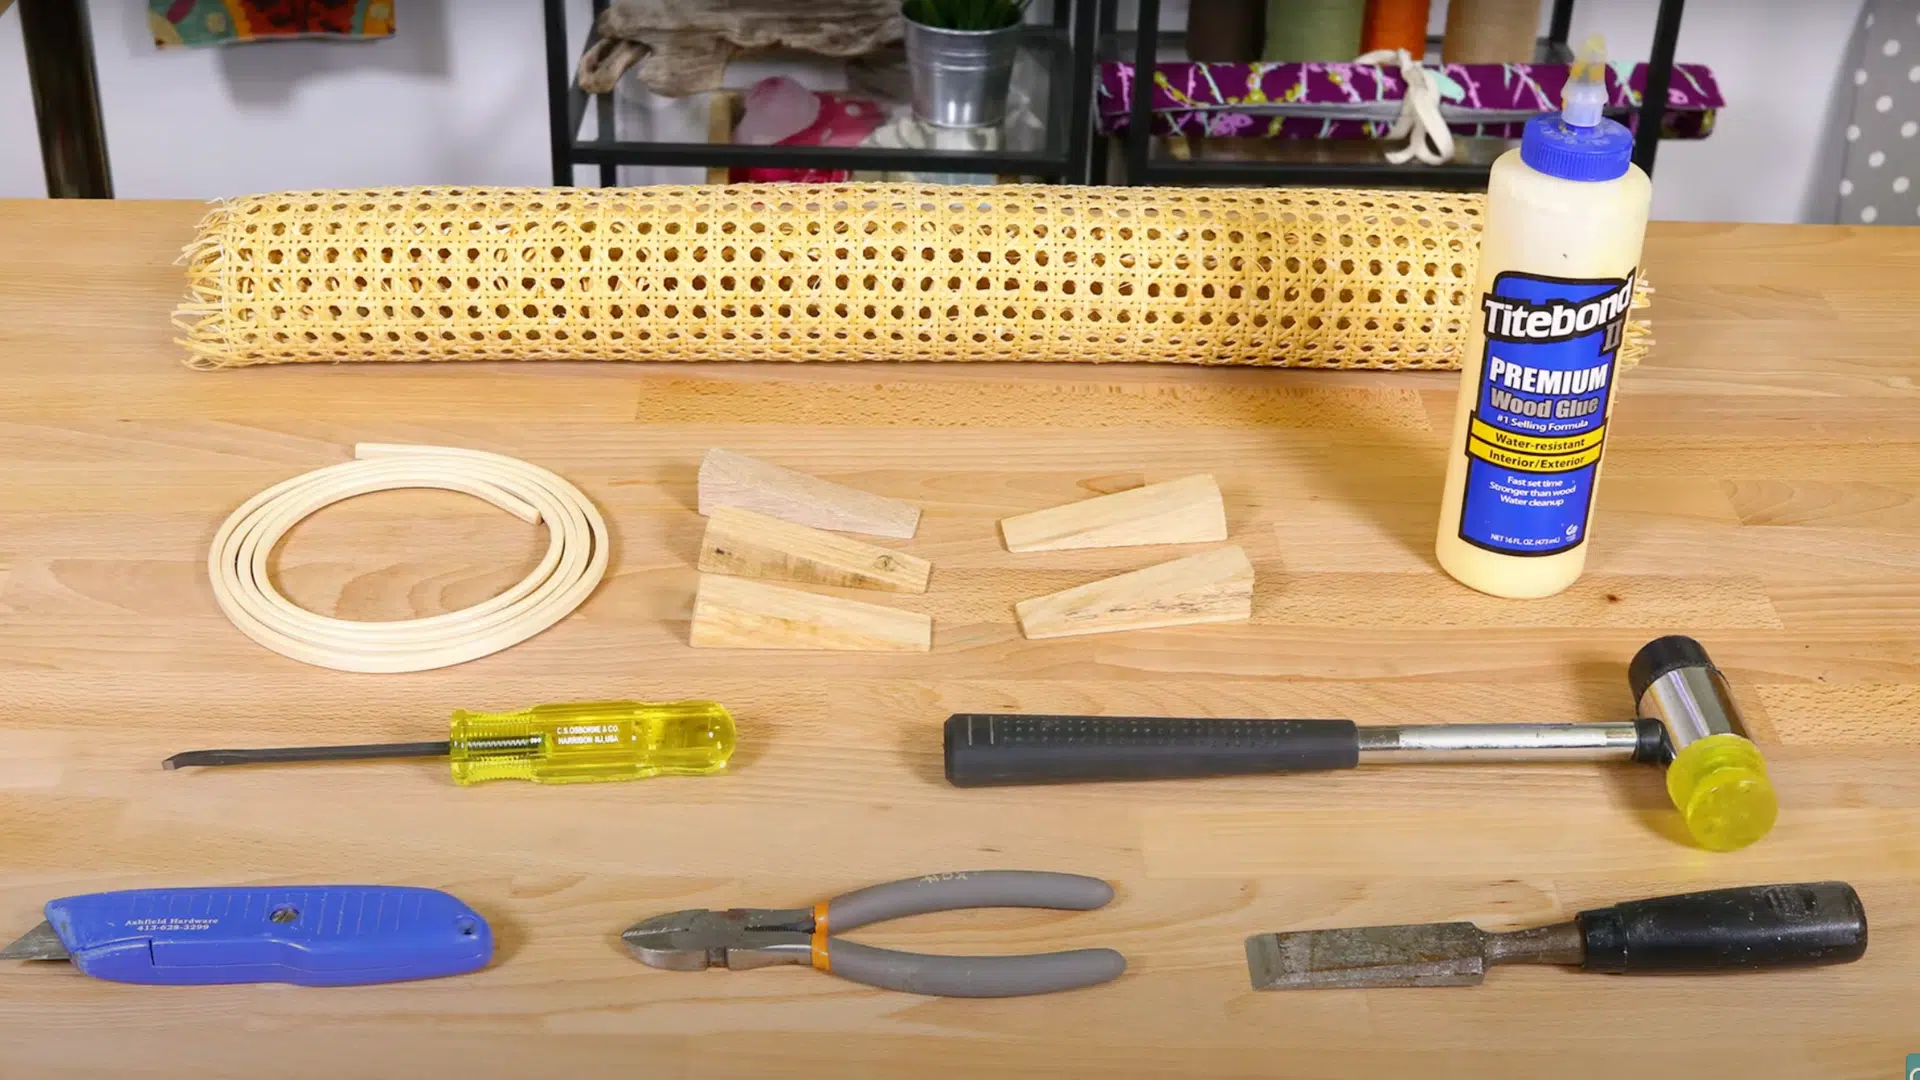
Before starting your cane chair repair, make sure you have the right tools and materials. Here’s a quick list of what you’ll need and what each item does.
- Pre-woven cane webbing sheet – The woven material used to replace the damaged seat or backrest.
- Reed spline (correct width for groove) – A thin strip that secures the cane into the groove of the chair.
- Caning chisel (or small chisel/screwdriver) – Used to remove the old spline and press in the new one.
- Wedges – Help push the cane and spline evenly into the groove without damaging the material.
- Hammer or mallet – Gently taps in the spline and helps loosen old cane during removal.
- Razor knife – Cuts along the edges of the old spline and trims new cane webbing cleanly.
- Wood glue (or Elmer’s white glue) – Secures the spline in the groove and holds everything in place.
- Scissors or snips – Trim excess cane webbing for a neat finish.
- Bucket (for soaking) – Softens the cane and spline, making them moreflexible and easier to work with.
Step 1: Remove the Old Cane and Spline
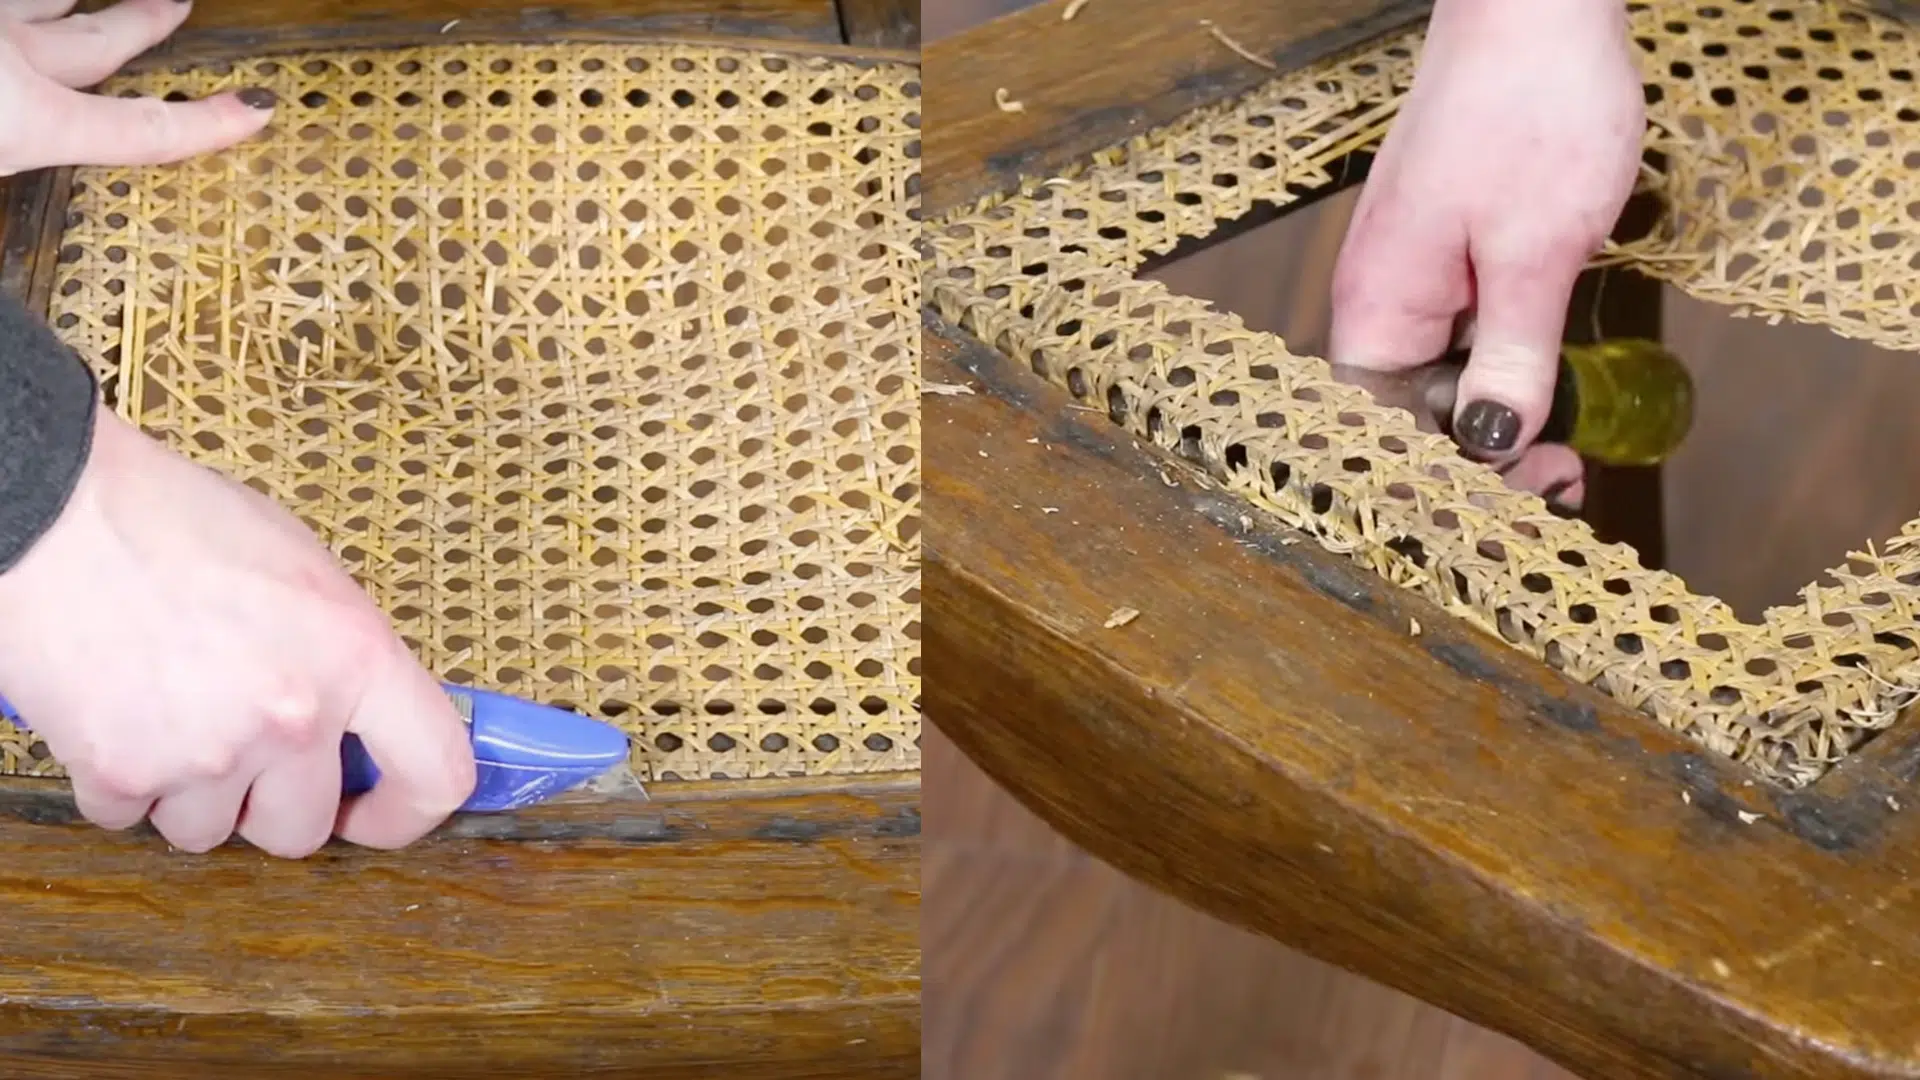
- Use a razor knife to cut along the spline edgesinside the groove.
- Tap lightly with a hammer to loosen the spline.
- Pry it out with a caning chisel or screwdriver.
- Cut out the center of the cane and remove the remaining webbingwith a wide chisel.
- Clean out old glue and bits of canefrom the groove.
Step 2: Position and Trim the New Cane
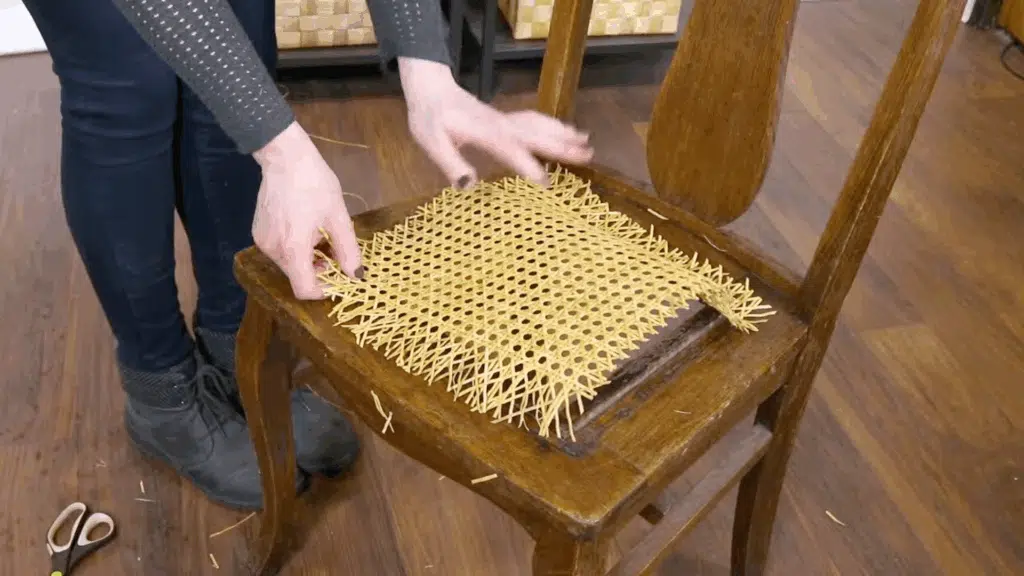
- Line the cane up square with the frontof the chair.
- Trim any cane strands that stick past the inside of the groove.
- Check alignment from front to back before securing.
Step 3: Press the Cane Into the Groove
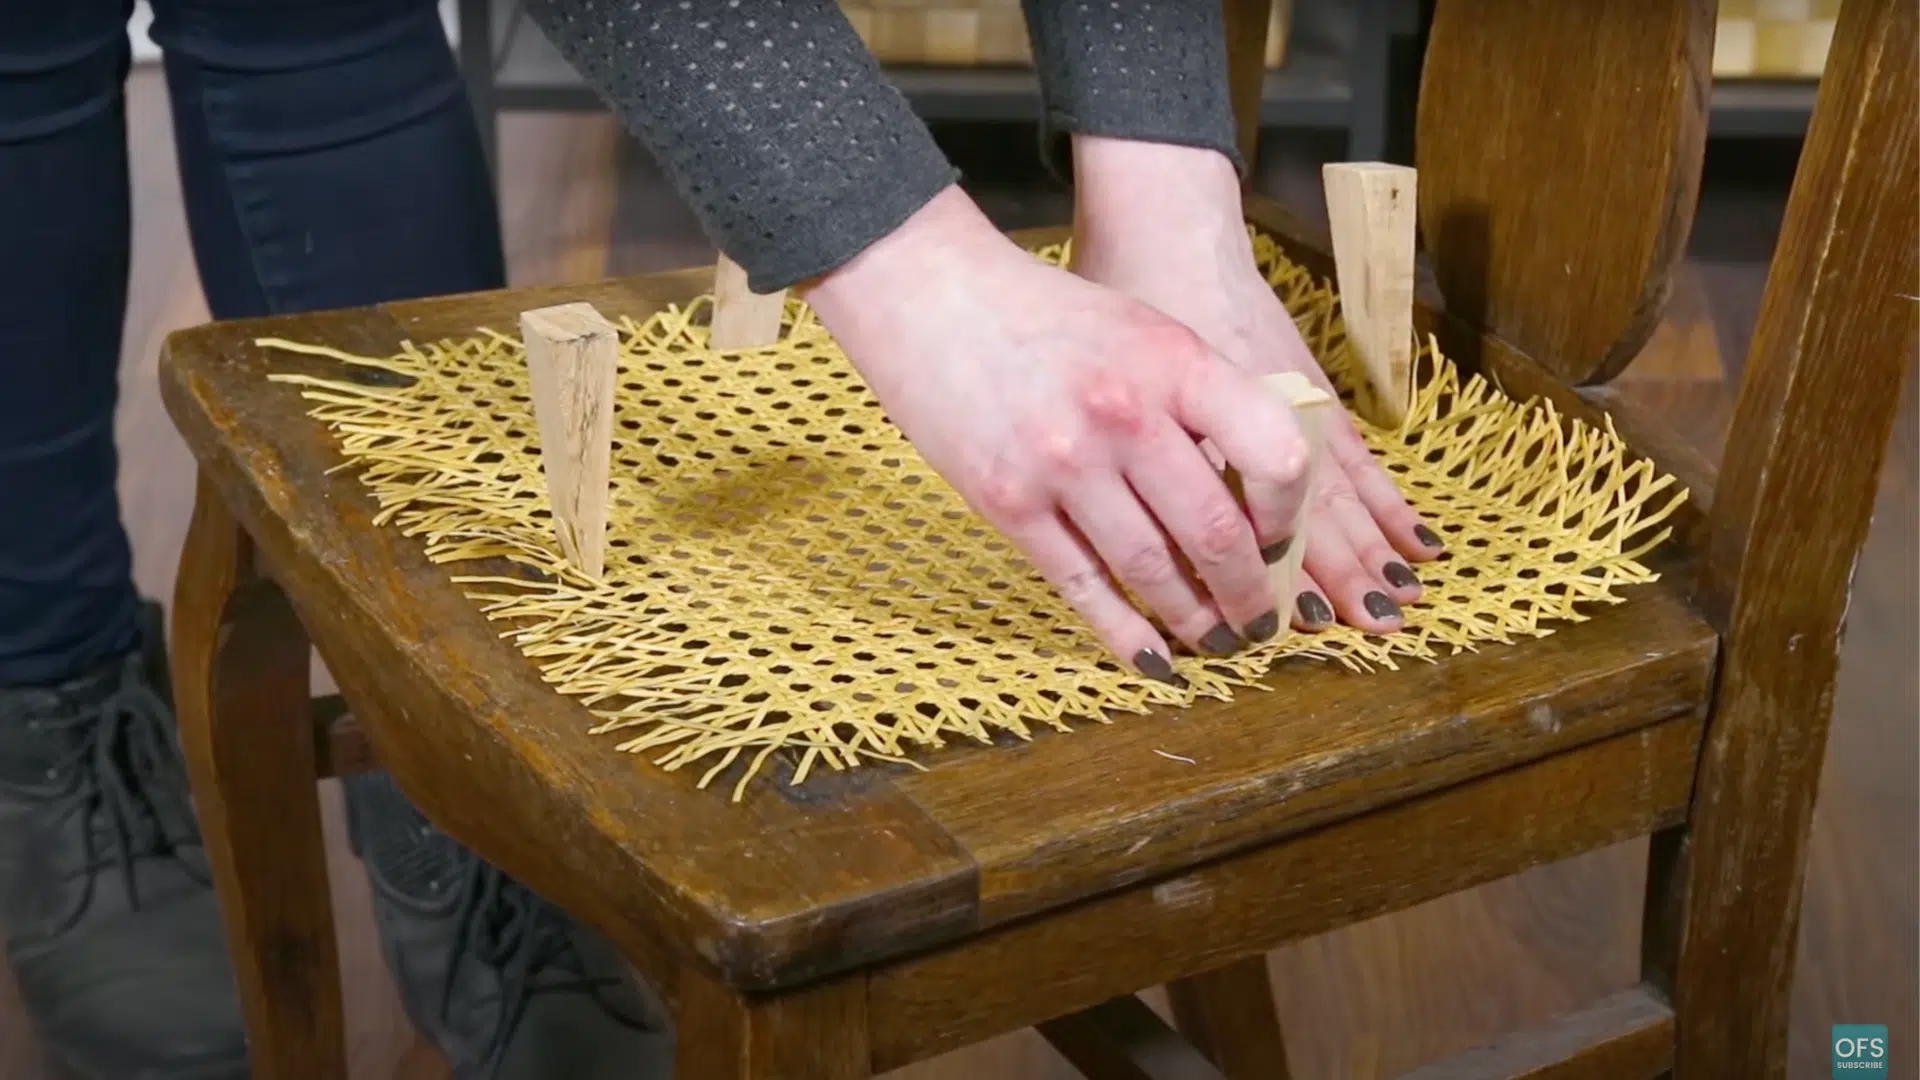
- Use a wedge to press the cane into the center of each side, starting with the front.
- Work your way to the back, then the sides.
- Make sure the cane stays centered and square.
- Remove diagonal strands at corners if needed for a clean fit.
Step 4: Trim the Excess Cane
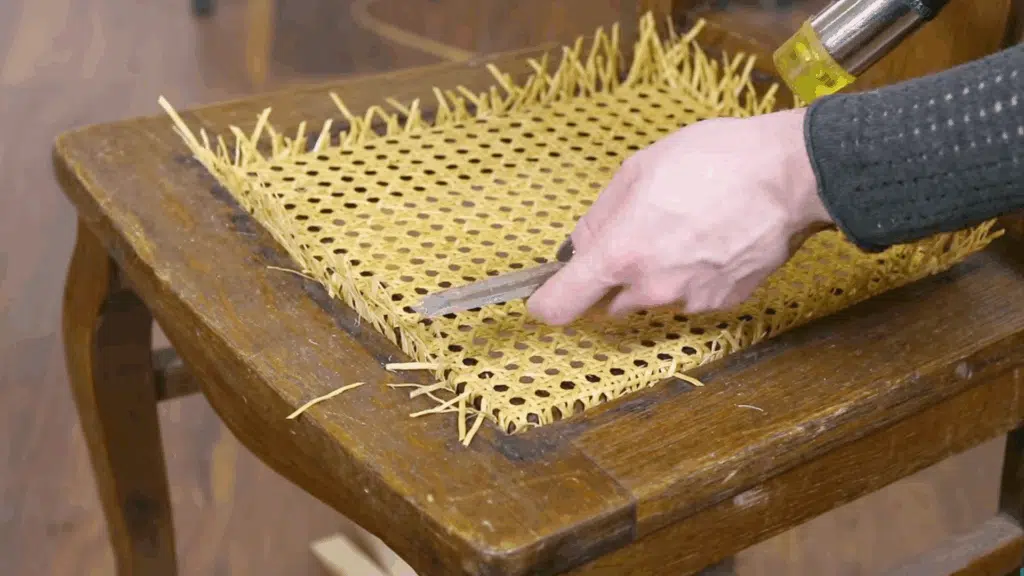
Use scissors or a chisel to cut the cane just below the outer edge of the groove, all the way around. Take your time and work slowly to avoid damaging the wood.
Once the cane is cut, gently pull out any loose pieces and set them aside for cleanup.
Step 5: Glue and Insert the Spline
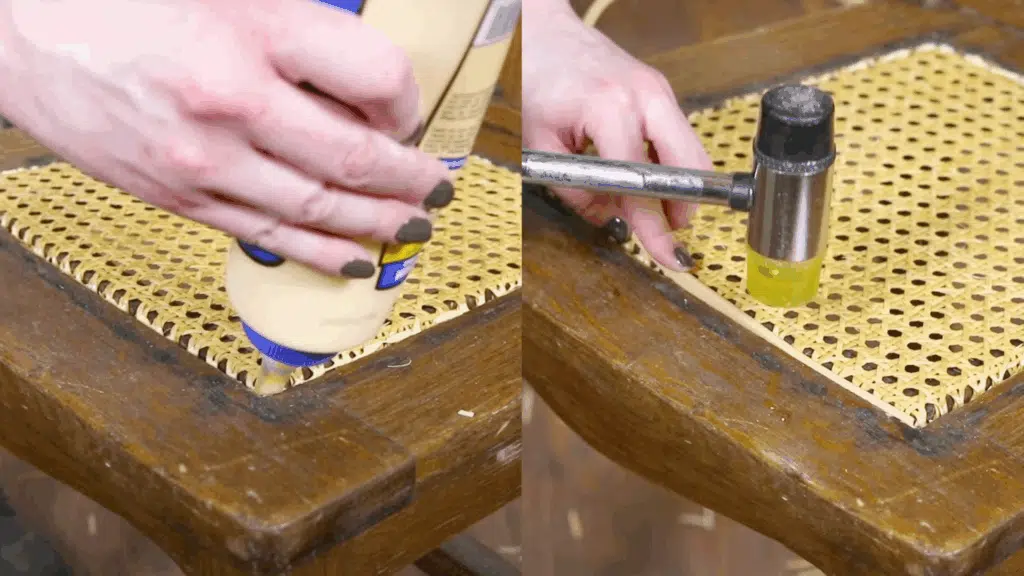
- Add a thin bead of wood glueinside the groove.
- Cut the spline end at a 45° anglefor a neat fit.
- Insert the spline into the groove with the wider edge on top.
- Gently tap the spline in with a mallet until it’s snug.
- Use a wedge to press it down fully.
Note:Staining is not recommended, but if you must, only stain the top surface so the underside can still breathe.
For a clearer look at each step, check out this helpful video tutorial @onlinefabricstore on Youtube, where she demonstrates how to replace pressed cane webbing in real time.
How Long Does Cane Last
Cane furniture can last anywhere from 5 to 25 years, depending on how it’s used and cared for. On average, a well-maintained cane seat or backrest lasts about 10 to 15 yearsbefore it begins to sag, crack, or loosen.
Daily use, heavy weight, and exposure to sunlight or dry air can all shorten its lifespan. Chairs used occasionally and kept in a stable, indoor environment tend to last much longer.
To extend the life of your cane, avoid placing it in direct sunlight or near heating vents, and keep the material clean and slightly hydrated with gentle care.
If you start to notice sagging, fraying, or loud creaking sounds, it might be time to re-cane.
Catching early wear signs helps avoid bigger damage—and keeps your chair looking and feeling like new for years to come.
Tips for Long-Term Care and Maintenance
Cane chairs can last for years with a little care. I use simple cleaning tips and smart placement to keep mine looking great and holding up well.
- How to Clean Cane Properly: Use a soft brush or vacuum with a brush attachment to remove dust and dirt from the weave. For deeper cleaning, gently wipe the cane with a damp cloth and mild soapy water.
- Avoiding Direct Sunlight and Dry Air: Cane is a natural material and can dry out over time. Keep your chair away from direct sunlight, heating vents, or fireplaces. If the air in your home is very dry, consider using a humidifier.
- How to Spot Early Signs of Wear:Check your chair regularly for signs of sagging, cracking, or loosening around the edges. If the cane starts to look dry or frayed, it may need oiling or tightening.
Common Mistakes to Avoid with Cane Chairs
Even with the best intentions, it’s easy to damage a cane chair if you’re not careful. Knowing what not to do can save you time, money, and frustration while helping your cane chair last longer.
- Using Too Much Water:Soaking the cane when cleaning or during repair can cause it to sag or developmold. Always use a lightly damp cloth, and never leave cane furniture outside in the rain.
- Placing Chairs in Direct Sunlight:Sunlight dries out cane, making it brittle and prone to cracking. Keep cane chairs in shaded areas or use window coverings to block harsh light.
- Ignoring Early Signs of Wear:A sagging or fraying seat might seem minor, but leaving it unattended can cause more damage. Address issues promptly to preventfull replacements.
- Sitting Too Soon After Repair:After installing a new cane, it needs time to dry and tighten. Sitting too soon can stretch or damage the weave. Wait at least 24–48 hours.
- Overloading the Chair: Cane chairs are sturdy, but they’re not designed to withstand excessive weight or prolonged pressure on a single spot. Avoid kneeling, standing, or leaning heavily on the cane surface.
Conclusion
Cane chairs are more than just furniture – they’re timeless pieces full of charm and history.
When the woven cane on mine wore out, I didn’t want to toss it. With the right tools, some patience, and a few simple steps, I was able to repair it and keep it going strong.
Whether it’s a family piece or a lucky thrift find, I’ve learned that taking the time to care for a cane chair is always worth it. It saves money and brings new life to something truly special.
If you’re ready to start, bookmark this guide, grab your supplies, and give your cane chair the refresh it deserves. And if this helped you, feel free to share it with a fellow DIYer or drop a comment with your own repair story – I’d love to hear it!

James McLaren, with a rich background in architecture from the University of Manchester, has been contributing his expertise to the world of creative construction and home innovation for over 20 years. His journey began as a project manager for a leading construction firm, where he honed his skills in bringing complex designs to life. James joined our platform as a freelancer in 2019, quickly becoming a favorite for his insightful and practical advice. He has been a pivotal force to our wing ever since, bringing our readers a blend of technical know-how and creative flair. Beyond his professional life, James is an avid woodworker and enjoys restoring vintage furniture, a hobby that complements his professional insights beautifully.