
Are you ready to convert your home into a winter wonderland this holiday season? Learning how to decorate a Christmas tree step by step doesn’t have to be complicated!
It’s a magical experience that brings families together and creates lasting memories. With just a few supplies and some creativity, you can turn a simple tree into the centerpiece of your holiday decorations.
If you choose a real tree with that wonderful pine scent or an artificial one that you can reuse year after year, the process is full of joy.
We’ll take you step by step through the entire process – showing you how to choose the right tree for your space and finish with those marvellous decorative elements that make your Christmas tree truly special.
Get ready to create a Christmas tree that perfectly captures your holiday spirit!
The Joy of Christmas Tree Decorating
Decorating a Christmas tree brings the whole family together for fun and laughter. The sparkle of lights and shine of ornaments turn an ordinary tree into something magical.
Each decoration tells a story – maybe from your childhood or a special trip. The sweet smell of pine fills your home with holiday cheer.
The best part? That amazing feeling when you plug in the lights for the first time and the room glows.
It’s not just about making things pretty—it’s about creating memories that will warm your heart for years to come.
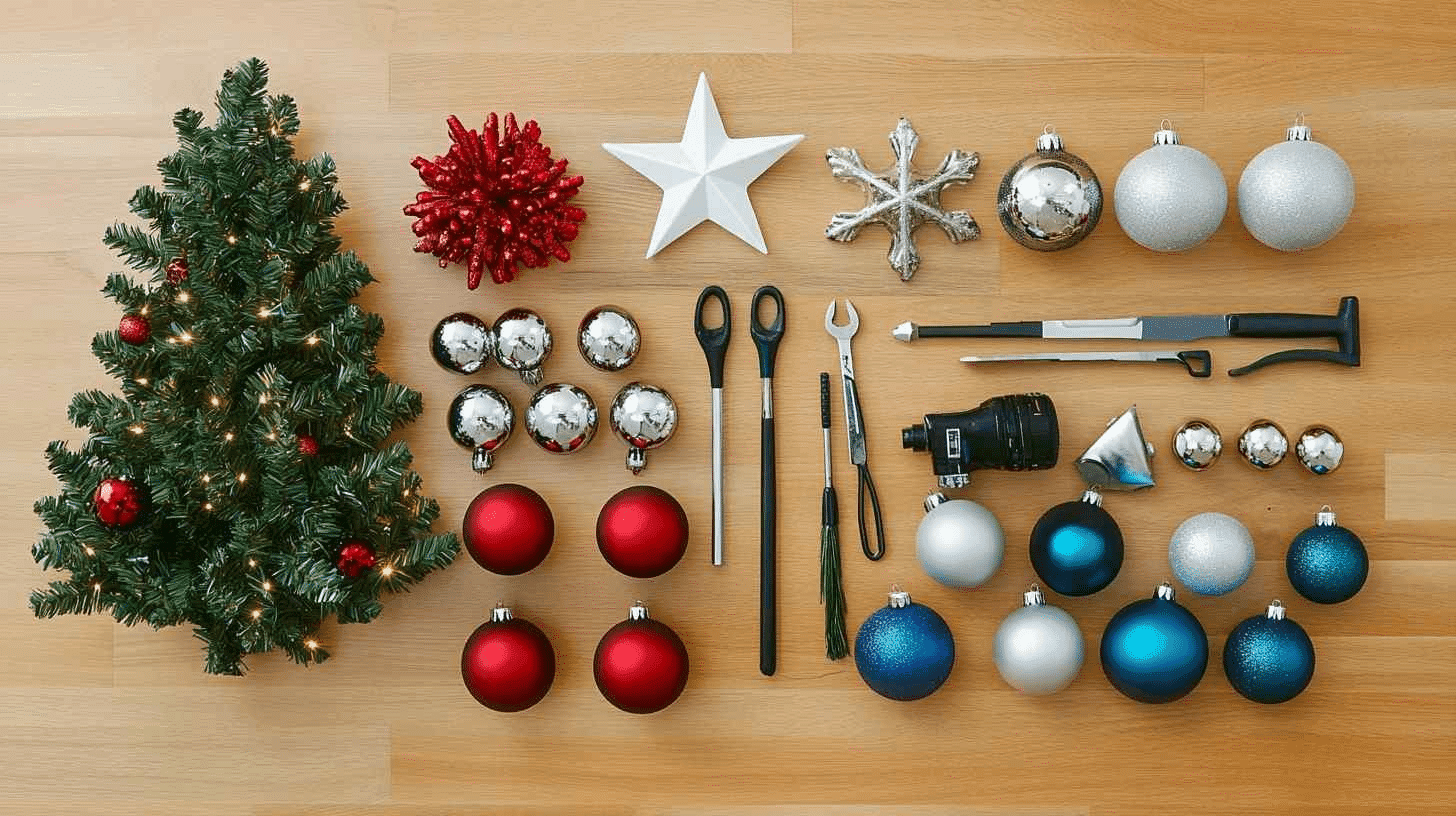
Materials and Tools You’ll Need
Selecting the Perfect Christmas Tree
Choosing the right Christmas tree is your first important step. Real trees offer a wonderful pine scent and traditional experience, while artificial trees are reusable and low-maintenance.
Consider your space – measure your ceiling height and allow at least 6 inches between the tree top and ceiling.
For families with allergies or pets, artificial trees might be the better choice. Remember that the tree shape varies, too – from full and round to slim and narrow.
Essential Supplies for Tree Decorating
| ITEM | ESTIMATED COST (USD) |
|---|---|
| Real Christmas Tree | $80 |
| Artificial Christmas Tree | $54 |
| Pre-lit Lights | $285 |
| String Lights | $25 |
| Ornaments | $10 |
| Garland | $15 |
| Ribbon | $15 |
| Tree Topper | $4 |
| Tree Skirt | $3 |
| Total Estimated Cost | $491 |
Tree Decorating Styles and Themes
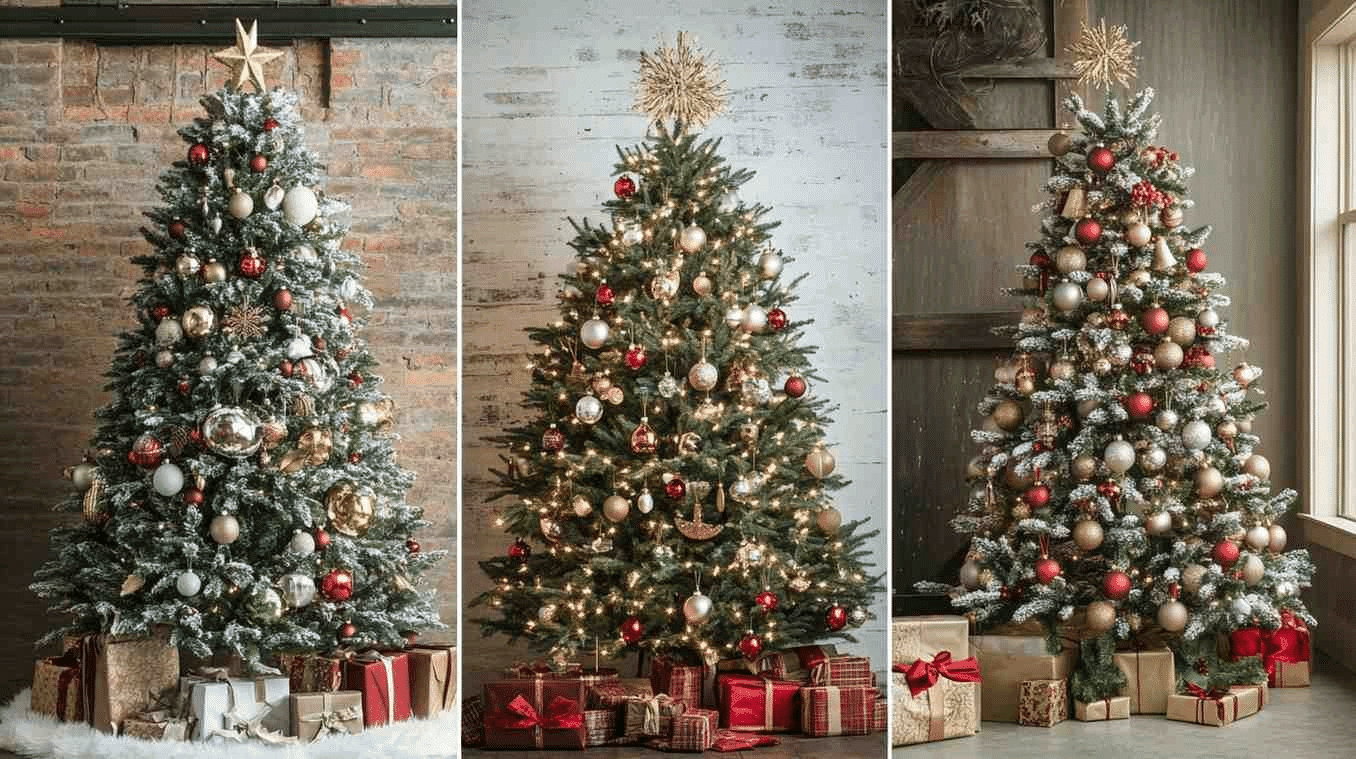
Popular Christmas Tree Decorating Approaches
- Traditional style with red, green, and gold color scheme
- Minimalist design with simple white lights and wooden ornaments
- Colorful theme using bright, multi-colored decorations
- Themed trees reflecting hobbies, movies, or special interests
- Natural look featuring pine cones, dried orange slices, and wooden ornaments
- Sleek style with silver, white, and crystal decorations
Matching Your Tree to Your Home’s Holiday Decor
When decorating your Christmas tree, consider your existing home decor for a cohesive holiday look.
Choose ornaments and lights that complement the colors in your living space—warm metallics work well with traditional interiors, while cool silvers pair well with modern spaces.
For a unified appearance, repeat elements from your tree in other decorations around your home, like matching your mantel garland to your tree style.
The tree should feel like a natural extension of your home, not a disconnected holiday addition.
Step-by-step Guide for Decorating a Christmas Tree
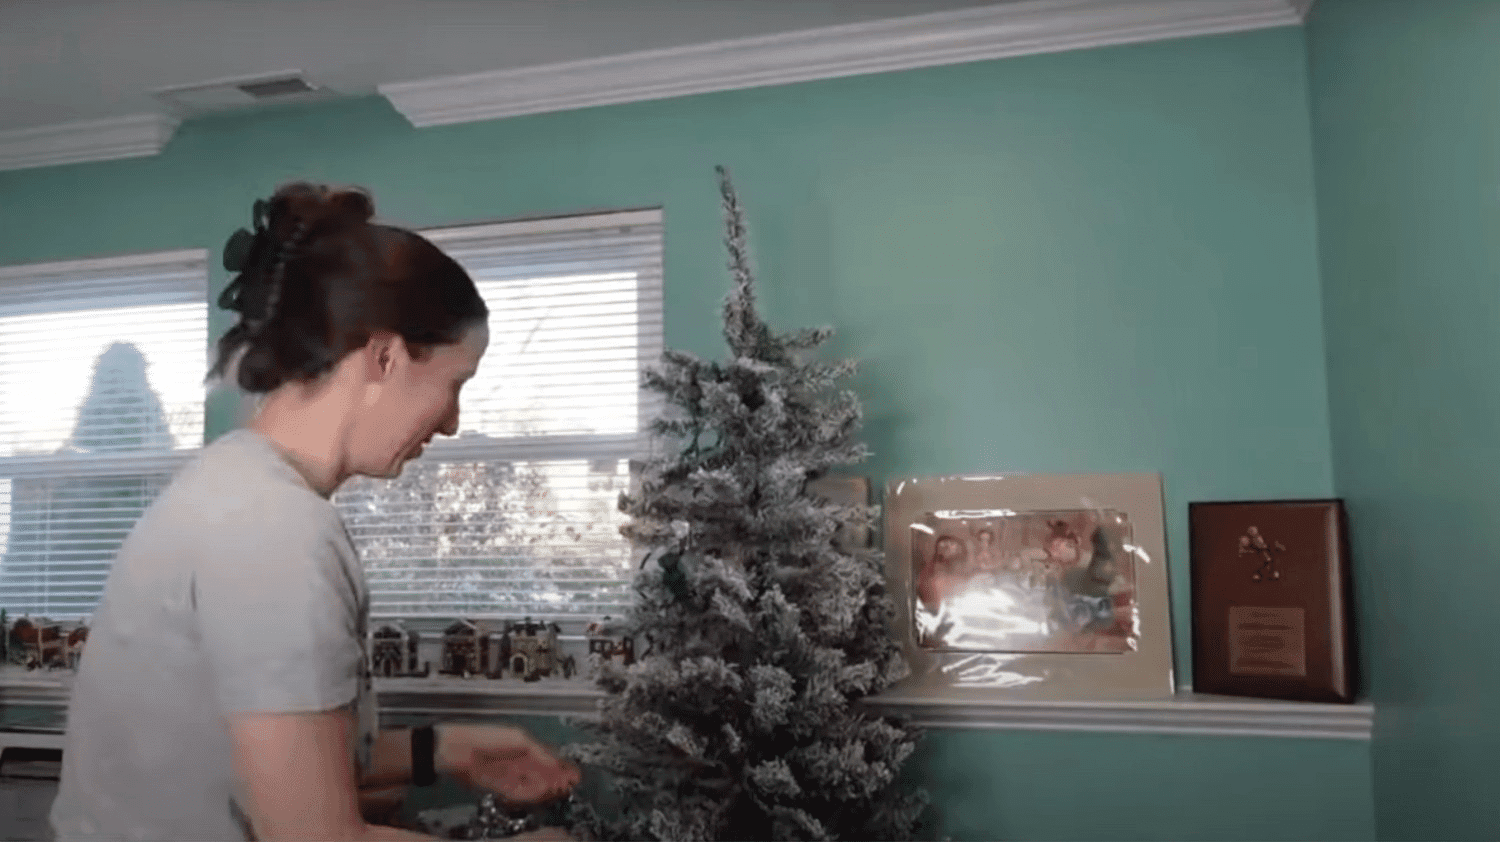
STEP 1: Fluff the Tree
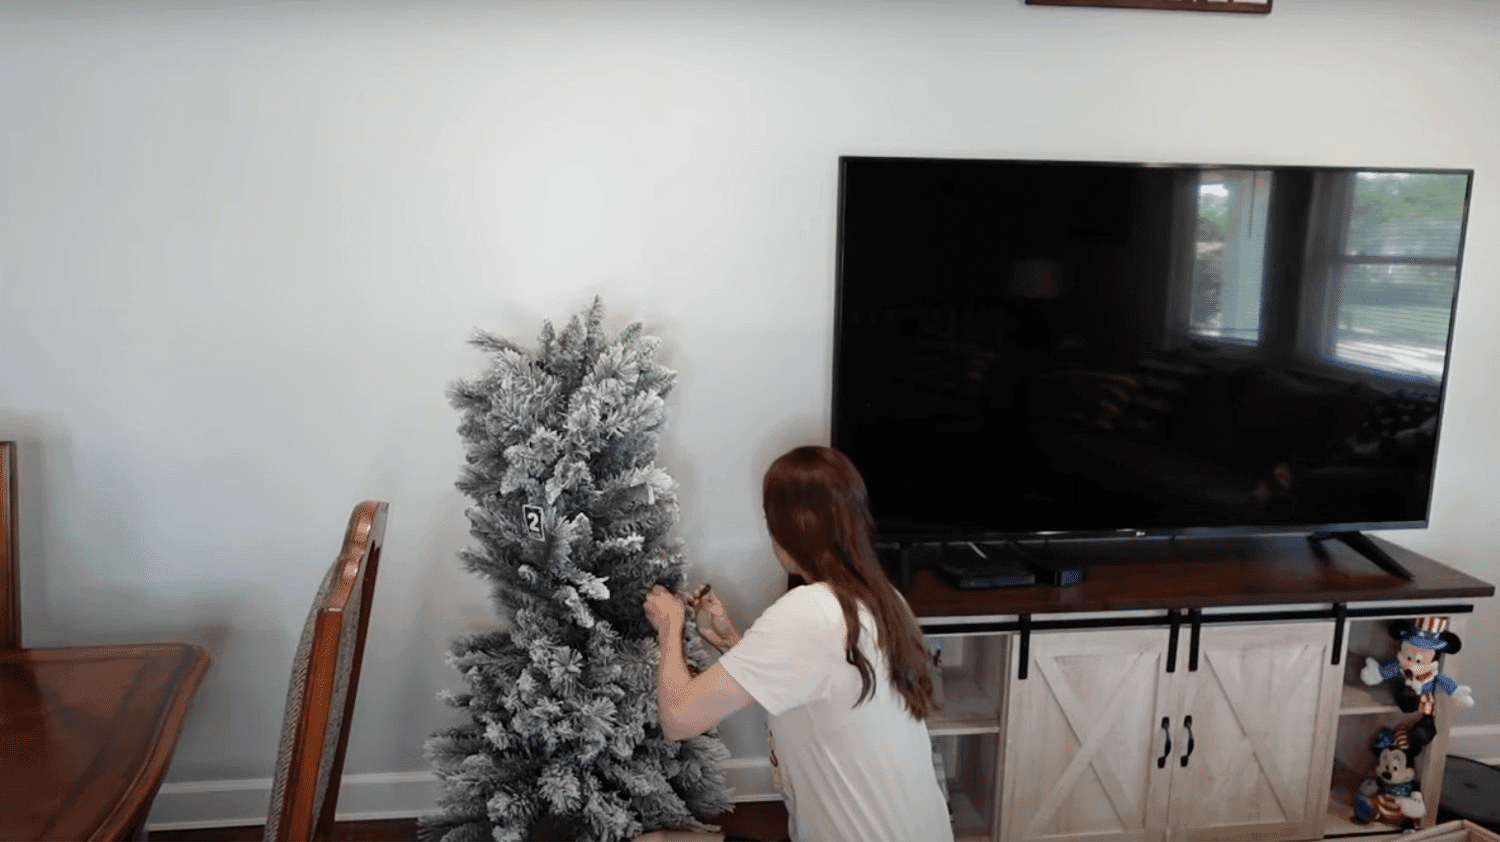
Start by fluffing your Christmas tree to create a full, natural look. Gently separate and spread out the branches, especially if you have an artificial tree.
This step ensures that the tree looks more lush and prevents gaps when decorating. Give yourself at least 5 minutes for a well-fluffed tree.
Pro Tips:
- Work from bottom to top for even fluffing.
- Avoid rushing—fluffing adds volume to the tree.
- Make sure branches are spread out evenly for a fuller look.
STEP 2: Add Lights
For non-pre-lit trees, add your lights after fluffing. Instead of wrapping lights around the tree, go up and down.
This method evenly distributes the lights and ensures better coverage. Pre-lit trees skip this step, but be sure to check light placement for any gaps or missing spots before continuing.
Pro Tips:
- Use warm white or multi-colored lights, depending on the look you want.
- Start at the bottom and move up for easier access.
- Check that the lights are evenly spaced for a uniform glow.
STEP 3: Organize and Lay Out Ornaments
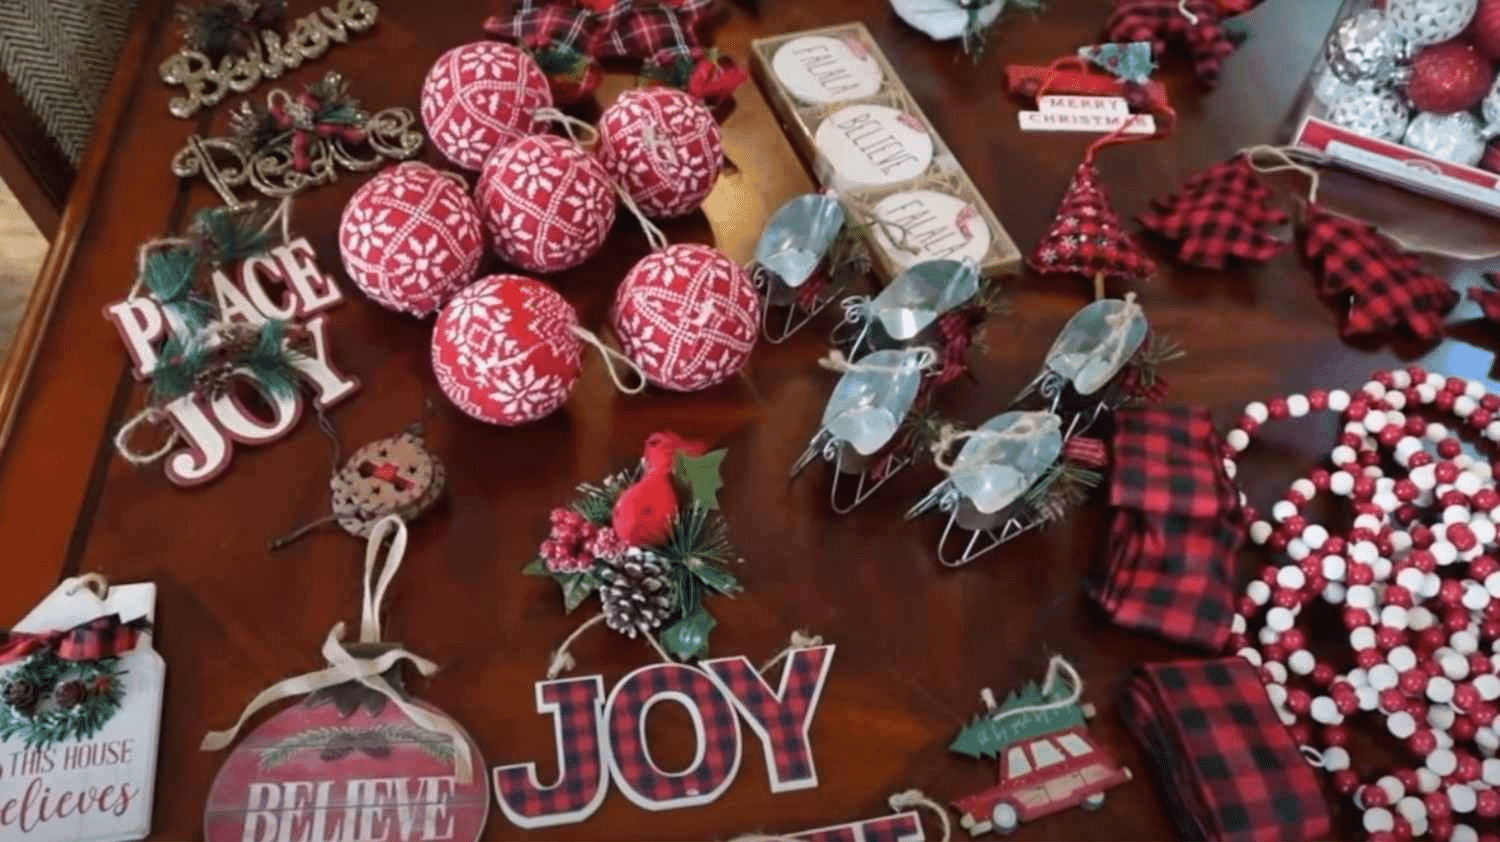
Before adding ornaments, organize them by type, size, or color. This step ensures a balanced and cohesive look on your tree.
Place larger ornaments first, followed by smaller ones, to avoid clustering similar items in one spot. This will give your tree a neat and well-arranged appearance.
Pro Tips:
- Sort ornaments by size for easy placement.
- Use a container or tray to keep everything organized.
- Arrange ornaments to prevent overcrowding in one section.
STEP 4: Add Garland and Ribbon
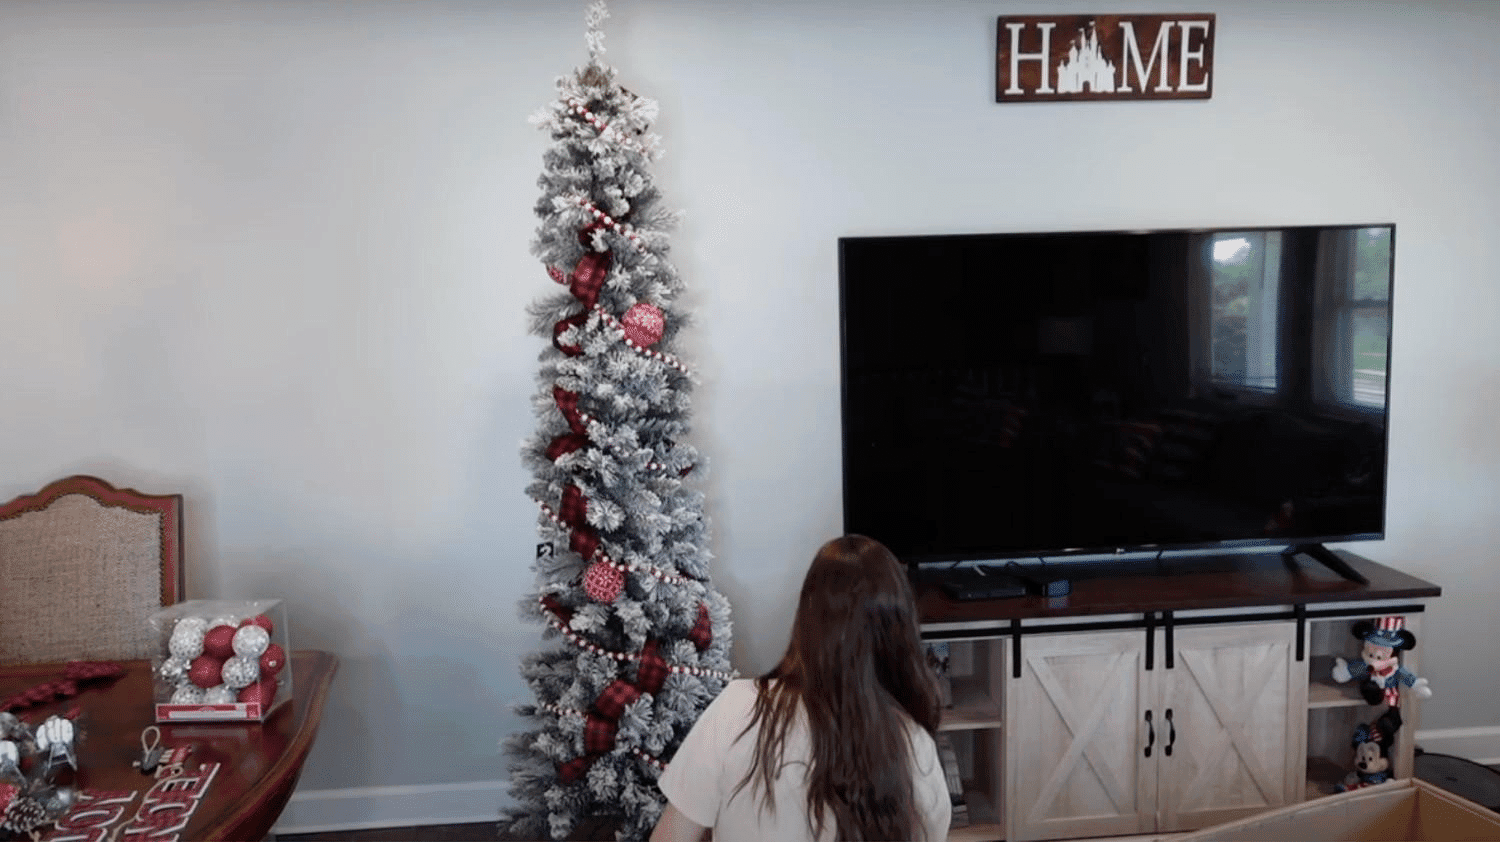
Once the lights and ornaments are in place, add garland and ribbon. Drape ribbon vertically from top to bottom for a simple and graceful design.
Tuck garland into the tree for a layered effect. This adds texture, color, and dimension to your tree, enhancing the overall look.
Pro Tips:
- Experiment with different materials like burlap or velvet for ribbon.
- Tuck garland to create depth and avoid a flat look.
- Use multiple types of ribbon for a layered effect.
STEP 5: Add the Tree Topper and Skirt
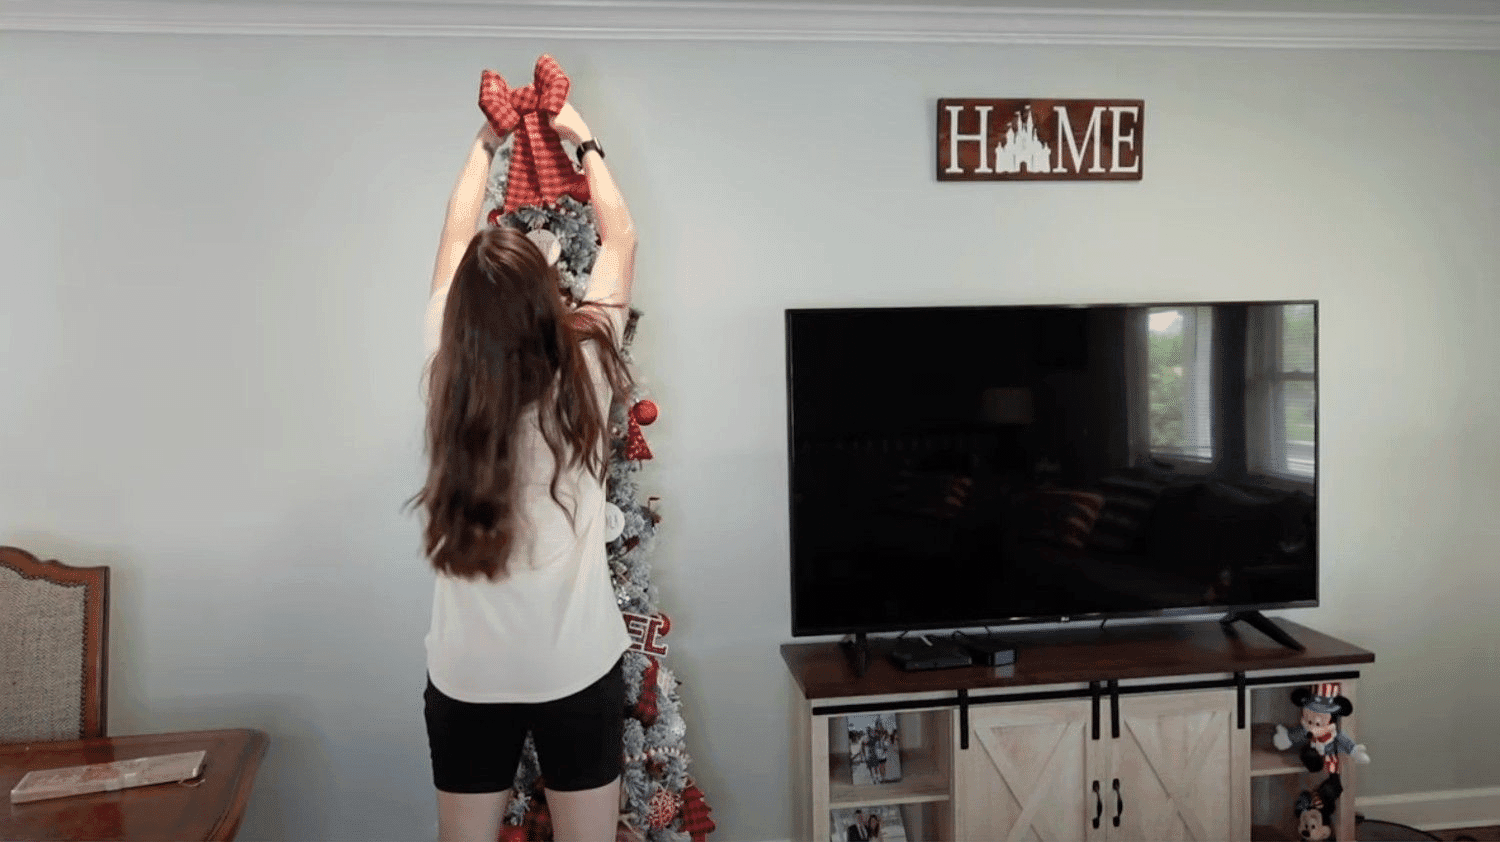
Complete your tree by adding the topper and tree skirt. A traditional star, angel, or bow can be placed at the top.
For the base, use a tree skirt to cover the stand. A simple, cozy blanket can also serve as an affordable tree skirt option for added warmth and charm.
Pro Tips:
- Add the tree topper last for a balanced look.
- Choose a skirt that complements your tree theme.
- Make sure the topper enhances the overall look without overpowering the tree.
Watch How It’s Done: Decorating a Christmas Tree Video Tutorial
For more information, check out this video tutorial by Candidly KJ
Caring for Your Christmas Tree Throughout the Season
Keep it hydrated: For real trees, check the water level daily and refill as needed to prevent needle drop and maintain freshness.
Monitor lights carefully: Inspect for any damaged bulbs or wires and turn off lights when leaving home or going to bed for fire safety.
Dust occasionally: Gently wipe artificial tree branches with a microfiber cloth to keep decorations looking bright and festive.
Secure from pets and children: Consider using a safety gate around the tree if you have curious pets or young children who might pull on ornaments.
Preserve special ornaments: Handle fragile or sentimental decorations with care and store them properly after the holidays.
Common Pitfalls to Avoid
- Lights after ornaments: Always string your lights first – adding them after the ornaments makes the process difficult and can damage decorations.
- Unbalanced decoration placement: Avoid clustering ornaments in one area; step back regularly to ensure even distribution throughout the tree.
- Forgetting to fluff artificial branches: Take time to spread out branches before decorating for a fuller, more natural-looking tree.
- Overloading with decorations: Too many ornaments can overwhelm your tree – sometimes less is more for a classy appearance.
- Ignoring the back of the tree: Even if against a wall, decorate all sides for a complete look when viewed from different angles.
Final Thoughts
Now you know how to decorate a Christmas tree step by step, from choosing the perfect tree to adding those final magical touches!
Remember to start with proper fluffing, add lights before ornaments, and take your time placing decorations evenly.
Don’t forget to match your tree to your home’s style for a balanced look. Taking care of your tree throughout the season will keep it looking beautiful.
By avoiding common mistakes like overloading with decorations or neglecting the back of the tree, you’ll create a stunning centerpiece that brings joy to everyone who sees it.
The best part isn’t just the finished product – it’s the memories you make while decorating together.
So gather your loved ones, put on some holiday music, and let the Christmas tree magic begin! Your perfect holiday tree is just five simple steps away.

James McLaren, with a rich background in architecture from the University of Manchester, has been contributing his expertise to the world of creative construction and home innovation for over 20 years. His journey began as a project manager for a leading construction firm, where he honed his skills in bringing complex designs to life. James joined our platform as a freelancer in 2019, quickly becoming a favorite for his insightful and practical advice. He has been a pivotal force to our wing ever since, bringing our readers a blend of technical know-how and creative flair. Beyond his professional life, James is an avid woodworker and enjoys restoring vintage furniture, a hobby that complements his professional insights beautifully.