How to Deep Clean Your Home Before a Remodel or Renovation
Renovating your home is an exciting journey toward transforming your living space. However, before the hammers start swinging and the paint begins to fly, it’s essential to deep clean your home thoroughly. A comprehensive pre-renovation cleaning helps safeguard your belongings, creates a safer environment for workers, and ultimately streamlines the entire remodeling process.
Many homeowners in Calgary often seek professional Calgary cleaning services to ensure their homes are spotless and well-prepared before any major renovation begins. Whether you choose to hire experts or do it yourself, understanding the deep cleaning process is vital to protecting your investment and ensuring a smooth remodel.
Why Deep Cleaning Before a Remodel is Absolutely Crucial
Renovation projects are inherently messy. Dust settles on every surface, debris scatters across floors, and construction materials leave behind residue. Starting with a clean, organized home prevents dust and dirt from embedding deeper into your belongings and surfaces during the renovation.
Here’s why a deep clean matters:
- Protect Your Investment: Your furniture, electronics, and personal items deserve protection. Dust and grime can cause lasting damage if left uncovered during construction.
- Create a Safe Workspace: Clean, clutter-free spaces minimize hazards for contractors, reducing accidents and improving work efficiency.
- Spot Hidden Problems:Cleaning often uncovers unseen issues such as water damage, mold, or pest infestations that you can address before renovation costs escalate.
- Reduce Post-Project Cleaning Time: By tackling dirt and grime first, you avoid the dreaded double cleanup after construction and after your pre-renovation mess.
- Promote Healthy Air Quality: Renovations stir up dust and allergens; starting with a clean environment helps keep air quality better for your family and workers.
How to Deep Clean Your Home Before Remodeling: Step-by-Step Guide
Step 1: Declutter and Clear the Area
Before you start scrubbing, decluttering is essential. Removing unnecessary items not only protects them from damage but also gives you clear access to every surface that needs cleaning.
- Sort Through Belongings: Decide what to keep, donate, or discard. Renovation is a perfect opportunity to downsize.
- Pack Up and Store: Place fragile or valuable items in sealed boxes and move them to safe storage, preferably outside the renovation zone.
- Remove Furniture and Rugs: If possible, relocate large furniture pieces and area rugs to another room to prevent dust accumulation and damage.
- Empty Cabinets and Shelves: This will give you better access to clean all surfaces properly and protect your belongings.
Step 2: Dust, Dust, and Dust Some More, Top to Bottom Cleaning
Dust settles everywhere, especially in neglected corners, so a thorough dusting is vital.
- Ceilings and Light Fixtures: Start by removing cobwebs and dust from ceilings, fans, and light fixtures. Use an extendable duster to reach high spots safely.
- Walls and Baseboards: Wipe down walls using a microfiber cloth and mild cleaning solution. Pay attention to corners and baseboards where dust collects.
- Windows and Doors: Clean windows inside and out for maximum natural light. Don’t forget to wipe window sills, frames, and door edges.
- Shelves and Built-Ins: Dust all open shelving, cabinet interiors, and built-in units thoroughly.
Step 3: Deep Clean Floors for a Fresh Start
Floors take the brunt of renovation dust and debris, so starting with a clean surface is a smart move.
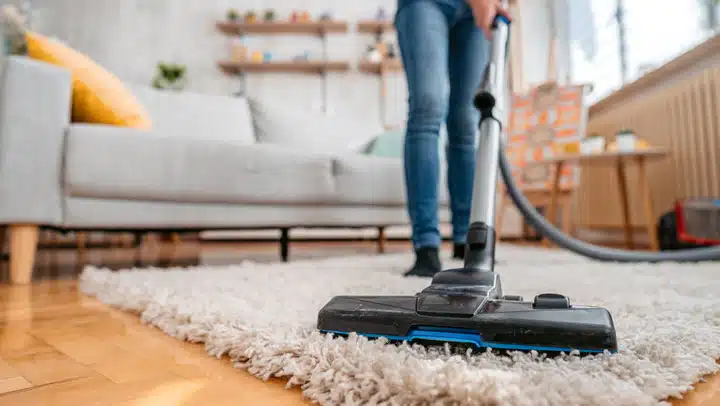
- Sweep and Vacuum: Remove loose dirt and dust using a vacuum with a HEPA filter to trap fine particles.
- Mop or Steam Clean: Use a mop suitable for your floor type. For hardwood, use a damp mop (not soaking wet) and avoid harsh chemicals. For tile and vinyl, a stronger cleaning solution is acceptable.
- Carpets and Rugs: If your carpet is staying, vacuum thoroughly and consider professional steam cleaning to remove embedded dirt. If you plan to replace carpets, remove them and clean the subfloor.
If you’re wondering how to Clean a Dirty House effectively before renovation, focusing on floors is key they often accumulate the most dust and grime, especially in high-traffic areas.
Step 4: Give Kitchens and Bathrooms Special Attention
These spaces often require the most preparation due to the complexity of plumbing and cabinetry involved.
- Kitchen: Clean out the refrigerator and pantry. Wipe down all surfaces, including countertops, backsplashes, and cabinet fronts. Degrease stovetops and remove buildup behind appliances.
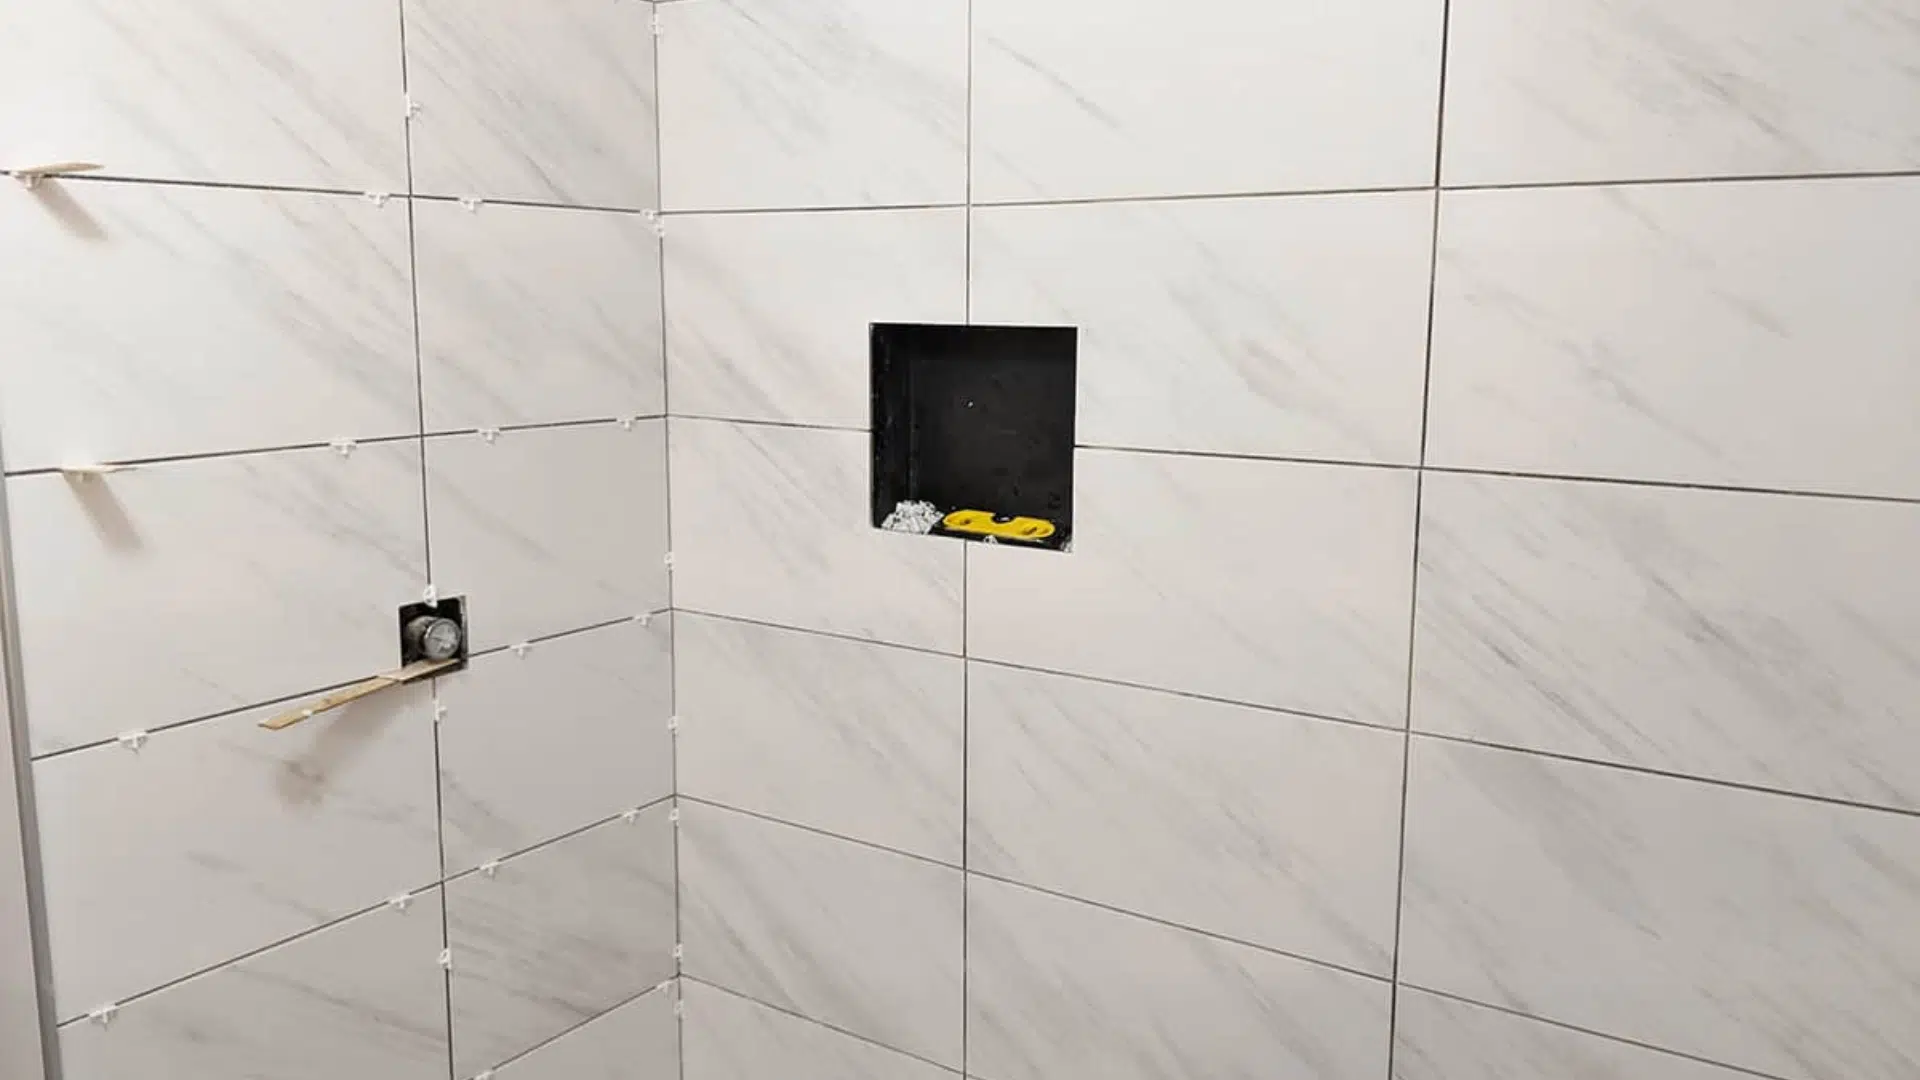
- Bathrooms: Scrub tile grout and fixtures to remove soap scum, mildew, and mold. Thoroughly clean sinks, tubs, toilets, and mirrors. Don’t forget to clear out under-sink cabinets.
Step 5: Clean Air Vents, Filters, and HVAC Systems
Renovation dust can wreak havoc on your home’s ventilation system, spreading allergens and debris.
- Remove and Replace Filters: Change HVAC filters before construction begins to prevent dust circulation.
- Clean Vents and Registers: Dust and wipe down all air vents and return air registers to avoid recirculating dust.
- Consider Professional HVAC Cleaning: If your system is old or particularly dirty, a professional duct cleaning can be a wise investment.
Step 6: Disinfect High-Touch Surfaces
Wipe down areas that contractors will frequently touch to reduce the spread of germs and maintain hygiene.
- Door handles and knobs
- Light switches
- Cabinet pulls and drawer handles.
- Thermostats and control panels
Use a disinfectant spray or wipes safe for the surface type.
Extra Pro Tips for an Even More Effective Deep Clean
- Use Microfiber Cloths: They capture dust and grime more efficiently than cotton or paper towels.
- Work During Daylight: Natural light highlights dirt and dust that artificial lighting can miss.
- Keep a Cleaning Caddy Handy: Stock it with essentials like gloves, clothes, all-purpose cleaner, and scrub brushes for quick touch-ups throughout the remodel.
- Seal Off Work Areas: Use plastic sheeting to contain dust within renovation zones.
- Wear Protective Gear: Masks and gloves protect you from dust and chemicals during cleaning.
Why Deep Cleaning Before Renovation Saves Time and Money
Pre-renovation deep cleaning might seem like a lot of work upfront, but it pays dividends throughout the project. A meticulously cleaned home protects your belongings, helps contractors work more efficiently, and reduces the risk of costly repairs due to hidden issues.
For residents looking for trusted help, companies like Hellamaid offer professional cleaning services designed to get your home renovation-ready with ease. Starting your remodel with a fresh, clean slate sets a positive tone and ensures that when the dust finally settles, your home will be ready to shine.

With a Master in Architectural Studies from University of Pennysylvania, Marwa Haydar has pioneered living spaces since 2005. Her expertise, initially honed in a prestigious architectural firm, is evident in her approach to creating environments. Marwa became part of our team in 2019 and has since been a driving force in our home improvement section, known for her practical yet stylish solutions. She’s been spearheading our design workshops since then, infusing her passion for teaching into her work. In her leisure time, Marwa enjoys exploring historic architecture and is an enthusiastic pottery hobbyist, further enriching her understanding of form and texture.