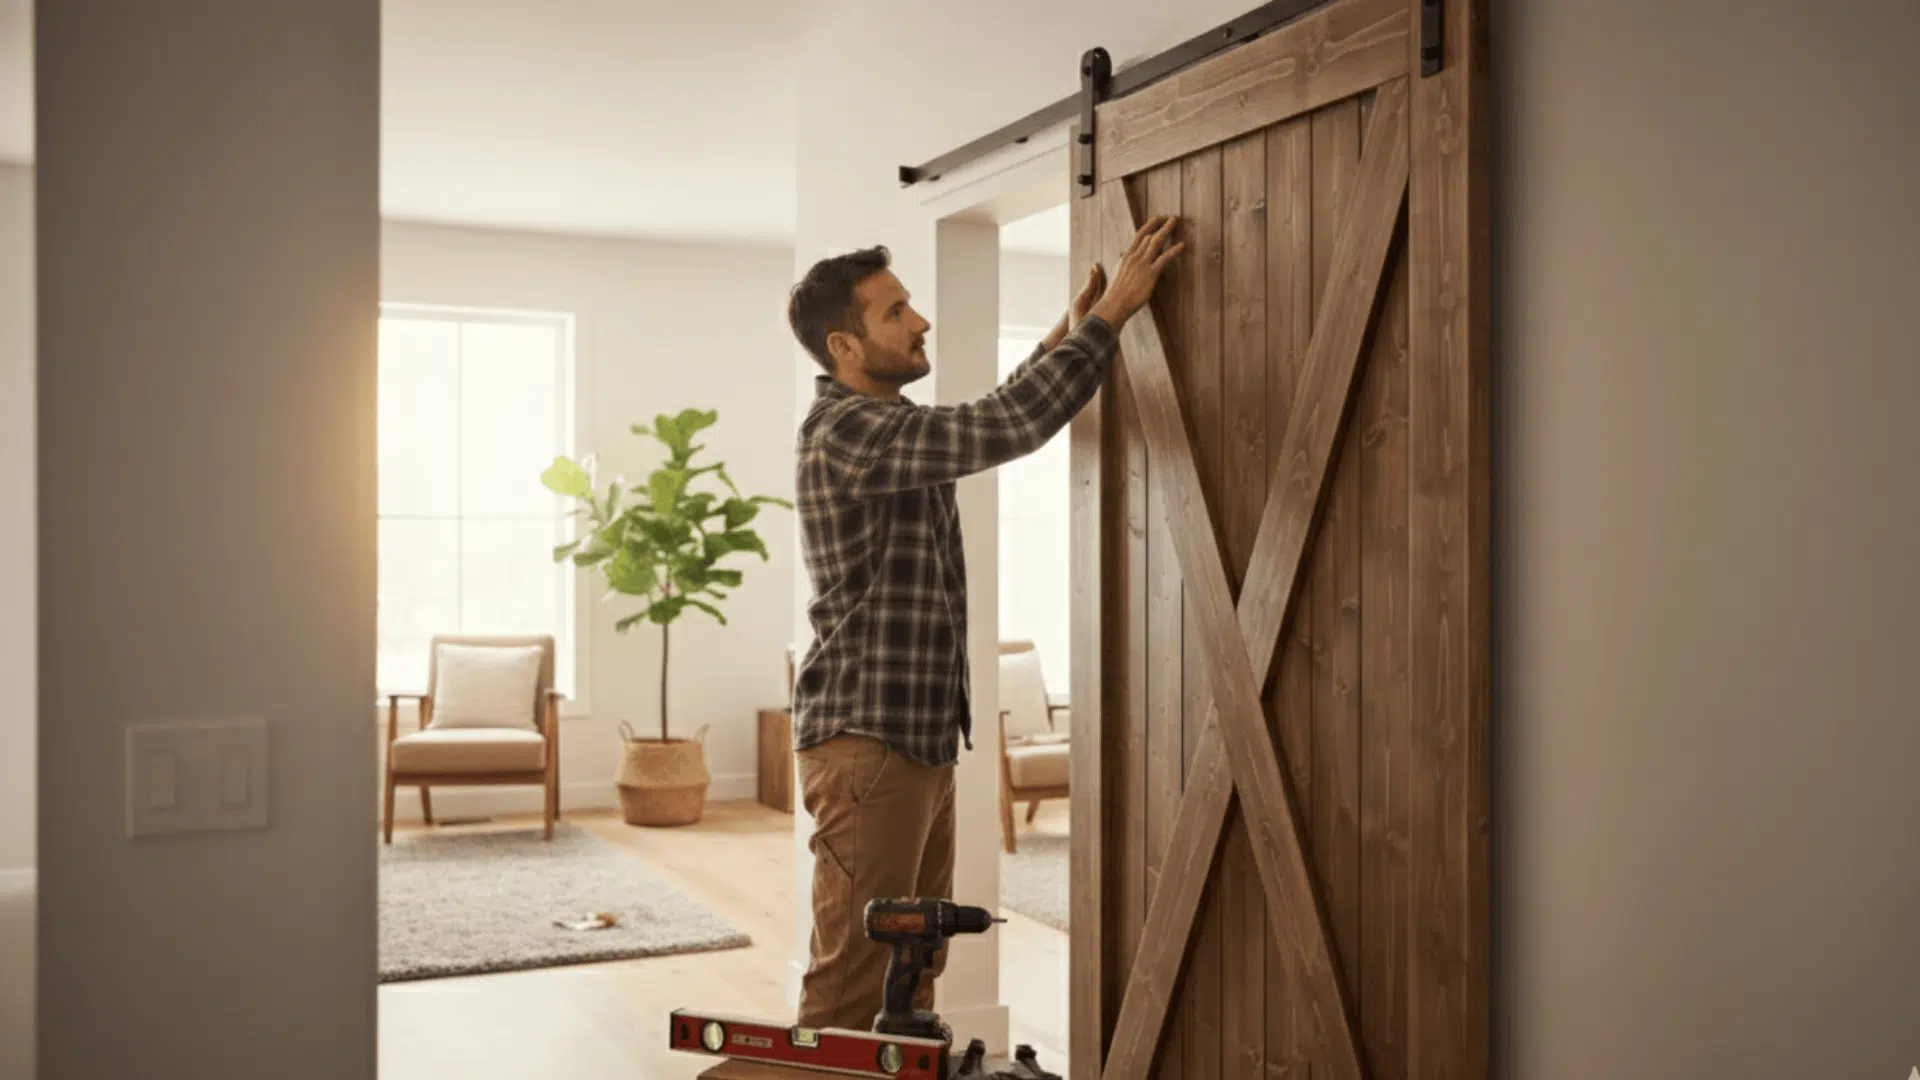
A sliding barn door is one of the easiest ways to add character and function to a room without changing walls or trim.
I’ll show you how to build a solid wood barn door and hang it on a sliding track with clear, simple steps.
Keeping the process practical, from cutting boards and assembling the frame to staining, installing hardware, and mounting the rail.
By the end, you’ll understand every stage well enough to plan, build, and install a custom barn door that fits your space and style.
Requirements to Consider Before You Start
Before jumping into cuts and screws, it helps to know what this project really asks of you.
You’ll need a clear workspace the length of the door, basic power tools, and enough time to build, sand, stain, and install without rushing.
This guide assumes you’re comfortable measuring, drilling, and using a circular saw, but not a professional.
I’ll keep each step focused and straightforward so you can plan materials, schedule, and setup with confidence.
Once you’re ready on space, tools, and time, the step-by-step build becomes much easier to follow.
Step-By-Step DIY Sliding Barn Door
The entire build is in a straight line, from bare boards to a finished door hanging on the wall.
I’ll break the work into small, clear steps so you can follow along without guessing what comes next.
Tools and Materials
| Item | Purpose |
|---|---|
| Rough-sawn pine boards | Door frame and pattern pieces |
| Pocket hole jig & 1¼” screws | Joining the frame and braces |
| Wood glue & clamps | Strength and alignment |
| Tongue-and-groove or 1x boards | Front/back cladding |
| Brad nailer & 1¼” brad nails | Securing cladding boards |
| Circular saw & straightedge | Trimming edges flush |
| Orbital sander & sandpaper | Smoothing joints and faces |
| Wood filler & stain | Filling holes and finishing |
| Sliding barn door hardware kit | Track, rollers, stops, and floor guide |
| Drill, bits, sockets, level | Installing hardware and header |
Step 1: Build the Main Door Frame

The builder cuts rough-sawn pine to length for the outer frame and center board.
A pocket hole jig is set for ¾-inch material, pocket holes are drilled on all joining edges, and the frame is assembled with wood glue and 1¼-inch pocket screws. Clamps and a square keep the frame flat and true.
Step 2: Add the Center Board and Diagonal Braces

The center vertical board is centered with a tape measure, trimmed to fit, and attached with glue and pocket screws.
Diagonal braces are laid against the frame, marked to match the angles, and cut. They are fastened with glue and pocket screws, using a scrap board under the pieces to keep the front faces flush.
Step 3: Install Front and Back Cladding Boards

Tongue-and-groove boards (or 1x boards) are prepared and laid out. The first board is glued, flipped, and face-nailed to act as an anchor.
Remaining boards are tapped into the tongue-and-groove joint with a scrap block and mallet, then face-nailed as each row seats tightly. The same process can be used on the back if a finished look is desired on both sides.
Step 4: Trim, Fill, and Sand the Door

Any overhanging cladding is trimmed flush with a circular saw guided by a straight board. All brad nail holes and small gaps are filled with wood filler.
After the filler dries, the entire door is sanded with an orbital sander so that the joints feel smooth and the surface is even from edge to edge.
Step 5: Stain and Finish the Barn Door

Dust is removed with a brush or cloth, then the stain is brushed or wiped on in the direction of the grain. Excess is wiped away to leave an even color.
One coat can create a slightly distressed look; a second coat deepens the tone. The door is left to dry fully according to the stain instructions.
Step 6: Attach the Barn Door Hardware to the Door

The sliding hardware hangers are positioned near the top of the door, with roller centers set at a consistent distance down from the top edge.
They are aligned with a speed square, clamped in place, and drilled through. Bolts and nuts are tightened with a wrench.
A matching handle is installed on the front, and any rubber bumpers from the kit are added at the top.
Step 7: Mount the Header, Install the Rail, and Hang the Door

Stud locations above the opening are marked with a stud finder. A header board is pre-drilled to line up with rail holes, then the rail is bolted to the header.
The header is leveled and lag-bolted into studs. Rail bolts with spacers are tightened, keeping the track level.
Finally, the rollers slide onto the rail, end stops are positioned and tightened, and a floor guide is fixed at the bottom to keep the door from swinging.
Video Tutorial
Special thanks to DIYwithRick for providing valuable insights in their video, which I referenced while creating this guide.
Check out this video for a complete video tutorial!
Pro Tips for a Smoother Barn Door Build
Small habits can make this project feel cleaner, faster, and more controlled. Here I’ll share simple tricks that help the frame stay square, the finish look better, and the hardware work smoothly over time.
Dry-fit before driving screws. Clamp frame pieces together and check for square before committing to glue and screws.
Keep faces flush with support blocks. Place scrap boards under joints so pocket-screwed pieces pull tight without creating steps.
Mark hardware heights once. Measure and mark roller locations on one edge, then transfer those marks to keep both hangers perfectly level.
Pre-finish in a clean area. Stain and finish the door away from sawdust so the surface dries smooth and free of grit.
Double-check rail level. A level rail prevents the door from drifting and keeps the rollers running smoothly over time.
More Cool Sliding Barn Door Ideas to Try
Once you know the basic build, changing the look is all about pattern, color, and hardware.
I’ll outline a few easy variations you can use to match different rooms and styles without learning a new method.
1. Different Panel Patterns
Instead of a single center brace, the same basic frame can host “Z”, “X”, or double “Z” patterns.
Using the same pocket-screw method, different layouts change the style from rustic farmhouse to more modern lines without adding much extra work.
2. Alternate Materials and Textures
The core frame can be pine, but the cladding can be swapped for shiplap, plywood panels, or even reclaimed boards.
Mixing smooth and rough textures, or using vertical boards instead of horizontal, gives the same hardware kit a completely different look.
3. Color, Stain, and Hardware Style
A light stain keeps wood grain visible, while solid paint or two-tone finishes push the design toward modern or coastal styles.
Changing hardware color from black to brushed steel or brass also shifts the overall feel, all without changing the build steps.
4. Multi-Door Installations
Once one door is complete, the same process works for double doors on a longer rail.
Matching or mirrored patterns can close off wide openings to home offices, dining rooms, or media rooms using the same hardware system scaled up.
Conclusion
A sliding barn door build is really just a set of clear choices: size, pattern, finish, and hardware.
Once those are decided, the steps in this guide turn the project into a simple checklist you can work through at your own pace.
If you’re planning a door for a hallway, pantry, or office, use this as your base plan and adjust the details to match your space.
Have questions about board sizes, hardware kits, or layouts? Drop them in the comments along with your door idea, and I’ll help you shape it into a clean, workable build.

James McLaren, with a rich background in architecture from the University of Manchester, has been contributing his expertise to the world of creative construction and home innovation for over 20 years. His journey began as a project manager for a leading construction firm, where he honed his skills in bringing complex designs to life. James joined our platform as a freelancer in 2019, quickly becoming a favorite for his insightful and practical advice. He has been a pivotal force to our wing ever since, bringing our readers a blend of technical know-how and creative flair. Beyond his professional life, James is an avid woodworker and enjoys restoring vintage furniture, a hobby that complements his professional insights beautifully.