
Are you tired of tangled cords and missing chargers every time you need them?
A DIY charging station might be exactly what your home needs!
Those messy cables not only look bad but also waste your time when you’re rushing to find a charger.
Building your charging station organizes all your devices in one spot and saves money compared to expensive store-bought options.
You can create a custom solution with simple materials like a box, a power strip, and basic tools.
This solution fits your specific devices and matches your home decor.
This blog will show you easy steps to build a DIY charging station that keeps everything charged, organized, and hidden from view.
No more cord chaos or hunting for chargers when your battery is critically low!
Why Create a DIY Charging Station?
Making your charging station is a smart move!
First, you’ll save money compared to fancy store-bought options that can cost a lot.
Plus, you get to build it exactly how you need it, with spots for all your devices, big or small.
Are you tired of cords everywhere?
A DIY station keeps everything neat in one place.
The best part might be that it can perfectly match your home style.
Use colors, materials, and designs that fit your room instead of settling for boring plastic boxes.
With just a little effort, you can create something useful that looks great and solves your charging problems!
Different Types of Charging Stations
Choosing the right charging station depends on your family’s needs and available space.
Here’s a quick overview of the different types to help you decide what works best for your home.
| TYPES OF CHARGING STATIONS | DESCRIPTION |
|---|---|
| Family Charging Hubs | Large multi-device units are designed to charge several phones, tablets, and more. |
| Personal Desktop Stations | Compact units for individual use; great for desks or nightstands. |
| Wall-Mounted Systems | Installed on walls to save space; ideal for entryways or kitchens. |
| Hidden Furniture Solutions | Built into drawers, cabinets, or boxes to keep cords and devices out of sight. |
Consider how many devices you need to charge and where you spend most of your time.
The best charging station is one that fits your daily habits and keeps your electronics ready when you need them.
Tools and Materials You’ll Need!
Are you looking to create a DIY charging station for your home?
Here’s a list of materials you’ll need to get started, along with their estimated costs.
| MATERIAL | ESTIMATED COST (USD) |
|---|---|
| Drawer or decorative box with lid | $10 – $25 |
| Extension cord or power strip | $8 – $20 |
| Drill or scissors (for making holes) | $8 – $25 |
| Velcro or double-sided tape | $4 – $8 |
| Contact paper (optional, for style) | $6 – $12 |
| Charging cables (each) | $6 – $15 |
| Electronic devices | (User’s own devices) |
| Cable ties, labels, or clips (optional) | $3 – $8 |
With these materials, you can build a customized charging station that keeps your devices organized and cords tidy.
Total Estimated Cost (Excluding Your Own Devices):
- Low end: $45
- High end: $113
A Complete Step-By-Step Guide for DIY Charging Station
Creating your charging station is easier than you might think.
Follow these five simple steps to build a custom solution that keeps your devices organized and your cords tidy.
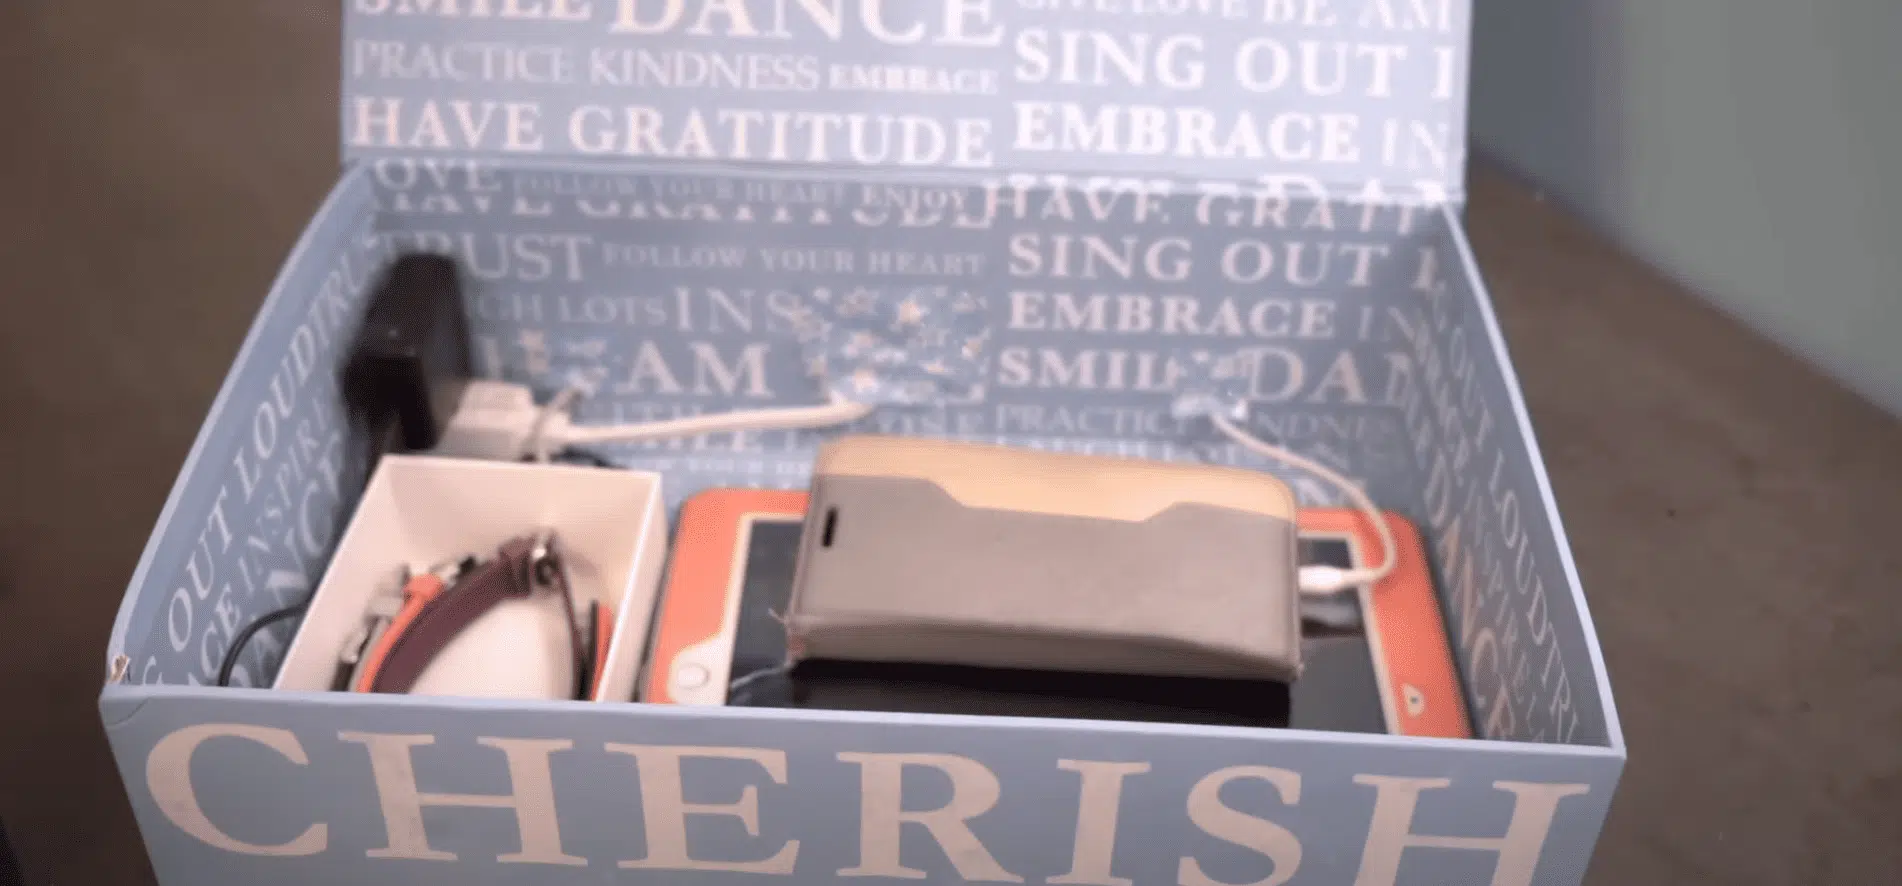
STEP 1: Choose a Spot to Hide Your Charging Station
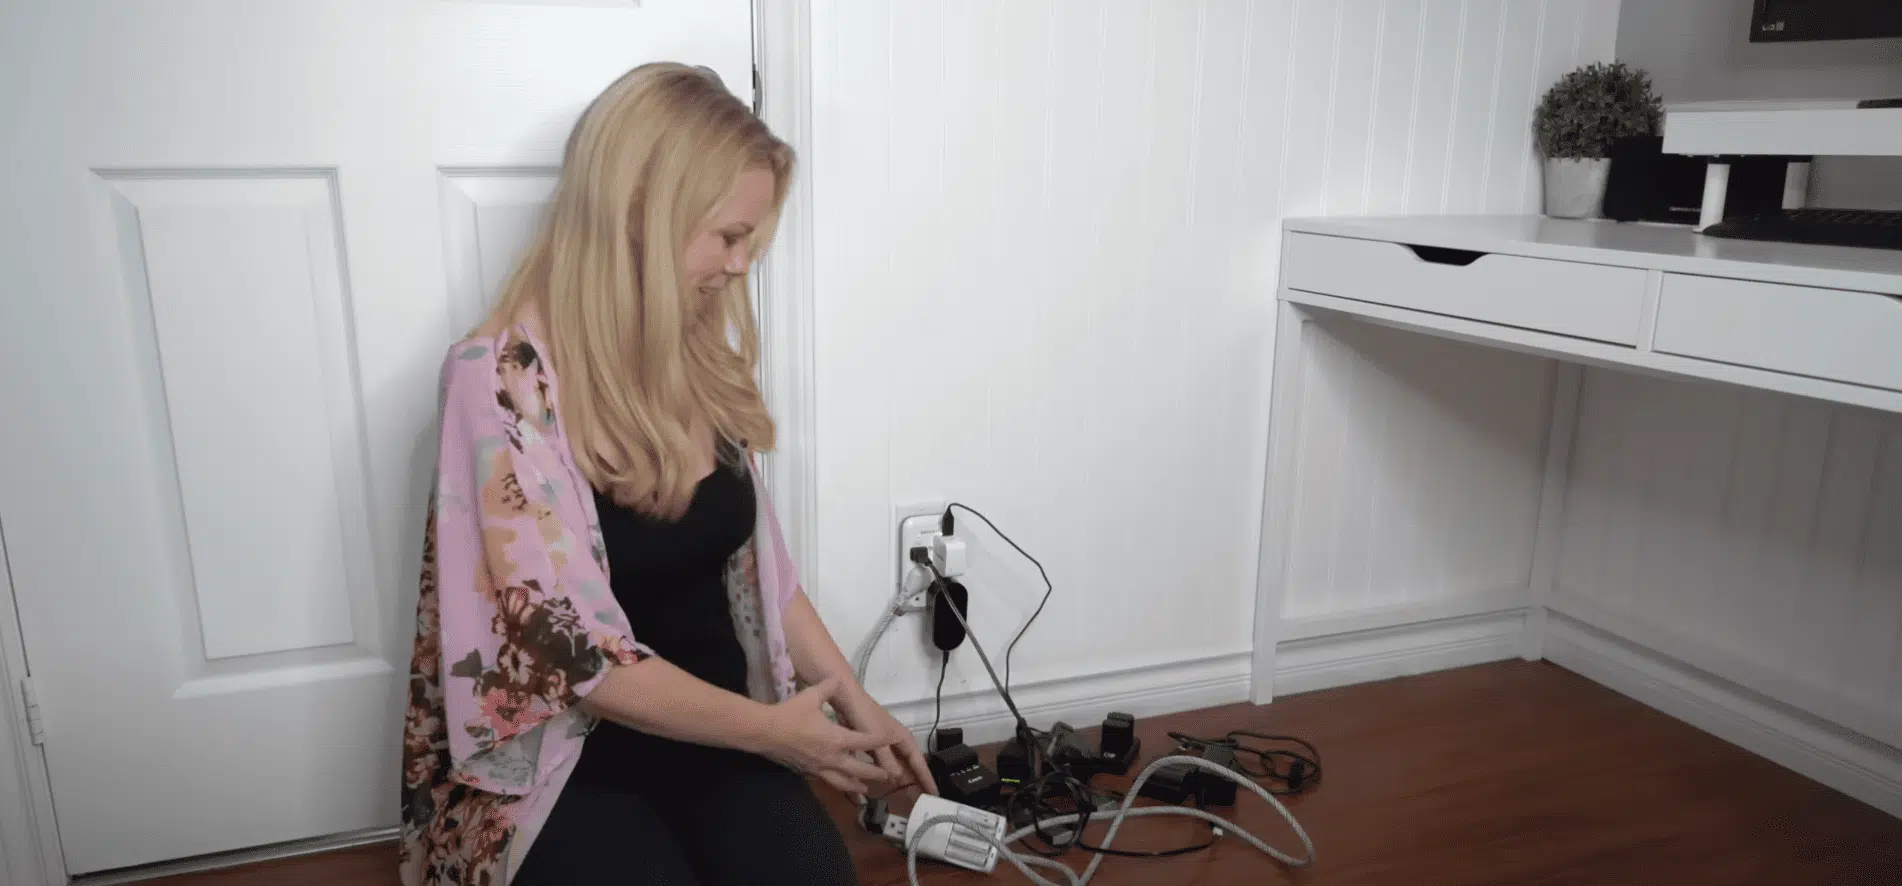
Start by picking a hidden but accessible location, such as a desk drawer, nightstand, or decorative box with a lid.
The space should be close to a wall outlet for convenience.
A drawer offers a built-in look while a box gives portability.
Choose one that fits your devices with room to spare.
Conceal your charging station to minimize clutter and maintain a cleaner, more organized space throughout your room.
Insider Insights
- Look for drawers or boxes close to outlets.
- Avoid locations with little ventilation.
- Make sure it fits all your devices with ease.
STEP 2: Prep the Drawer or Box for Cables
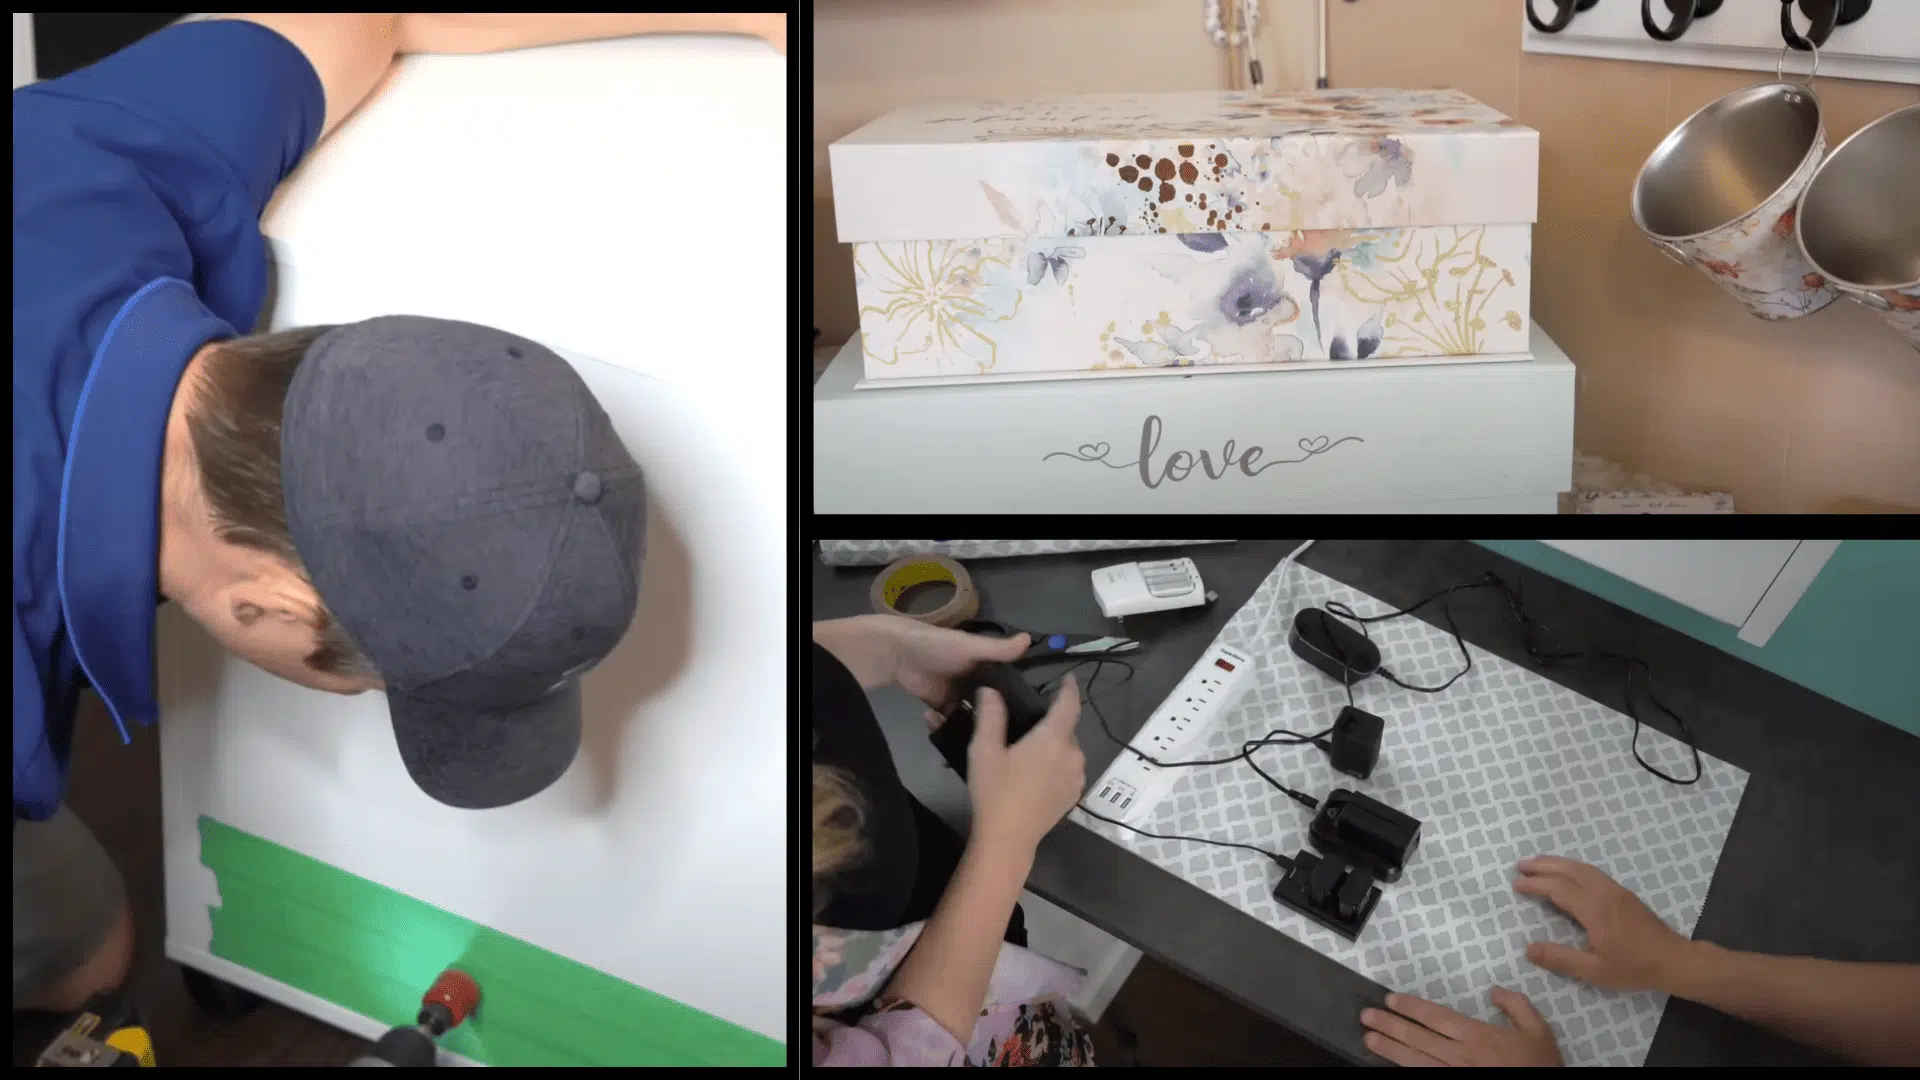
Once your location is chosen, it’s time to make space for cables.
Use a drill or sharp scissors to create one or two holes at the back of your drawer or box.
These will allow your extension cord or power strip to slide through cleanly.
If using a drawer, cut a small slit instead of a hole, allowing the cord to move freely as you open and close it without getting pinched or stuck.
Insider Insights
- Drill slowly to avoid splintering wood or cardboard.
- Make the hole big enough for thick plugs.
- Use sandpaper to smooth sharp edges if needed.
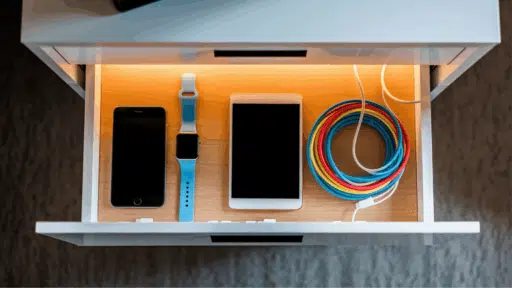
STEP 3: Lay Out and Attach Devices Inside
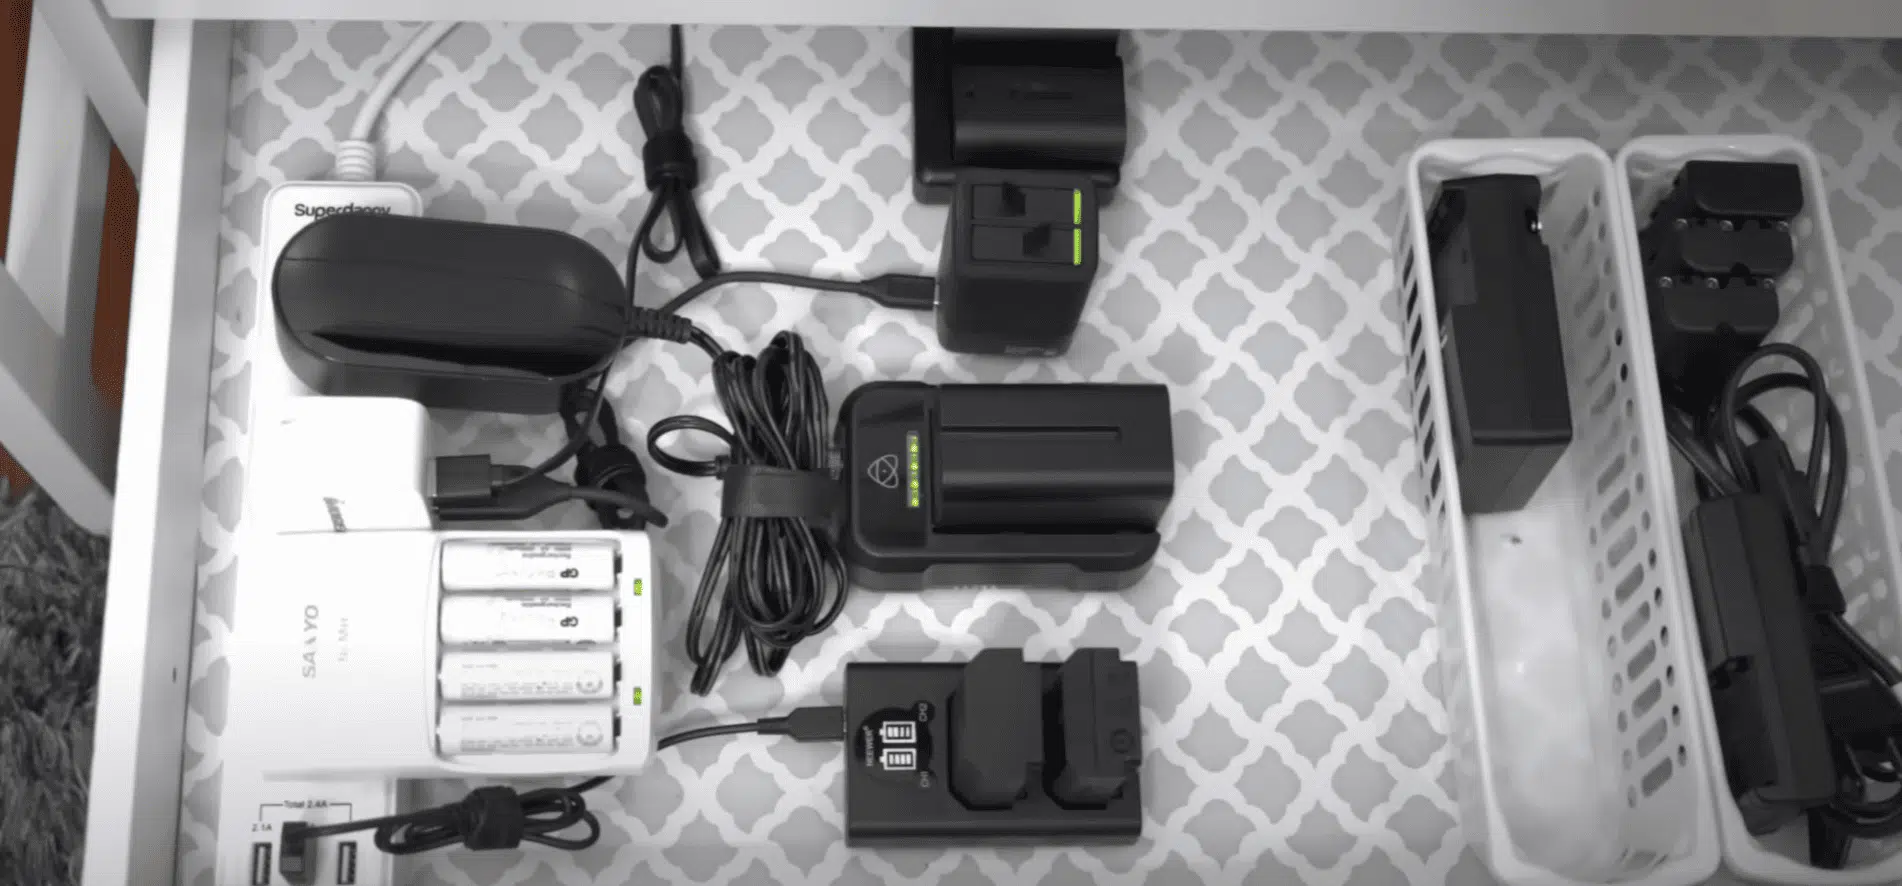
Lay out all your devices, phones, tablets, cameras, or chargers, and plan where each item will go.
Once you’re happy with the arrangement, use Velcro or double-sided tape to hold chargers and power blocks in place.
This keeps everything from sliding around when you open or close the drawer.
The goal is to make each item easy to access while maintaining cords neat and untangled.
Test everything before locking it down to ensure easy plug-in and removal.
Insider Insights
- Start with your largest device and work around it.
- Velcro lets you move items later without damage.
- Avoid stacking devices to prevent overheating.
STEP 4: Plug In and Tidy Up the Cords
Now pull your extension cord through the hole you made earlier and plug it in.
Connect each device to its charger and plug those into the power strip.
Use cable ties or clips to manage long or extra cords so they don’t become a tangled mess.
Keeping cables grouped and labeled makes it easier to know which plug belongs to which device.
This step is where your setup turns from DIY to clean and professional-looking.
Insider Insights
- Label cords for easy troubleshooting later.
- Avoid overloading your power strip.
- Bundle extra length of cables neatly with clips or twist ties.
Watch how It’s Done: DIY Charging Station Video Tutorial
For more information, check out this video tutorial by Clutterbug
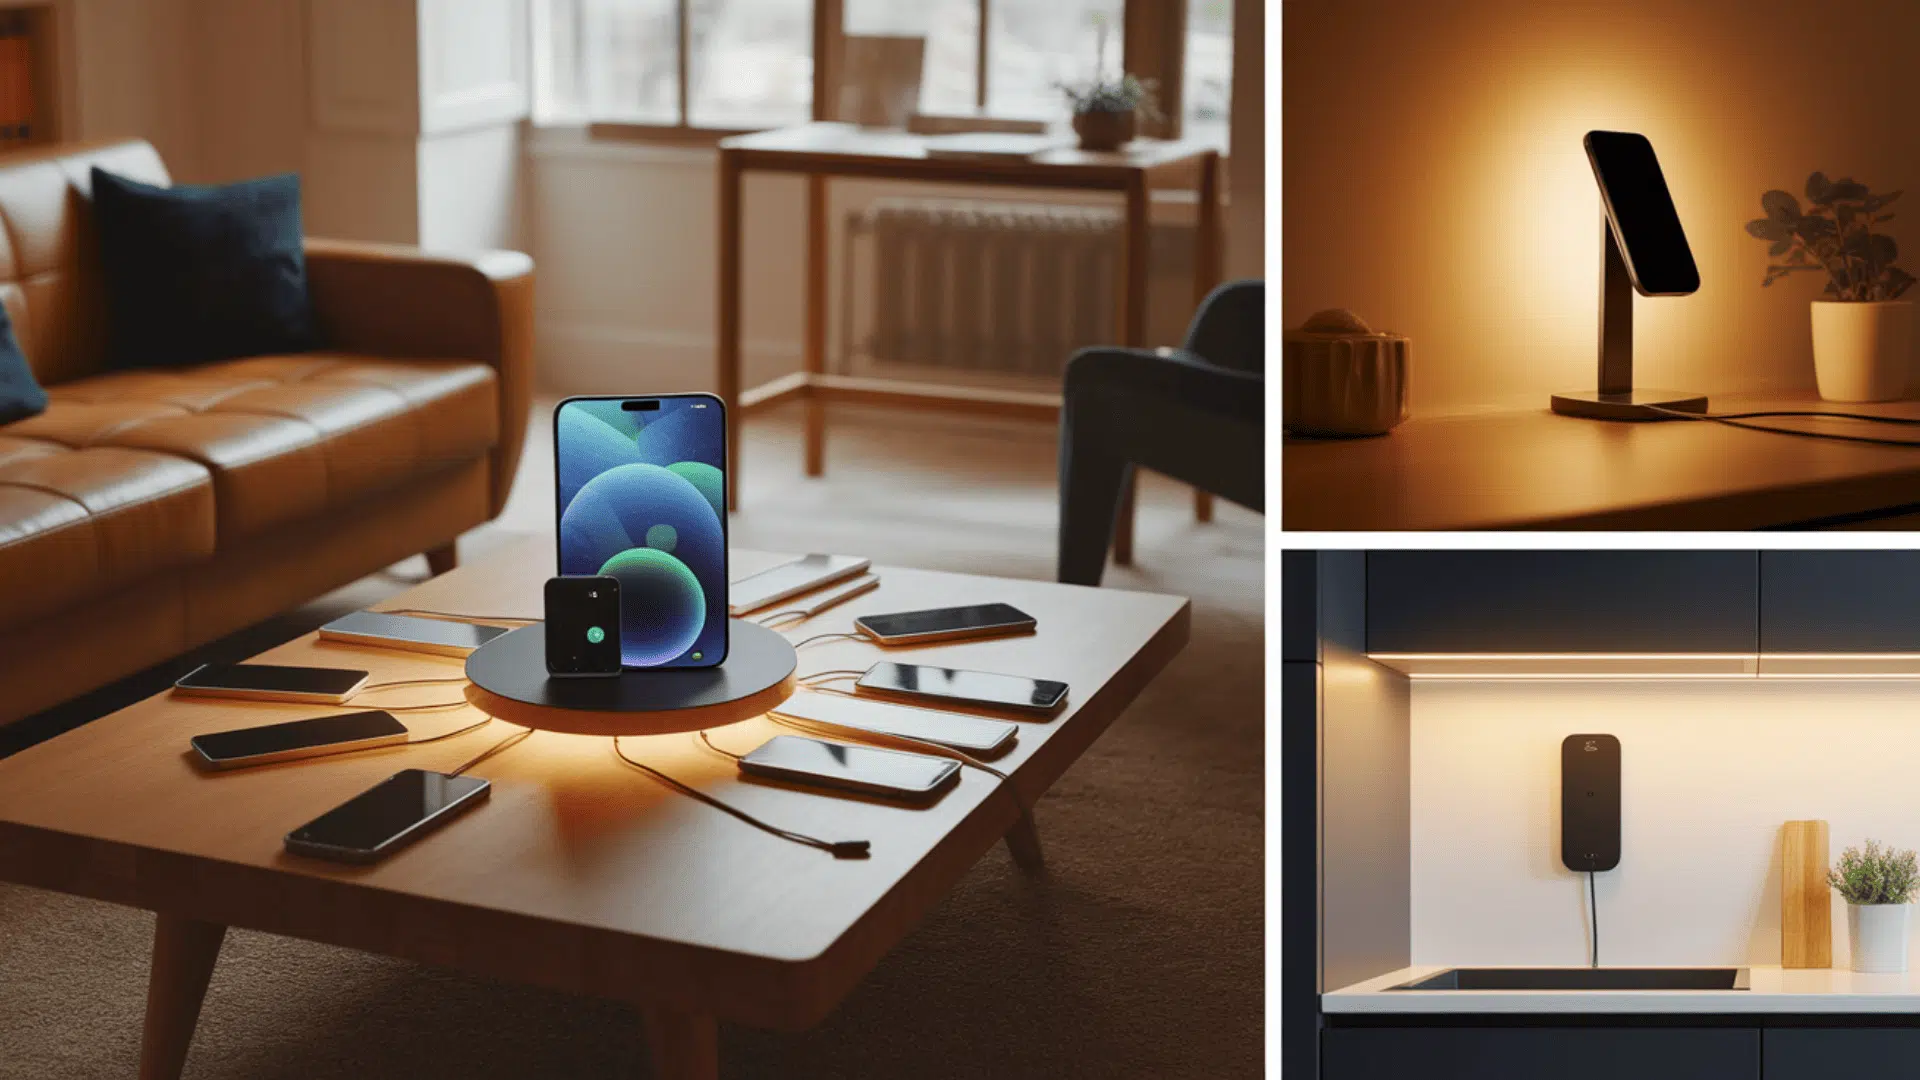
Device-Specific Organization
Different devices need different charging setups.
Smartphones can stand upright in small slots or phone holders.
This makes them easy to see while charging.
Tablets and laptops need more space and stronger cables.
You can use bookends or tablet stands to keep them neat.
Smartwatches and fitness trackers work best on small charging docks.
These take up little space and keep bands from tangling.
For power tools, try using labeled bins for each battery type.
This helps you grab the right one quickly.
Having a spot for each device type keeps everything organized.
Your charging station will work better when you plan for what you actually use.
Decorative Ideas to Match Your Home Style
Convert your charging station to match your home decor.
Here are some style ideas that will help your station blend in with your space.
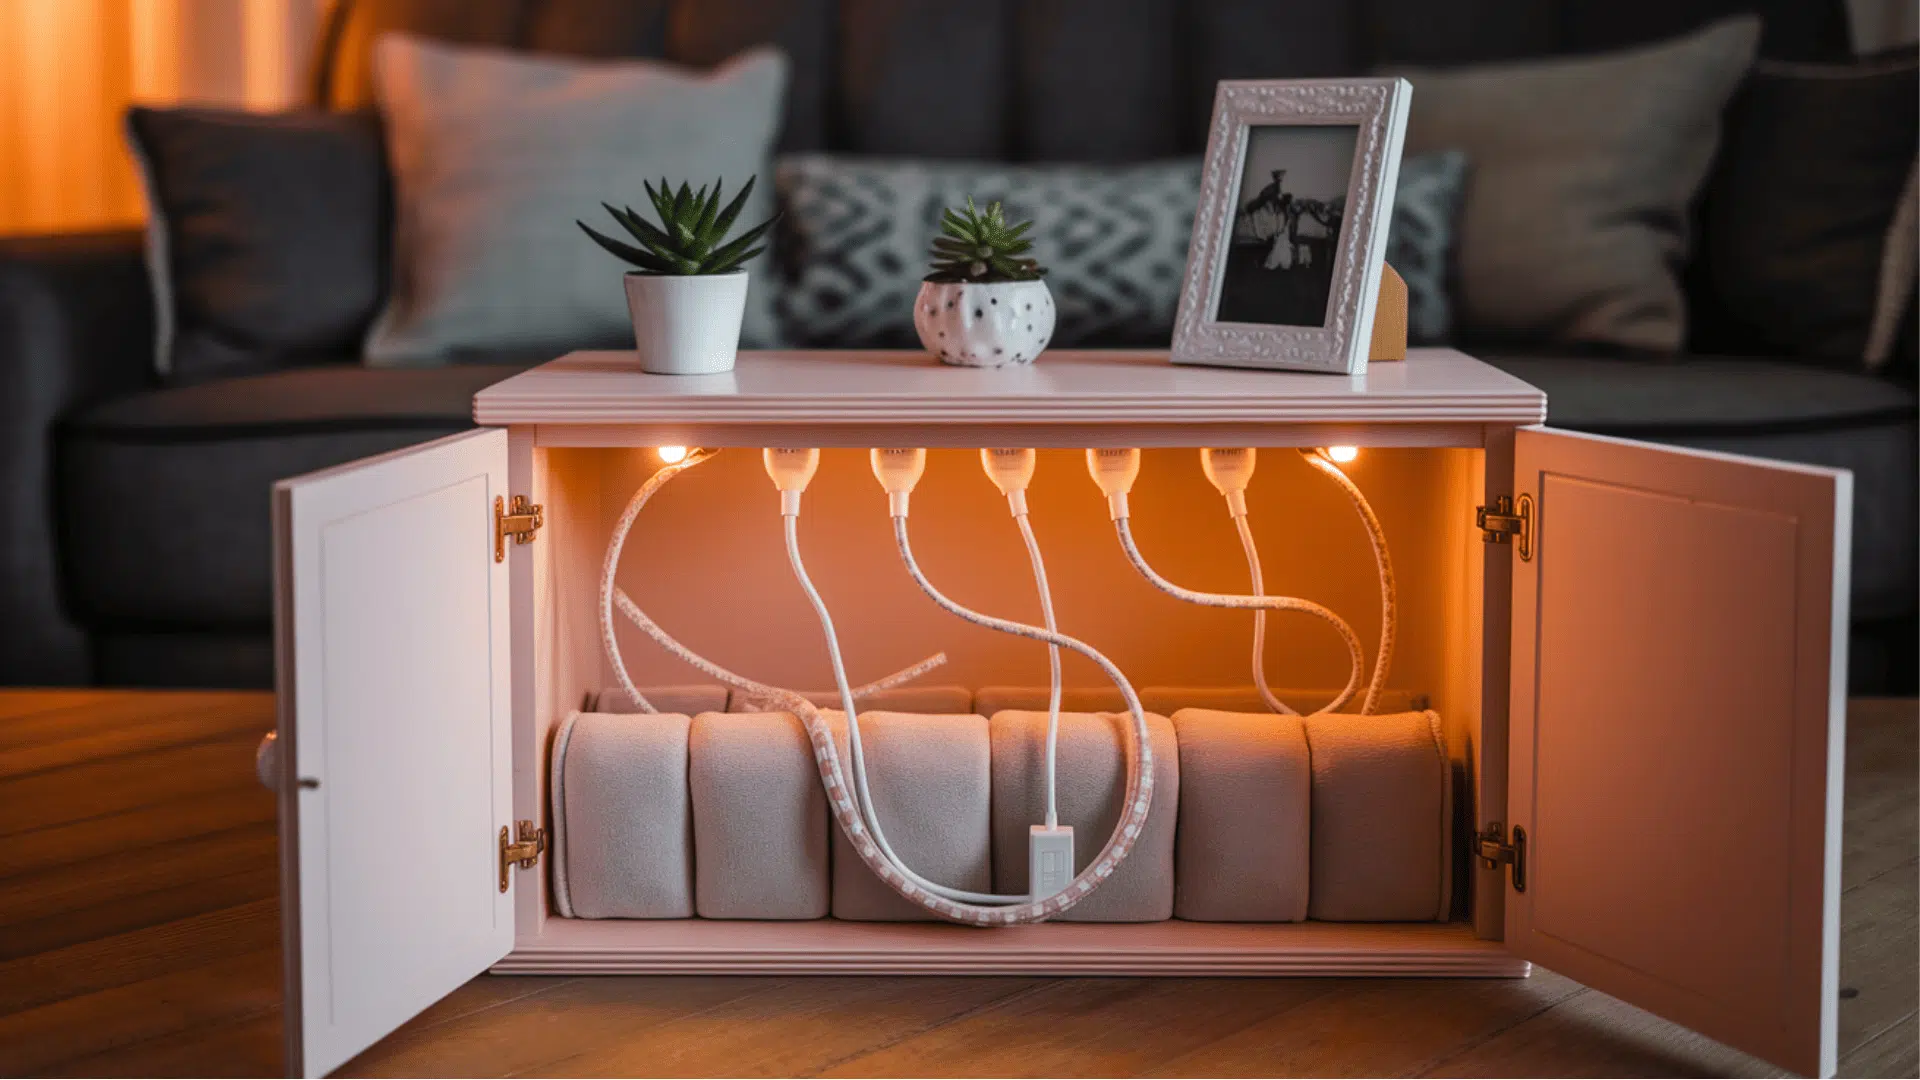
- Paint your box in colors that match your room or add contact paper with fun patterns.
- Use washi tape to decorate cables and make them easy to identify.
- Add small plants or photos on top of the charging station to make it part of your decor.
- Cut fabric to line the inside of your box for a softer look and feel.
- Install LED lights inside the box to find cables easily in the dark.
These simple touches can turn a basic charging station into a stylish home accessory.
Pick ideas that match your taste and make your station both useful and beautiful.
Safety & Maintenance Tips for Your Charging Station
Keep your charging station safe and working great with these simple tips:
Stay Safe:
- Never cover your station with fabric that traps heat
- Use a surge protector to guard against power spikes
- Keep away from water sources
- Add childproof covers if you have kids
- Check cables often for damage
Keep It Running Smooth:
- Wipe everything down weekly with a microfiber cloth
- Replace any frayed or bent cables right away
- Test all connections every few months
- Remove the chargers you don’t use anymore
Wrapping It Up
Change your home with a DIY charging station that neatly contains cords while keeping devices powered and accessible.
Enjoy a cleaner space without tangled cables sprawled across surfaces.
This small project delivers outsized benefits to your daily routine.
Remember to inspect cords periodically for wear and adapt your station as your device collection evolves.
The beauty of your custom charging hub is its flexibility, which easily expands when needed.
You’ve tackled a universal household frustration with a personalized solution that complements your décor.
Adopt your new, organized charging experience!
We’d love to hear how your DIY station has simplified your life.
If you are interested in more DIY projects content, feel free to click here and explore other blogs that you might enjoy.

Stephanie Grace, a graduate with a degree in Fine Arts from the Savannah College of Art and Design, has been inspiring DIY enthusiasts with her creative and practical guidance for over 14 years. Her career in design and crafting began in a small artisan workshop, where she developed a passion for transforming everyday materials into beautiful and functional items. Stephanie joined our website in 2018, rapidly gaining popularity for her easy-to-follow DIY tutorials and innovative project ideas. Since then, she has been the creative mind behind our DIY section, helping readers bring their artistic visions to life. Outside her professional pursuits, Stephanie enjoys pottery and urban gardening, hobbies that showcase her love for hands-on creativity and nature.