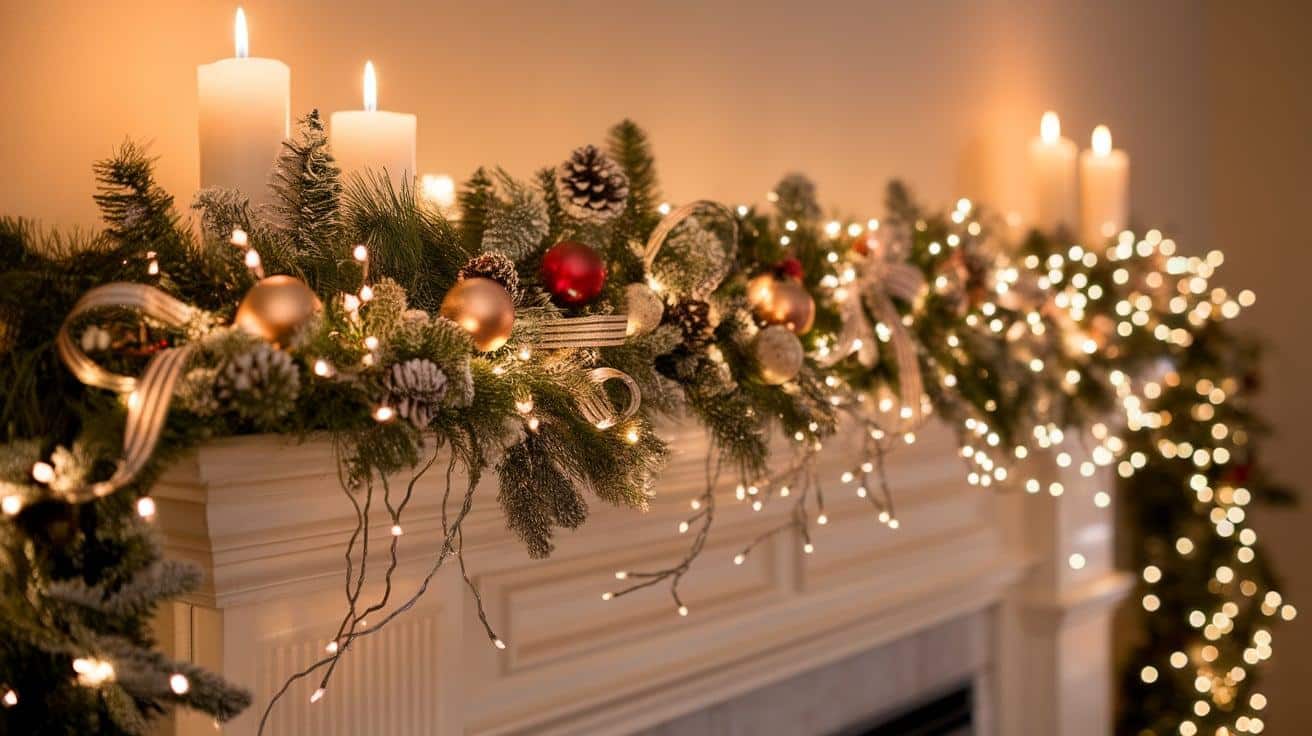
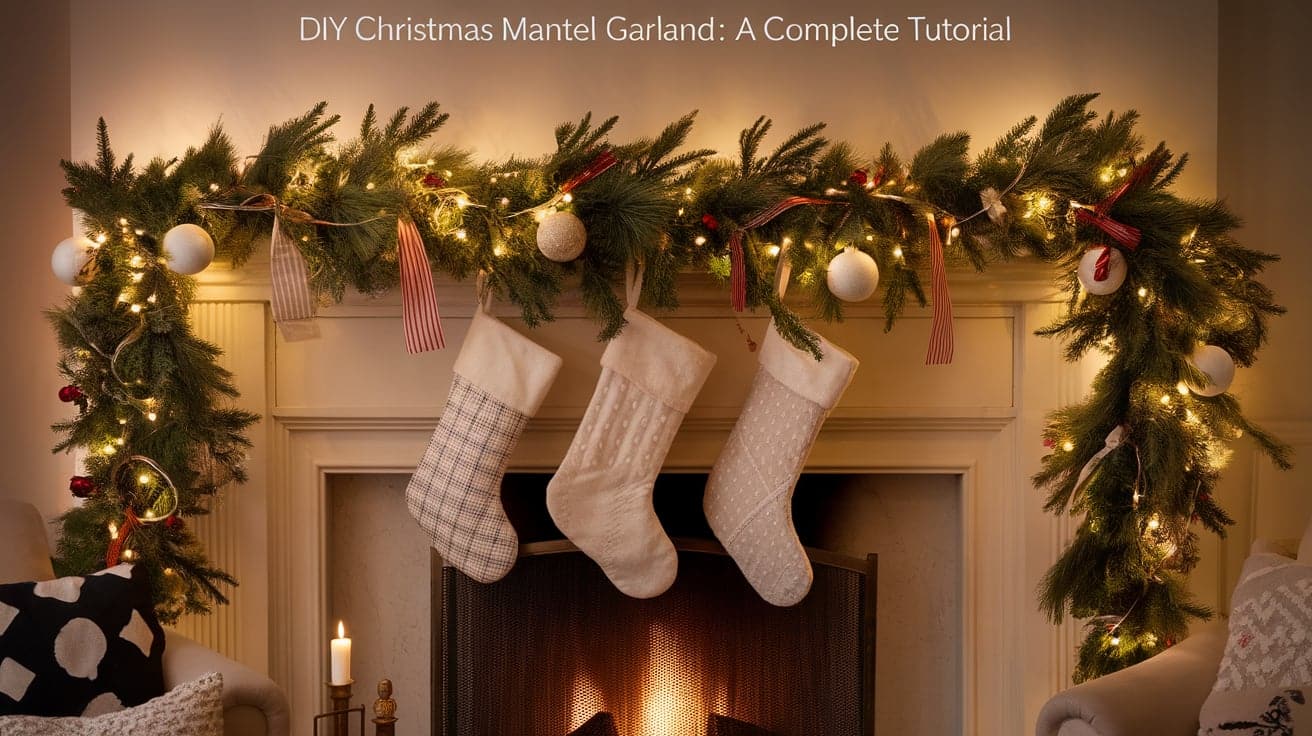
Transform your mantel into a stunning holiday focal point without breaking the bank!
I remember my first attempt at creating a Christmas mantel garland – let’s say it involved a lot of hot glue and a few fallen pinecones.
But after years of trial and error, I’ve finally mastered crafting a professional-looking garland that never fails to wow my holiday guests.
In this tutorial, I’ll share my foolproof method for creating a luxurious DIY Christmas mantel garland that’ll make your home feel like it’s straight out of a magazine. The best part?
You can customize it to match your style and budget. Whether you’re a crafting novice or a seasoned DIYer, I’ll walk you through each step, sharing all my tips and tricks.
Get ready to create something magical – your mantel is about to become the most Instagram-worthy spot in your home!
Why Choose A DIY Mantel Garland For Christmas?
With luxury Christmas garlands costing upwards of $200-300 at major retailers, creating your own stunning mantel display makes perfect sense.
Creating your own garland isn’t just budget-friendly – it’s a chance to design something uniquely yours.
While store-bought garlands typically come in standard 6-foot lengths, DIY versions can be customized to fit any space perfectly. Plus, with the average person spending 4-6 hours decorating for Christmas, why not invest that time in creating something spectacular?
The best part? A well-made DIY garland can last 3-5 seasons when properly stored, making it a smart investment.
With basic materials starting around $50-75, you can achieve a high-end look for a fraction of retail prices while adding that personal touch that makes holiday decorating so special.
DIY Christmas Mantel Garland: Complete How-To
Step 1- Planning Your Garland
First, consider three essential factors before purchasing your materials. Match your garland’s greenery with your Christmas tree – if you have a flocked tree, opt for flocked garland.
Measure your mantel carefully, keeping in mind that garlands typically come in 6-foot increments, and you’ll want extra length for draping. Finally, ensure your decorative elements like picks, ornaments, and ribbons coordinate with your tree’s theme for a cohesive look.
Step 2- Assembling The Base
For a standard mantel, you’ll need two 6-foot garland sections. Join them by intertwining branches from the top of each garland, almost like tying them together in a knot.
This creates a secure 12-foot length that provides ample coverage and draping options.
Step 3- Mounting The Garland
Install five-pound command hooks along the top of your mantel – one in the center and two on each side, facing upward and mounted flat against the mantel’s surface.
Secure the garland by wrapping branches around each hook, ensuring even distribution and proper support.
Step 4 – Adding Illumination
Start with LED euro cluster lights (100-light strands, you’ll need two). Begin by securing the plug and extension cord behind the garland using wired branches. Before permanent attachment, lay out your lights to plan their distribution.
Start from the middle, where the two garland pieces join, working outward to ensure even coverage. Use the wired branches to secure the light strands throughout the garland.
Step 5-Decorative Elements
Begin with a rough draft layout of all decorative elements before permanent attachment. Use two different sizes of ornament bulbs or round picks, and choose one or two ribbon widths in the same color.
For ribbons, cut 12-inch sections diagonally at both ends, fold them in half, and secure them with floral wire.
Additional greenery picks can fill gaps and add texture. When attaching ornaments, use floral wire through the top loop and secure to the garland’s base.
Step 6- Final Touches
For stocking placement, use no-damage U-shaped hooks with rubberized insides rather than additional command hooks. These can be easily placed along the mantel without causing damage.
Make any final adjustments to ensure an even distribution of decorative elements and proper draping of the garland.
Remember to step back periodically to check the overall balance and make adjustments as needed. The key to a professional-looking result is in each element’s planning and careful placement.
Video Tutorial
For a step-by-step visual guide to this stunning DIY Christmas mantel garland, check out this amazing tutorial!
Walk through every detail, from selecting materials to adding those perfect finishing touches:-
How To Secure Your Garland Without Damaging Your Mantel
Choose Damage-Free Hardware:
- Use five-pound heavy-duty command hooks.
- Place one hook in the center and two on either side, flat on the mantel surface.
- Opt for rubberized U-shaped hooks (available at Target) for stockings to prevent scratches and slipping.
Prepare Your Mantel:
- Clean the surface with alcohol before applying adhesive hooks for better grip.
Secure Your Decorations:
- Command hooks are ideal for holding garlands securely.
- Rubberized hooks gently grip delicate mantels while supporting filled stockings.
Remove Hooks Safely:
- Remove hooks slowly and at an angle to avoid damaging the finish.
These tips will keep your mantel beautiful and damage-free all season long!
Customizing Your Garland To Match Any Holiday Theme
The beauty of a DIY garland lies in its versatility – it’s your canvas for holiday creativity! Start by selecting a base garland that complements your Christmas tree.
If you’ve got a flocked tree, go for flocked garland to maintain that cohesive winter wonderland look throughout your space.
For a traditional theme, weave in classic red ribbons, gold ornaments, and pinecones. Going modern? Mix metallic silver picks with white poinsettias and crystal accents.
I love creating a woodland theme by incorporating natural elements like berries, twigs, and rustic copper ornaments.
Pro tip:
Choose two different sizes of ornaments and ribbon widths in coordinating colors for visual interest. For instance, pair 1.5-inch ribbons with a 4-inch statement bow at focal points.
Layer in unique elements like vintage mercury glass ornaments or dried orange slices to add personality.
Remember to maintain consistency with your tree decorations – even just repeating one or two elements between your tree and garland can tie the whole room together beautifully.
Lighting Tips: Creating A Cozy Glow For Your Mantel

Choose LED euro cluster lights:
- It is energy-efficient and perfect for creating a magical twinkle.
- Use two 100-light strands for a standard mantel garland.
Plan your light layout:
- Lay out the lights before attaching them permanently.
- Start from the middle, where garland sections join, then work outward on both sides.
- This ensures even light distribution and avoids dark spots or bunched-up sections.
Hide the cords:
- Wrap plug-in and extension cord connections behind the garland using wired branches.
- Maintain a tidy and seamless look.
Consider battery-operated lights for banisters:
- Use twinkle lights with timers for easy setup and automatic evening ambiance.
Keep the lighting balanced:
- Aim for a warm, inviting glow that enhances your garland without overwhelming it.
- Remember, less can be more—complement your garland instead of outshining it.
Conclusion
There you have it – a complete guide to crafting your perfect Christmas mantel garland!
While the process might take a little time and patience, I promise the end result is worth every minute spent fluffing branches and positioning lights.
Your mantel isn’t just another surface to decorate; it’s the heart of your holiday home, the backdrop for family photos, and the spot where stockings wait to be filled with Christmas magic.
Remember, there’s no “right” way to style your garland – let your creativity guide you.
Whether you’re going for elegant sophistication or cozy charm, the most important thing is that it brings you joy when you step back and admire your handiwork.
Ready to start creating? Grab your supplies, put on some holiday music, and let’s make this Christmas mantel your most beautiful yet!


