Tired of outdated countertops but not ready for the hefty price tag of professional installation? DIY countertops might be the perfect solution you haven’t considered yet.
For both experienced home improvers and beginners, creating your own custom countertops is more accessible than you might think. From budget-friendly laminate to beautiful wooden surfaces, the possibilities are unlimited—and so are the savings.
Here, you’ll find the tools, techniques, and insider tips that turn intimidating kitchen renovations into manageable weekend projects.
Ready to roll up your sleeves and create a kitchen that reflects your personal style without emptying your wallet? With DIY countertops, you can achieve professional results at a fraction of the cost!
Why Choose DIY Countertops?
When you tackle countertop installation yourself, you’re looking at significant cost savings compared to hiring professionals.
Professional installation can add hundreds or even thousands to your project budget, while DIY means paying only for materials and tools.
Beyond the financial benefits, doing it yourself opens up unlimited customization possibilities. You can mix materials, create unique edge profiles, or incorporate special features that reflect your personal style—options that might be limited or more expensive with contractors.
Perhaps most valuable is the satisfaction that comes from improving your space with your own hands. There’s a special pride in pointing to your beautiful new countertops and saying, “I made that.”
Each time you prepare a meal or gather around your kitchen island, you’ll appreciate its functional surface as well as the accomplishment it represents.
What are Laminate Countertops and Why Choose Them?
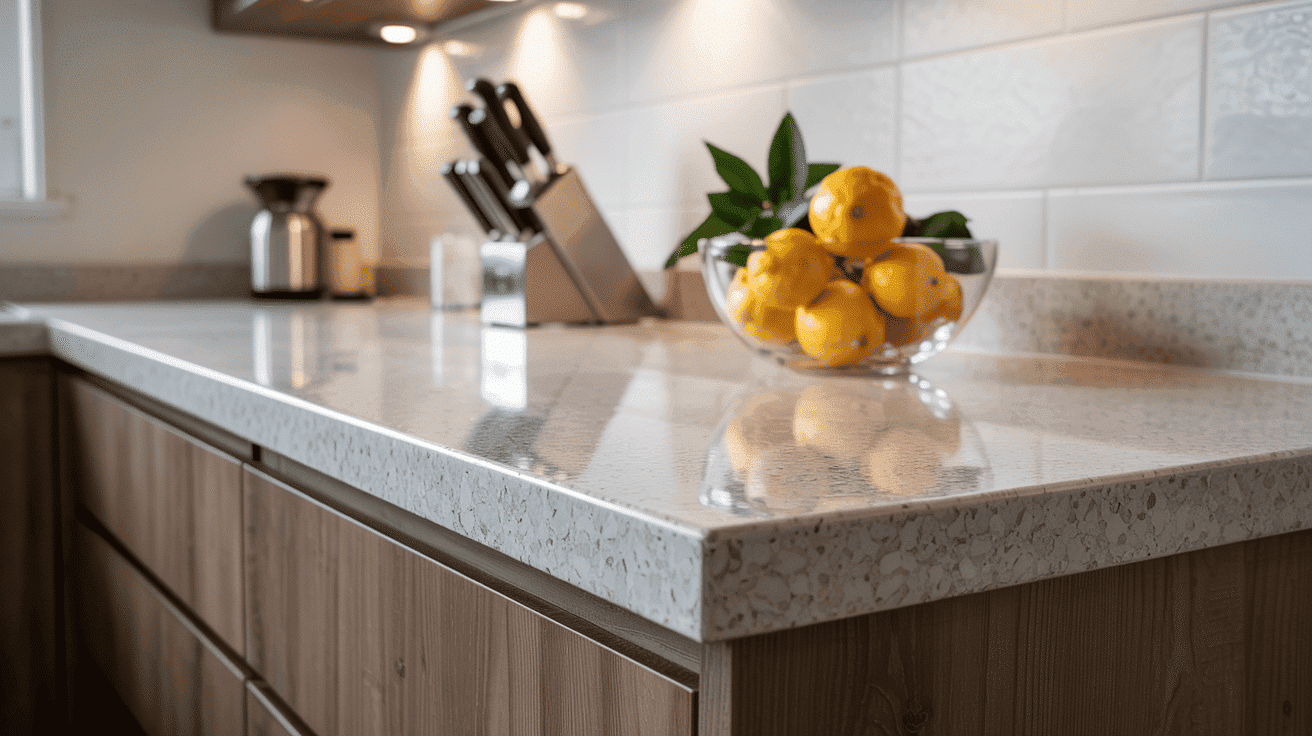
Laminate countertops are affordable, versatile surfaces made of several thin layers fused together. They consist of kraft paper soaked in resin, topped with a decorative layer that can mimic stone, wood, or other materials, and sealed with a clear protective coating.
This layered material is then bonded to a sturdy base of particleboard or medium-density fiberboard (MDF). Over the years, laminates have advanced greatly from their basic origins.
Today’s options feature realistic patterns with textured finishes that can convincingly replicate the look of natural materials at a fraction of the cost.
Modern manufacturing techniques have also improved durability, making laminate more resistant to scratches, stains, and heat than earlier versions. The wide range of colors and patterns available makes laminate a practical choice for homeowners wanting style without the high price tag.
Tools and Materials You’ll Need
You’ll need a special cutter to make clean cuts on your laminate sheets. A power tool with the right bits helps trim the laminate perfectly flush with the edges.
Special adhesive is essential for bonding the laminate firmly to the base. Small wooden rods help you position the laminate correctly before pressing it down. Remember to get material for the edges to give your countertop a finished, professional look.
- Laminate Cutter – For clean cuts on the laminate sheet.
- Router with Flush Trim Bit and Bearing – To trim laminate flush to the edge.
- Fine Nap Roller or Brush – To apply contact cement evenly.
- Wood Dowels – To position laminate without it sticking prematurely.
- Contact Cement – For bonding laminate to MDF.
- MDF or Particle Board – Base material for the countertop.
- Edge Banding – For finishing the edges of the countertop.
- 100-Grit Sanding Block – For smoothing rough edges after trimming.
Total Estimated Cost Range
- If you already have some tools and materials — $40
- If you buy all new items, including the laminate cutter — $225
Step-by-Step Guide to Laminate Countertop Installation
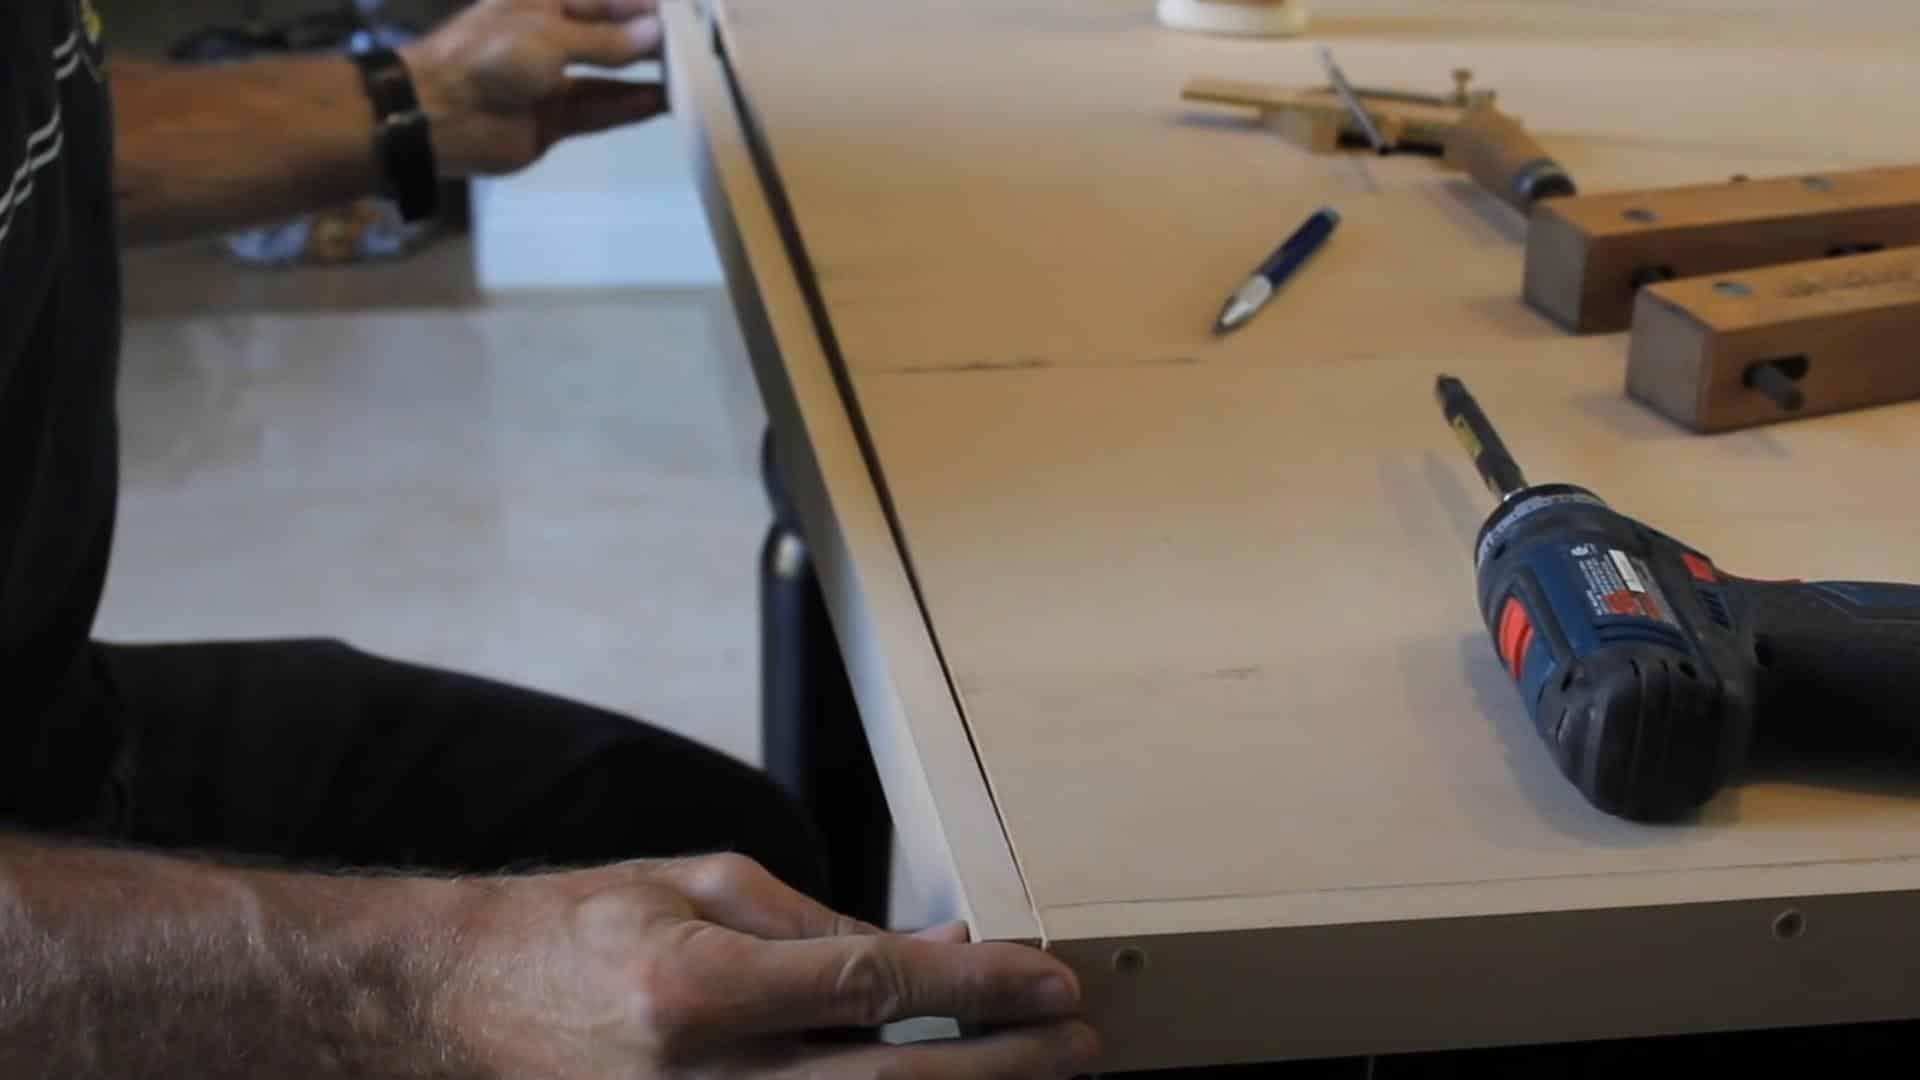
Step 1: Prepare Your Laminate and Surface
Start by measuring and cutting the laminate about 1-2 inches larger than the size of your countertop. Mark the laminate from the backside for easier cutting.
Once it’s cut, clean the surface of the MDF or particle board thoroughly to ensure there’s no dust or debris, as this will help the contact cement adhere better to both surfaces.
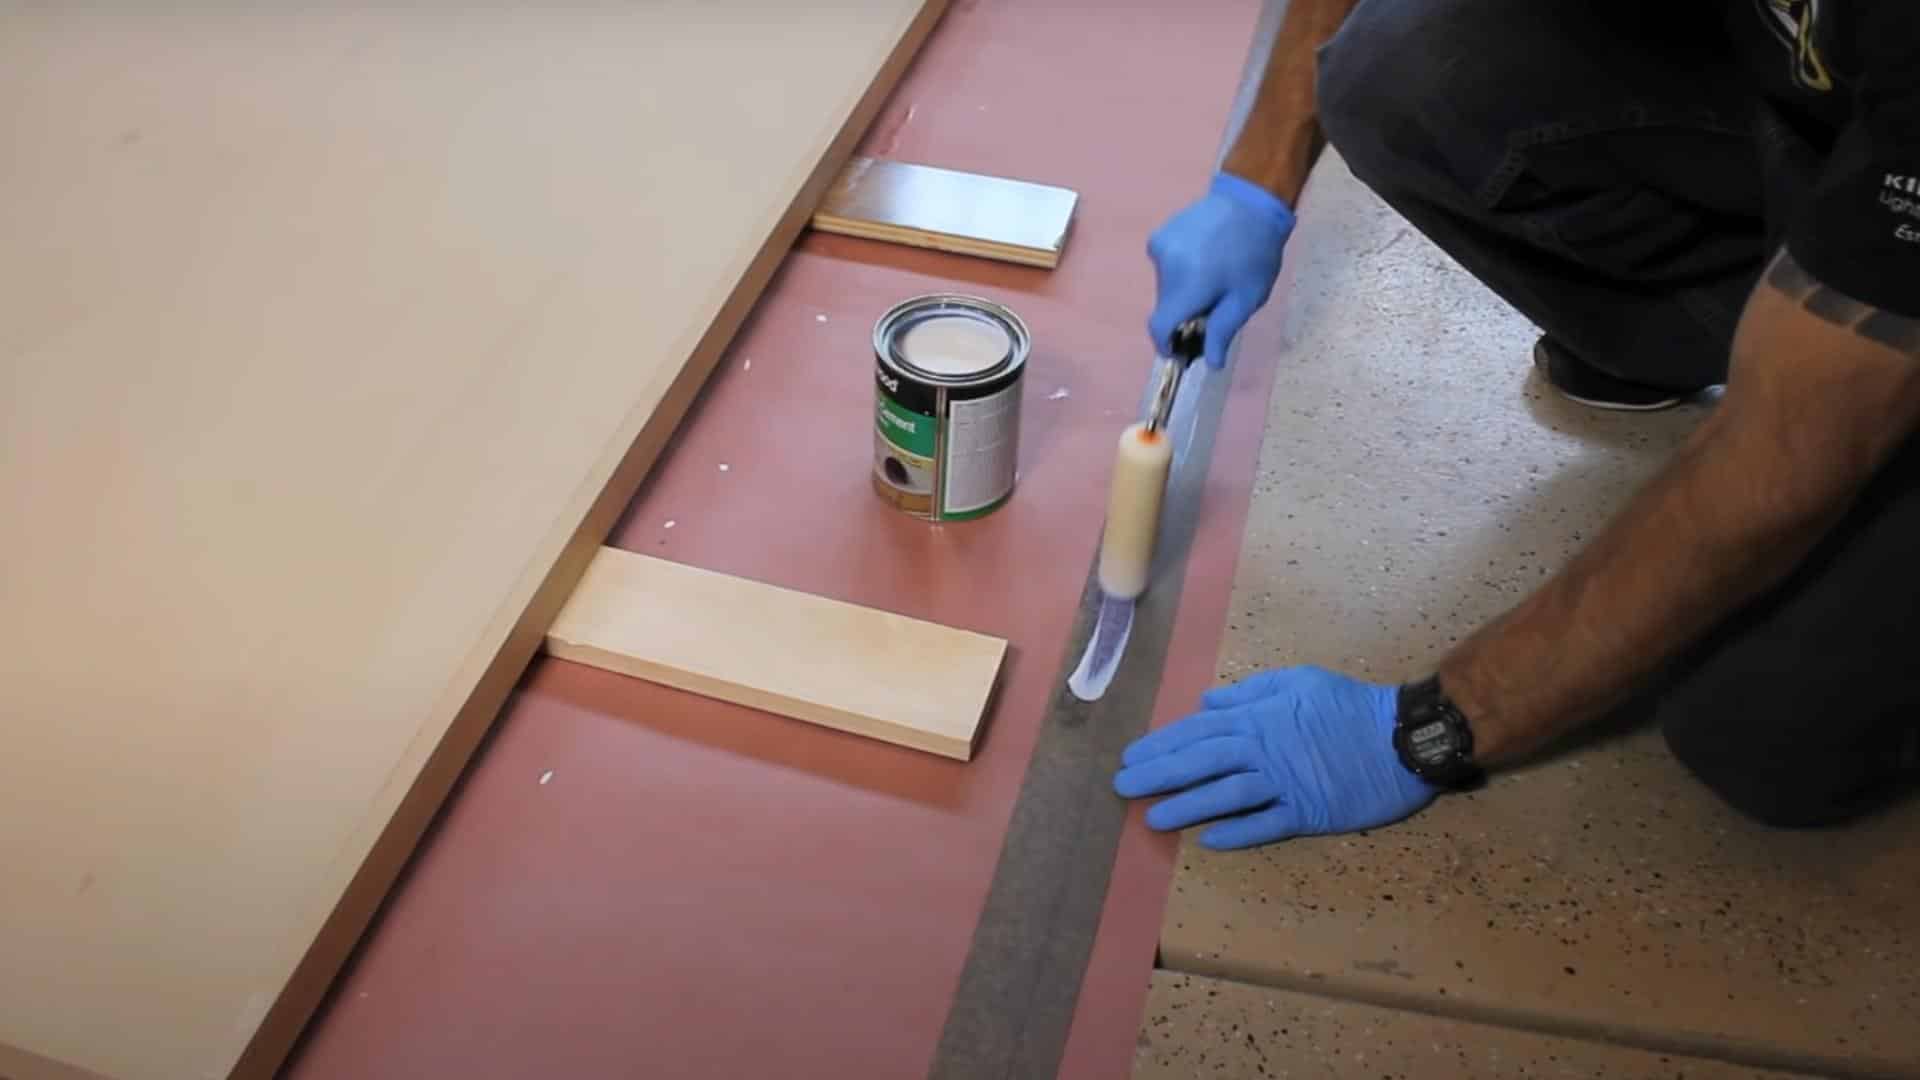
Step 2: Apply Contact Cement

Stir the contact cement thoroughly before use. Using a fine nap roller or a brush, apply an even coat of cement on both the laminate and the MDF surfaces.
For particle board or MDF, it’s a good idea to apply two coats since these materials can absorb the cement. Make sure the cement is spread smoothly across both surfaces to ensure proper bonding.
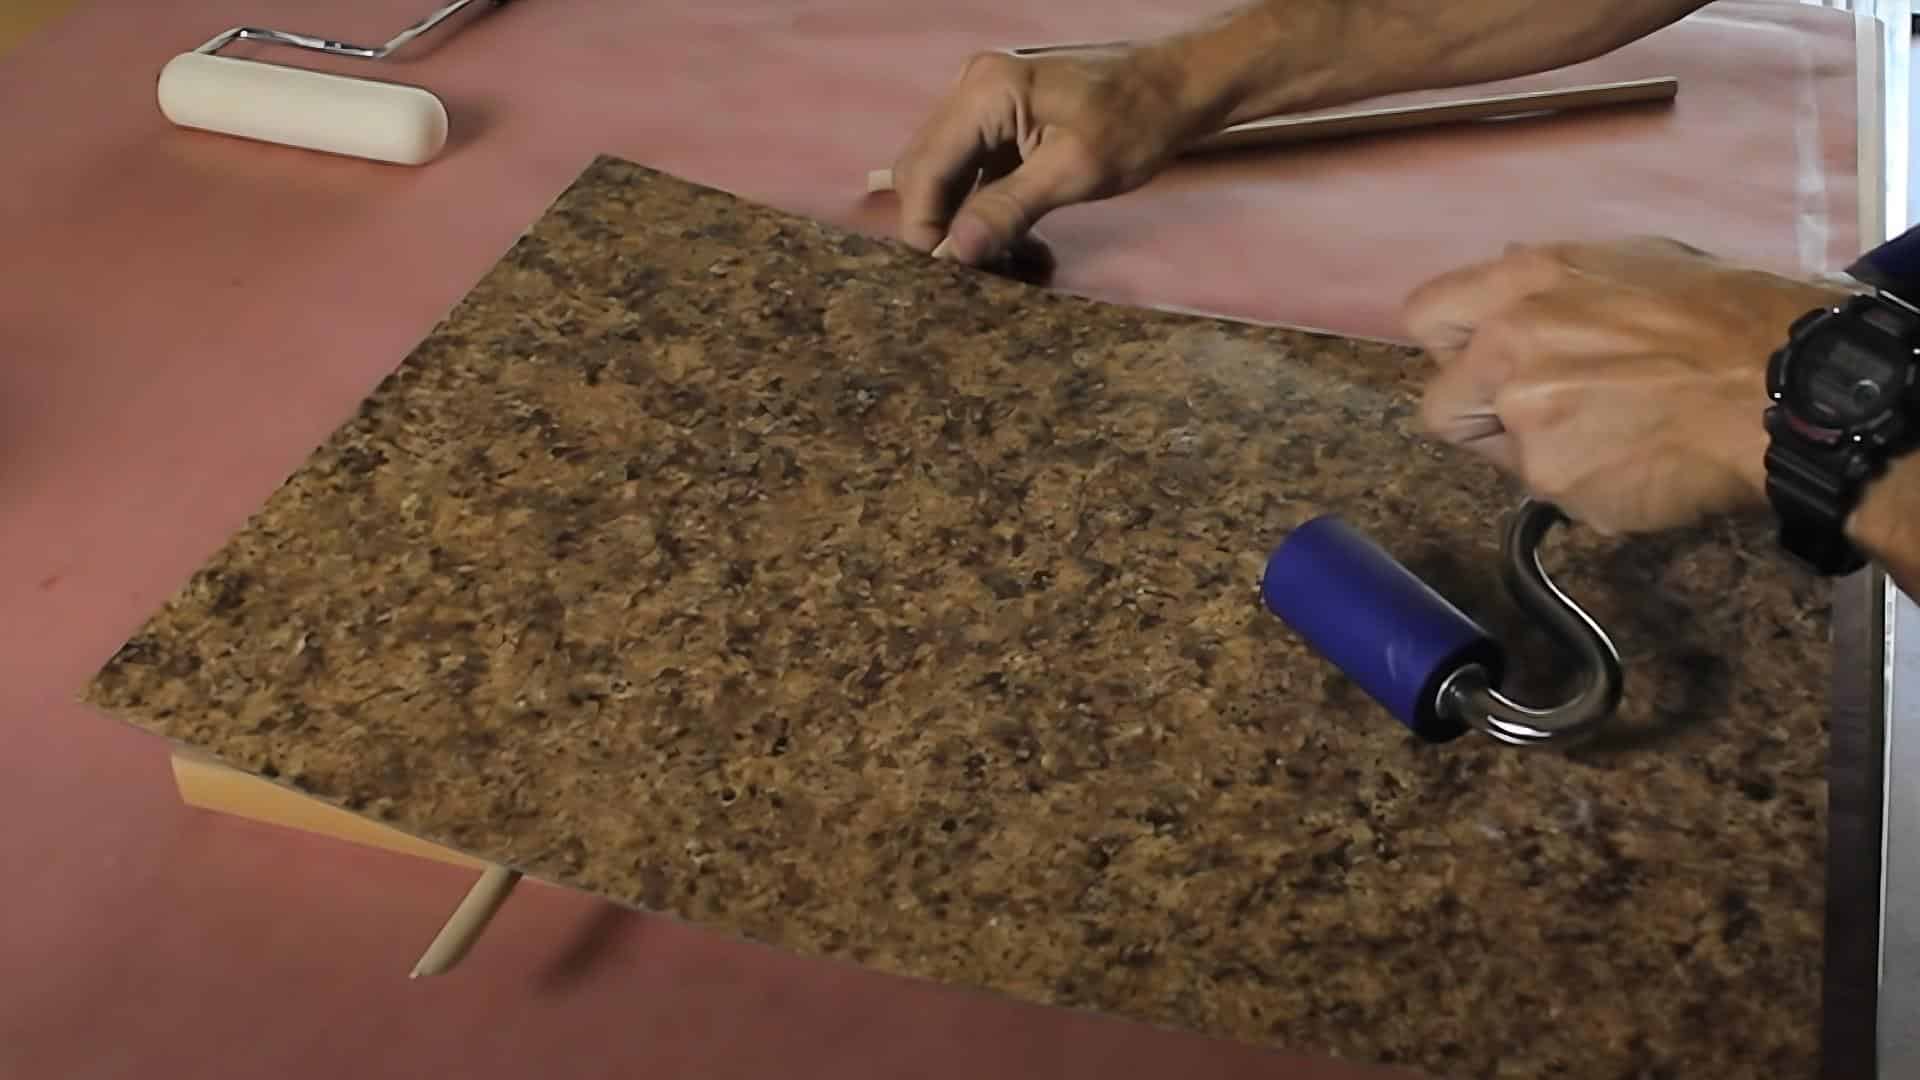
Step 3: Position and Attach the Laminate
After waiting 30 minutes for the contact cement to dry and become tacky, it’s time to position the laminate. Use wood dowels to help align the laminate without it sticking right away.
Once it’s in place, press down firmly with a laminate roller to remove any air bubbles and ensure the laminate bonds properly to the MDF surface.
Step 4: Trim Excess Laminate

Using a router with a flush trim bit, trim off the excess laminate that hangs over the edges of the MDF. The bearing on the router bit will guide the cut for a smooth, flush edge.
After trimming, use a 100-grit sanding block to smooth any rough edges for a clean, polished finish.
Step 5: Apply Edge Banding
Apply contact cement to both the edge banding and the MDF edges, then allow it to dry. Once dry, position the edge banding onto the MDF edge and press it down with the laminate roller to ensure a solid bond.
Trim the excess banding with a flush trim bit for a clean, smooth finish along the edges of your countertop.
Step 6: Final Touches

After the laminate is securely attached, use a 100-grit sanding block to smooth any rough areas. Wipe down the surface with a tack cloth to remove dust and debris.
Finally, use the laminate roller again to apply extra pressure, ensuring there are no air bubbles and that the laminate is firmly bonded to the MDF for a perfect finish.
Watch How It’s Done: DIY Countertops
For more information, check out this video tutorial by Russ Richards
More DIY Countertop Ideas
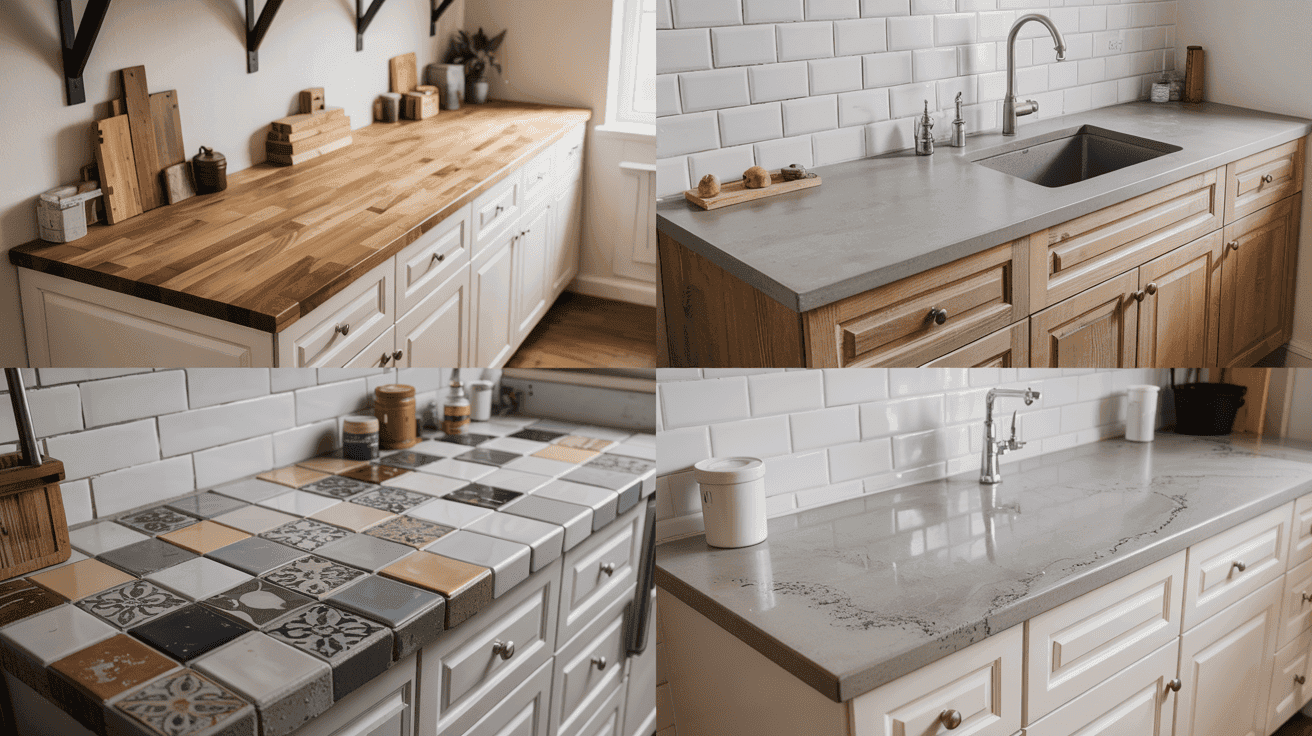
- Wooden Countertops: Warm and timeless, these can be made from various hardwoods like oak or maple. Seal properly to prevent water damage. Sand smooth and apply food-safe finishes for kitchen use. It can be built from purchased lumber or pre-made slabs.
- Concrete Countertops: Durable and customizable with infinite color options. Create forms to your exact specifications, pour the mix, and allow proper curing time. Requires sealing to prevent staining. Can be polished for a smooth finish.
- Tile Countertops: Great for beginners using ceramic, porcelain, or stone tiles. Choose grout color carefully as it affects the overall look. Apply over cement board base. Allows for creative patterns and designs without advanced woodworking skills.
- Epoxy Resin Countertops: Create good-looking, glossy surfaces with unique marbled or metallic effects. Pour over existing countertops or custom bases. Requires good ventilation during application. Extremely durable and completely waterproof when cured properly.
Common Mistakes to Avoid
Accurate measurements are crucial when installing DIY countertops—even small errors can lead to gaps, uneven surfaces, or wasted materials.
Always measure twice and cut once, accounting for overhangs and backsplashes. Choosing inappropriate materials is another common pitfall; for example, using standard wood in wet areas without proper sealing will result in warping and damage.
Consider your kitchen habits and choose materials that match your lifestyle. Inadequate sealing is a frequent mistake that leads to stains, water damage, and bacterial growth.
Each countertop material has specific sealing requirements—follow manufacturer guidelines exactly. Safety should never be compromised; many DIYers skip proper ventilation when working with adhesives or forget eye protection when cutting materials.
The money saved on a DIY project isn’t worth a trip to the emergency room. Taking the time to learn proper techniques and using the right safety equipment ensures both your health and project success.
Wrapping It Up
Installing DIY countertops is a rewarding project that offers both cost savings and a chance to express your creativity.
With careful planning and attention to detail, you can create beautiful countertops that stand the test of time. Remember that patience is key—rushing through any step can lead to disappointing results.
Take time to research materials, gather the right tools, and plan carefully before making your first cut. The satisfaction of preparing meals on a surface you created yourself is worth the effort.
For those choosing laminate, wood, concrete, or another material, DIY countertops allow you to customize your kitchen or bathroom exactly to your taste while building valuable home improvement skills.
Your perfect countertop is just a weekend project away!
If you’re interested in more DIY projects for your home, feel free to click here and explore our collection of easy weekend makeovers and step-by-step renovation tutorials.

Stephanie Grace, a graduate with a degree in Fine Arts from the Savannah College of Art and Design, has been inspiring DIY enthusiasts with her creative and practical guidance for over 14 years. Her career in design and crafting began in a small artisan workshop, where she developed a passion for transforming everyday materials into beautiful and functional items. Stephanie joined our website in 2018, rapidly gaining popularity for her easy-to-follow DIY tutorials and innovative project ideas. Since then, she has been the creative mind behind our DIY section, helping readers bring their artistic visions to life. Outside her professional pursuits, Stephanie enjoys pottery and urban gardening, hobbies that showcase her love for hands-on creativity and nature.