Outdoor living spaces are increasingly used for more than just warm-weather seating.
Many homeowners want a permanent feature that adds warmth, structure, and usability to their backyard or patio.
An outdoor fireplace fits that need, but building one raises practical questions around safety, cost, and installation.
This article breaks down how an outdoor fireplace works, what should be considered before construction begins, and whether a DIY build is realistic.
It also explains the full installation process, from foundation work to finishing details, along with accurate cost expectations.
By covering materials, planning requirements, construction steps, and long-term upkeep, this guide provides a clear, practical overview to help determine the right approach for building an outdoor fireplace safely and effectively.
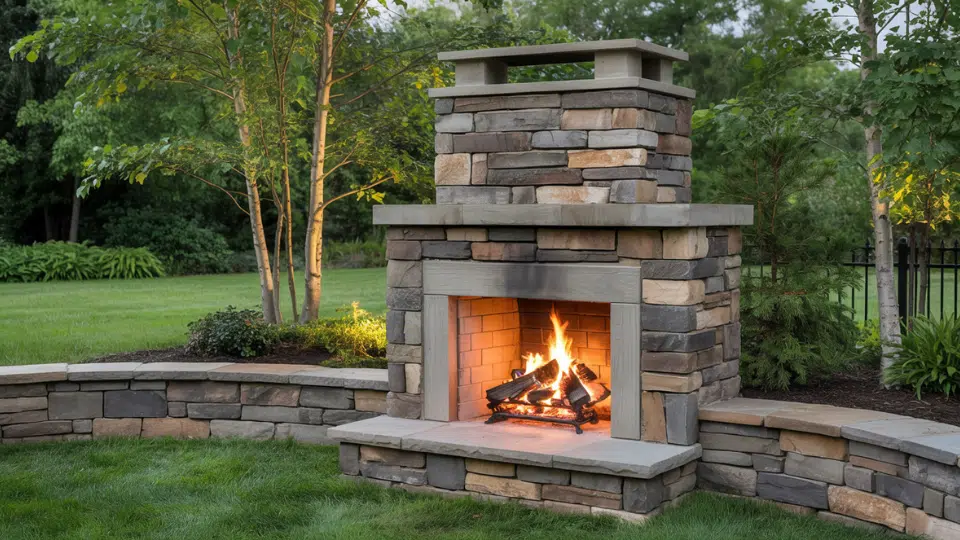
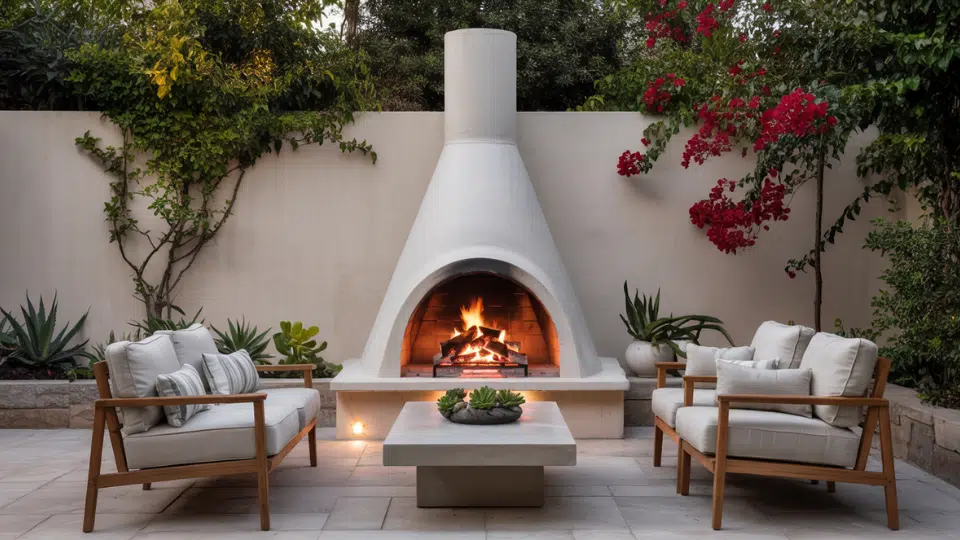
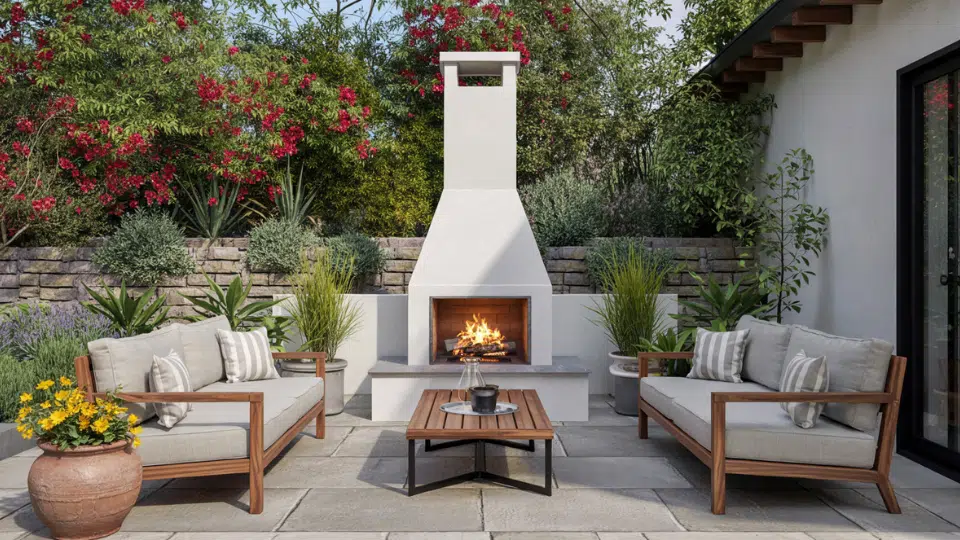
What is an Outdoor Fireplace?
An outdoor fireplace is a permanent structure designed to safely contain and control an open flame in an exterior setting.
Unlike portable fire features, it is built into the landscape using durable, fire-resistant materials.
Outdoor fireplaces differ from fire pits in both structure and function.
Fireplaces are often placed on patios, along retaining walls, or within dedicated seating areas where smoke can vent safely away from structures.
Things to Consider Before Building an Outdoor Fireplace
Careful planning helps reduce safety risks and avoid costly mistakes during construction.
1. Local codes and permits
Local regulations should be reviewed before starting.
Many municipalities control fireplace height, distance from structures, and approved fuel types. Some projects may also require inspection before use.
2. Placement and clearance
Outdoor fireplaces must be positioned away from homes, fencing, trees, and overhead structures.
Wind direction should also be considered to limit smoke exposure in seating areas.
3. Budget planning
Costs include materials, tools, and potential labor. Masonry products and fire-rated components can significantly affect the total budget.
4. Climate exposure
Fireplaces in wet or freezing environments require materials that resist moisture damage and cracking over time.
5. Fuel type selection
Wood-burning fireplaces provide a traditional experience but require ongoing cleaning and firewood storage.
Gas fireplaces offer easier operation but may require professional gas line installation.
DIY: How to Build an Outdoor Fireplace?
Yes, you can build/ DIY an outdoor fireplace easily at home. The process begins with making a solid base. First, gather the tools and materials needed to go ahead with the process:
List of Essential Tools Needed for Outdoor Fireplace Installation
| Tool | Use |
|---|---|
| Shovel | Digging and leveling |
| Tamper | Compacting base |
| Level | Keeping everything aligned |
| Trowel | Mortar and stucco work |
| Measuring tape | Layout accuracy |
| Saw | Cutting wood forms |
| Safety gear | Eye and hand protection |
List of Essential Materials Needed for Outdoor Fireplace Installation
| Material | Use |
|---|---|
| Concrete mix | Footing and lintel |
| Rebar | Structural support |
| Cinder blocks | Fireplace structure |
| Type S mortar | Block installation |
| Fire-rated bricks | Firebox lining |
| Stucco mix | Exterior finish |
| Fireplace cap | Chimney protection |
Step 1: Prepare the Base and Pour the Concrete Footing
Start by selecting the location and digging out an area large enough for the fireplace base.
Build a level form using 2x4s, add a layer of small rocks, and compact it firmly.
Pour concrete into the form, add rebar for reinforcement, then fill and level the footing.
Allow the concrete to cure for several days before building upward.
Step 2: Lay the First Course of Cinder Blocks
Once the concrete footing has cured, remove the wooden forms.
Mix Type S mortar and spread it onto the concrete pad. Set the first row of cinder blocks in place, leveling each block carefully and using a square to keep the corners aligned.
Step 3: Stack Blocks, Add Support, and Form the Opening
Continue stacking cinder blocks using mortar between each layer, checking for level and alignment as the structure rises.
Fill the corner block cavities with concrete and insert vertical rebar to improve strength.
As the fireplace reaches the opening height, leave space at the front and build a temporary wood form to span across it.
Pour concrete into the form, add rebar, then fill completely. Allow the concrete lintel to cure before removing the form.
Step 4: Build the Chimney and Stabilize the Structure
Once the lintel has cured, remove the form and continue stacking cinder blocks above the opening.
Fill corner cavities with concrete as needed while building upward.
Install metal corner trims near the top to help support the chimney structure and prevent long-term shifting.
Step 5: Finish the Exterior and Firebox
Attach cut pavers to the exterior using mortar, adjusting the mix so it holds its shape during installation.
Smooth and shape the surface as the mortar begins to set.
Apply stucco in layers, allowing each coat to dry before adding the next. After the stucco cures, paint the fireplace to match the surrounding space.
Finish by placing the top cap on the chimney, leaving gaps for smoke release.
Install fire-rated bricks inside the firebox using fire block sealant and allow all materials to cure fully before use.
Video Credit
Thanks to Builders Blueprint for sharing his insights on how he built an outdoor fireplace and paver patio, which informed this DIY overview.
Outdoor Fireplace Installation: DIY or Professional?
DIY installation is suitable for simple, wood-burning fireplaces with straightforward masonry designs and no utility connections.
These projects allow more control over cost but require time, physical effort, and careful attention to safety.
Professional installation is often necessary for gas fireplaces, complex chimney systems, or designs integrated with seating or retaining walls.
Licensed professionals are also required when local codes mandate permits, inspections, or gas line installation.
Choosing between DIY and professional installation depends on project complexity, budget, and local regulatory requirements.
Cost of Building an Outdoor Fireplace
The cost of building an outdoor fireplace varies widely based on design, materials, and whether the work is done as a DIY project or by a professional.
Setting cost expectations early helps avoid budget overruns.
| Cost Category | Typical Price Range (USD) | Notes |
|---|---|---|
| DIY Materials Only | $1,500 – $3,500 | Basic masonry supplies (concrete, blocks, mortar, fire brick, stucco, cap). Excludes tools you already own. |
| Professionally Built Fireplace | $7,000 – $15,000+ | Includes materials + labor. Higher end for custom stone/brick finishes, large designs. |
| Foundation / Footing Materials | $400 – $1,200 | Concrete, gravel, rebar, forms. |
| Firebox & Fire-Rated Brick | $300 – $900 | Essential for safe heat containment. Refractory brick costs more than standard brick. |
| Stucco or Exterior Finish | $500 – $2,000 | Stucco base coats + paint. Stone veneer finishes cost more. |
| Chimney Cap / Decorative Cap | $150 – $800 | Prefab concrete or stone caps vary widely in price. |
| Labor (if hired) | $50 – $120/hr | Masonry contractors vary by region. Complex builds take more time. |
| Gas Line Installation | $300 – $1,500+ | If converting to a gas fireplace, it often requires licensed pros. |
| Annual Maintenance | $100 – $300 | Chimney inspection, cleaning (wood fireplaces). |
Conclusion
Building an outdoor fireplace is a project that combines planning, structural work, and careful material selection.
From understanding local requirements to preparing the base, stacking masonry, and finishing the surface, each stage affects safety and long-term performance.
Costs vary based on design choices, materials, and whether the work is completed as a DIY project or with professional help.
Ongoing upkeep should also be considered, especially for wood-burning fireplaces exposed to the weather.
When approached methodically, an outdoor fireplace can become a durable feature that supports year-round use.
Proper preparation, realistic budgeting, and attention to installation details help ensure the finished structure functions as intended and remains safe over time.

James McLaren, with a rich background in architecture from the University of Manchester, has been contributing his expertise to the world of creative construction and home innovation for over 20 years. His journey began as a project manager for a leading construction firm, where he honed his skills in bringing complex designs to life. James joined our platform as a freelancer in 2019, quickly becoming a favorite for his insightful and practical advice. He has been a pivotal force to our wing ever since, bringing our readers a blend of technical know-how and creative flair. Beyond his professional life, James is an avid woodworker and enjoys restoring vintage furniture, a hobby that complements his professional insights beautifully.