Empty walls often go unnoticed, yet they hold the potential to solve everyday storage challenges.
When shelves are planned with intention, they can support weight, improve organization, and fit naturally into a room’s layout.
DIY shelving allows storage to take shape based on available space, material choices, and practical use rather than fixed designs.
Each decision, from shelf depth to bracket spacing, affects how reliable and long-lasting the result will be.
The sections ahead look closely at DIY shelving, highlighting why it works, the different shelving styles available, the materials involved, and the steps that lead to stable, functional shelves.
Benefits of DIY Shelving
DIY shelving offers practical advantages for storage, organization, and space efficiency.
Here are the key benefits to consider:
- Cost Control: Uses basic materials and tools, reducing spending compared to ready-made shelving units.
- Custom Fit: Shelf size and placement align with wall dimensions and storage needs.
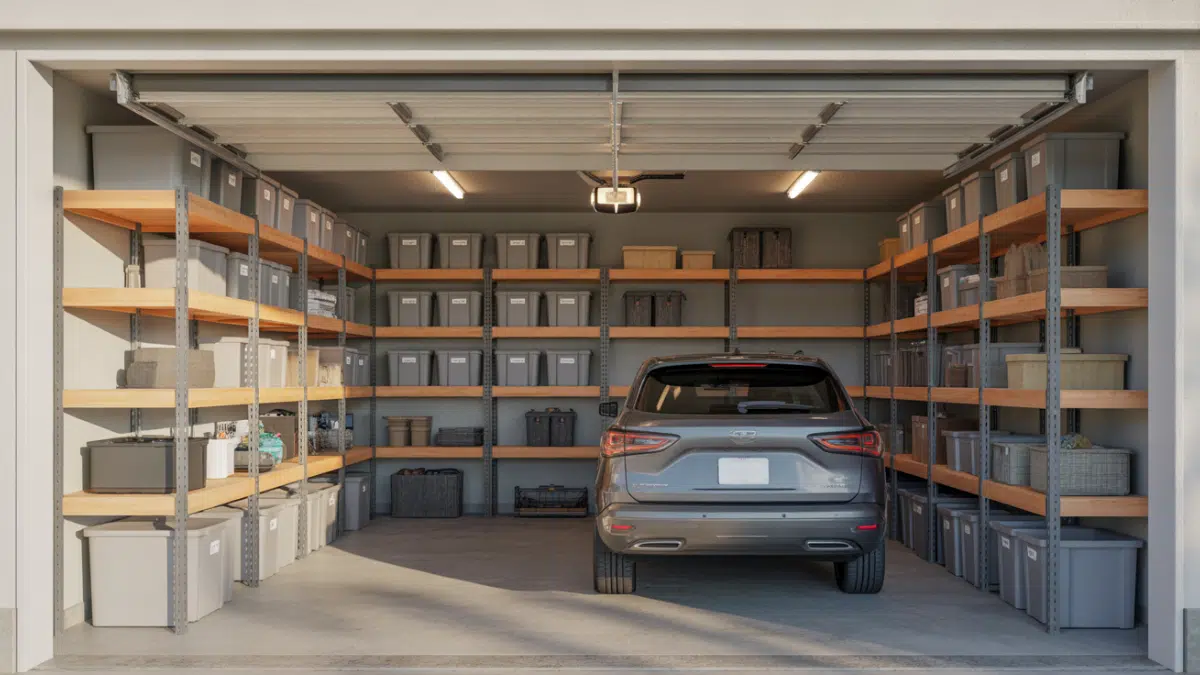
- Space Efficiency: Makes use of vertical and unused wall areas for better organization.
- Flexible Design: Allows adjustment of shelf height, depth, and spacing over time.
- Functional Use: Supports storage, display, or organization based on the room’s purpose.
DIY shelving provides a great way to keep your storage practical and organized, all while giving you the freedom to arrange things just the way you like.
It’s a flexible and manageable solution that can adapt to your space and needs.
Common Types of DIY Shelving
DIY shelving comes in several formats, each suited to specific wall types, storage needs, and room layouts. Below are the most popular types of DIY shelving:
1. Floating Shelves

Floating shelves use concealed mounting systems, creating a clean wall appearance.
They work well for light to medium storage such as décor, framed items, or small containers.
Shelf depth usually ranges between 20 and 30 cm (8 and 12 in).
These shelves rely heavily on proper wall fixing, making accurate installation essential for stability.
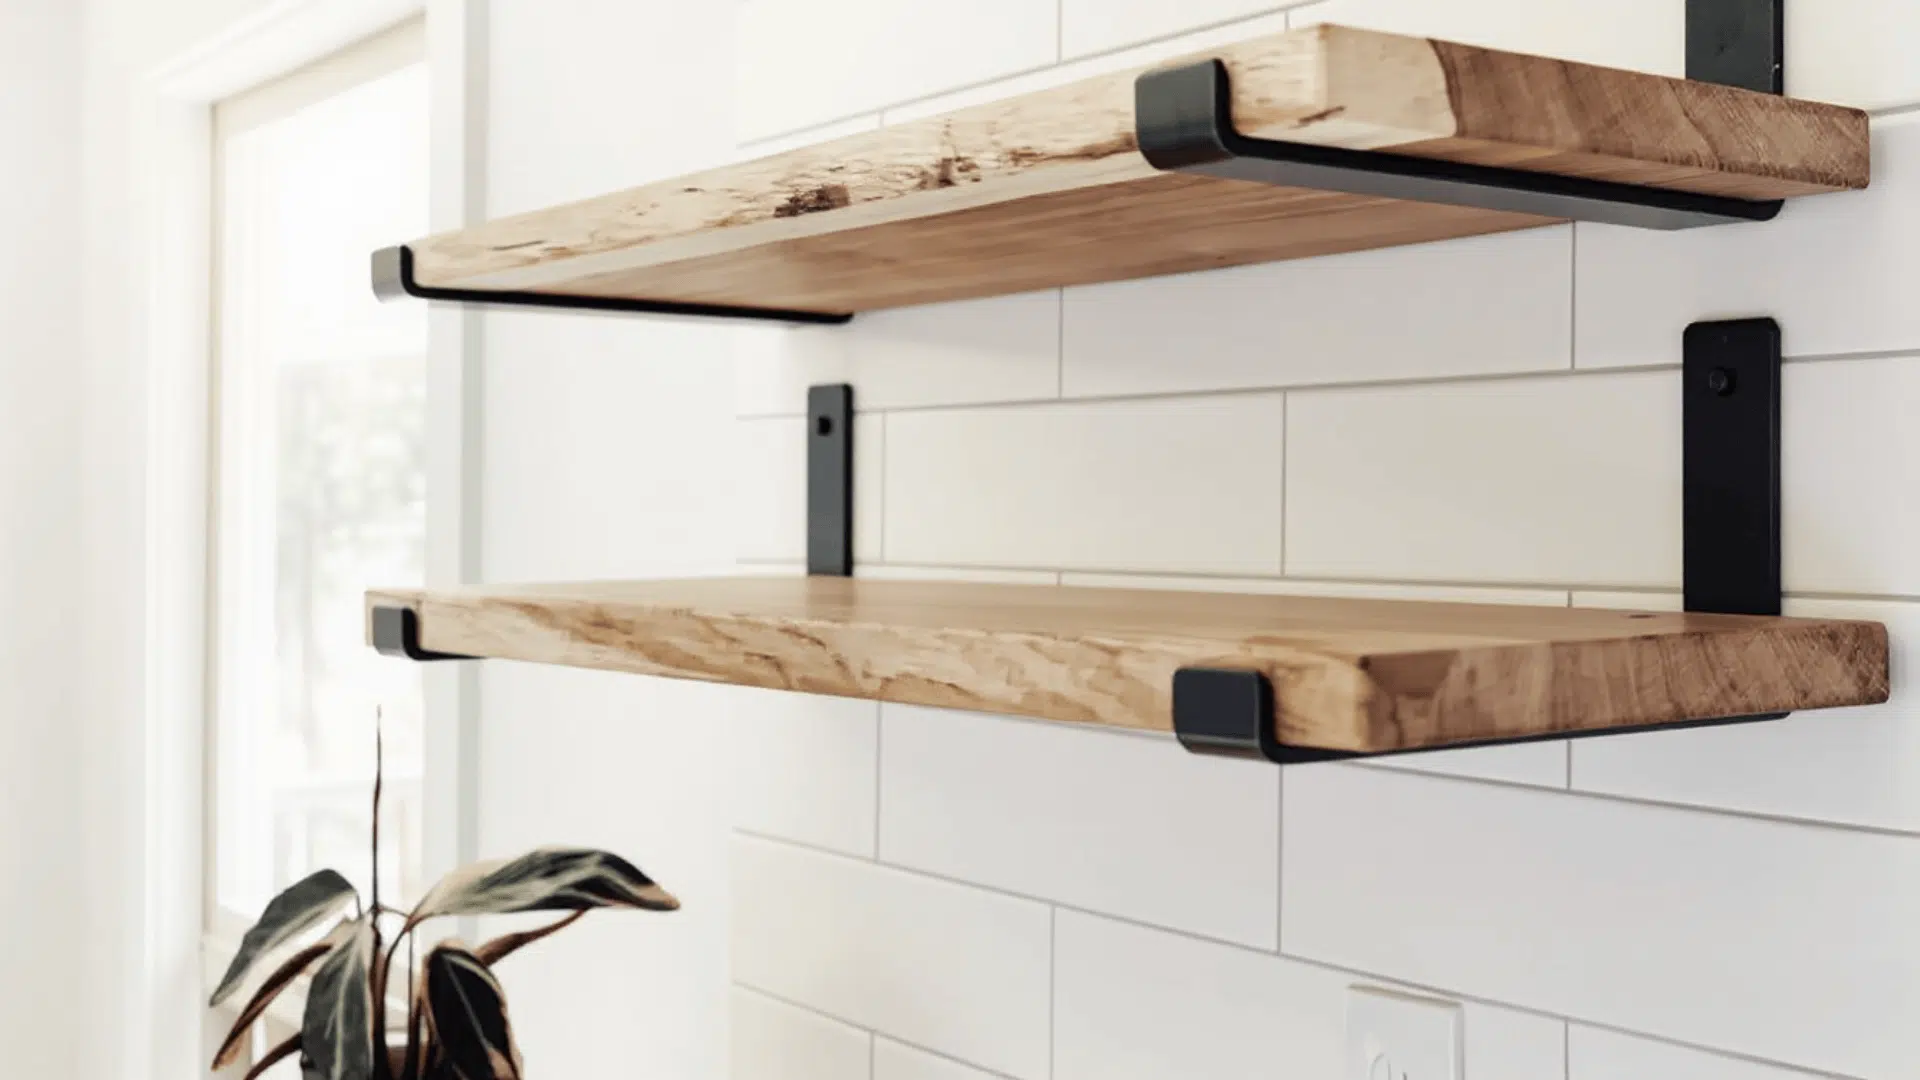
2. Wall-Mounted Bracket Shelves

This type uses visible brackets fixed directly to the wall for added support.
Bracket shelves handle heavier loads like books, tools, or storage boxes.
Standard bracket spacing stays within 90–120 cm (36–48 in) to prevent sagging.
The visible support also allows easy adjustments and repairs over time.
3. Corner Shelves

Corner shelves fit into unused wall intersections, helping manage limited space.
They are common in bathrooms, kitchens, and small rooms.
Typical corner shelf depth measures 25–40 cm (10–16 in).
Proper wall anchoring on both sides is important to keep the weight balanced and prevent shifting.
4. Freestanding Shelving Units

Freestanding shelves do not require wall drilling, making them suitable for rental spaces.
These units rest on the floor and rely on their own structure for support.
Heights often range from 120–200 cm (4–6.5 ft). Positioning them against a wall improves balance and reduces tipping risk.
5. Pantry Shelves

Pantry shelves are designed for food storage, requiring consistent spacing and higher load tolerance.
Shelf depth commonly stays between 30–40 cm (12–16 in) to fit containers and packaged items.
Adjustable shelf heights help manage changing storage needs.
This progression from general shelving styles to room-focused shelving helps clarify how each type serves different storage requirements.
Materials Commonly Used for DIY Shelving
The right materials decide shelf strength, lifespan, and weight capacity. The table below lists commonly used DIY shelving materials with standard measurements and practical usage details for easy planning.
| Material | Common Thickness | Standard Length / Size | Typical Load Capacity* | Where It’s Commonly Used | Quantity Notes |
|---|---|---|---|---|---|
| Solid Wood (Pine, Oak) | 18–25 mm (¾–1 in) | 120–240 cm (4–8 ft) | 20–35 kg per shelf | Living rooms, bedrooms, offices | 1 board per shelf span |
| Plywood (Exterior / Birch) | 15–18 mm (⅝–¾ in) | 122 × 244 cm (4 × 8 ft sheet) | 18–30 kg per shelf | Closets, kitchens, garages | 1 sheet yields 3–5 shelves |
| MDF Board | 18 mm (¾ in) | 120–240 cm (4–8 ft) | 12–20 kg per shelf | Decorative shelving, dry rooms | Edge support recommended |
| Metal Brackets | 150–300 mm (6–12 in) | Fixed sizes | Depends on bracket rating | Wall-mounted shelves | 2 brackets per 90–120 cm |
| Floating Shelf Brackets | 150–250 mm (6–10 in) | Rod-based systems | 10–25 kg per shelf | Minimal-style shelves | Match bracket length to shelf depth |
| Wall Anchors (Drywall) | – | Rated by size | 7–20 kg per anchor | Drywall installations | 2–4 anchors per shelf |
| Screws (Wood / Masonry) | 4–6 mm diameter | 40–75 mm length | Structural support | All shelf types | 4–6 screws per bcket |
*Load capacity varies based on wall type, stud placement, and bracket spacing.
How to Build DIY Shelving?

Building DIY shelving follows a clear sequence that helps achieve proper alignment, load support, and long-term stability.
Here are the key steps involved in the process:
Step 1: Measure and Plan the Shelf Layout
Accurate measurement sets the base for a stable shelf.
Measure wall width, height, and depth using a measuring tape and note obstacles such as switches or outlets.
Decide shelf length based on wall space and intended storage weight.
Mark reference points lightly with a pencil. Planning bracket spacing at this stage prevents uneven load distribution and reduces later adjustments.
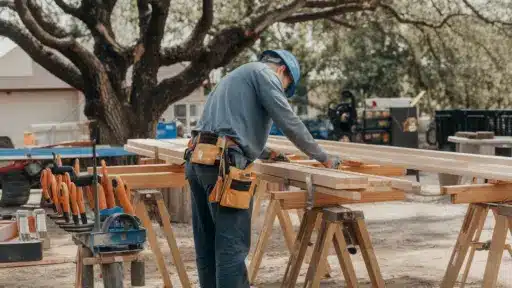
Step 2: Select Materials and Hardware
Choose shelf boards, brackets, screws, and anchors based on wall type and expected weight.
Thicker boards handle longer spans with less sag. Match screw length to wall material to ensure a firm hold.
Hardware ratings should always meet or exceed shelf load needs.
Safety tip: Avoid mixing hardware types, as mismatched screws and anchors can weaken support.
Step 3: Locate Studs and Mark Drill Points
Finding studs improves shelf strength, especially for heavy items.
Use a stud finder or wall-tapping method to identify solid mounting points.
Mark bracket positions evenly, keeping spacing consistent. Use a level to confirm alignment before drilling.
Step 4: Install Brackets or Support Systems
Secure brackets or mounting rods firmly to the wall using marked points. Drive screws straight to avoid stripping or loosening.
Tighten fasteners evenly to keep supports level. Recheck alignment once brackets are fixed, as small shifts can affect shelf balance.
Safety tip: Wear eye protection during drilling to protect from dust and debris.
Step 5: Place Shelves and Test Stability
Set the shelf board onto the installed supports and secure it according to the system used.
Apply gentle pressure to test stability before loading items.
Gradually add weight rather than placing everything at once. Check for movement or sag and adjust if needed.
Safety tip: Never exceed the recommended load rating, even if the shelf feels stable.
Common Mistakes to Avoid With DIY Shelving
Avoiding common errors helps maintain shelf stability, appearance, and long-term usability. Below are frequent mistakes that can affect DIY shelving results.
- Incorrect measurements cause uneven shelves, poor alignment, and wasted materials during installation.
- Using thin boards for long spans results in visible sagging over time under regular storage weight.
- Placing brackets too far apart reduces load distribution and stresses mounting points unnecessarily.
- Overloading shelves beyond rated capacity increases screw loosening and wall damage risks.
- Rushing installation without leveling tools creates slanted shelves that affect both function and appearance.
Wrapping Up
DIY shelving turns plain walls into reliable storage when planning, materials, and spacing are handled with care.
Shelf type, board thickness, and support placement all influence how well shelves perform over time.
Careful measurements and steady installation reduce long-term issues such as sagging or uneven alignment.
Avoiding common mistakes also helps maintain both appearance and strength.
Each choice contributes to shelves that remain stable, useful, and visually balanced.
Have you tried a shelving setup that worked well or learned something along the way? Share your experience or favorite DIY shelving approach in the comments below.

James McLaren, with a rich background in architecture from the University of Manchester, has been contributing his expertise to the world of creative construction and home innovation for over 20 years. His journey began as a project manager for a leading construction firm, where he honed his skills in bringing complex designs to life. James joined our platform as a freelancer in 2019, quickly becoming a favorite for his insightful and practical advice. He has been a pivotal force to our wing ever since, bringing our readers a blend of technical know-how and creative flair. Beyond his professional life, James is an avid woodworker and enjoys restoring vintage furniture, a hobby that complements his professional insights beautifully.