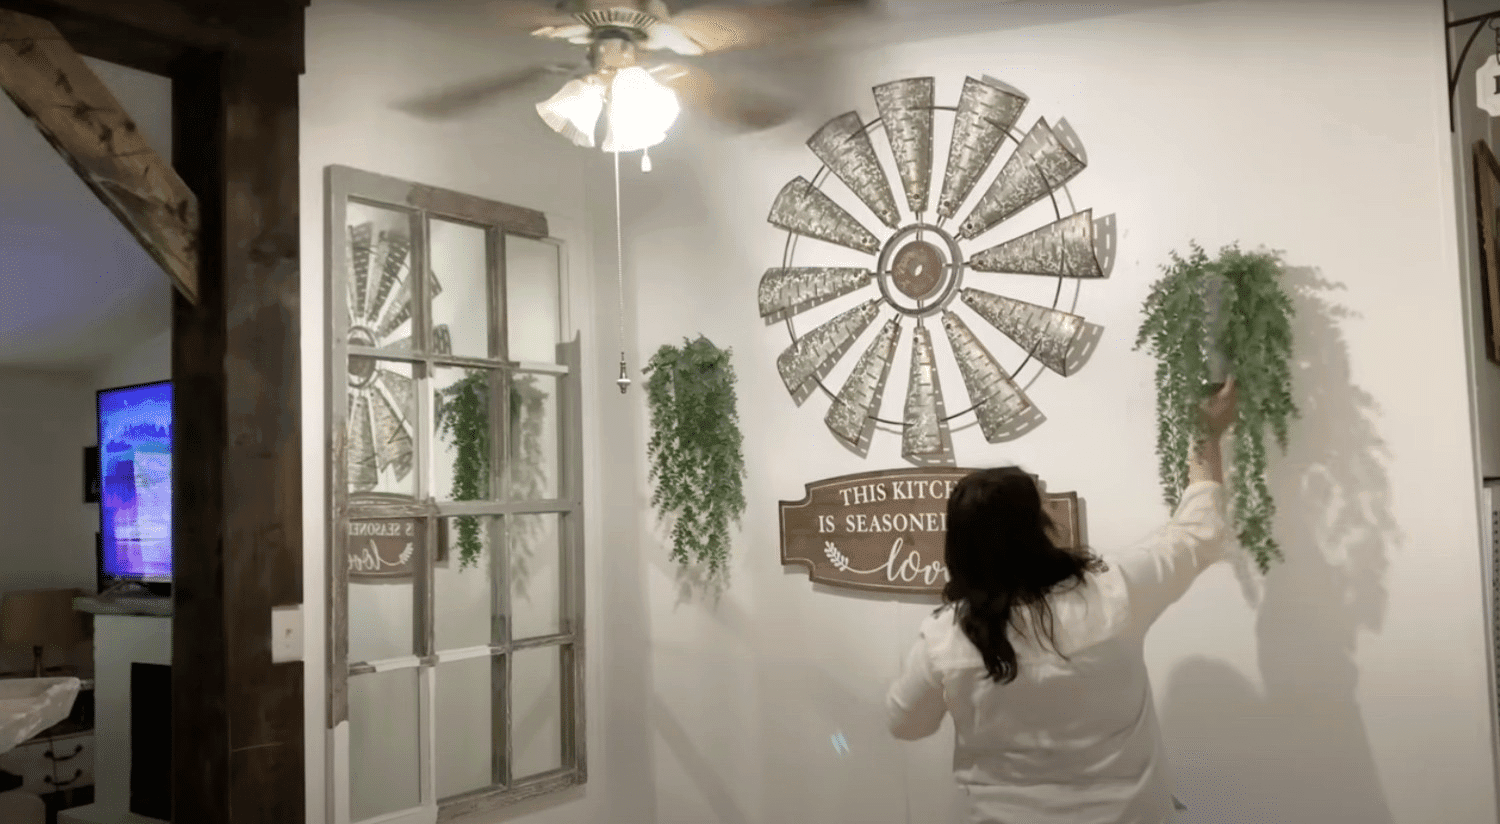
Are you tired of staring at boring walls in your home? DIY shiplap might be the answer you’re looking for! This amazing wall treatment can turn plain rooms into stunning spaces without emptying your wallet.
DIY shiplap is like giving your home a makeover with wooden panels that add charm and style. The best part? You can do it yourself with just some wood, basic tools, and a free weekend.
There is no need for fancy skills or expensive contractors! If you want a farmhouse look, a coastal vibe, or just something different, shiplap fits any style.
It’s a budget-friendly way to add personality to bedrooms, living rooms, or even bathrooms. Your home deserves this simple upgrade that makes a huge impact.
Is DIY Shiplap Worth Trying?
DIY shiplap is like a magic wand for boring walls. Imagine converting a plain room into something super cool without spending tons of money.
It’s way cheaper than hiring someone else to do the work. With some wood, paint, and basic tools, you can create an awesome look that makes your space feel cozy and stylish.
Plus, doing it yourself is fun! You’ll feel like a total home improvement hero when you finish. Anyone can do this project – even if you’re not a pro.
It’s a great way to add personality to your home and save some serious cash.
Creative Shiplap Styling Options
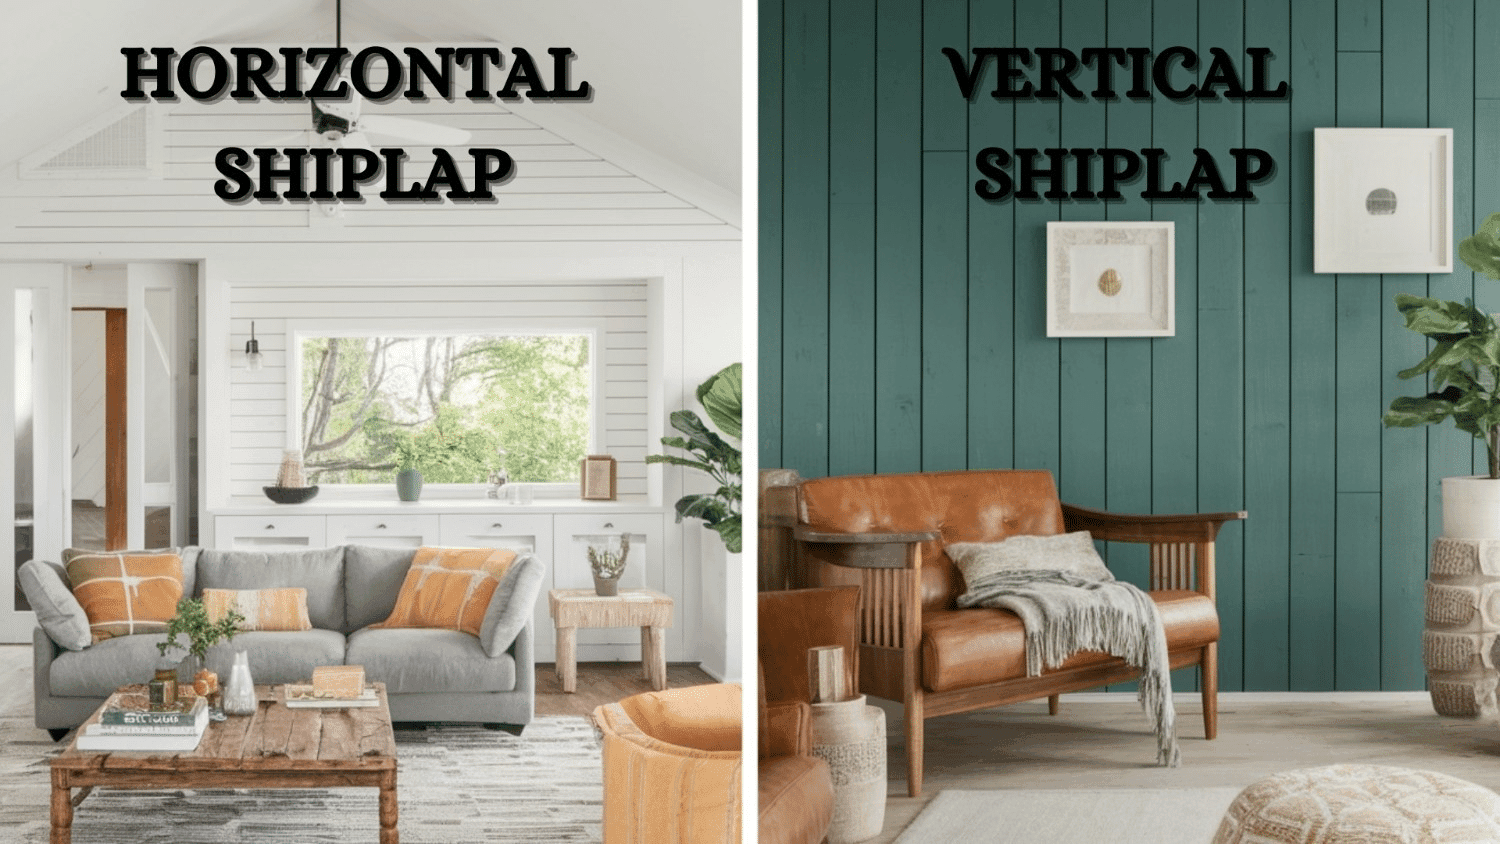
From horizontal and vertical installations to accent walls and ceiling treatments, the table below highlights key differences between styling techniques that can dramatically change your space while maintaining that classic charm.
Horizontal vs. Vertical Shiplap Designs
| HORIZONTAL SHIPLAP | VERTICAL SHIPLAP |
|---|---|
| Creates a classic, wide-open feel by running boards parallel to the floor. | Draws the eye upward, creating an illusion of increased ceiling height. |
| Visually expands smaller rooms, making spaces appear broader and more spacious. | Adds a sense of gracefulness and can make narrow rooms feel more balanced. |
| Works best in large rooms or spaces where you want to create a spacious, open atmosphere. | Works particularly well in rooms with limited floor space or low ceilings. |
| Great for creating a laid-back, rustic aesthetic that suits many home styles. | Ideal for adding a modern, refined look to any room. |
Integrating Shiplap into Your Home’s Design
Matching shiplap to your existing decor takes some planning. Consider your home’s overall style – farmhouse, modern, coastal, or traditional.
Think about color schemes and room functionality. White shiplap works everywhere, but don’t be afraid to experiment with bold colors or natural wood tones. The key is creating a cohesive look that feels intentional and reflects your style.
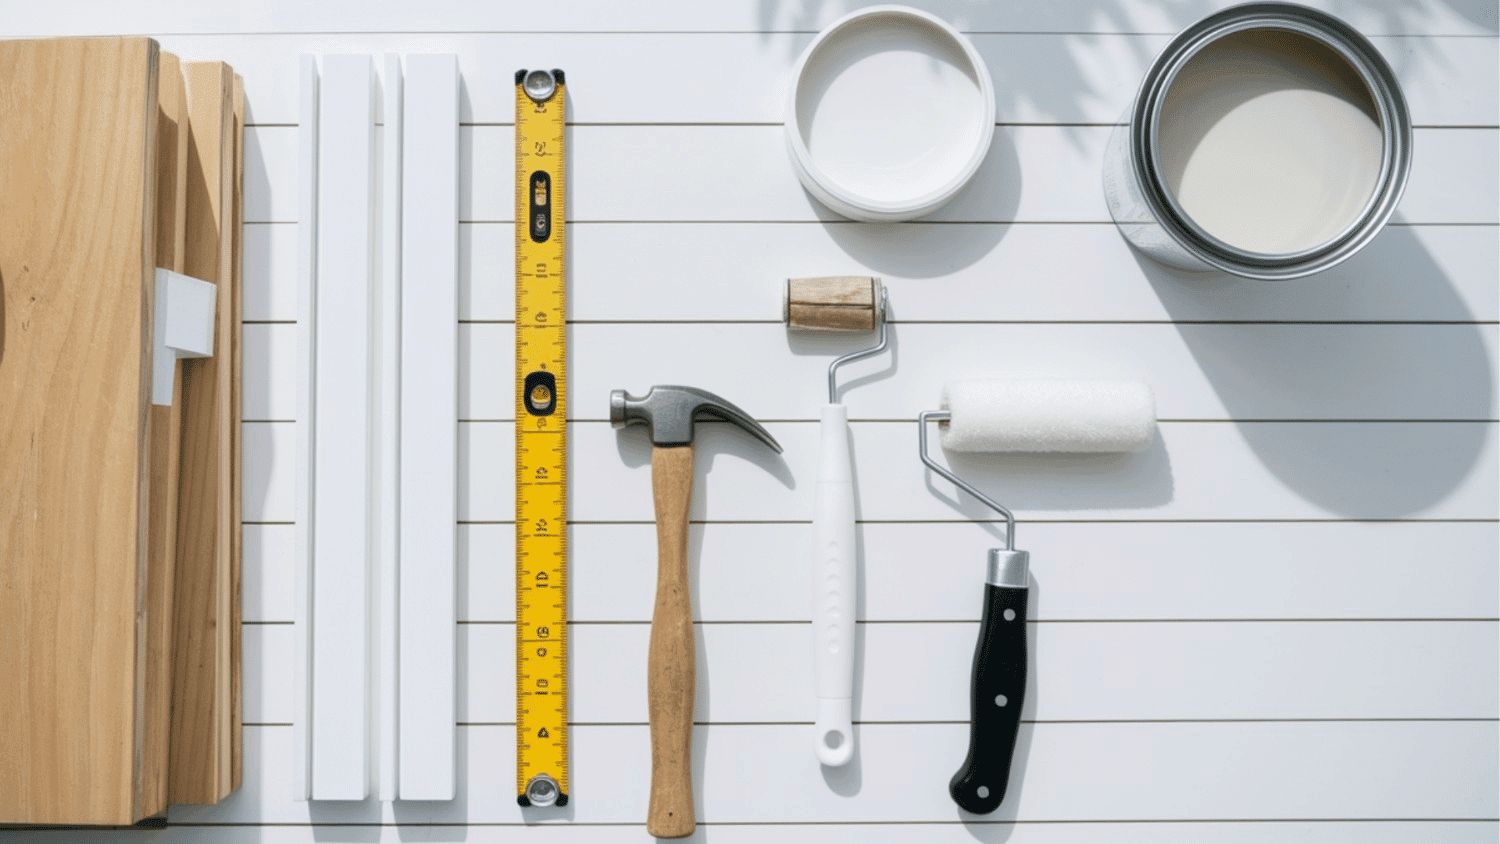
Materials and Tools for DIY Shiplap
Selecting the Perfect Shiplap Panels for Your Project
Choosing the right shiplap panels can make or break your DIY project. Look for smooth, high-quality wood panels that fit your space and style.
When selecting your panels, consider the room’s purpose and existing decor. Plywood or pine boards work great for most projects. Check for warping or damage before buying.
Think about the finish you want—painted, stained, or natural wood look—and pick panels that will give you the best result.
Essential Tools and Materials for Shiplap Installation
- 4×8 shiplap panels (available at Lowe’s or similar stores)
- Nickel or any small object to space boards evenly
- Staple gun or nails and hammer for installation
- Utility knife for trimming
- Miter saw for cutting panels
- White paint (or color of your choice) and brushes/rollers
- Level to ensure straight rows
- Trash bag or drop cloth for protecting furniture
Total Estimated Cost of Material
- With Trash Bag and Utility Knife – $197-$571
- Without Trash Bag and Utility Knife (assuming they are available) – $187-$536
Step-By-Step Guide for Diy Shiplap
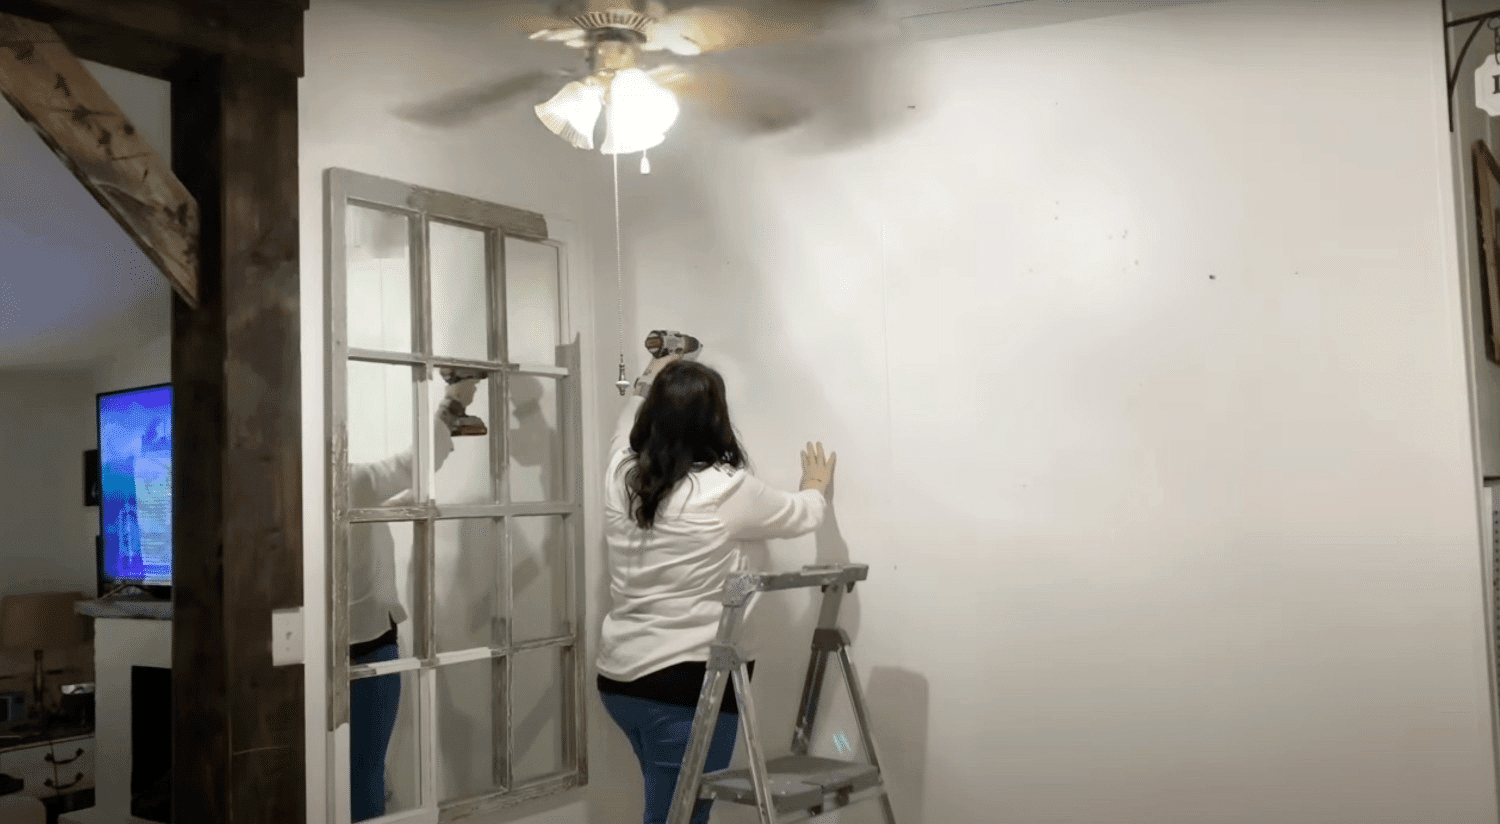
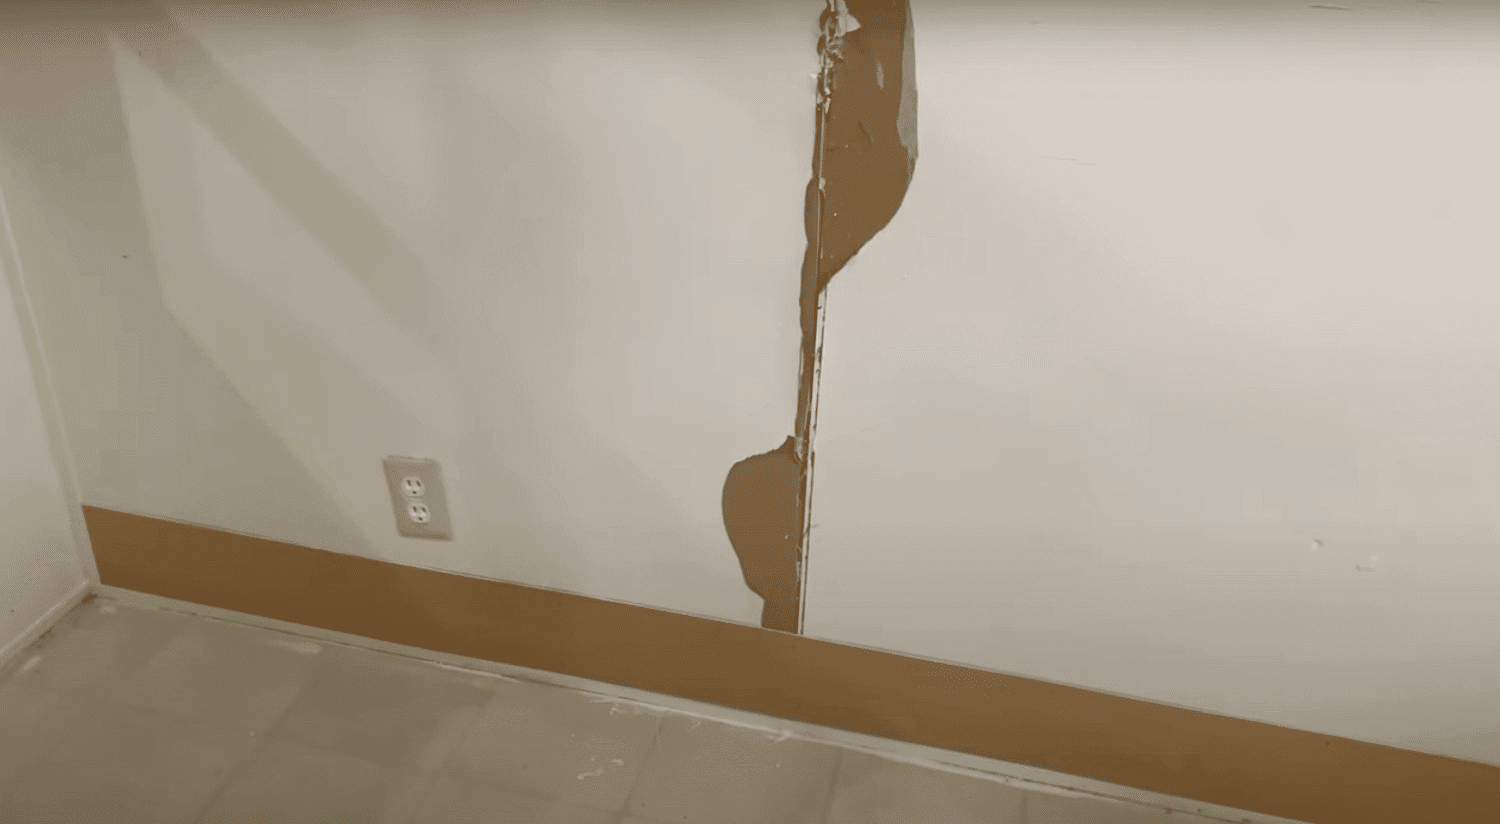
STEP 1: Remove Existing Wall Fixtures
Start by removing any decor, screws, or nails on the wall. Take down any trim, especially where sheetrock meets, to ensure a clean surface for the shiplap installation.
This is important because any protruding parts could interfere with how the boards stick to the wall.
Pro tips:
- Ensure the wall is clear and smooth to prevent bumps under the shiplap.
- Use a utility knife to cut through any caulking or adhesives carefully.
- Check the wall for any uneven surfaces and fix them before starting.
STEP 2: Prepare Your Shiplap Panels
You can pick up 4×8 panels (available at home improvement stores like Lowe’s) and cut them down to the desired size.
The panels are typically 6 inches wide, but you can adjust the width to your preference. Stripping the panels is key to making sure they fit perfectly in your space.
Pro tips:
- Measure the wall area before cutting to ensure accuracy.
- Wear protective gloves while cutting the panels to avoid injury.
- If cutting multiple panels, keep them aligned for uniformity.
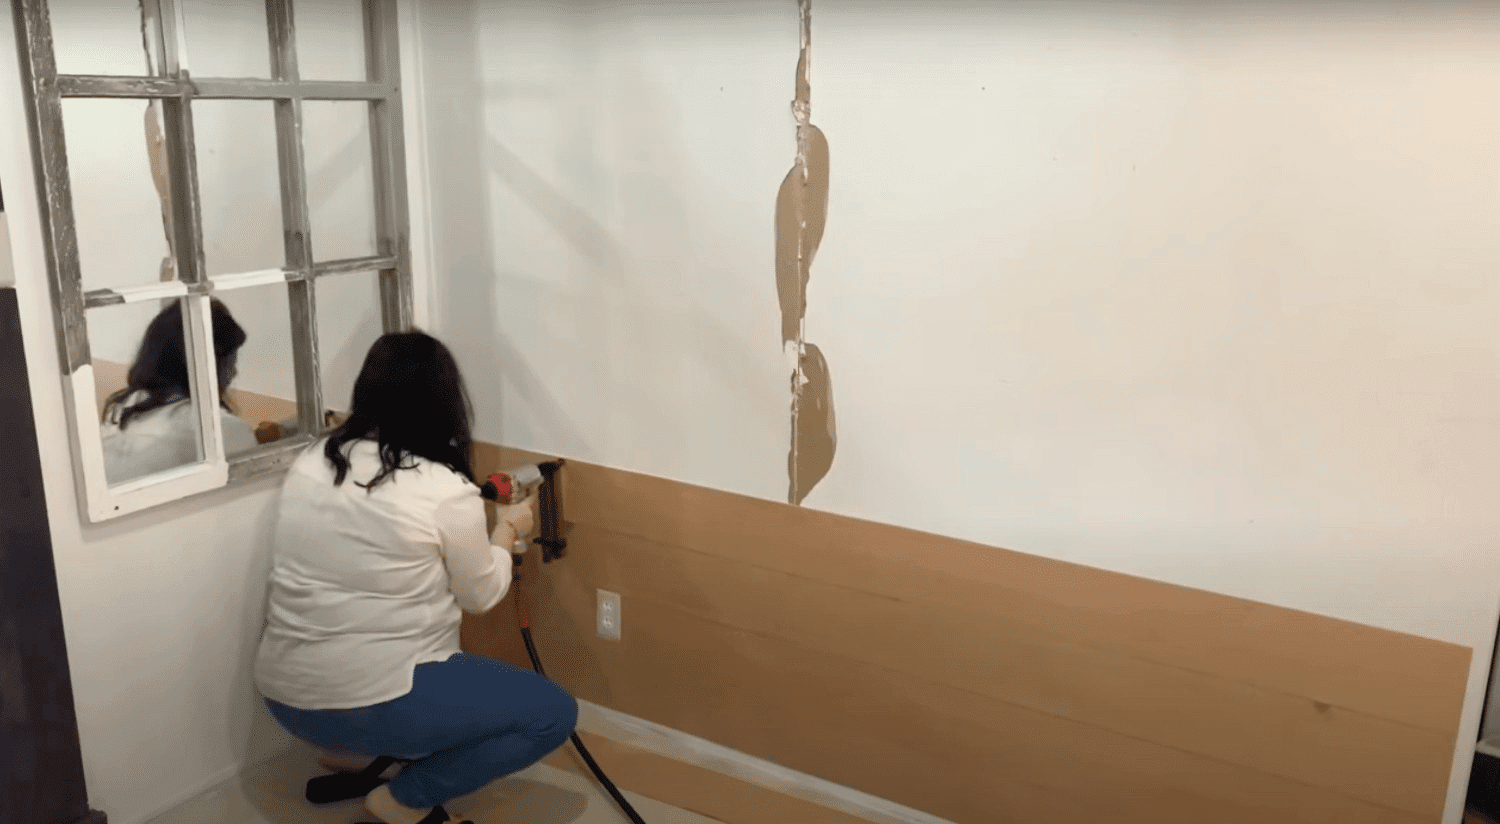
STEP 3: Start From the Bottom
Begin installing the first row of shiplap at the bottom of the wall. Space each board using a nickel to maintain consistent gaps between the planks.
This will give your shiplap a clean, even look throughout. Secure the panels with a staple gun or nails.
Pro tips:
- Start with the longest panel to avoid uneven cuts near the top.
- Use a level to make sure your first row is perfectly straight.
- If using a staple gun, make sure it is powerful enough to handle the thickness of the panels.
STEP 4: Work Your Way Up
After securing the first row, continue installing the panels upward, overlapping each one slightly.
For areas with electrical outlets, carefully measure and cut the panels to fit around the plugs. As you move upward, keep spacing consistent.
Pro tips:
- Measure around outlets and light switches to ensure a perfect fit.
- Use a miter saw to cut clean edges around tricky spots.
- Maintain your spacing tool (nickel or similar) to keep gaps uniform.
STEP 5: Paint and Final Touches

Once all panels are installed, paint them with two coats of white paint or your preferred color. Allow each coat to dry before applying the next.
Once the painting is complete, reattach any decor and trim, and step back to admire the fresh new look.
Pro tips:
- Use a drop cloth or trash bag to cover areas you don’t want painted.
- Allow each coat of paint to dry completely for a smooth finish.
- Be mindful of paint drips and touch up where needed.
Watch How It’s Done: DIY Shiplap Video Tutorial
For more information, check out this video tutorial by Homemaking Queen
Maintaining Your DIY Shiplap
Proper care ensures your shiplap walls remain beautiful for years to come. These simple maintenance practices will help preserve the character and finish of your installation.
- Dust and Clean: Regularly use a soft microfiber cloth to prevent dirt buildup and maintain its fresh appearance.
- Inspect and Repair: Check for any loose boards or gaps every few months, using wood filler or a quick touch of paint to keep the installation looking flawless.
- Moisture Protection: Protect shiplap from moisture by using a clear sealant, especially in bathrooms, kitchens, or areas with high humidity.
- Paint Touch-Ups: Touch up paint or stain as needed to prevent wear and maintain the look of your shiplap walls.
- Gentle Cleaning: Avoid using harsh chemical cleaners that can damage the wood finish; stick to gentle, wood-friendly cleaning solutions.
Common Mistakes to Avoid in DIY Shiplap
- Skipping Surface Preparation: Failing to properly clean, sand, and smooth the wall before installation can lead to uneven or bumpy results.
- Ignoring Wall Levelness: Not checking that your walls are level before starting can create crooked or misaligned shiplap boards.
- Using Incorrect Spacing: Inconsistent gaps between boards or using uneven spacers can make your shiplap look unprofessional.
- Choosing the Wrong Materials: Using warped, damaged, or low-quality wood panels that won’t create a smooth, clean finish
- Overlooking Moisture Protection: Forgetting to seal or protect shiplap in high-humidity areas, which can cause warping or damage over time
- Rushing the Painting Process: Applying paint or stain without proper preparation or using low-quality paint that chips or fades quickly.
Final Thoughts
DIY shiplap is more than just a wall treatment—it’s a way to make your home truly yours without spending a fortune.
By following simple steps, you can create beautiful walls that wow your friends and family. Remember to plan well, choose quality materials, and take your time with installation.
Avoid common mistakes like skipping preparation or using uneven spacing. With proper care—regular dusting, paint touch-ups, and moisture protection—your DIY shiplap will look amazing for years.
The best thing about this project is how it gives big results with little effort and money.
If horizontal for a classic look or vertical for added height, your shiplap walls will change your space. Your dream walls are just a weekend away!

James McLaren, with a rich background in architecture from the University of Manchester, has been contributing his expertise to the world of creative construction and home innovation for over 20 years. His journey began as a project manager for a leading construction firm, where he honed his skills in bringing complex designs to life. James joined our platform as a freelancer in 2019, quickly becoming a favorite for his insightful and practical advice. He has been a pivotal force to our wing ever since, bringing our readers a blend of technical know-how and creative flair. Beyond his professional life, James is an avid woodworker and enjoys restoring vintage furniture, a hobby that complements his professional insights beautifully.