Adding wall molding is a simple and affordable way to enhance the appearance of any room. I’ve found that DIY wall molding is an excellent project for anyone, even those on a budget or renting.
It’s a great option for adding elegance, defining spaces, or just giving your walls more character.
In this guide, I’ll take you through the steps to install wall molding yourself, including useful tips on choosing materials, the right tools, and step-by-step techniques.
With a little patience and the right tools, this project is both achievable and rewarding. You’ll be amazed at how much of a difference it can make in transforming the look of your space.
Whether it’s your first DIY project or you’ve done a few before, this guide will make the process easy and enjoyable.
What Is Wall Molding?
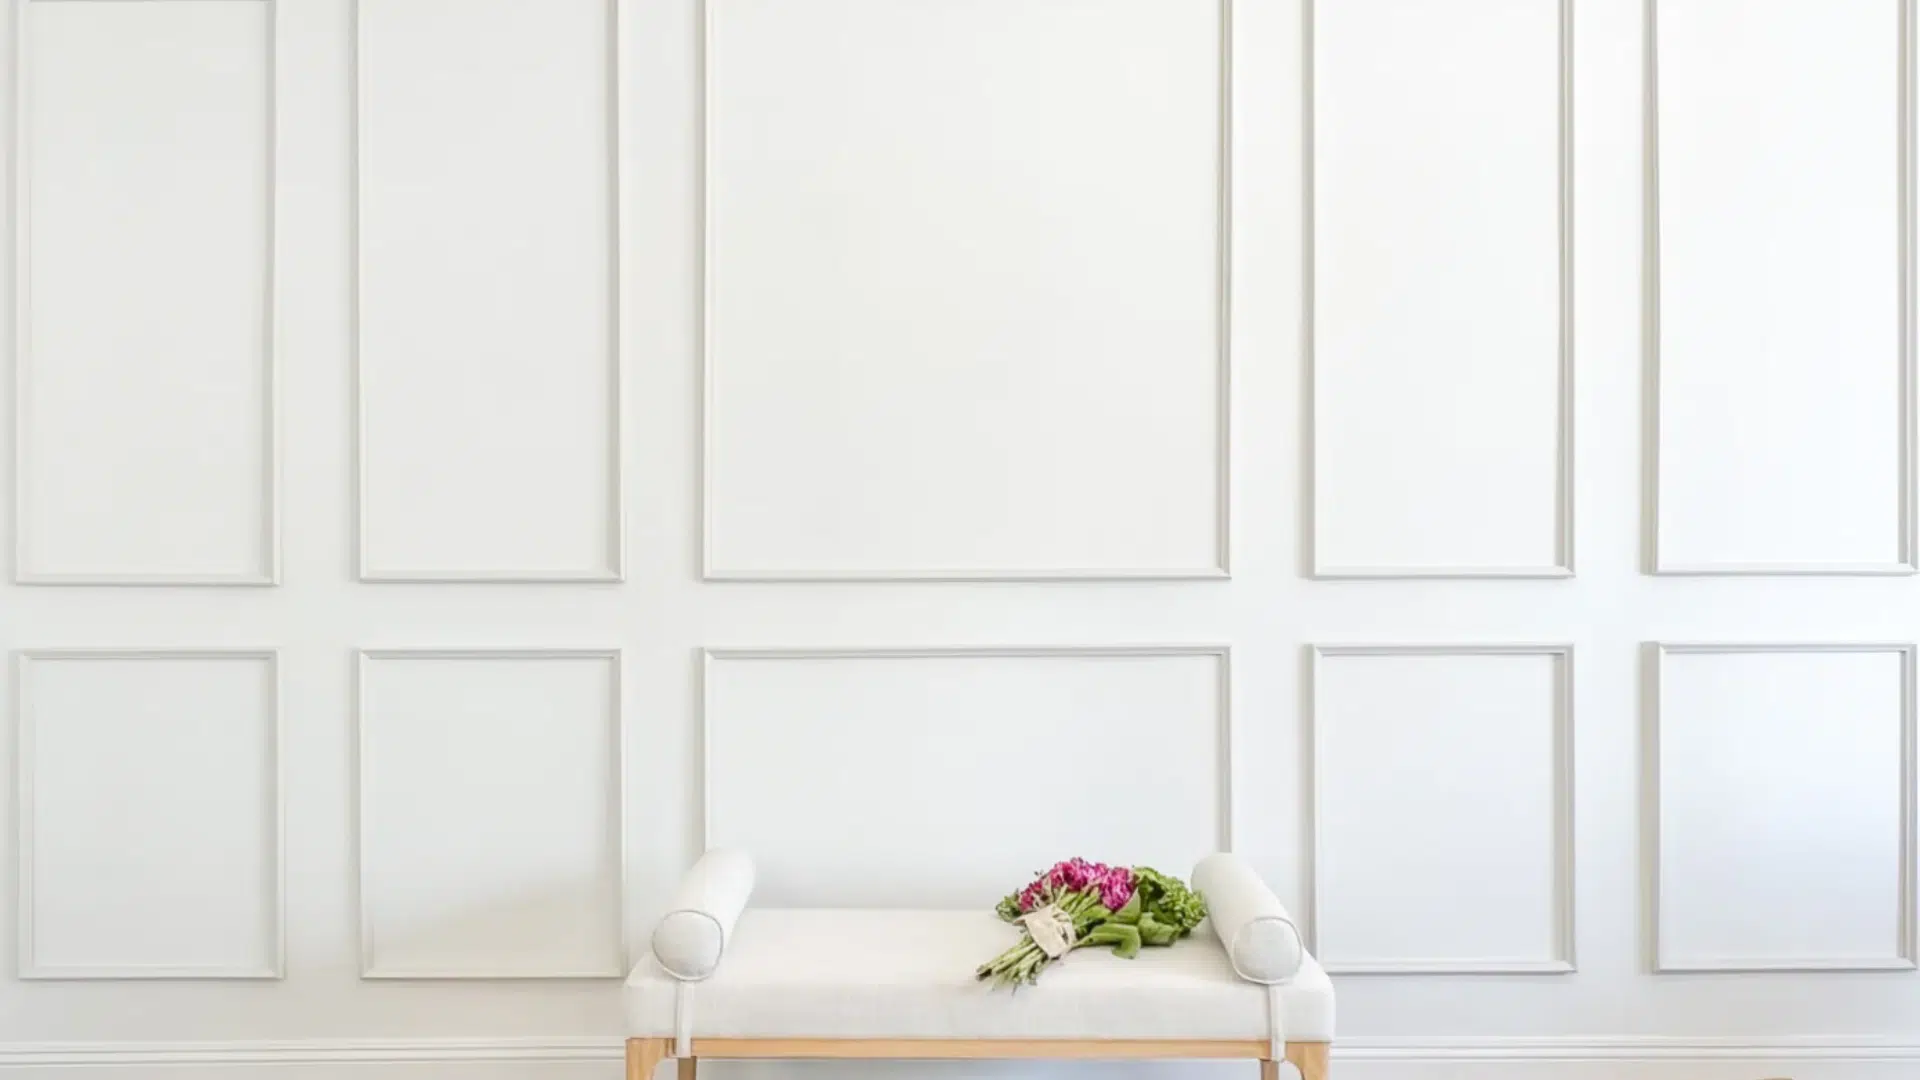
Wall molding is decorative trim that can be applied along the top or bottom of walls to enhance a room’s appearance. It creates clean lines, adds depth, and can even hide wall imperfections.
There are various types of wall moldings, including baseboards, which cover the joint between the wall and floor, and crown molding, which is applied at the top of walls to add elegance.
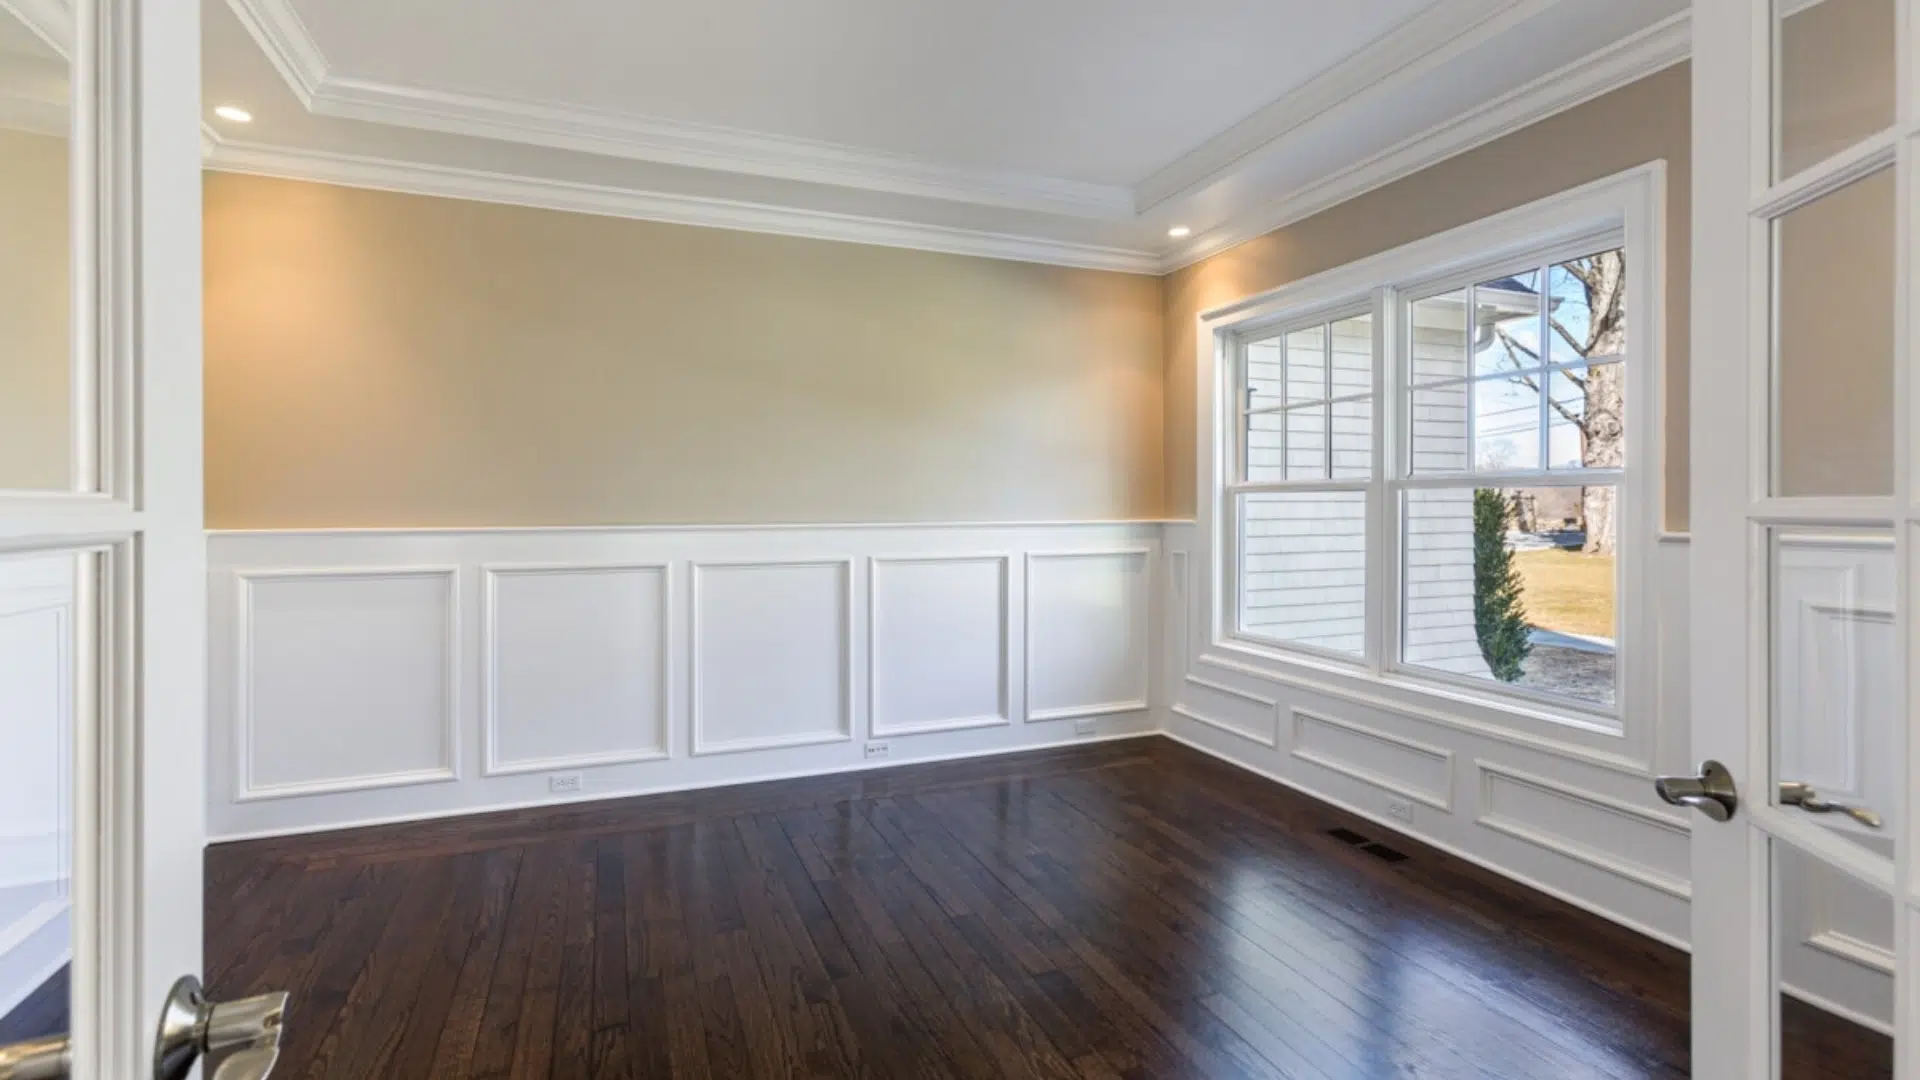
Chair rails are placed halfway up the wall, providing both protection and decoration, while wainscoting extends partway up the wall to add texture and visual interest.
Each type of molding has its own purpose, but all contribute to the overall style and charm of your space.
No matter what you prefer, a traditional or modern look, wall molding is a versatile addition that enhances your home’s aesthetic.
It’s also an easy and affordable way to transform the look of any room without major renovations. With the right materials and a little time, wall molding can elevate the atmosphere of your home.
Why Install Wall Molding?
Installing wall molding is a simple yet powerful way to elevate the look of any room. It adds charm, structure, and visual interest while offering both practical and decorative benefits.
- Adds Style and Sophistication: Wall molding gives your space a polished, refined appearance and enhances architectural detail.
- Helps Define Spaces: Use molding to break up large walls, separate sections, or improve room proportions.
- Conceals Wall Imperfections: It’s great for hiding seams, cracks, or uneven surfaces, making walls look smooth and clean.
- Removable Options for Renters: Peel-and-stick or lightweight versions let you personalize your home without permanent changes.
- Affordable and Versatile: Molding fits many styles – from classic to modern – and works in living rooms, bedrooms, or hallways.
- Boosts Home Appeal and Value: This small upgrade can leave a big impression on buyers and guests alike.
Wall molding is an easy, budget-friendly upgrade that makes a big impact. Whether you own your home or rent, it’s a great way to bring elegance and character to your space without a full remodel.
Step-by-Step Guide to Installing Wall Molding
Installing wall molding can instantly add sophistication and charm to any room. It’s a fun, budget-friendly DIY project that can be done with a few simple tools and materials.
Materials & Tools
To install wall molding, you’ll need basic materials like molding, wood glue, finishing nails, wood filler, caulk, primer, and paint, along with tools such as a tape measure, miter saw, hammer, level, and a nail set for precise installation.
- Wall Molding: Choose the type of molding that suits your style. You can go for wood, MDF, or polystyrene molding. The choice is up to you, depending on your budget and the look you’re going for.
- Wood Glue: This will help to hold the molding in place while you secure it with nails.
- Finishing Nails: These will be used to attach the molding to the wall.
- Wood Filler or Wood Putty: Used to fill in gaps around the corners or any nail holes.
- Caulk: For sealing any small gaps between the molding and the wall for a smooth finish.
- Primer: If you’re using raw wood, apply primer before painting.
- Paint: The final step is to paint your molding in the color of your choice.
- Tape Measure: For measuring the length of the wall and the molding.
- Miter Saw or Miter Box: For making precise cuts on the molding at the right angles (typically 45-degree cuts).
- Hammer: To drive the finishing nails into the molding.
- Level: To ensure that your molding is perfectly straight.
- Nail Set or Nail Tab: To tap the nails below the surface to allow for filling in the holes.
- Painter’s Tape: To protect areas surrounding the molding while painting.
Step 1: Measure Your Wall and Molding
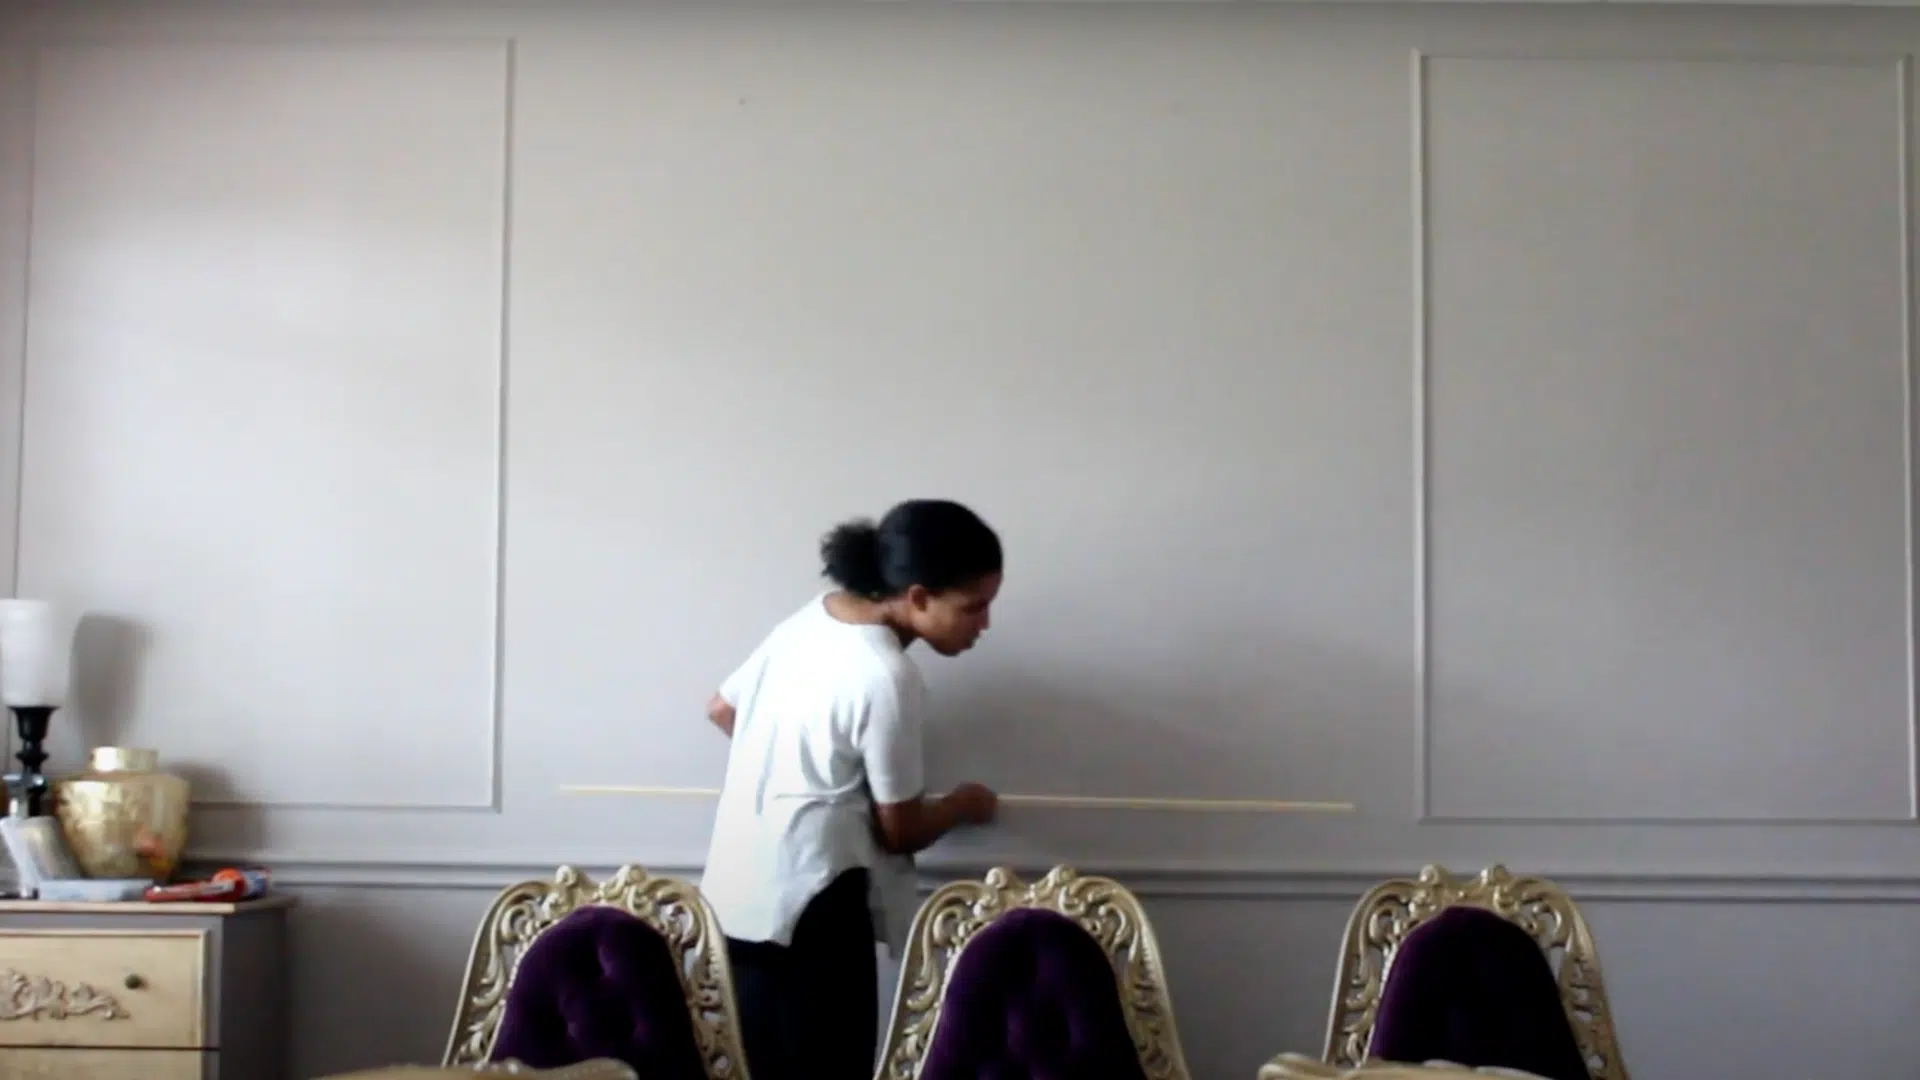
The first step is to measure the length of the wall where you want to install the molding. Use a tape measure to get accurate measurements.
You’ll also need to measure where each piece of molding will sit, especially if you’re creating a box or grid design.
For example, if you have boxes that need to fit together, like in a paneling design, take measurements of each existing box and the space between them. This will help you figure out how far apart the middle boxes should sit.
Step 2: Cut the Molding
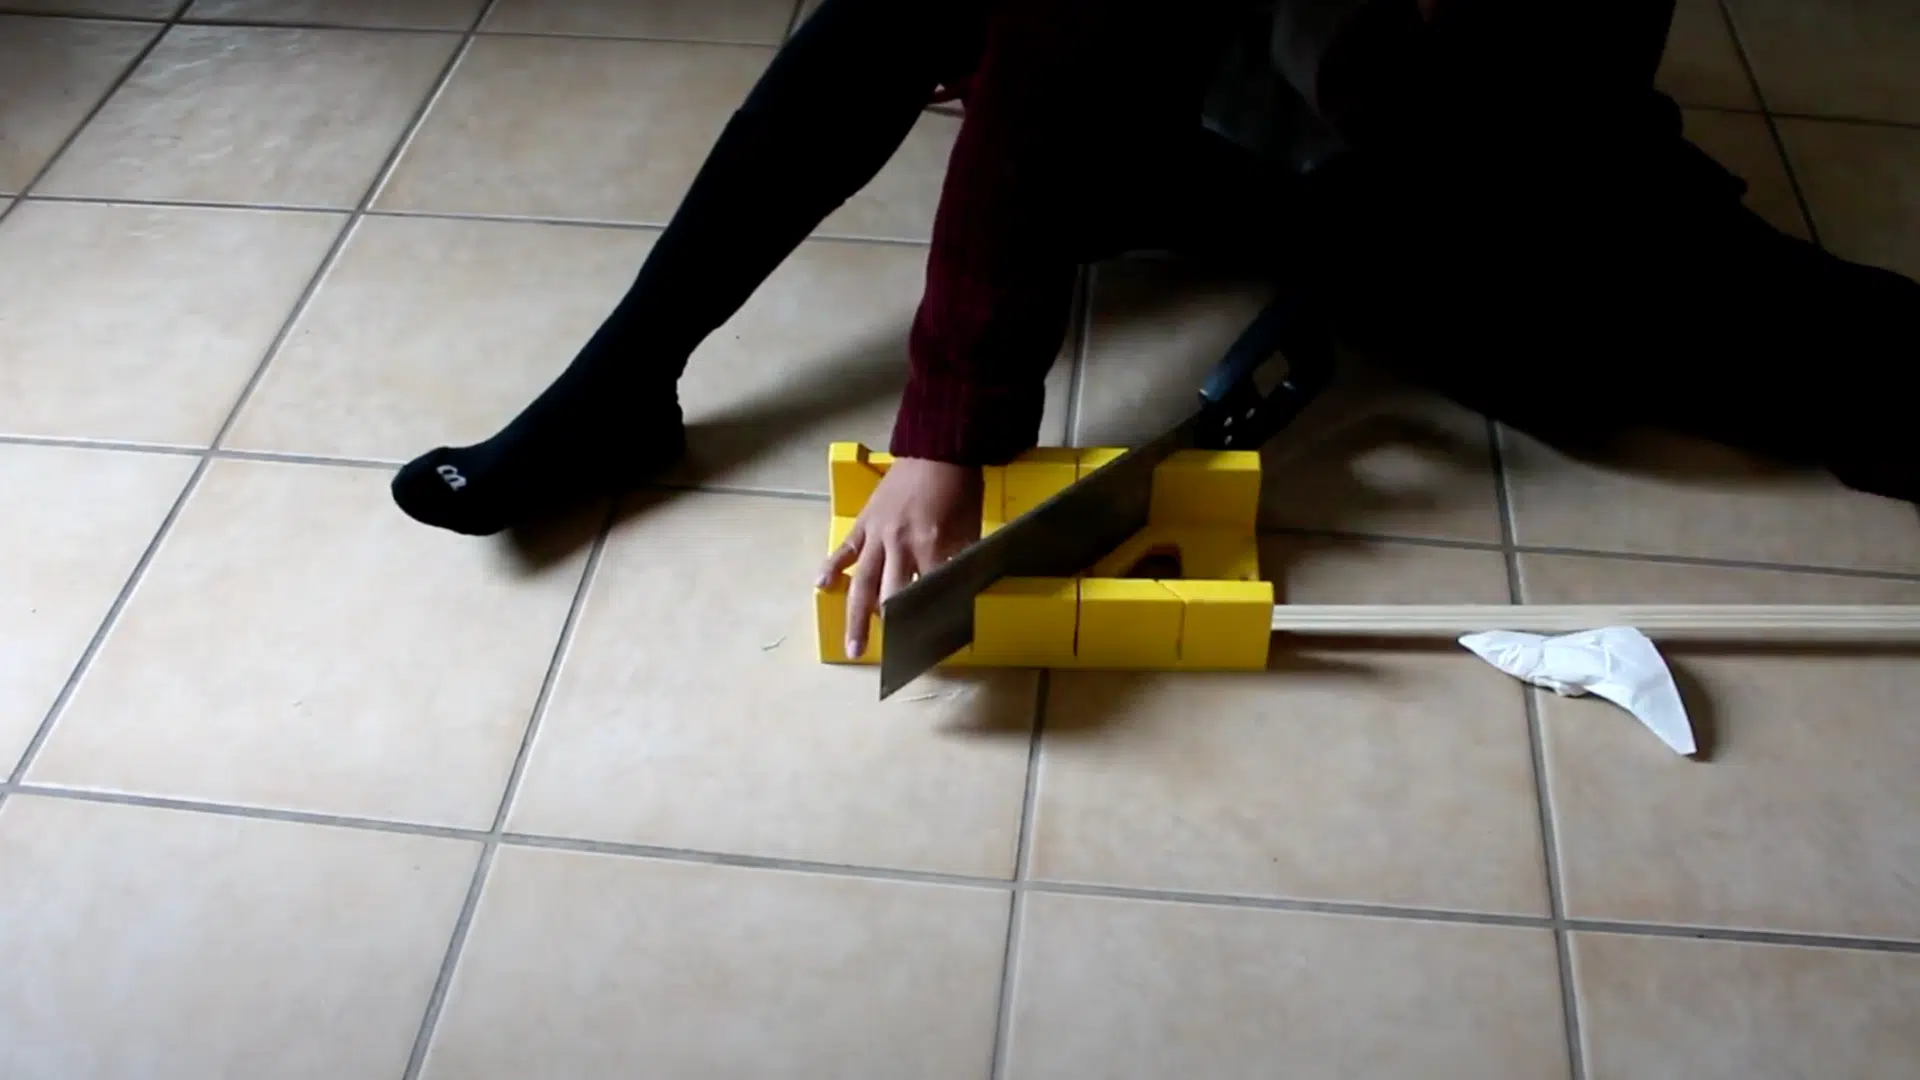
Once you’ve measured the length of your wall and the distance between your boxes, it’s time to cut your molding to size. To ensure precise cuts, use a miter saw or a miter box.
The most common cut you’ll need is a 45-degree angle, especially for corners where two pieces of molding meet. Take your time to make sure the cuts are clean and accurate.
If you’re working with multiple pieces, make sure each one is the correct length before moving on to the next. Always measure twice before making a cut to avoid mistakes.
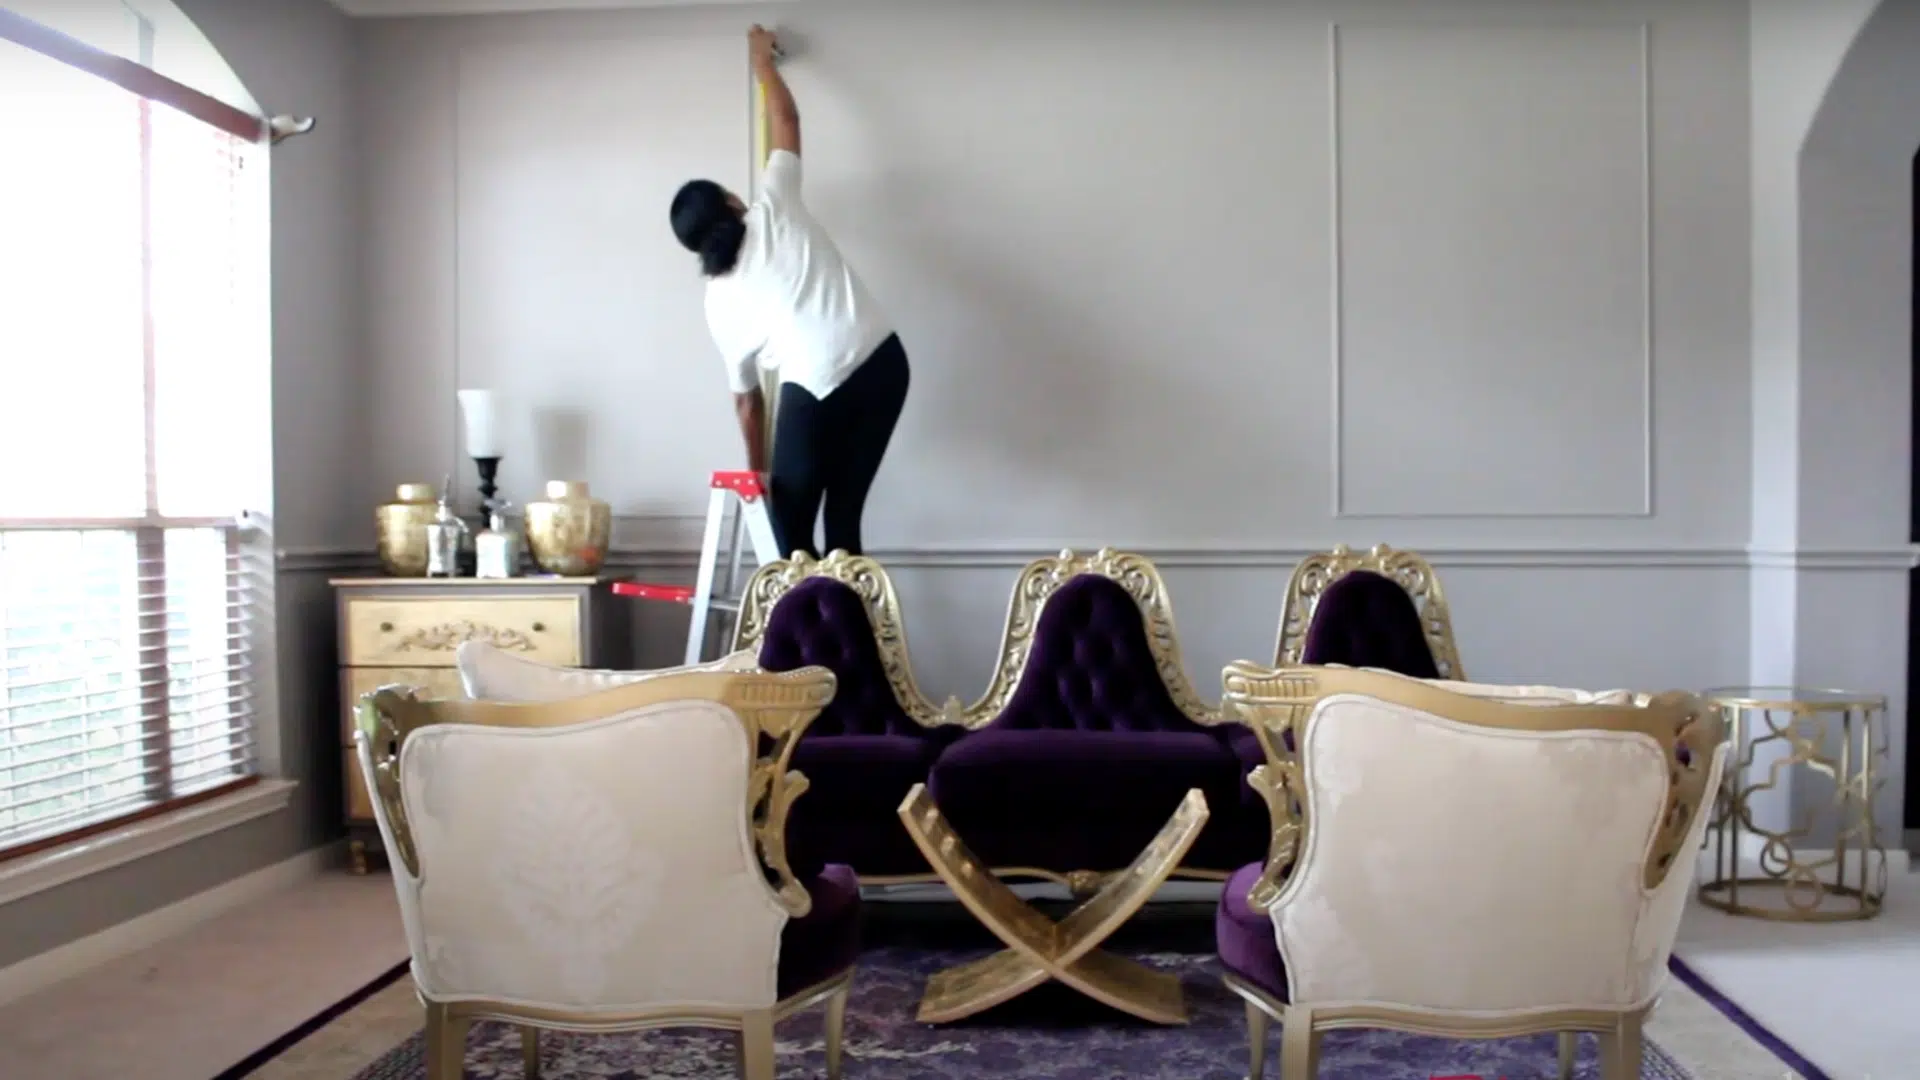
Step 3: Prepare to Attach the Molding
After your molding pieces are cut to size, it’s time to position them on the wall. Place the pieces against the wall to check how they align and make sure everything fits well.
This is a good time to check for any last-minute adjustments before you begin attaching them. Use a level to ensure the molding is straight.
The first piece of molding you attach is the most important, as everything else will be aligned based on this piece. If the first piece isn’t straight, the entire project will be off, so take your time with this step.
Step 4: Apply Glue and Attach the Molding
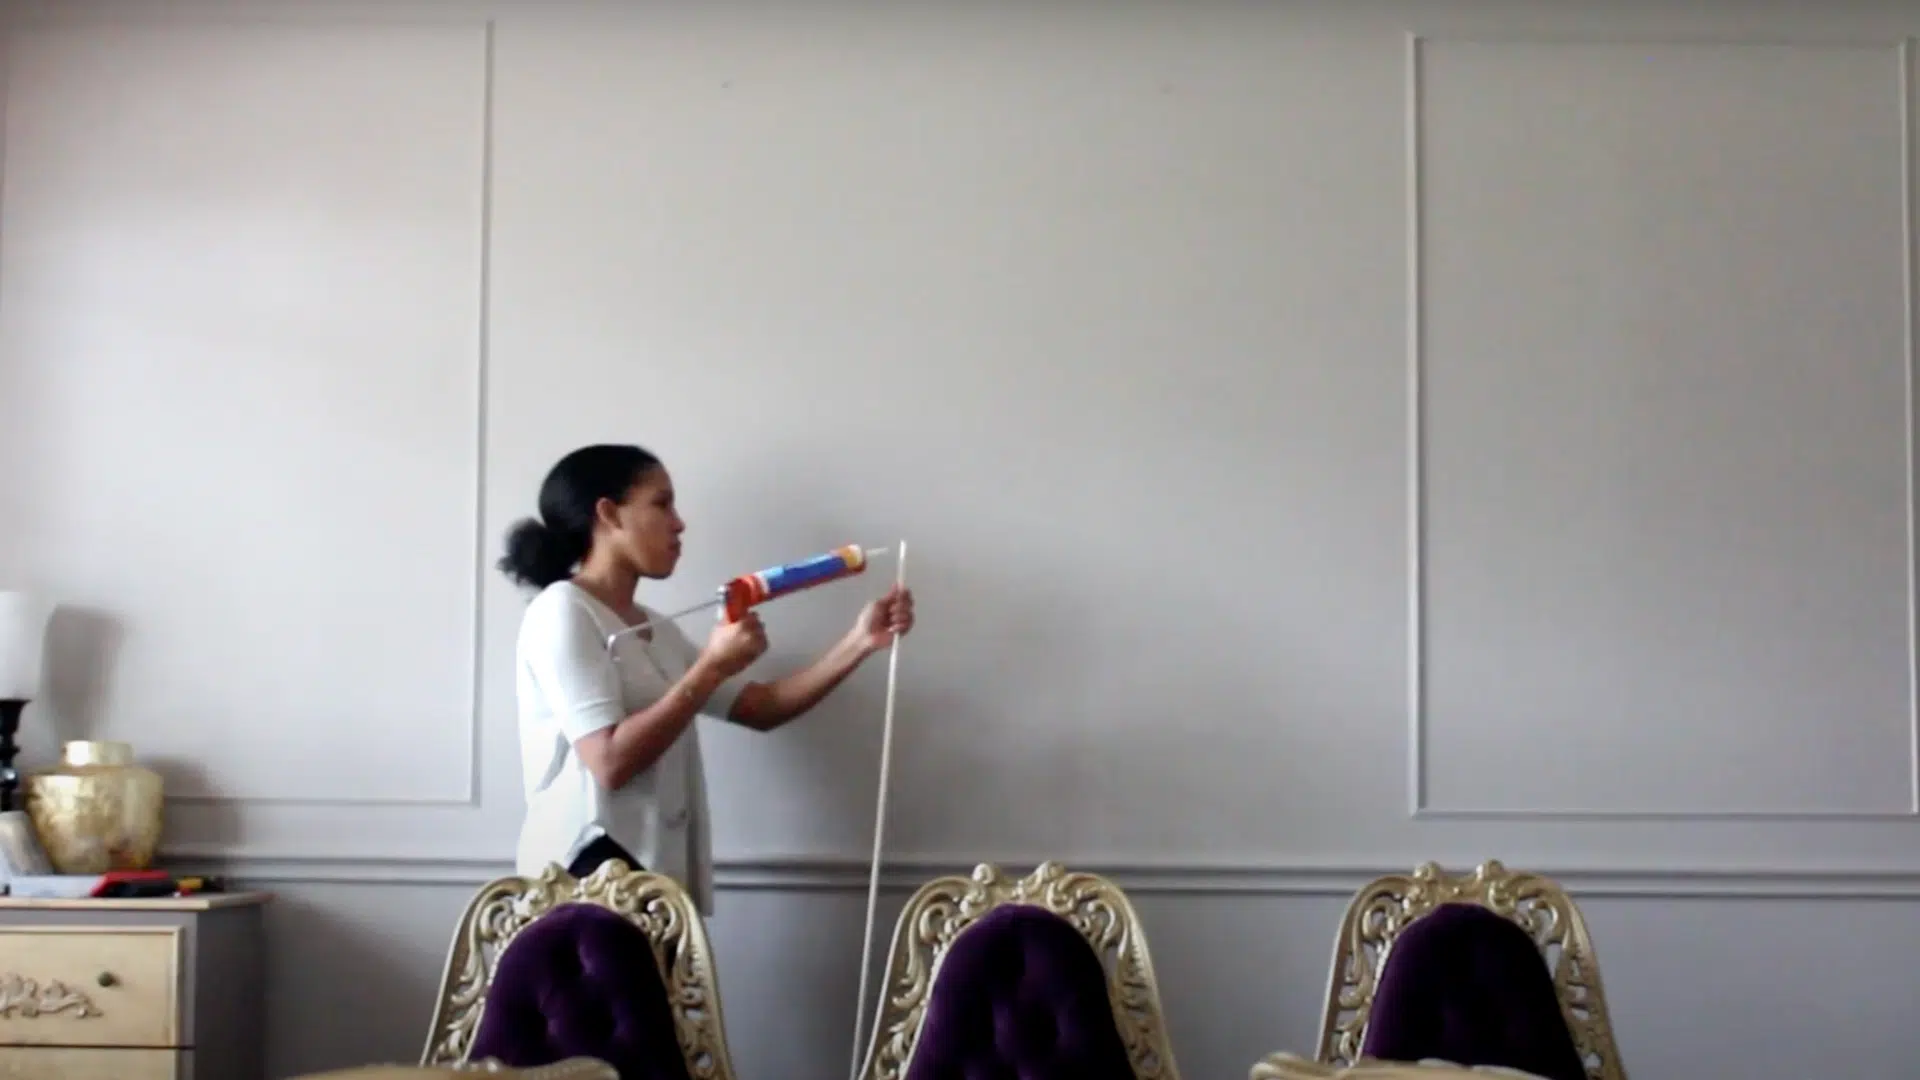
Once you’ve made sure everything fits properly, apply a thin bead of wood glue to the back of the molding. The glue will help hold the molding in place while you secure it with nails.
Press the molding firmly against the wall, making sure it’s level. Next, use finishing nails to attach the molding to the wall.
Space the nails about 12 inches apart, and be sure not to drive them in too deep. Leave a tiny bit of the nail sticking out, as you’ll use a nail set to tap them flush later. This will prevent damage to the molding.
Step 5: Fill in the Gaps and Nail Holes

Once all the pieces of molding are attached, you’ll likely notice small gaps between the molding and the wall, as well as nail holes that need to be filled.
Use wood filler or wood putty to fill in any gaps around the edges of the molding and the holes where the nails are. Apply the filler with a putty knife, smoothing it over the surface.
Once the filler dries, lightly sand the area to ensure a smooth and even surface. This will help make the painting step look flawless.
Step 6: Caulk the Edges
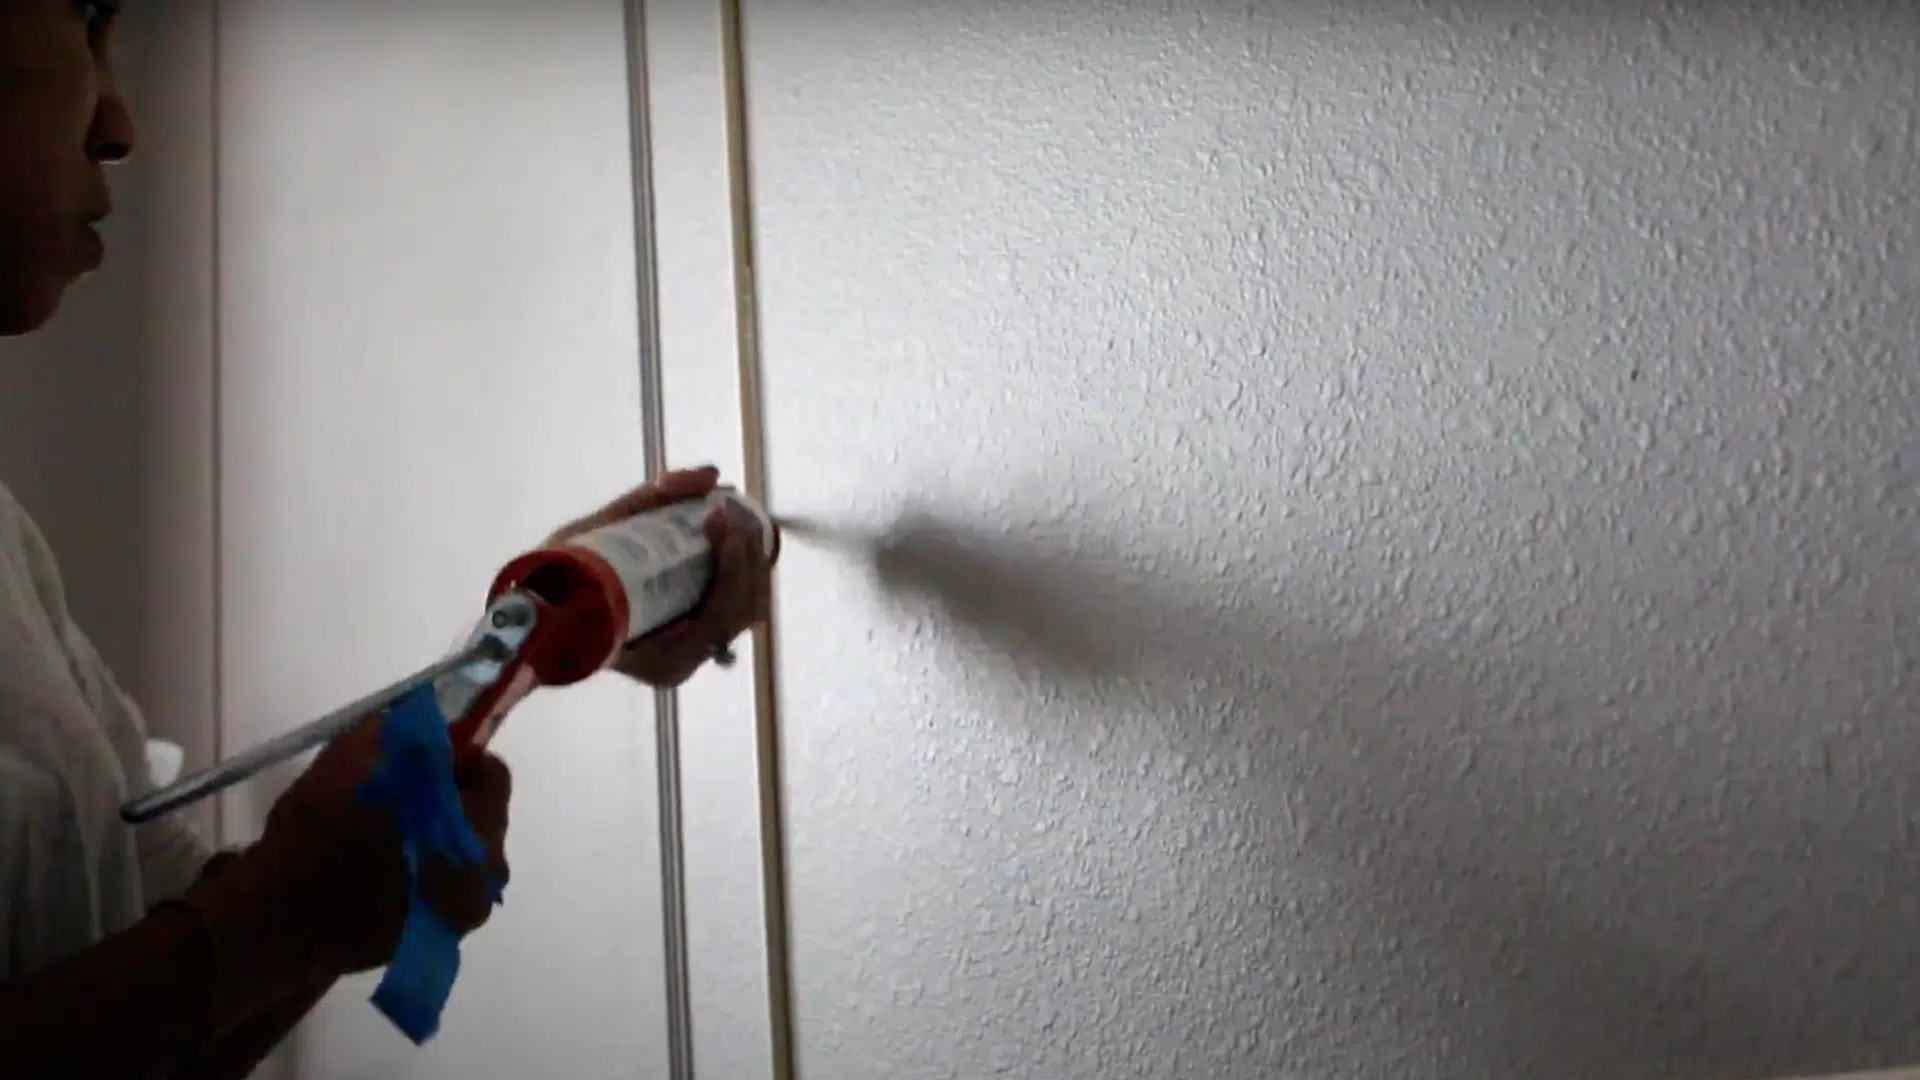
To give the molding a seamless, professional look, use caulk to fill in any small gaps between the molding and the wall. Run a bead of caulk along the edges of the molding, smoothing it out with your finger or a damp cloth.
Be sure to wipe away any excess caulk before it dries, as this can be hard to remove later.
Step 7: Prime and Paint
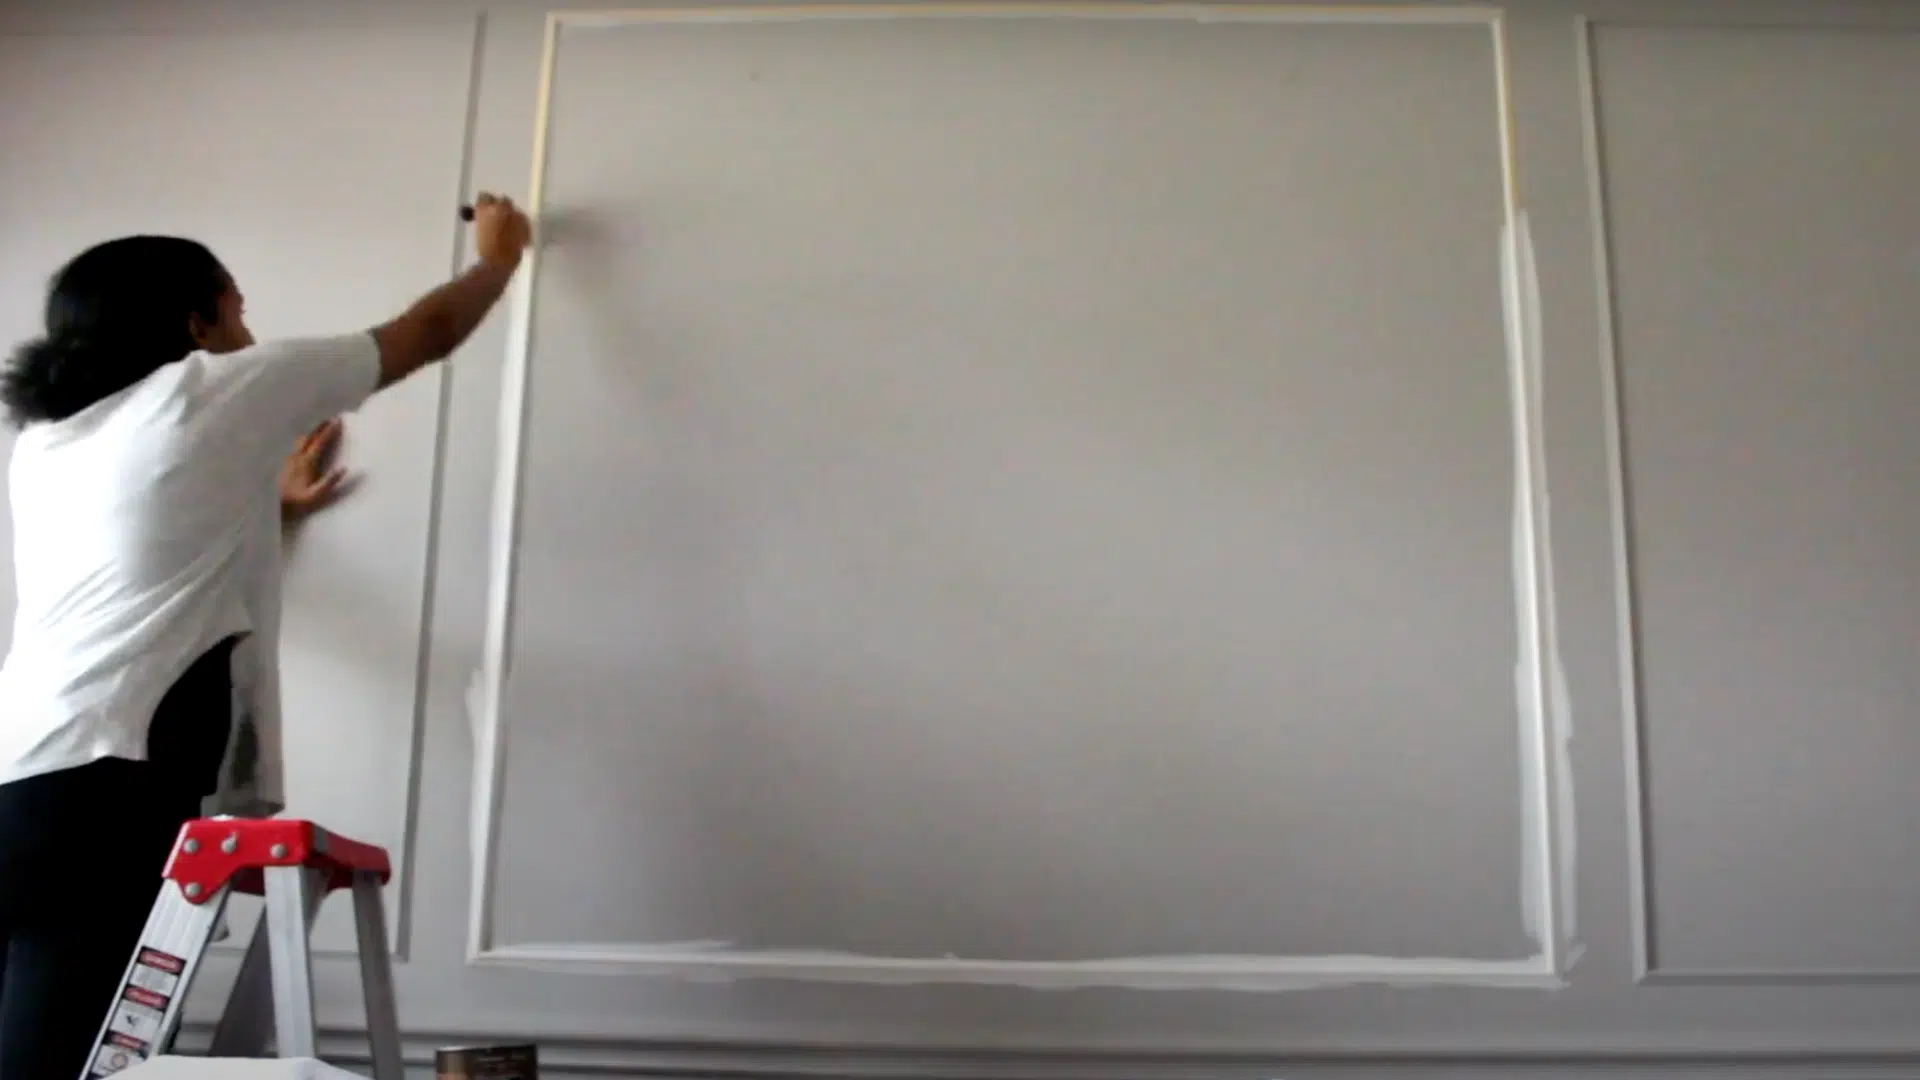
Before painting the molding, it’s a good idea to apply a primer, especially if you’re using raw wood. This will create a better surface for the paint to adhere to and help the color pop.
Once the primer is dry, go ahead and apply the paint of your choice. If you’re using a paint that already contains primer, you can skip the priming step and apply the paint directly.
Use a small paintbrush to carefully paint the molding, making sure to get into all the edges and corners. Apply a second coat of paint if needed. After the paint has dried, check your work for any spots that may need touch-ups.
For a visual guide, refer to this tutorial on how to install a wall molding by @AngelaEast on YouTube.
DIY Wall Moulding: Budget and Renter-Friendly Tips
You can save money and make wall molding installation renter-friendly by choosing pre-painted molding, removable options, budget materials, or reusing leftover supplies.
- Use Pre-Painted or Pre-Stained Molding: Purchasing pre-painted or pre-stained molding saves time and gives your walls a more polished finish without the extra work.
- Opt for Removable Molding: For renters, peel-and-stick molding offers an easy, non-damaging option that can be removed without leaving a trace.
- Choose Budget Materials: MDF and polystyrene are affordable, lightweight alternatives to wood molding that can be easily painted and shaped to your preference.
- Reuse Leftover Materials: Use leftover wood or molding from previous projects to save money and create unique patterns for smaller sections of your walls.
Common Mistakes to Avoid
While installing molding is relatively simple, there are a few common mistakes to avoid to ensure a smooth installation process:
- Incorrect Measurements: Always double-check your measurements before cutting. Cutting molding too short or too long can lead to gaps or uneven edges.
- Forgetting to Pre-Drill: When using finishing nails, it’s a good idea to pre-drill small holes to prevent splitting the molding.
- Skipping the Primer: If you’re painting the molding, don’t skip the primer! Primer helps the paint adhere better and ensures a smoother finish.
- Not Using a Level: Make sure to use a level to keep your molding straight. Installing it unevenly will be noticeable and may make the whole room feel off-balance.
Conclusion
Installing wall molding is a budget-friendly and satisfying DIY project that can dramatically improve the look of any room.
By following the simple steps I’ve outlined, you can achieve a professional-quality finish without the need for an expensive contractor.
For renters, peel-and-stick molding is a great option, as it can be easily removed without damaging the walls, allowing you to personalize your space without making permanent changes.
So, gather your materials, take your time, and enjoy the transformation. Wall molding is a small update with a huge impact, and I’m sure you’ll love the results.
Ready to give your walls a fresh look? Start your project today and make your space feel brand new.

James McLaren, with a rich background in architecture from the University of Manchester, has been contributing his expertise to the world of creative construction and home innovation for over 20 years. His journey began as a project manager for a leading construction firm, where he honed his skills in bringing complex designs to life. James joined our platform as a freelancer in 2019, quickly becoming a favorite for his insightful and practical advice. He has been a pivotal force to our wing ever since, bringing our readers a blend of technical know-how and creative flair. Beyond his professional life, James is an avid woodworker and enjoys restoring vintage furniture, a hobby that complements his professional insights beautifully.