DIY wall shelves are one of the easiest ways to add storage and style without taking on a large home project.
With simple materials and basic tools, shelves can be built to fit almost any room, wall size, or storage need.
From clean floating shelves to sturdy bracket designs, DIY options allow full control over cost, layout, and finish.
The right approach makes installation straightforward while keeping results reliable and long-lasting.
This guide covers easy shelf types, a budget-friendly floating shelf build, common mistakes, safety tips, and weight limits.
Each section focuses on practical steps that help create shelves that look neat and stay secure over time.
Types of Wall Shelves: Easy to DIY
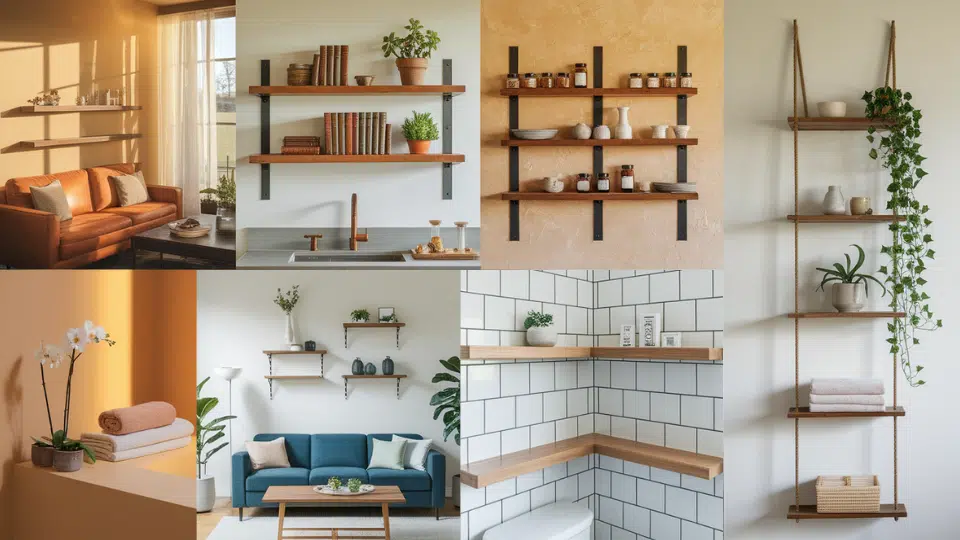
Wall shelves come in several simple styles that can be built with basic tools and readily available materials.
Choosing the right type depends on wall space, storage needs, and the level of effort involved.
Some designs focus on simplicity and quick installation, while others allow more flexibility in layout and appearance.
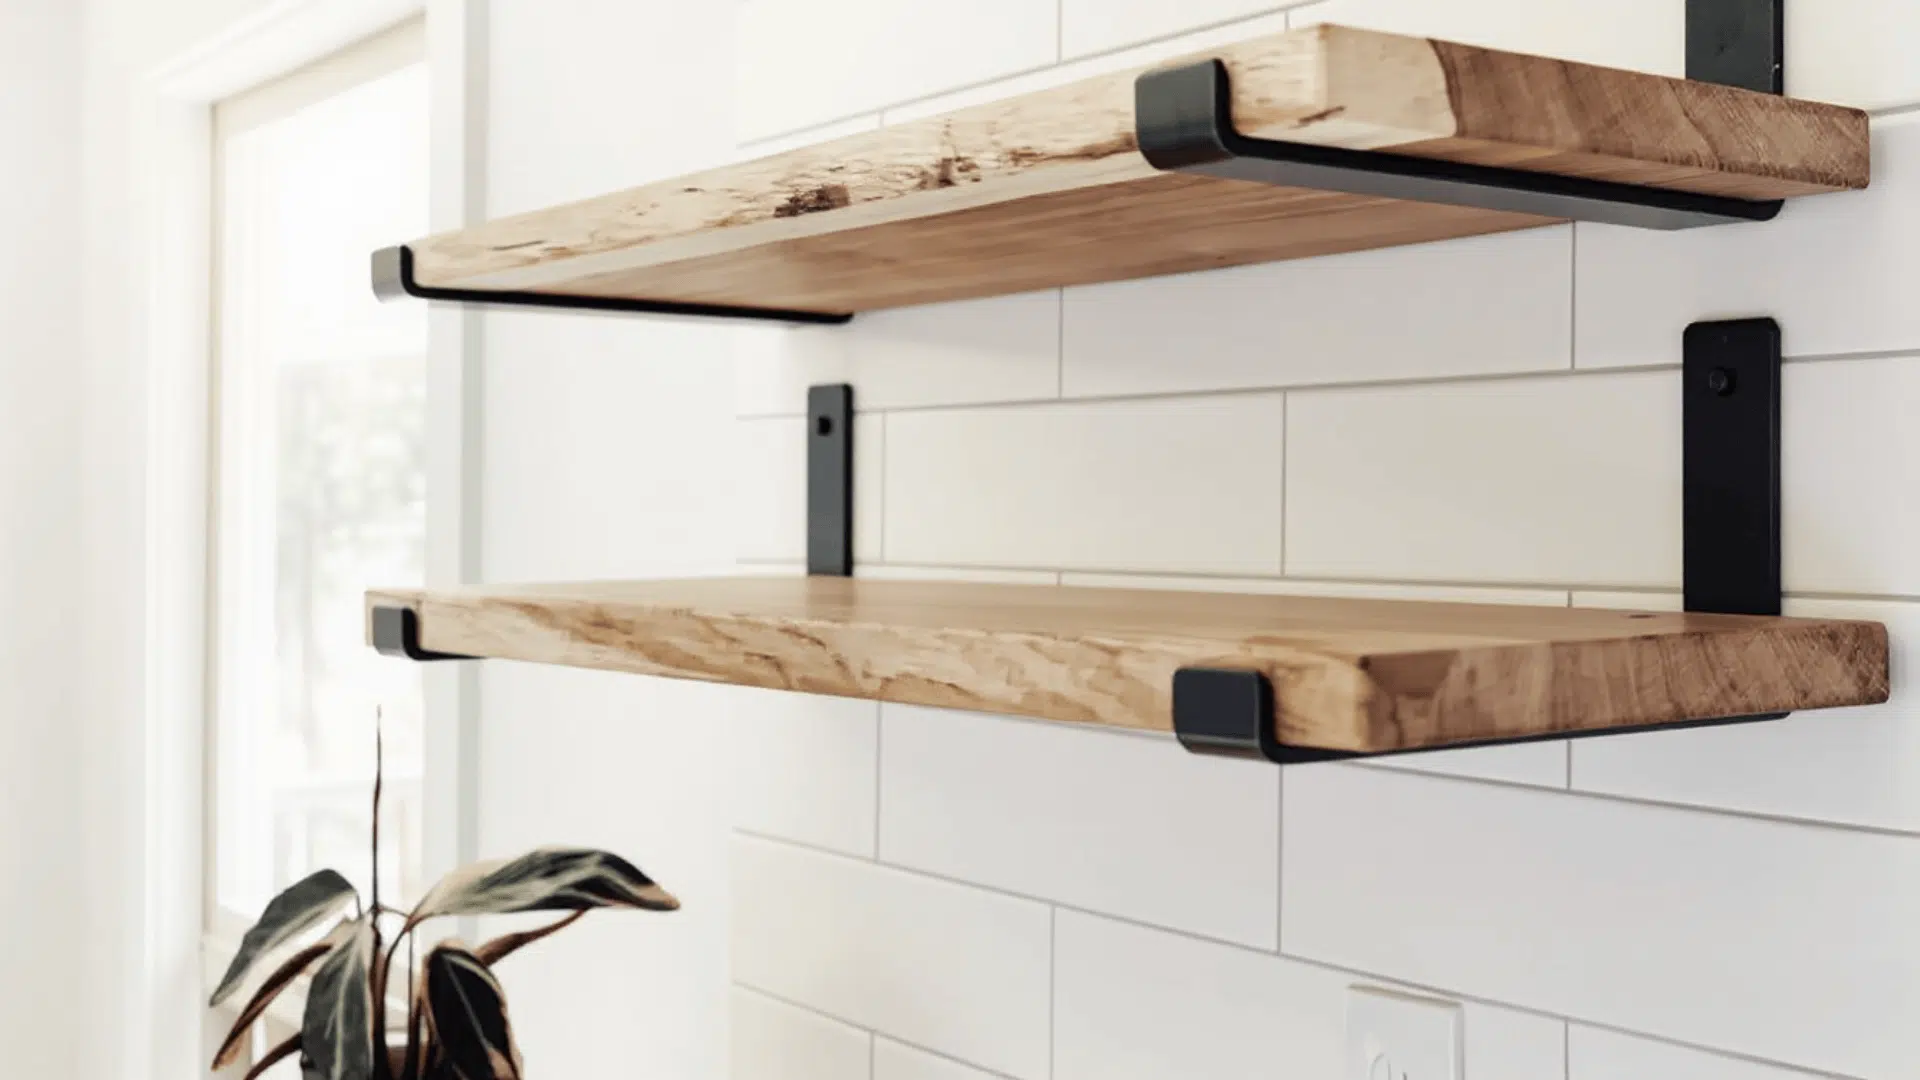
1. Floating Wall Shelves
These are one of the most common DIY options because they create a clean, minimal look.
Floating wall shelves use hidden brackets or keyhole hangers that keep mounting hardware out of sight.
They work well for light to medium storage and are often used in living rooms, bedrooms, and offices where a smooth wall finish is preferred.
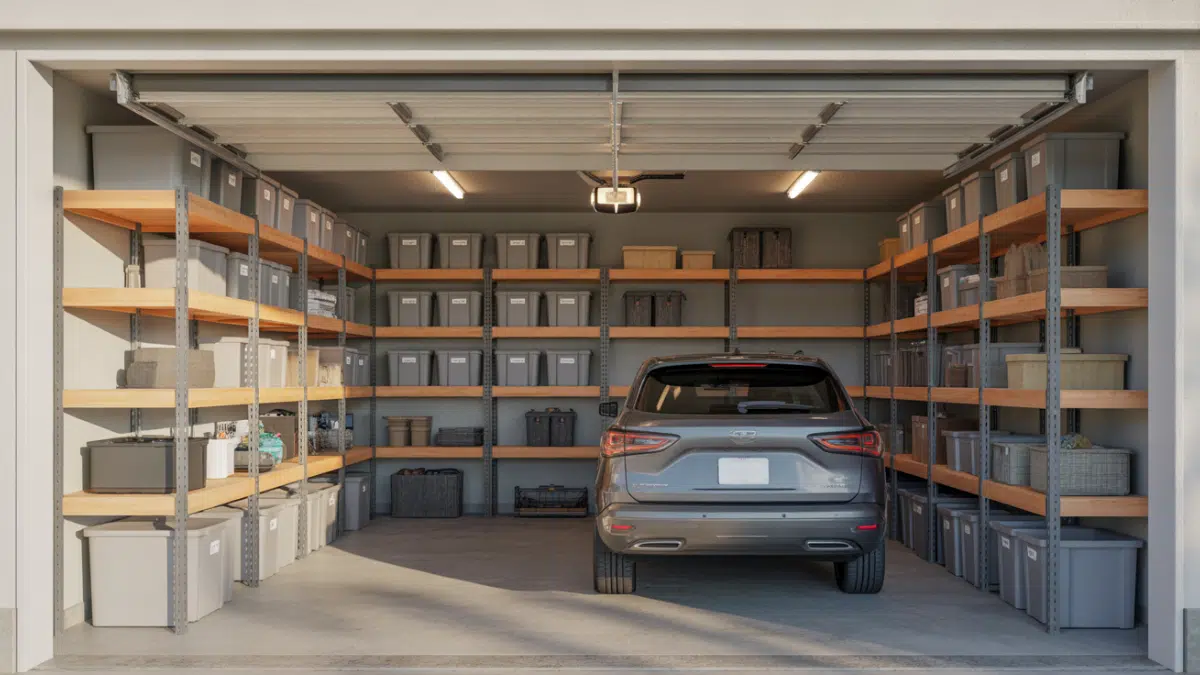
2. Bracket Wall Shelves
Use visible supports attached beneath the shelf. This design is easier to build and install compared to floating shelves, making it suitable for beginners.
Bracket shelves provide added strength and are commonly used in kitchens, garages, and utility spaces where durability is more important than a concealed look.
3. Corner Wall Shelves
These are designed to fit into unused wall corners, making them useful in small rooms.
These shelves require shorter cuts and less material while still providing functional storage.
Corner shelves are often used in bathrooms, entryways, and compact spaces where wall area is limited.
4. Rope or Ladder-Style Shelves
These are lightweight options that rely on hanging supports rather than fixed brackets.
These shelves are easier to assemble and are best suited for decorative items rather than heavy storage. They are commonly used in casual spaces where flexibility and simple construction are preferred.
Each of these wall shelf types can be adjusted in size, material, and finish, allowing DIY builders to match the shelf design to both the space and the intended use.
How to Make an Affordable DIY Floating Wall Shelves?
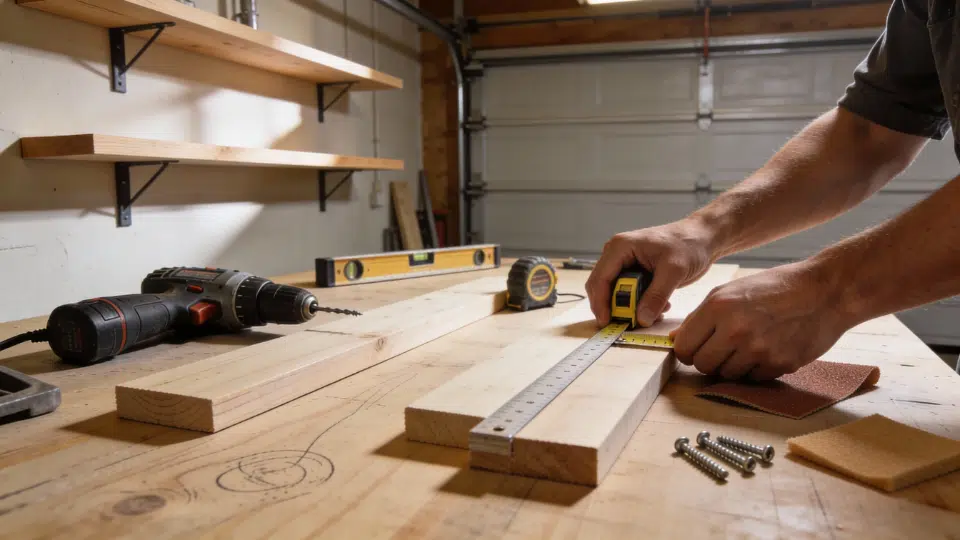
Creating DIY floating wall shelves can be both affordable and practical, even with limited tools.
Each shelf is made using a single 8-foot piece of lumber, keeping material costs low while allowing full control over size and finish.
The process focuses on basic cuts, strong joinery, careful sanding, and clean wall mounting to achieve a floating appearance.
Tools Used in Making a Floating Wall Shelves
| Tool | Purpose |
|---|---|
| Measuring tape | Measuring lumber lengths and placement |
| Pencil | Marking cut lines and drill points |
| Hand saw / Circular saw / Miter saw | Cutting lumber pieces |
| Speed square | Guiding straight cuts with a circular saw |
| Drill | Drilling dowel holes and mounting holes |
| Drill bits | Creating openings for dowels and keyhole hangers |
| Hammer | Seating wooden dowels |
| Flush-cut saw or chisel | Trimming dowel excess |
| Sandpaper (80, 120, 220 grit) | Smoothing and finishing surfaces |
| Level | Ensuring shelf alignment on the wall |
| Utility razor blade | Cleaning mortise edges for keyhole hangers |
Materials Used While DIYing Floating Shelves
| Material | Specification |
|---|---|
| Lumber | One 8-foot board per shelf |
| Wood glue | For all joints and dowels |
| Wooden dowels | ½-inch diameter |
| Keyhole hangers | For a floating wall mount |
| Drywall anchors | Plastic anchors rated up to 50 lbs |
| Screws | Compatible with anchors and hangers |
| Wood filler | Optional for surface gaps |
| Paint or stain | Final shelf finish |
Step 1: Cutting the Lumber
The shelf construction begins by cutting the lumber into smaller sections.
Each 8-foot board is cut into four pieces measuring 32 inches and four pieces measuring 6 inches. These cuts form the outer frame of the shelf.
A hand saw works well for basic setups, while a circular saw can be used with a speed square to maintain straight edges.
A miter saw speeds up the process and produces consistent cuts.
For those with more experience, angled miter cuts can be used at the corners for tighter joints, though straight cuts provide sufficient strength.
Step 2: Assembling the Shelf Frame
Once all pieces are cut, wood glue is applied to the joints where the boards meet. The pieces are aligned to form a rectangular frame.
Holes are drilled at each corner to accept wooden dowels, which strengthen the joints without visible fasteners.
Each corner uses two dowels placed on opposite sides. Wood glue is applied inside each hole and onto the dowel before it is tapped into place with a hammer.
After the glue sets, any excess dowel material is trimmed flush with the surface using a flush-cut saw or chisel.
Step 3: Sanding and Surface Preparation
The assembled shelf is sanded thoroughly to smooth joints and edges.
Sanding starts with 80-grit sandpaper to remove rough areas, followed by 120-grit to refine the surface, and finishes with 220-grit for a smooth final texture.
If visible gaps or imperfections are present, wood filler can be applied and sanded once dry. This step is optional and depends on the desired finish style.
Step 4: Painting or Staining the Shelf
After sanding, the shelf can be painted or stained. The first coat may appear uneven or dull, which is normal.
Once dry, a second coat is applied to bring out the color depth and provide consistent coverage.
Thicker paints tend to minimize visible brush marks after the second coat. Adequate drying time between coats helps achieve a clean finish.
Step 5: Installing the Keyhole Hangers
To prepare the shelf for wall mounting, keyhole hangers are positioned on the back panel.
The hanger outline is traced before drilling the opening. For a flush fit against the wall, the hanger is mortised into the wood by removing material within the traced area using a drill bit and refining the edges with a razor blade.
This allows the shelf to sit flat against the wall. For a more straightforward approach, the hanger can be surface-mounted instead.
Step 6: Transferring Mounting Points to the Wall
Accurate mounting begins by creating a simple transfer guide using a scrap piece of wood.
The mounting hole locations are marked onto the scrap piece first.
That same piece is then leveled against the wall and used to transfer the hole positions precisely. This method ensures consistent alignment without repeated measuring.
Step 7: Mounting the Floating Shelf
Drywall anchors are installed at the marked wall points to support the shelf weight.
Screws are inserted into the anchors, leaving enough clearance for the keyhole hangers to slide onto them.
The shelf is aligned and mounted onto the screws, then checked with a level to ensure it sits straight. Minor adjustments can be made before fully securing the shelf in place.
Common Mistakes to Avoid When Building DIY Wall Shelves
Small mistakes during measuring, assembly, or mounting can affect both shelf strength and appearance.
- Skipping accurate measurements before cutting the lumber can lead to uneven joints and poor alignment.
- Cutting all pieces at once without double-checking dimensions results in mismatched shelf parts.
- Mounting shelves directly into drywall without using proper anchors or wall studs for support.
- Overloading floating shelves beyond what the mounting hardware and wall type can handle.
- Rushing the sanding process, which leaves visible seams, rough edges, or uneven surfaces after finishing.
- Failing to level the shelf during installation causes it to tilt or shift over time.
- Using screws or anchors that are not matched to the wall material.
Safety Tips for DIY Floating Wall Shelves
Basic safety steps help prevent wall damage, tool injuries, and shelf failure during installation.
- Check for electrical wires or plumbing before drilling into the wall, especially near outlets or switches.
- Wear safety glasses during cutting, drilling, and sanding to protect against dust and debris.
- Keep the work area stable and well-lit to avoid slips or inaccurate cuts.
- Use drill bits and saw blades designed for wood to reduce tool strain and uneven results.
- Match anchors and screws to the wall type to ensure secure mounting.
- Test the shelf with light pressure after installation before placing items on it.
- Avoid placing heavy objects on floating shelves unless they are mounted to wall studs.
How Much Weight Can DIY Floating Wall Shelves Hold?
The weight capacity of DIY floating wall shelves depends on several factors, including shelf depth, lumber thickness, mounting hardware, and wall type.
Shelves mounted directly into wall studs can typically support more weight than those mounted only with drywall anchors.
High-quality plastic anchors rated at 50 pounds each can provide adequate support for light to moderate loads when installed correctly.
The shelf construction itself also plays a role, as strong joints reinforced with dowels and wood glue distribute weight more evenly.
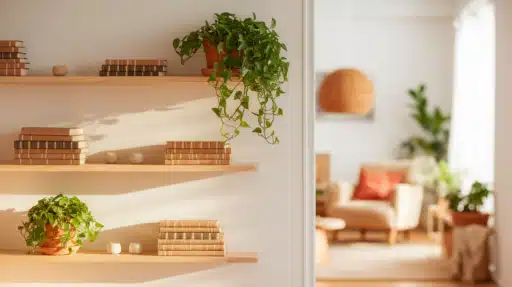
Floating shelves are best suited for decorative items, books, or small storage rather than heavy appliances.
Staying within recommended limits helps maintain both shelf stability and wall integrity over time.
Conclusion
DIY wall shelves offer a simple way to add useful storage while keeping control over cost, size, and finish.
With the right shelf style, basic tools, and careful planning, even a small project like this can deliver strong and long-lasting results.
Taking time to measure accurately, secure the shelf properly, and follow safety steps helps avoid common issues and keeps the installation reliable.
Floating wall shelves work especially well for light to medium storage when built with solid joints and proper wall support.
A thoughtful approach makes the shelves both functional and visually balanced. Share your DIY shelf setup, lessons learned, or creative ideas in the comments below.

James McLaren, with a rich background in architecture from the University of Manchester, has been contributing his expertise to the world of creative construction and home innovation for over 20 years. His journey began as a project manager for a leading construction firm, where he honed his skills in bringing complex designs to life. James joined our platform as a freelancer in 2019, quickly becoming a favorite for his insightful and practical advice. He has been a pivotal force to our wing ever since, bringing our readers a blend of technical know-how and creative flair. Beyond his professional life, James is an avid woodworker and enjoys restoring vintage furniture, a hobby that complements his professional insights beautifully.