Have you ever received a beautifully wrapped gift and wondered how they made that perfect bow? Those gorgeous ribbon bows might look complicated, but they’re actually quite simple to create once you know the secret!
Here, you’ll learn how to make ribbon bows for gifts step by step. You’ll turn your presents from ordinary to extraordinary. Making bows works great for birthday gifts, holiday presents, or wedding packages.
A handmade bow adds that special touch that shows you really care—no more struggling with store-bought sticky bows or messy, uneven attempts.
With just a few basic supplies and some practice, you’ll be creating professional-looking bows in minutes. Ready to learn this fun skill?
Why Ribbon Bows Make the Perfect Finishing Touch
A beautifully tied ribbon bow is like the cherry on top of a sundae. It completes any gift in a way nothing else can. Handmade bows turn simple packages into something special, showing genuine care and thought.
Ribbon bows work well for any occasion—birthdays, holidays, weddings, and more. You can make them in many colors and materials to match your recipient’s style or the event theme.
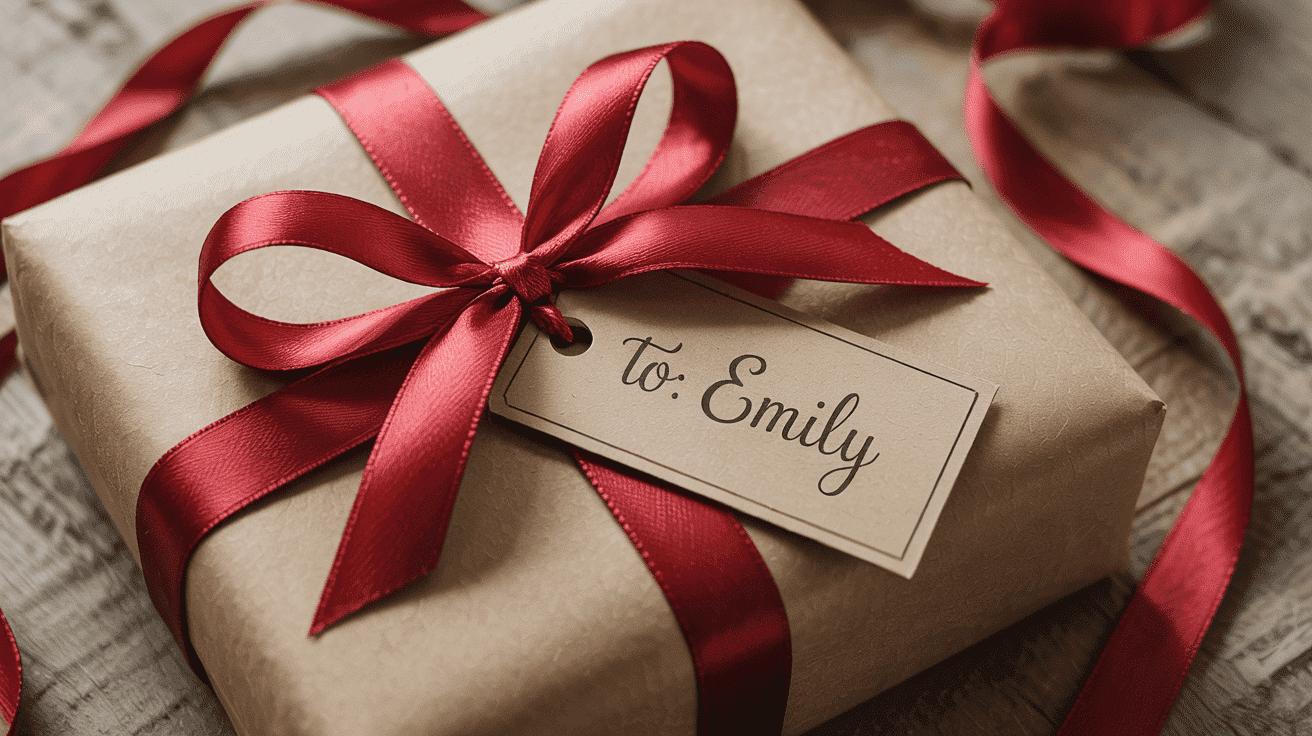
You don’t need fancy wrapping paper. A kraft paper package with a pretty bow looks better than expensive wrapping with a store-bought stick-on bow. A good bow creates that “wow” moment when your gift is presented.
It makes the receiver feel appreciated before they’ve even opened their present. The small effort of adding a handmade bow makes a big difference in how your gift is received.
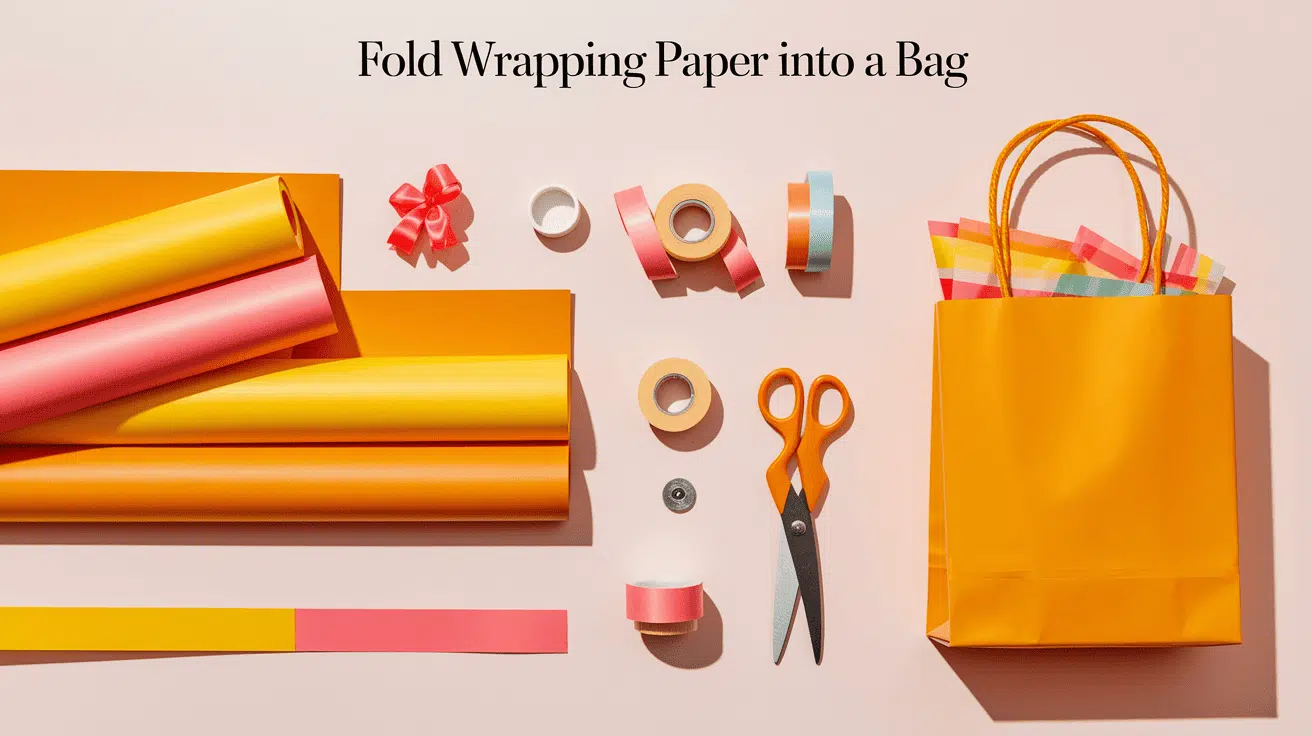
Materials Needed
Before you start creating your beautiful ribbon bows, you’ll need to gather a few basic supplies. Having everything ready will make the process much smoother and more enjoyable.
Most of these items are probably already in your home, and the rest can be found at any craft store.
- Ribbon (wide enough for your project, in your chosen color and pattern)
- Sharp scissors
- A small piece of thin ribbon or wire (to secure the bow center)
- Optional decorations (small ornaments, beads, or gift tags)
- A gift or box to tie the bow on
Total Estimated Cost Range – $22- $35
Step-by-Step Guide for Tying the Perfect Ribbon Bow
Creating a beautiful ribbon bow isn’t difficult once you know the right technique. With a bit of practice, you’ll be making professional-looking bows in no time.
Follow these simple steps to create bows that will make your gifts stand out. Even beginners can master this skill with a little patience and the right instructions.
Step 1: Wrap the Ribbon Around the Box
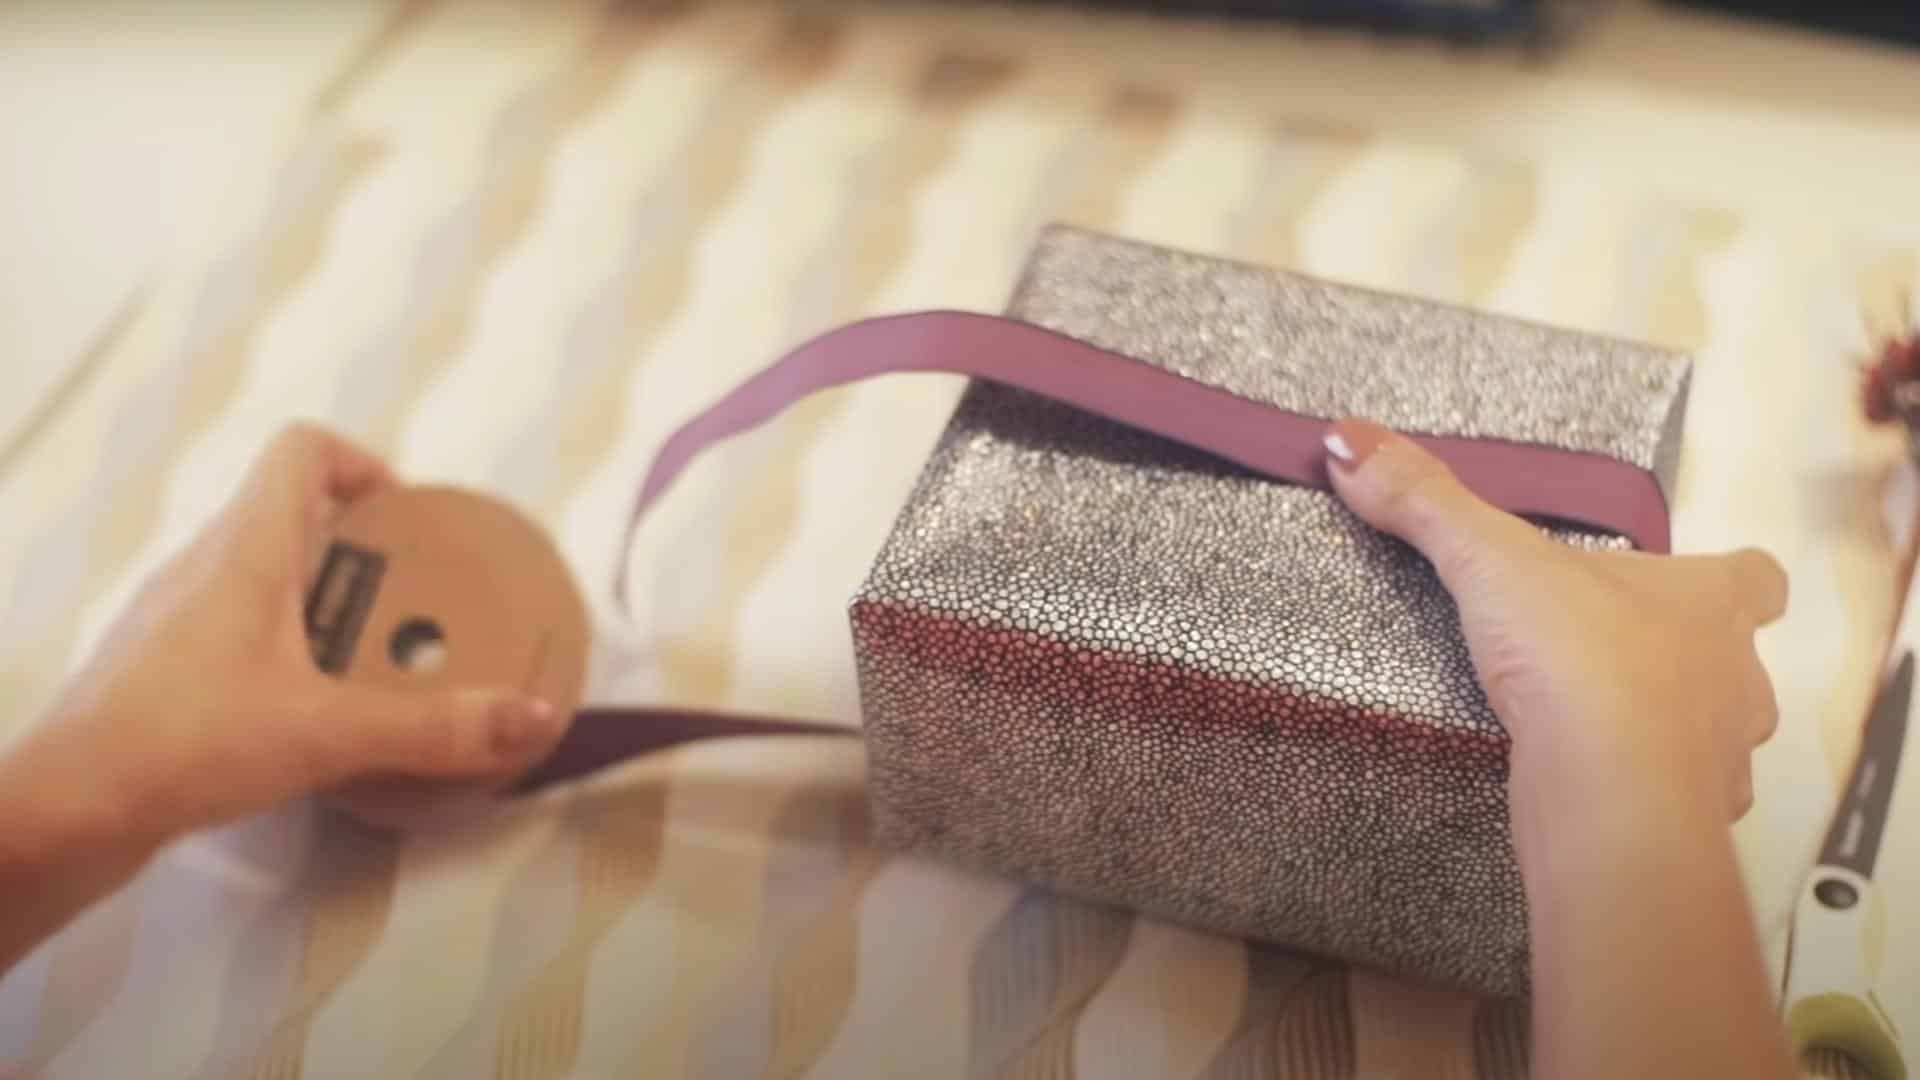
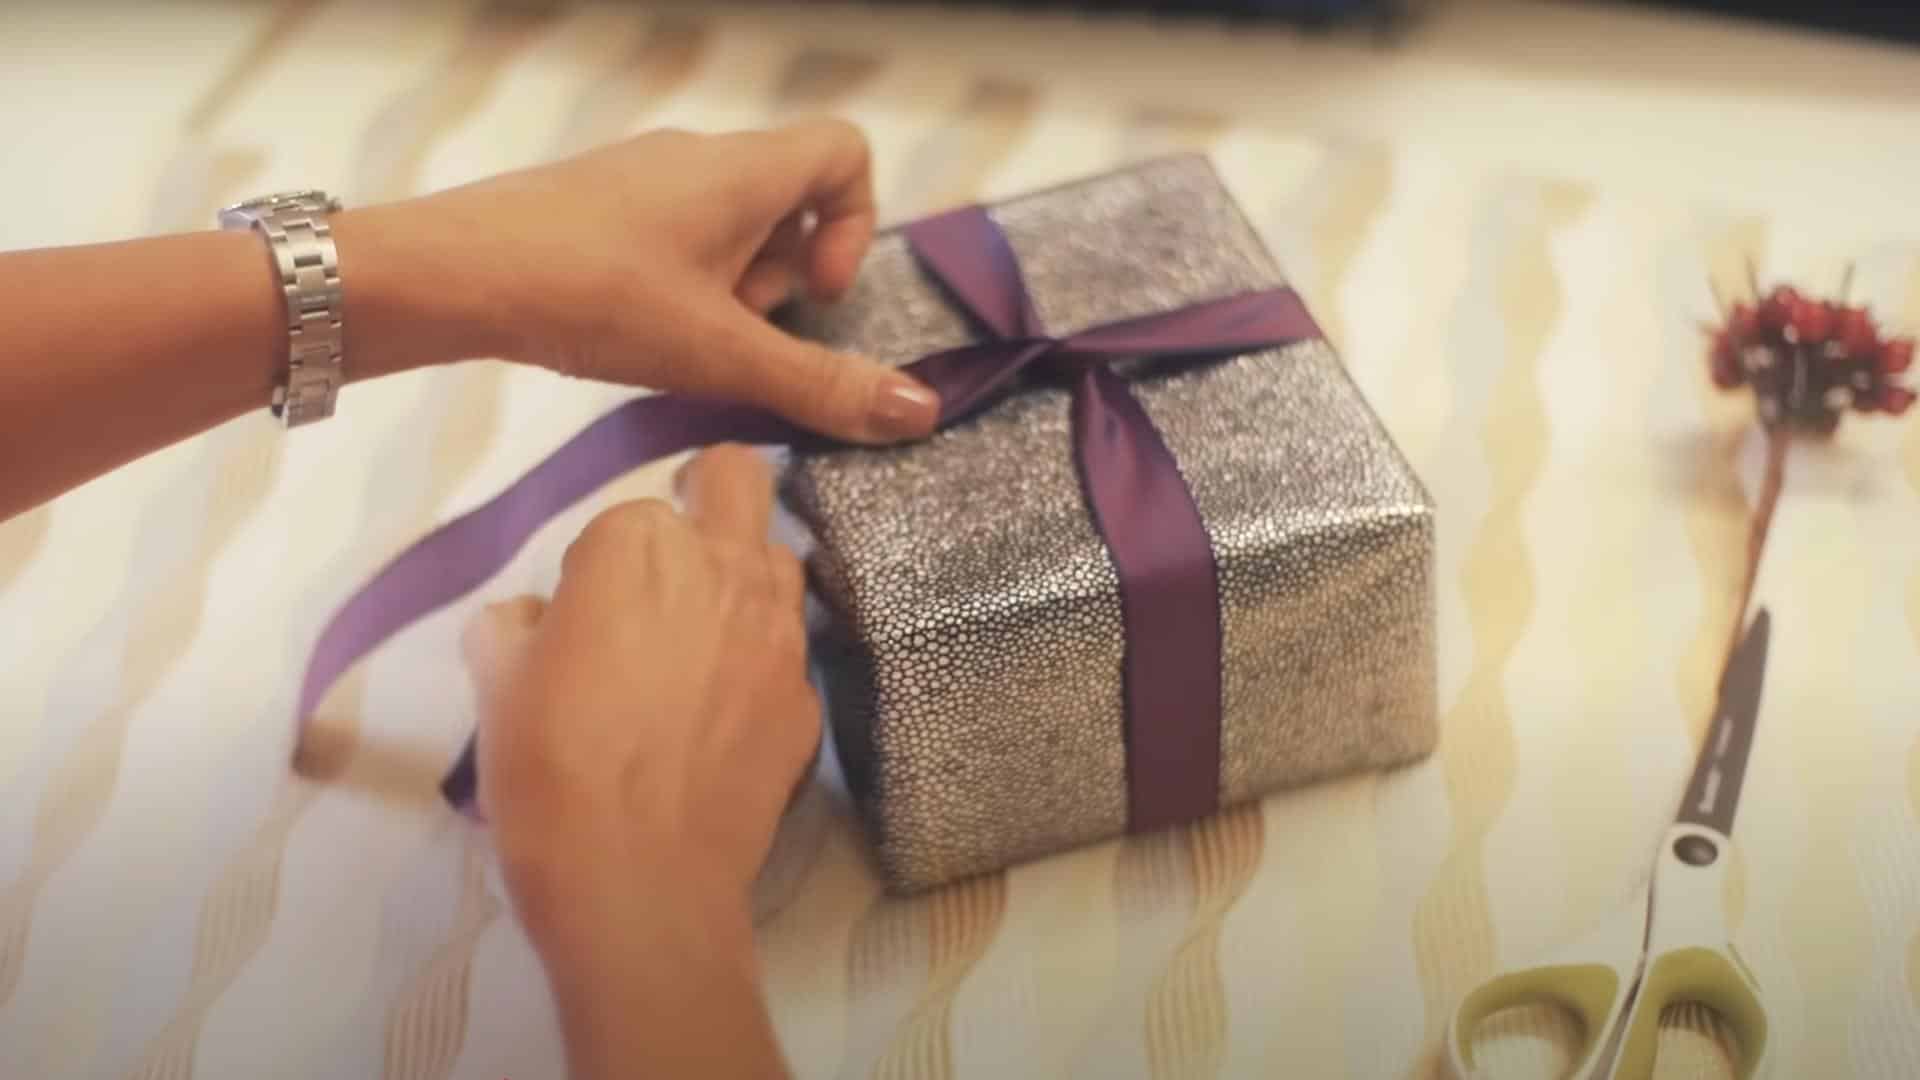
Start by leaving a small tail of ribbon hanging from the bottom of your box. Bring the ribbon up and over your box, making sure it’s centered. Pull the ribbon snugly around to the bottom of the box, then bring it back up to the top.
The ribbon should now cross over itself on top of the box. Make sure not to pull too tight – you’ll need some flexibility to work with.
Step 2: Cross the Ribbon and Measure
Once you’ve crossed the ribbon on top, wrap it around the sides of the box again. Bring both ribbon ends to the center top where they cross. Check that you have enough ribbon left to make nice bow loops.
Hold the crossing point firmly with your finger to keep everything in place. Cut the ribbon from the roll, leaving enough extra length to form your bow loops and tails.
Step 3: Tuck and Tie the Ribbon
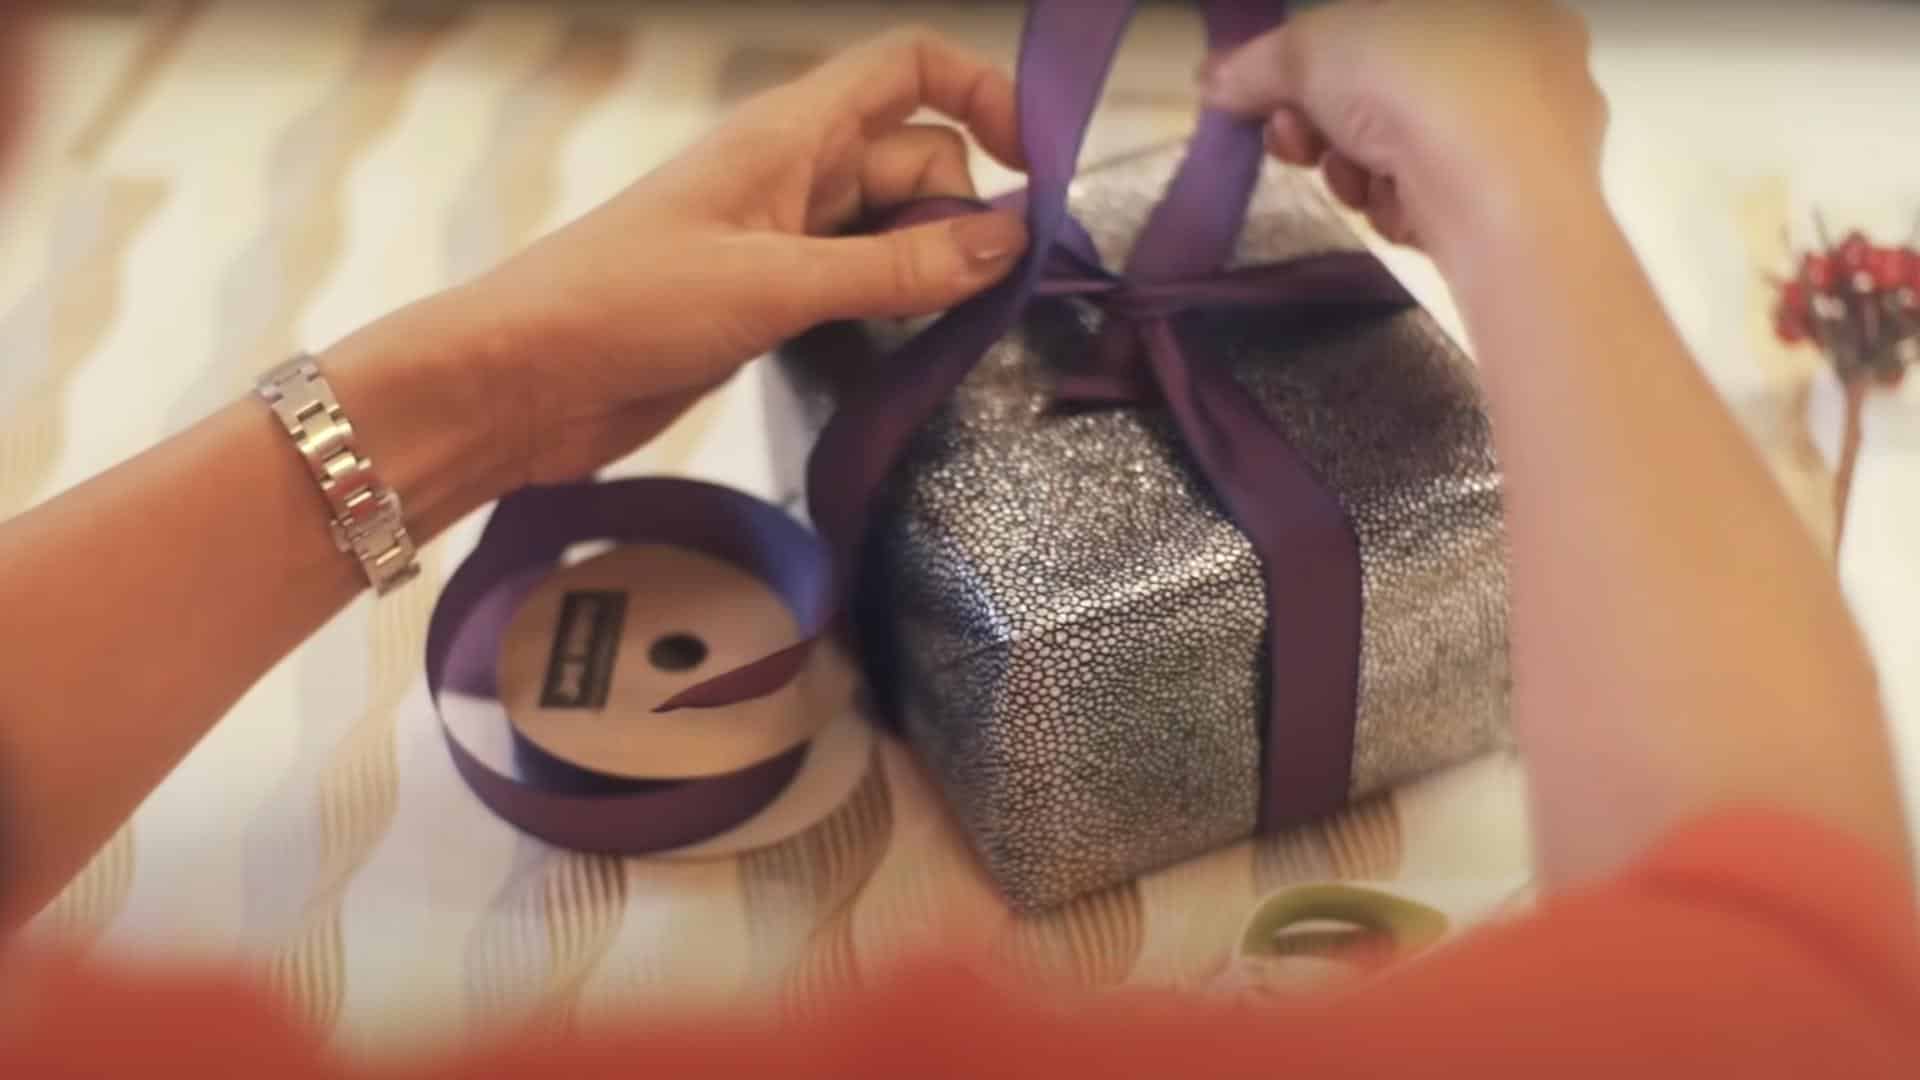
Take one ribbon end and tuck it underneath the crossed point. With both ribbon ends now pointing upward, you’re ready to tie.
Form a simple loop with the left ribbon end, holding it between your thumb and finger. This loop will be half of your bow. Make sure it’s the size you want for your finished bow.
Step 4: Tighten the Bow
Take the right ribbon end and bring it around the back of your first loop. Now push it through the center hole to create the second loop.
Gently pull both loops out to the sides while holding the center knot. Adjust the loops until they’re even in size. Pull carefully to tighten the center knot without crushing your loops.
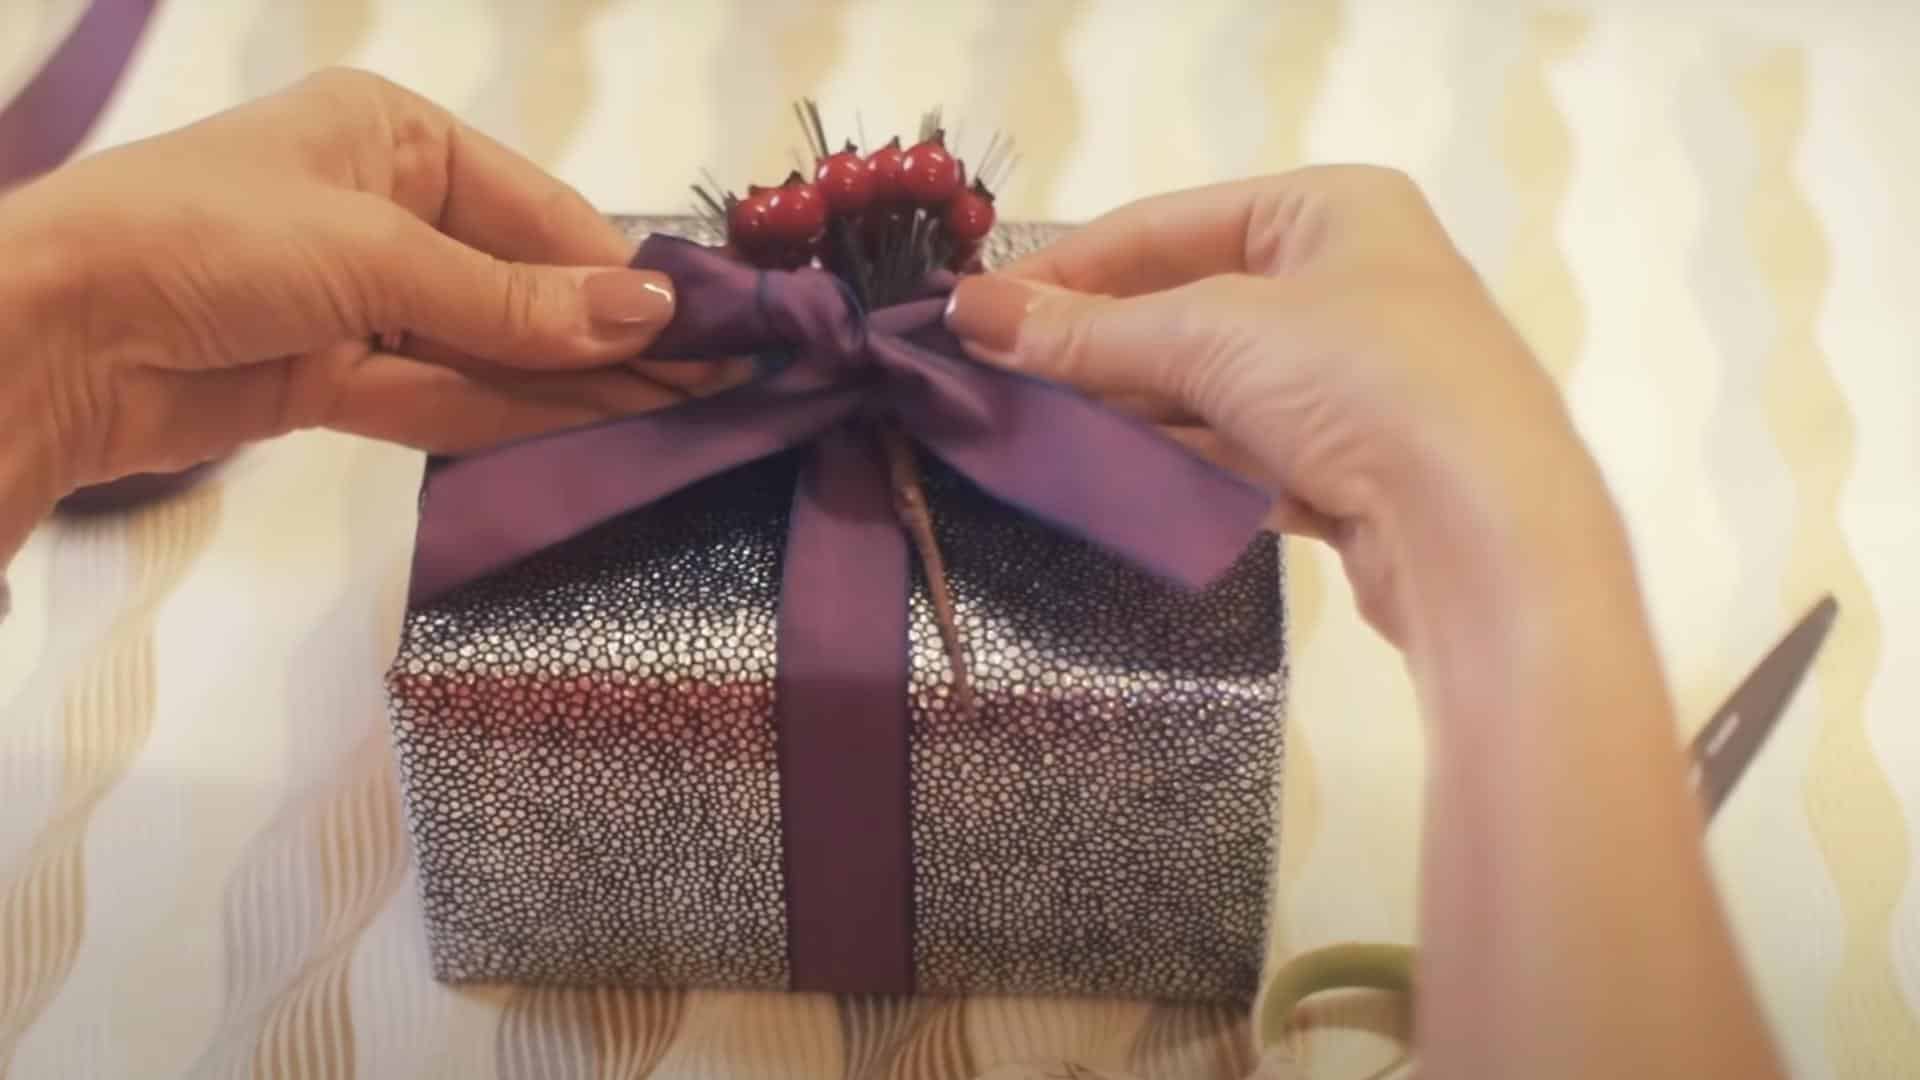
Step 5: Trim and Add Decoration
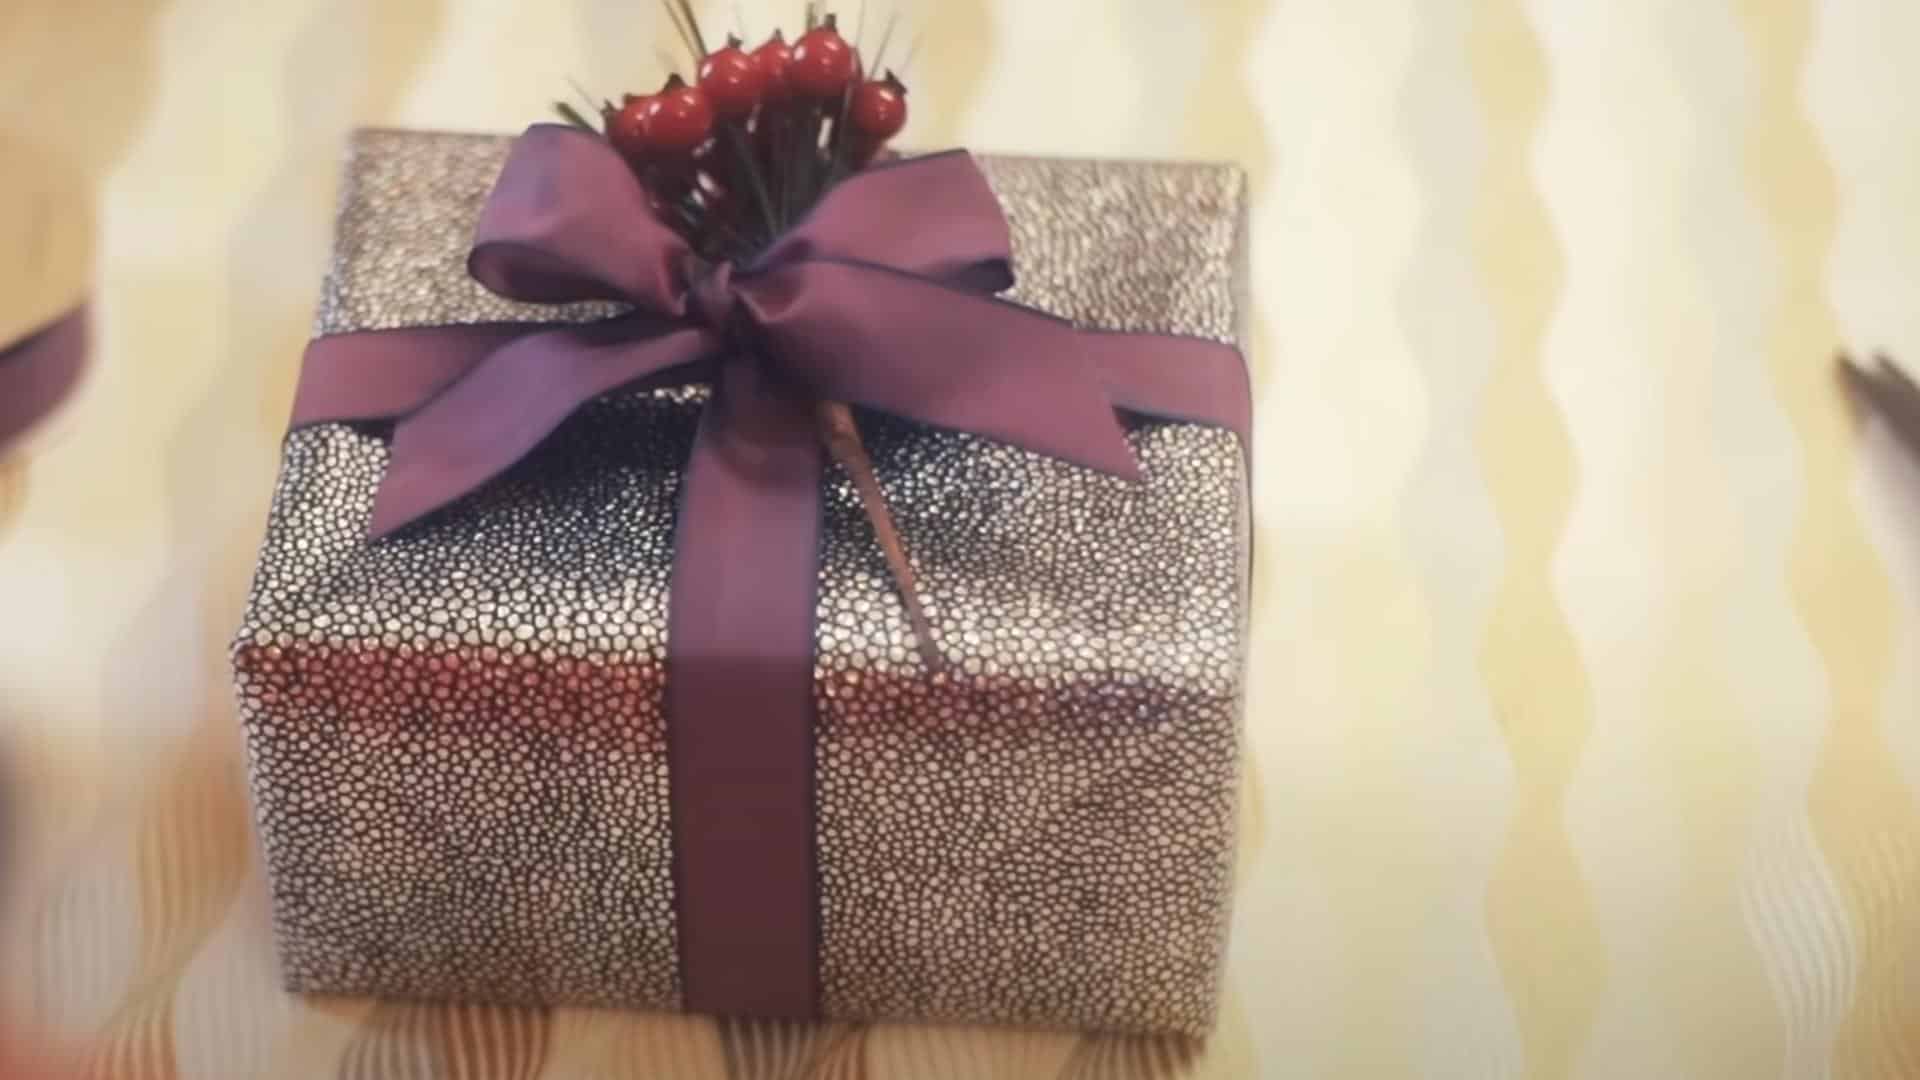
Once your bow is secure, trim the ribbon ends at an angle for a neat, professional look. You can curl these ends by running scissors along them, or leave them straight for a more modern style.
If you’d like to add extra flair, attach small decorations to the center of your bow using thin wire or hot glue. Mini ornaments, pinecones, or gift tags work wonderfully as finishing touches.
Video Tutorial – Watch How It’s Done
For more information, check out this video tutorial by Jane Means
Common Mistakes to Avoid
Even experienced bow makers can sometimes run into problems. Being aware of common mistakes will help you create better bows from the start.
With a bit of attention to detail, you can avoid these simple errors that might affect how your bow looks. Take your time and don’t rush the process, as patience is key to creating beautiful ribbon bows.
- Pulling the ribbon too tight creates flat, misshapen bows.
- Leaving the bow too loose, making it look messy and likely to come undone.
- Using ribbons that are too flimsy for the size of the bow you want to make.
- Choosing wired ribbon for styles that require soft draping.
- Cutting ribbon ends straight across instead of at an angle.
- Forgetting to crease the center fold, which helps the bow hold its shape.
- Using dull scissors that fray the ribbon edges.
- Rushing through the steps instead of taking time to adjust each loop.
Creative Ways to Use Ribbon Bows
Ribbon bows aren’t just for wrapping presents. These versatile decorations can add a special touch to many aspects of your home and celebrations. Once you master making beautiful bows, you’ll find countless ways to use them.
Get creative and look for opportunities to add these handmade touches throughout your space. The skills you learn for gift wrapping can be applied to many other decorative projects.
1. Gift Wrapping
Match your ribbon bow color to your wrapping paper for a cohesive look. Try contrasting colors for a bold statement, like red bows on kraft paper or blue bows on silver paper. For oddly shaped gifts, attach your bow to a gift tag instead of directly on the package.
Layer different ribbon widths for more visual interest. Don’t forget that a beautiful bow can make even the simplest wrapping paper look special.
2. Home Décor
Attach ribbon bows to plain throw pillows for a quick seasonal update. Add bows to the backs of dining chairs for holiday meals or special occasions. Use them on doorknobs, cabinet handles, and stair railings during holidays.
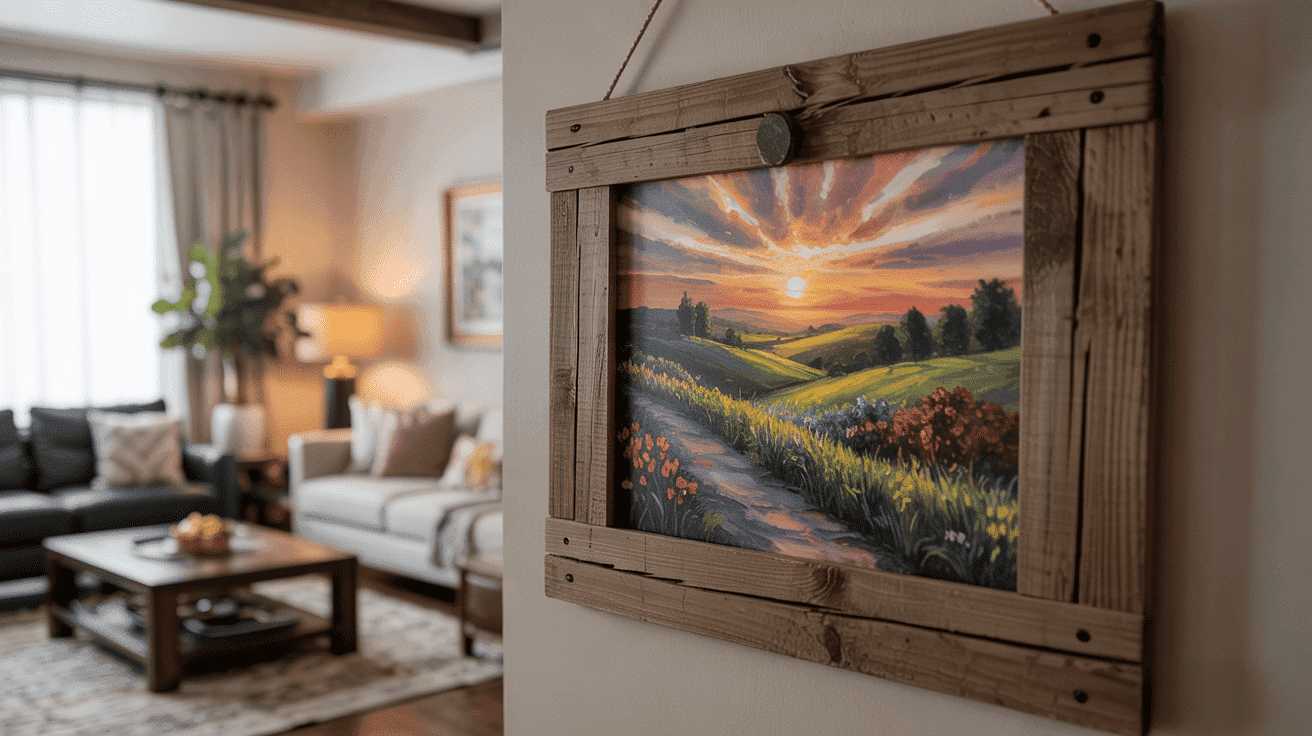
Tie bows around vase necks to dress up flower arrangements. You can even add small bows to picture frames or lampshades for a subtle decorative touch throughout your home.
3. Party Decorations
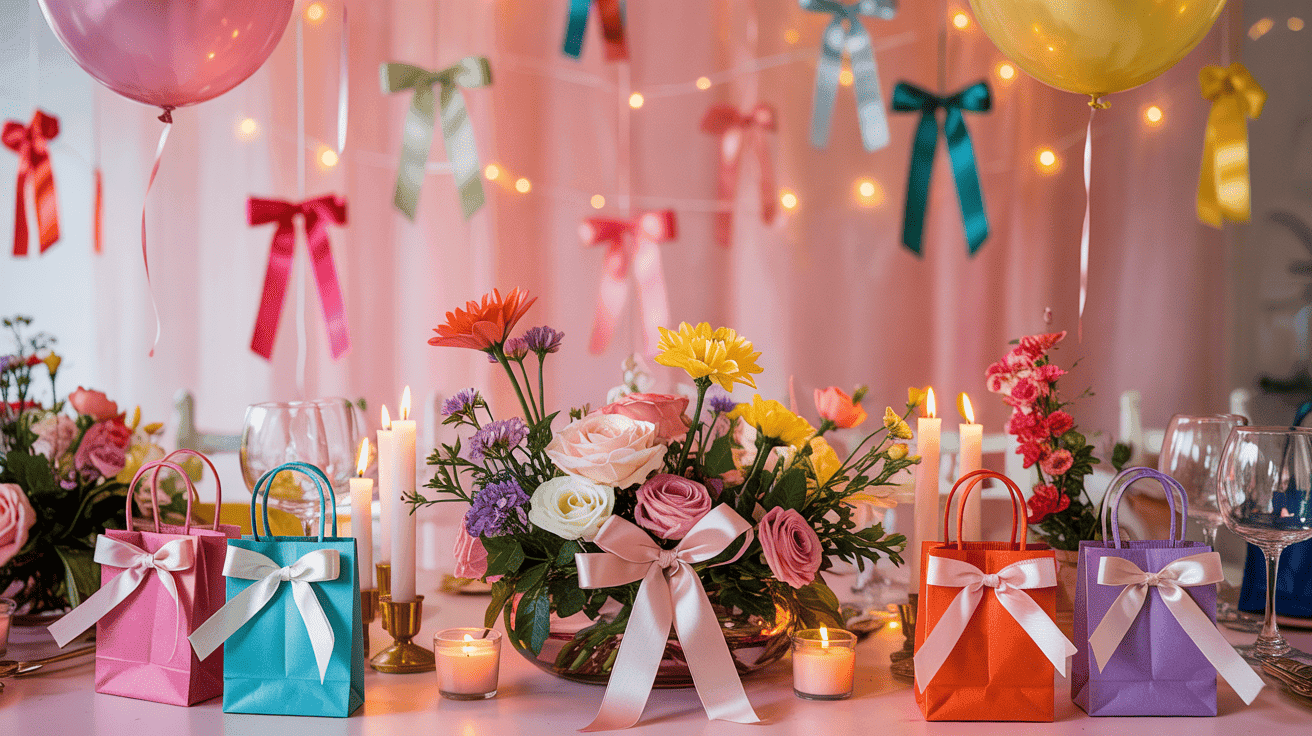
Tie ribbon bows to balloon strings for an extra festive look. Use them to decorate the backs of chairs at birthday parties or weddings. Attach bows to party favor bags or boxes for a finishing touch.
Create a backdrop by hanging ribbon bows of various sizes on fishing line. For centerpieces, tie bows around candle holders or the bases of flower arrangements to match your party theme.
Summing It Up
Now you know how to make ribbon bows for gifts step by step! With these simple techniques, you can create beautiful bows for any occasion.
Remember that practice makes perfect—your first few attempts might not be flawless, but keep trying. Soon, you’ll be making gorgeous bows without even thinking about it.
The joy of giving a beautifully wrapped gift with your handmade bow is worth the small effort it takes to learn. Don’t be afraid to try different ribbons, colors, and styles to match your gifts and express your creativity.
Your friends and family will notice and appreciate the extra touch of care in your presents. Happy bow-making, and may all your gifts bring smiles to those who receive them!

James McLaren, with a rich background in architecture from the University of Manchester, has been contributing his expertise to the world of creative construction and home innovation for over 20 years. His journey began as a project manager for a leading construction firm, where he honed his skills in bringing complex designs to life. James joined our platform as a freelancer in 2019, quickly becoming a favorite for his insightful and practical advice. He has been a pivotal force to our wing ever since, bringing our readers a blend of technical know-how and creative flair. Beyond his professional life, James is an avid woodworker and enjoys restoring vintage furniture, a hobby that complements his professional insights beautifully.