Swamp coolers, also known as evaporative coolers, stand out as one of the most energy-efficient cooling solutions for homes in dry climates. These ingenious systems harness the natural process of water evaporation to cool air, consuming far less electricity than conventional air conditioning units. Yet like any mechanical system, consistent maintenance makes the difference between optimal performance and costly breakdowns—not to mention the impact on energy savings and indoor air quality.
How Swamp Coolers Work: The Basics
Proper upkeep, combined with timely replacement of key components and sourcing quality swamp cooler parts, keeps your system running smoothly for years to come. This comprehensive guide walks you through expert-backed maintenance steps that any homeowner can tackle to keep their evaporative cooler in peak condition.
Getting familiar with your swamp cooler’s operation makes maintenance much more straightforward. The evaporative cooling process draws warm, dry air through water-saturated cooling pads. As air passes through these wet pads, water evaporates and absorbs heat, dropping the air temperature by 15-40 degrees before sending it throughout your home.
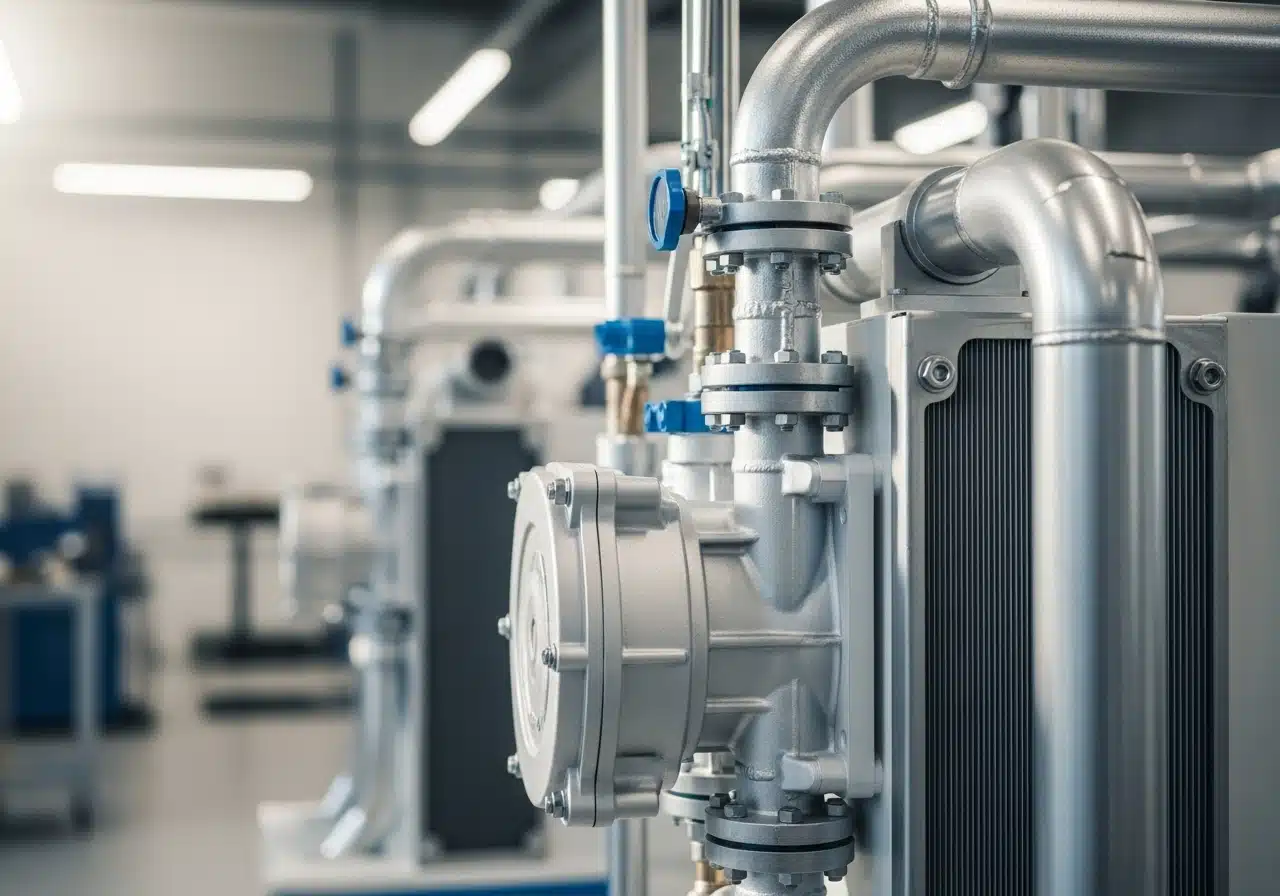
The system relies on several key components working in harmony: cooling pads (typically made from aspen wood fibers or synthetic materials), a water reservoir that holds the water supply, a circulation pump that keeps water flowing over the pads, a fan that moves air through the system, and a float valve that maintains proper water levels. When any single component fails or operates poorly, the entire system’s efficiency takes a hit.
Routine Maintenance Tasks for Peak Performance
Cleaning both exterior and interior surfaces should top your maintenance priority list. A simple wipe-down of the unit’s exterior with a damp cloth works wonders—just steer clear of harsh chemicals that might damage the finish or internal components. Regular removal of dust and debris from vents and fan screens keeps airflow unrestricted.
Replacing cooling pads ranks as perhaps the most crucial maintenance task. Clean, intact pads form the heart of effective cooling, while dirty or deteriorated pads choke airflow and slash cooling capacity. Make it a habit to inspect pads at least once per season, watching for mineral buildup, mold growth, or physical damage. Time for replacement when they turn hard and brittle or develop that telltale unpleasant odor.
Water quality and reservoir care directly determines your cooler’s performance and lifespan. Poor water quality creates mineral buildup and scale formation, which can wreak havoc on components and tank efficiency. Completely drain the reservoir, scrub away mineral deposits or algae, then refill with fresh water. Throughout the cooling season, verify that water levels stay adequate for proper operation.
Inspecting and maintaining mechanical parts keeps everything running safely and efficiently. Motor bearings need lubrication according to manufacturer specifications—typically once or twice per season. Check belts for proper tension and wear signs, replacing any that show cracks or stretching. Examine all electrical connections for corrosion or loose wires, addressing problems immediately for safety’s sake.
Seasonal Deep Cleaning and Preparation
Spring startup demands thorough preparation after months of dormancy. Strip away winter covers and insulation materials, then inspect every component for damage that might have occurred during storage. If cooling pads weren’t replaced at the previous season’s end, now’s the time. Clean the reservoir completely, and verify that the float valve and water supply connections operate properly.
Monthly and end-of-season tasks maintain peak performance throughout the cooling months. Clean water troughs monthly to stop algae in its tracks, check for leaks in water lines and connections, and watch for mold or scale buildup that could compromise air quality. Before winter storage arrives, drain the unit completely and let it dry thoroughly—this prevents rust formation and freeze damage.
Troubleshooting Common Swamp Cooler Issues
Reduced cooling efficiency usually traces back to dirty pads, low water levels, mineral buildup, or worn components. Tackle these problems by cleaning or replacing pads, checking water supply and float valve operation, descaling the reservoir, and examining all moving parts for wear.
Unusual noises or odors frequently signal maintenance needs. Grinding or squealing sounds often point to worn belts or bearings crying out for lubrication or replacement. Musty odors suggest mold or mildew has taken hold, calling for thorough cleaning and sanitization of the entire system.
Extending the Life of Your Swamp Cooler
Proactive replacement of parts before complete failure saves both money and the headache of system breakdowns during peak cooling season. Quality replacement components ensure reliable operation while maintaining manufacturer warranty coverage.
Storage and off-season care plays a huge role in longevity. Proper winterization involves draining all water, cleaning thoroughly, disconnecting water lines in freezing climates, and covering the unit to shield it from weather damage.
Conclusion
Consistent, thorough maintenance remains the cornerstone of efficient, long-lasting swamp cooler performance. By following these expert-recommended practices and staying ahead of the curve with inspections and part replacements, you’ll enjoy years of reliable cooling while keeping energy costs in check. Develop a simple maintenance schedule that works with your routine, and remember that proper care doesn’t just save money and energy—it creates a healthier indoor environment for you and your family.

Tommy Hardy, an alumnus of the Georgia Institute of Technology with a degree in Mechanical Engineering, has been a go-to figure in residential upkeep and innovation for over 18 years. His career commenced in a leading home appliance manufacturing company, where he mastered the intricacies of household systems. Joining our platform in 2020, Tommy quickly became a reader favorite for his practical and easy-to-follow guides. He took the helm of our DIY section in 2019, consistently delivering content that empowers homeowners. Beyond his professional pursuits, Tommy is a passionate gardener and enjoys woodworking, skills enhancing his hands-on approach to home care.