Have you ever looked at your bed and felt like something was missing? DIY bed skirts might be just what you need!
Making your bed skirt is better than buying one from the store. With DIY bed skirts, you pick the fabric, color, and style that perfectly match your room.
Store-bought bed skirts cost a lot and might not fit right. Making one yourself saves money and gives you exactly what you want.
Don’t worry if you’re not good at sewing – DIY bed skirts are easy to make, even for beginners.
You can finish one in just a few hours! Plus, DIY bed skirts hide all the stuff under your bed while making your room look nicer. Are you ready to try making DIY bed skirts for your bedroom?
Why Making a DIY Bed Skirt Is Totally Worth It!
Nothing changes a bedroom quite like a custom bed skirt made by your own hands. Creating your bed skirt saves money while giving you exactly what you want.
Store-bought bed skirts can be expensive and often don’t perfectly match your bedroom. When you make one yourself, you control the fabric, length, and style.
It’s also surprisingly easy—even beginners can finish one in an afternoon. Plus, there’s something special about looking at your bed and knowing you made that beautiful finishing touch yourself.
When friends compliment your bedroom, you’ll feel proud saying, “I made that!” DIY bed skirts are practical, too, hiding under-bed storage while adding style to your room.
Materials and Tools You’ll Need

Choosing the Right Fabric for Your Bed Skirt
Fabric selection is crucial when making a DIY bed skirt. An old sheet works perfectly, as it’s already framed and large enough. Look for fabric that complements your bedroom décor. Cotton is easy to work with, while linen adds classiness.
Consider fabric weight too—lighter fabrics create a softer flow, while heavier materials provide more structure and stay in place better.
Essential Tools for a Perfect Bed Skirt
- Old sheet (for the bed skirt fabric)
- Measuring tape (to take measurements)
- Scissors (for cutting fabric)
- Iron (for pressing the fabric)
- Pins (for securing pieces together)
- Fitted sheet (to help secure the bed skirt)
Total Estimated Cost
- Without Iron and Scissors (assuming access to one): $33 – $43
- With Iron and Scissors: $53 – $63
Style Options for DIY Bed Skirts

Box Pleated vs. Gathered Bedskirts
| FEATURE | BOX PLEATED BED SKIRTS | GATHERED BED SKIRTS |
|---|---|---|
| Appearance | Neat, even folds with sharp corners | Soft, wavy folds |
| Look | Clean, organized, formal | Relaxed, casual, cozy |
| Fabric Requirements | Requires more fabric | Requires less fabric |
| Time to Make | Takes more time to measure and create | Easier and faster to make |
| Skill Level | More advanced | Beginner-friendly |
| Effectiveness | Hides space under the bed | Hides space under the bed |
| Best For | Formal bedroom styles | Casual, cozy bedroom styles |
How to Match Your Bedskirt to Your Bedroom Décor?
Your bed skirt should complement your bedroom’s colors and style. For a calm room, pick a bed skirt color that matches your walls or bedding.
If you want your bed to stand out, choose a color that’s different from the rest of your room. Floral patterns work great in country-style rooms, while solid colors are better for modern rooms.
Remember, your bed skirt is like the frame around a picture—it should make your bed look its best!
Step-By-Step Guide To Making Your Diy Bedskirt
STEP 1: Measure and Cut Your Fabric
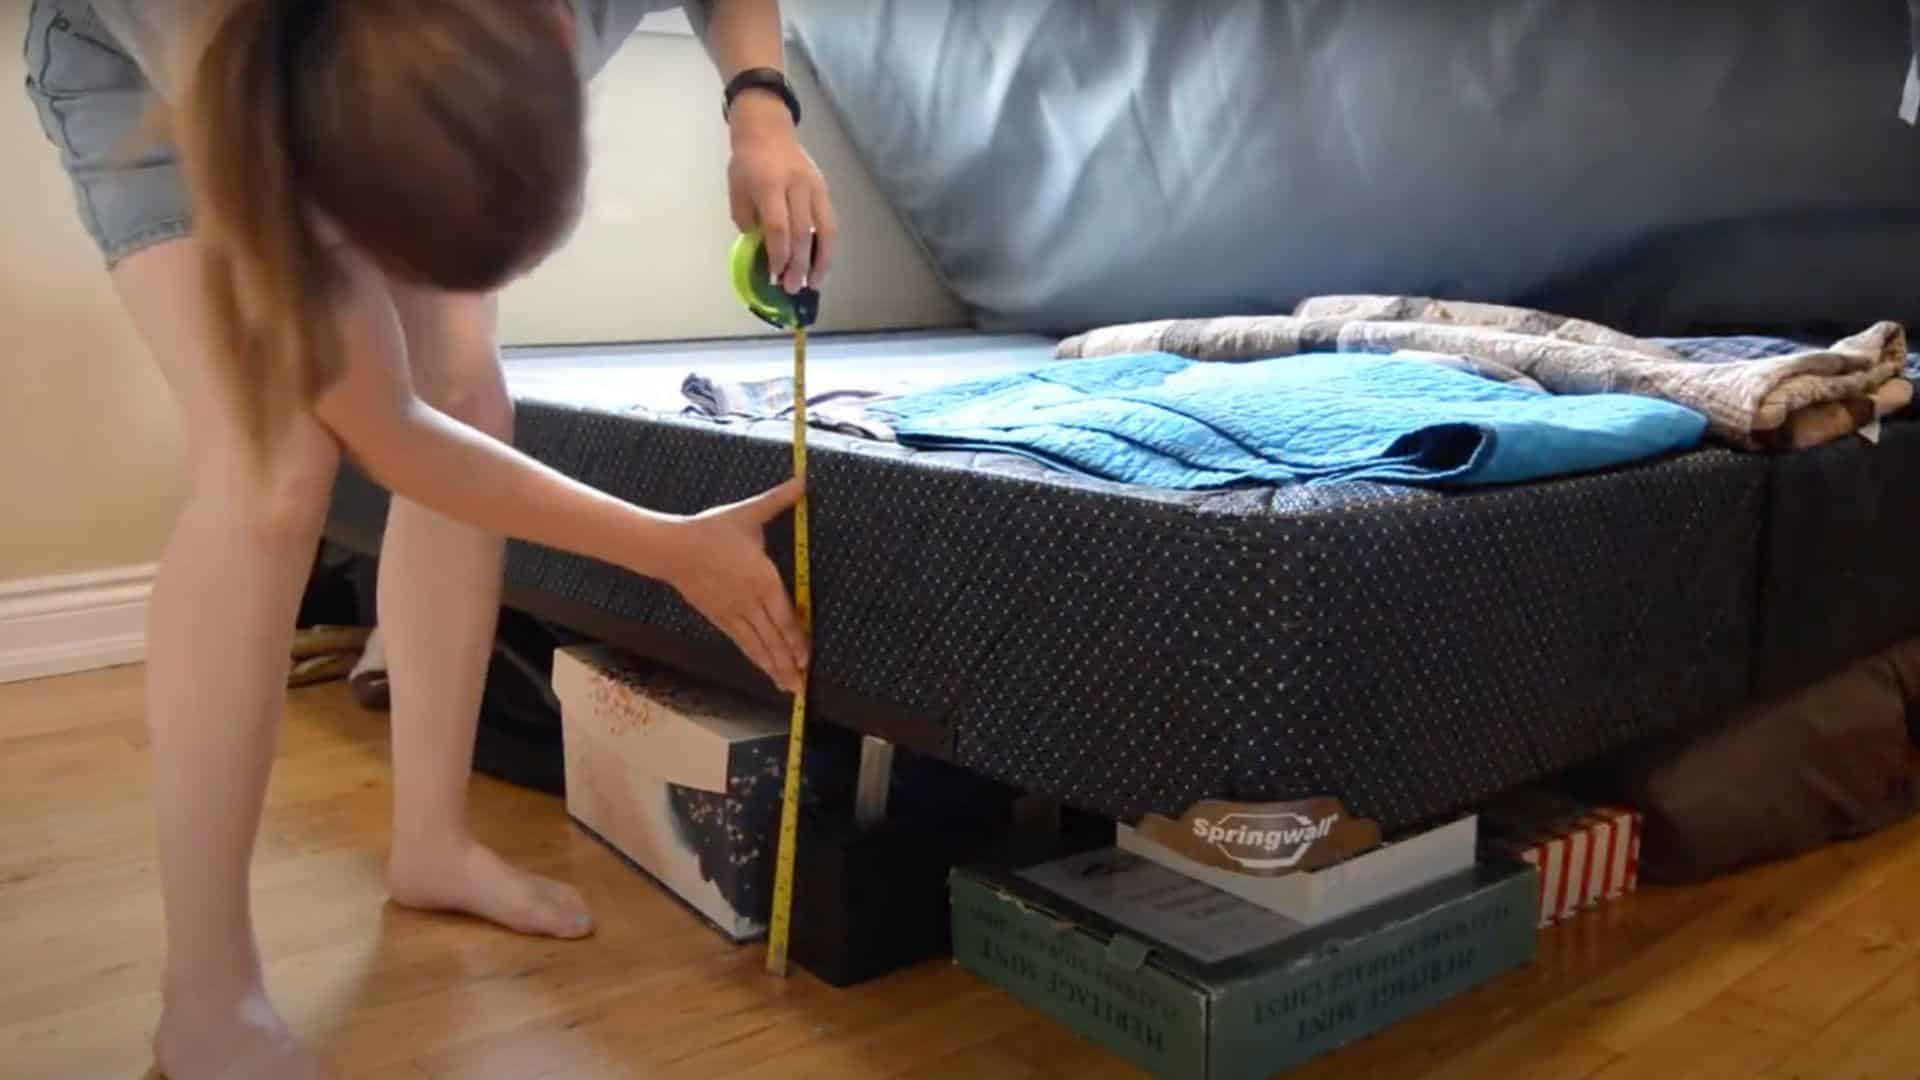
Start by measuring the box spring to determine the right size for your bed skirt. For a queen-sized bed, you’ll need two pieces measuring 82 inches by 22 inches, one piece at 62 inches by 22 inches, and two corner pieces, each measuring 22 inches by 22 inches. Once measured, cut the fabric accordingly.
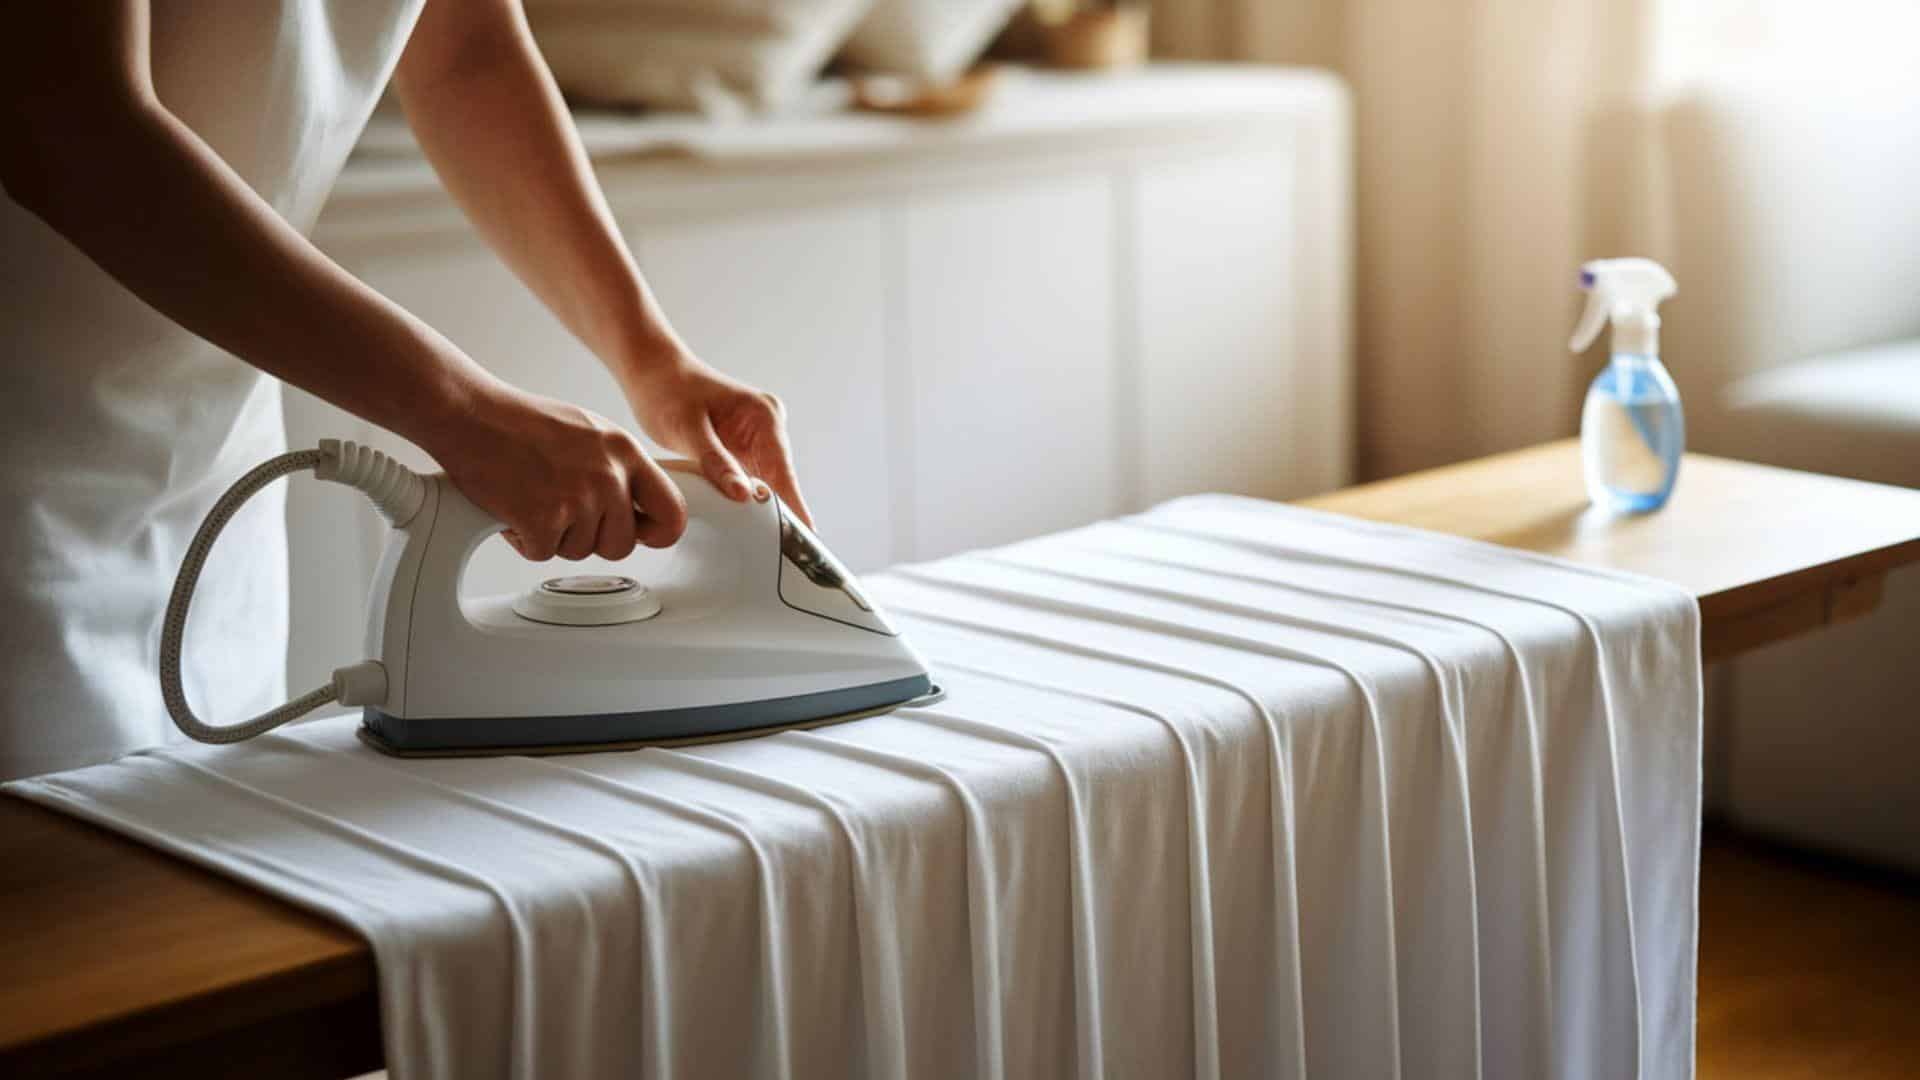
STEP 2: Iron and Prepare Your Pieces
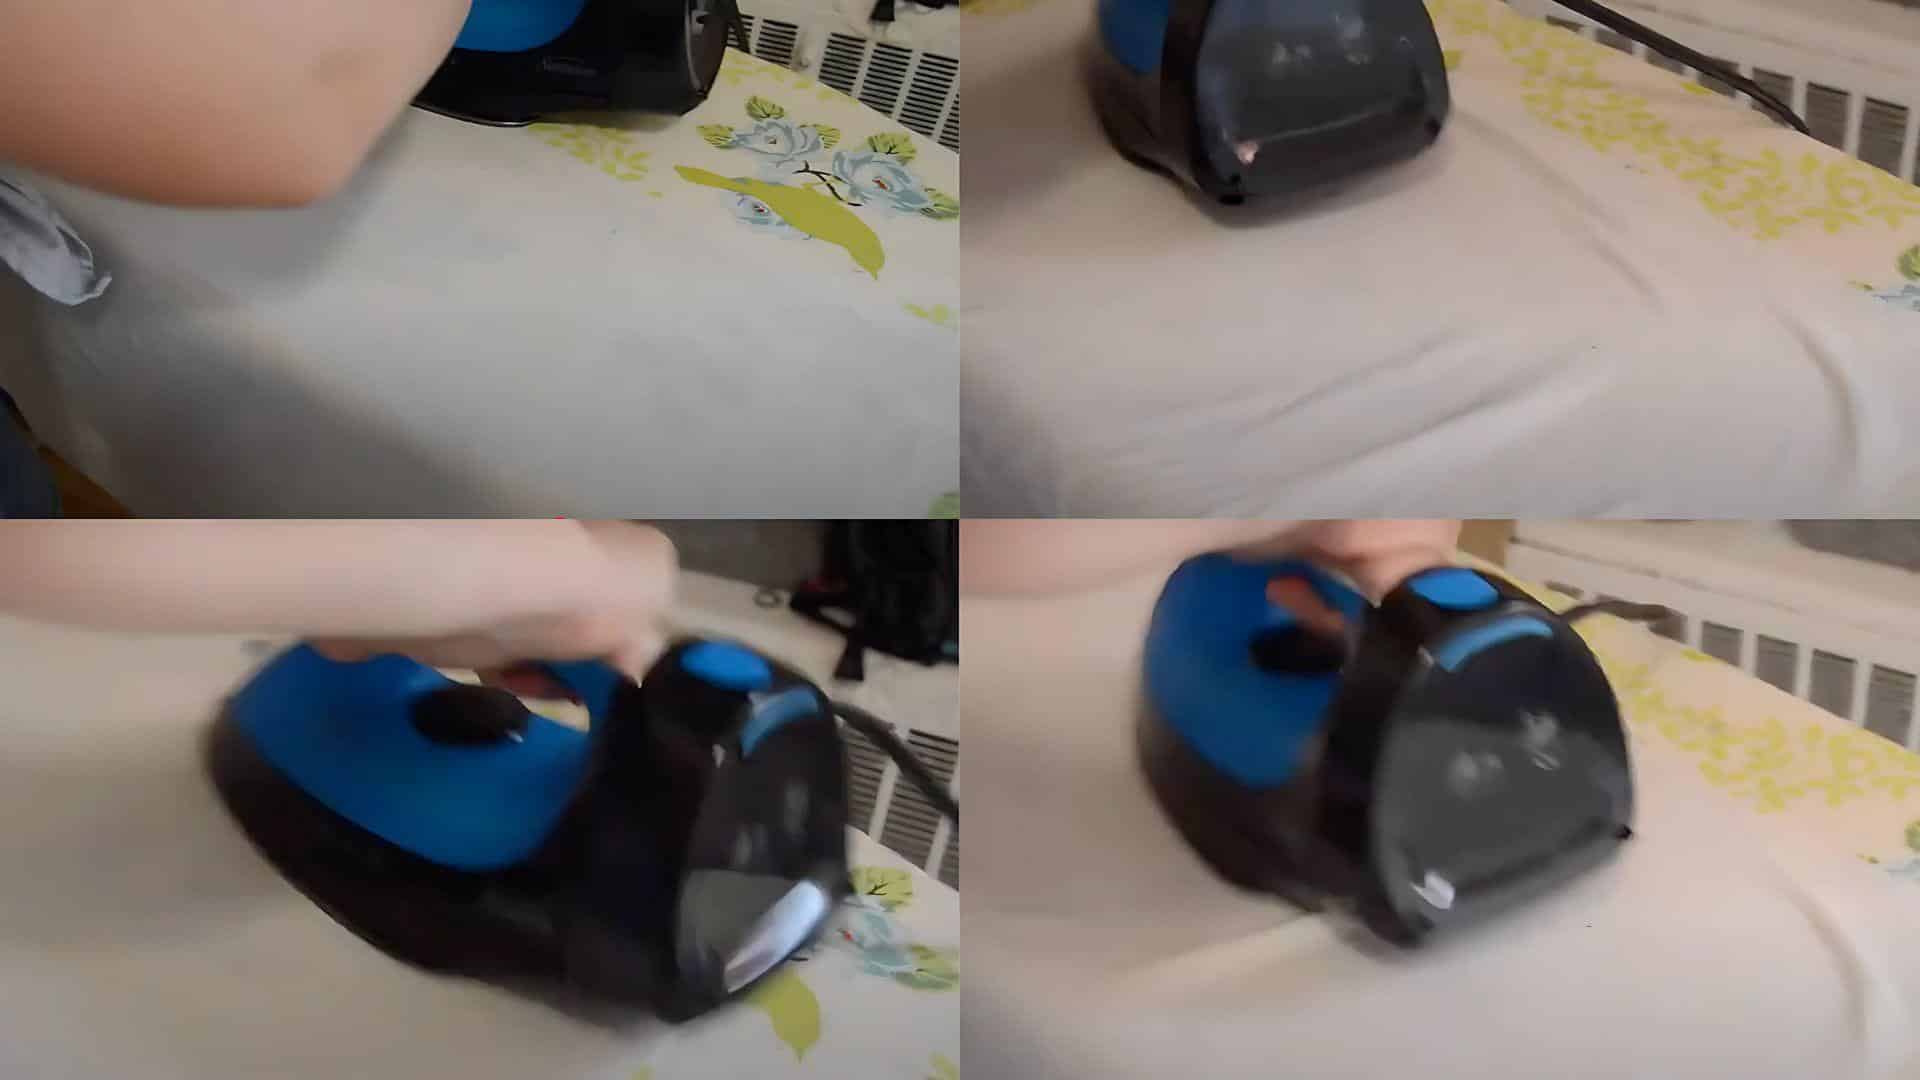
Before sewing, iron each piece of fabric to remove any wrinkles. Press the seams as well to ensure clean, neat edges. For this project, use a 3/8-inch seam allowance on all raw edges to keep the fabric secure and even.
STEP 3: Pin the Fabric Pieces Together
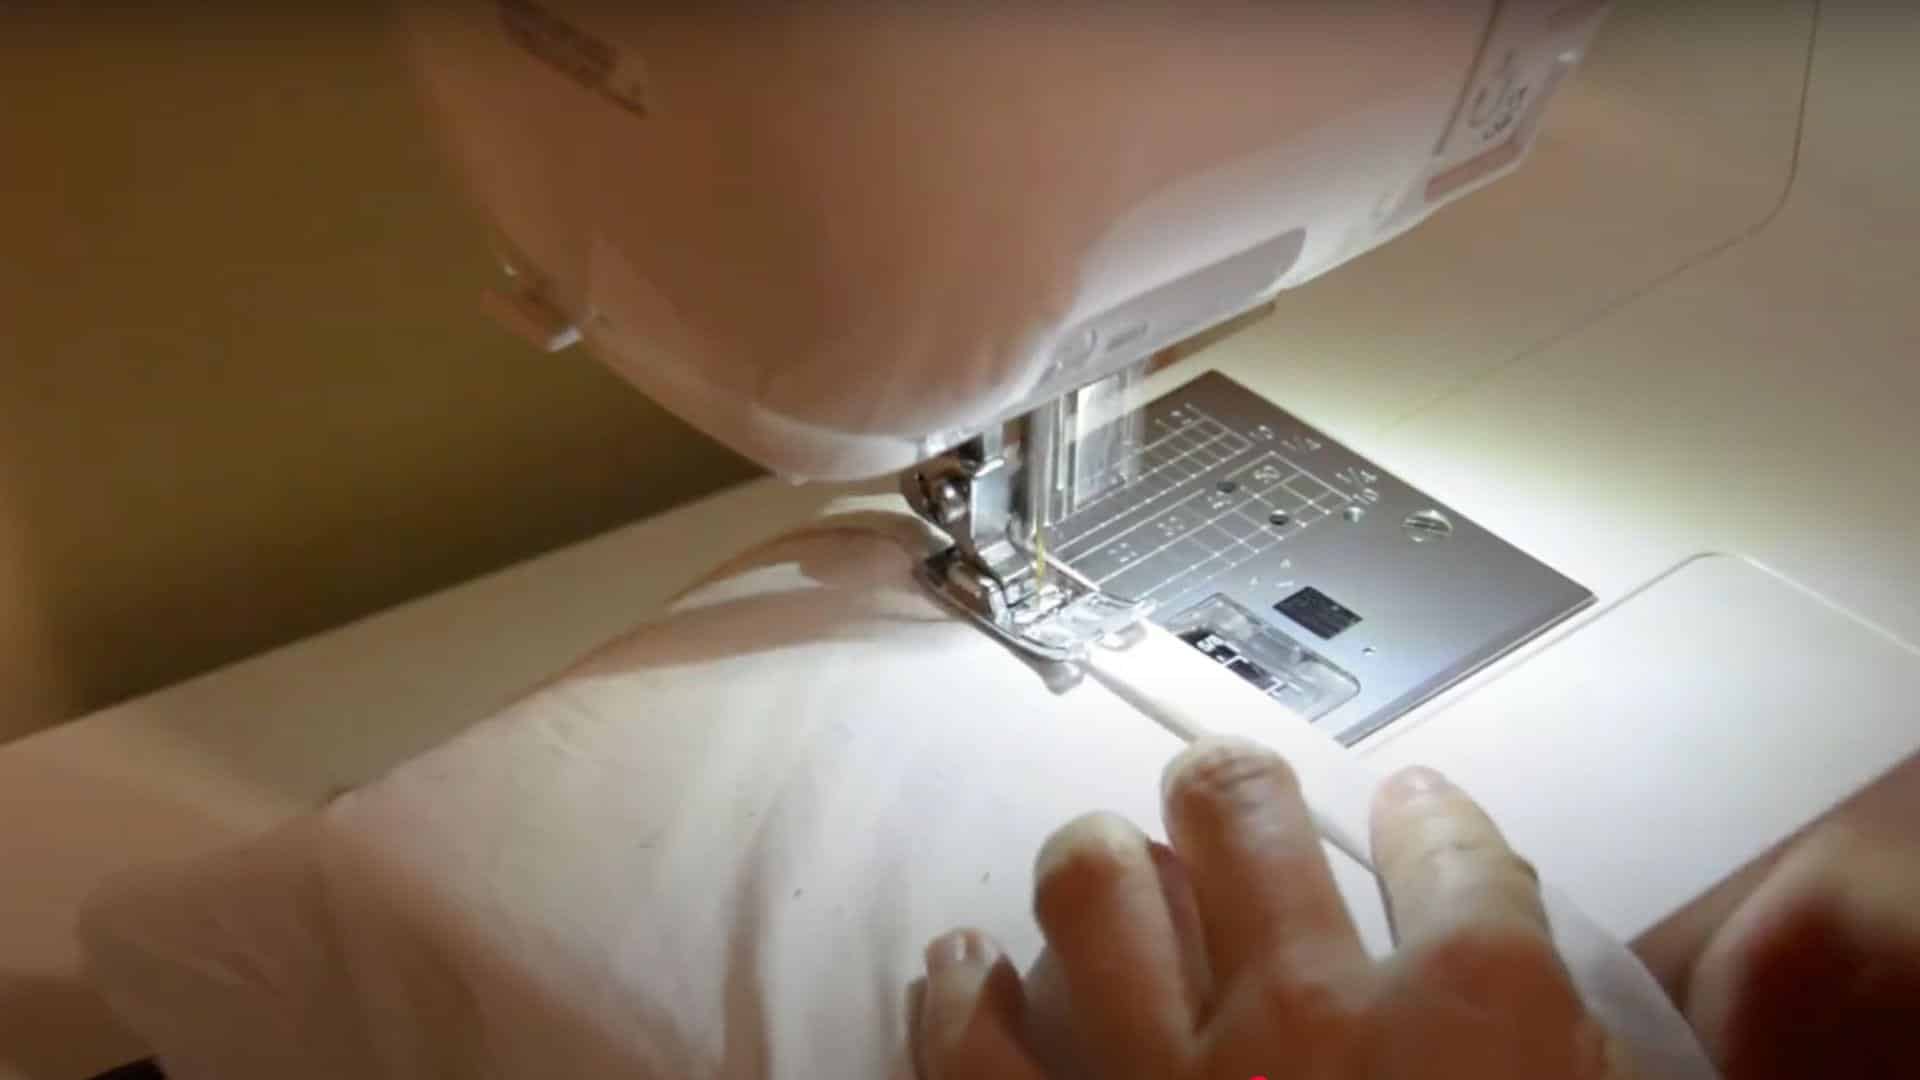
Pin all of your cut fabric pieces together to prepare for sewing. This step helps to align everything and make sure the pieces fit as expected. Use pins to secure them in place, making sure the seams are aligned properly.
STEP 4: Attach the Bed Skirt Using a Fitted Sheet
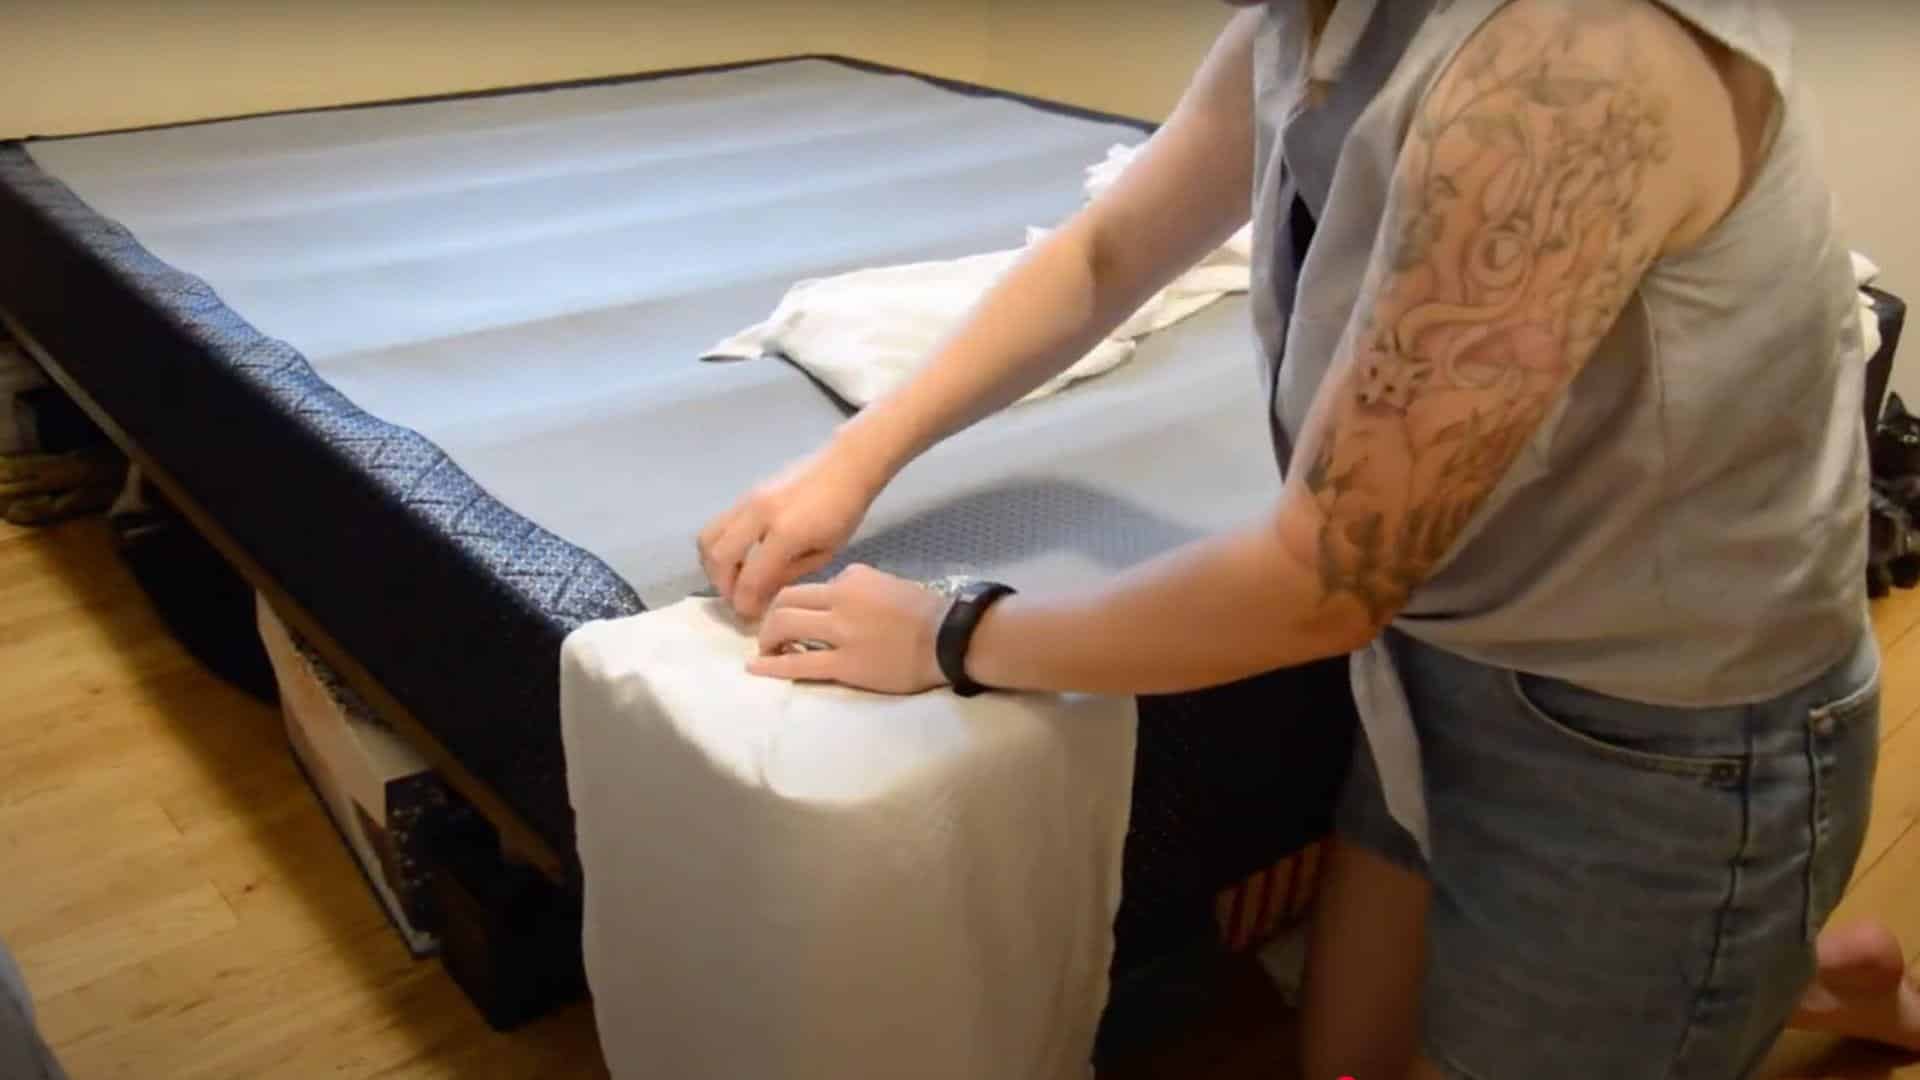
To help hold your bed skirt in place and hide the pins, use an old fitted sheet over the box spring. The fitted sheet serves as a base that will hold the bed skirt securely and ensure it doesn’t shift around.
STEP 5: Final Adjustments and Voila
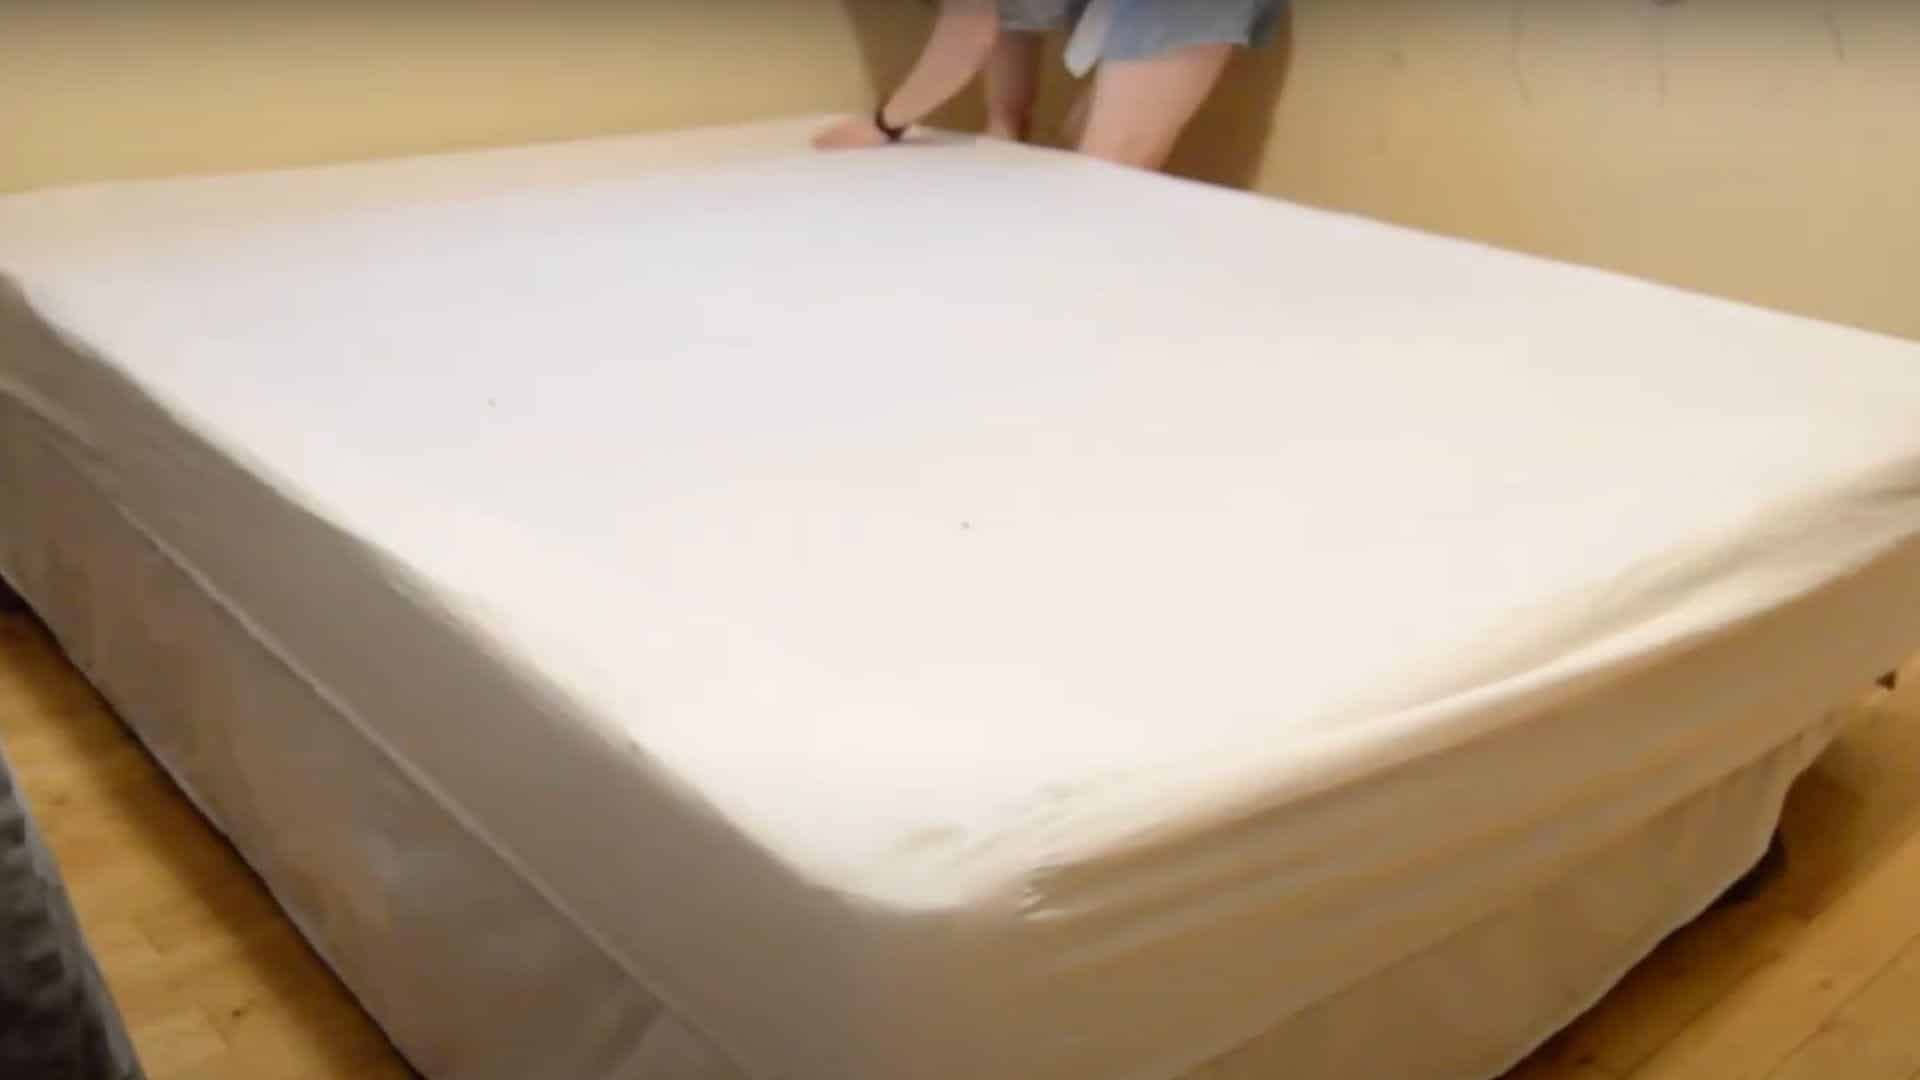
After everything is in place, adjust the bed skirt as needed for a neat, polished look. Once satisfied with the arrangement, your DIY bed skirt is ready to go! You now have a simple, stylish solution to hide any clutter under the bed.
Watch How It’s Done: DIY Bedskirts Video Tutorial
For more information, check out this video tutorial by DIY Bed skirts
Tips and Tricks for a Professional Look
How to Avoid Wrinkles and Uneven Pleats?
- Always iron your fabric thoroughly before cutting and sewing to create a smooth foundation for your bedskirt
- Use a ruler and fabric chalk to mark equal spacing for pleats, ensuring they look balanced and professional.
- Pin everything securely in place before sewing, and consider using fabric starch spray for crisper, longer-lasting pleats.
- Allow your completed bed skirt to hang for 24 hours before making final adjustments, as the fabric naturally stretches over time.
Adding Extra Details for Personalization
To make your bed skirt unique, add decorative elements like lace trim, colorful ribbons, or small beads along the edges. Consider using contrasting thread for visible stitching or attaching fabric appliqués for character. A second layer of sheer fabric creates a graceful look.
Even simple additions, like covered buttons or small embroidered designs, can transform your DIY project into something that looks custom-made.
Maintaining Your DIY Bedskirt
Wash and Care for Your Bedskirt
It depends on your fabric choice. Most bed skirts can be machine-washed on a gentle cycle with mild detergent. Remove the bedskirt carefully, wash it separately from heavy items, and let it air dry to prevent shrinking.
Iron on low heat when slightly damp for best results and to keep those crisp pleats looking fresh.
Fixing Common Bedskirt Problems
This is simpler than you might think. For sagging sections, add a few strategic safety pins to secure the fabric to your box spring.
If your bedskirt shifts constantly, try using upholstery tacks or velcro strips for better stability. Small tears can be mended with matching thread or covered with decorative trim for a stylish solution.
Troubleshooting Common Issues
- The bed skirt slides around too much. You can solve this by using a non-slip shelf liner between the mattress and box spring or by adding Velcro strips.
- Uneven hemline – fix by measuring from floor to box spring at multiple points and adjusting fabric length accordingly.
- If the wrinkles won’t come out, remove the bed skirt and iron on the appropriate heat setting, using spray starch for stubborn creases.
- Fabric too thin or see-through – add a second layer of fabric or line with inexpensive cotton sheeting
- Split corners don’t lay flat. Reinforce them with extra stitching and use fabric weights or small magnets to hold them in place.
Final Words
DIY bed skirts are a simple way to make your bedroom look better without spending too much money.
With just fabric, scissors, and pins, you can create DIY bed skirts that match your style perfectly. Measure carefully before cutting and iron everything to avoid wrinkles.
If your DIY bed skirts slide around, try using safety pins or velcro to keep them in place.
The best part about DIY bed skirts is that you can easily change them when you want a new look. They also help hide boxes and other things stored under your bed.
If you choose gathered or box-pleated DIY bed skirts, you’ll be proud every time someone compliments your bedroom. Your bed is waiting to be dressed up – give it the love it deserves!

James McLaren, with a rich background in architecture from the University of Manchester, has been contributing his expertise to the world of creative construction and home innovation for over 20 years. His journey began as a project manager for a leading construction firm, where he honed his skills in bringing complex designs to life. James joined our platform as a freelancer in 2019, quickly becoming a favorite for his insightful and practical advice. He has been a pivotal force to our wing ever since, bringing our readers a blend of technical know-how and creative flair. Beyond his professional life, James is an avid woodworker and enjoys restoring vintage furniture, a hobby that complements his professional insights beautifully.