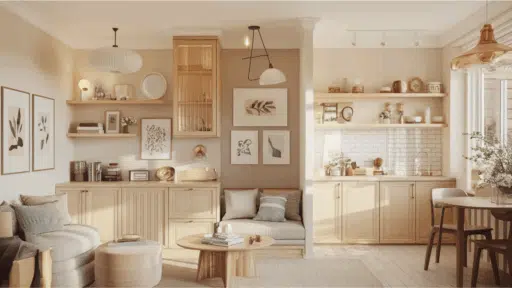
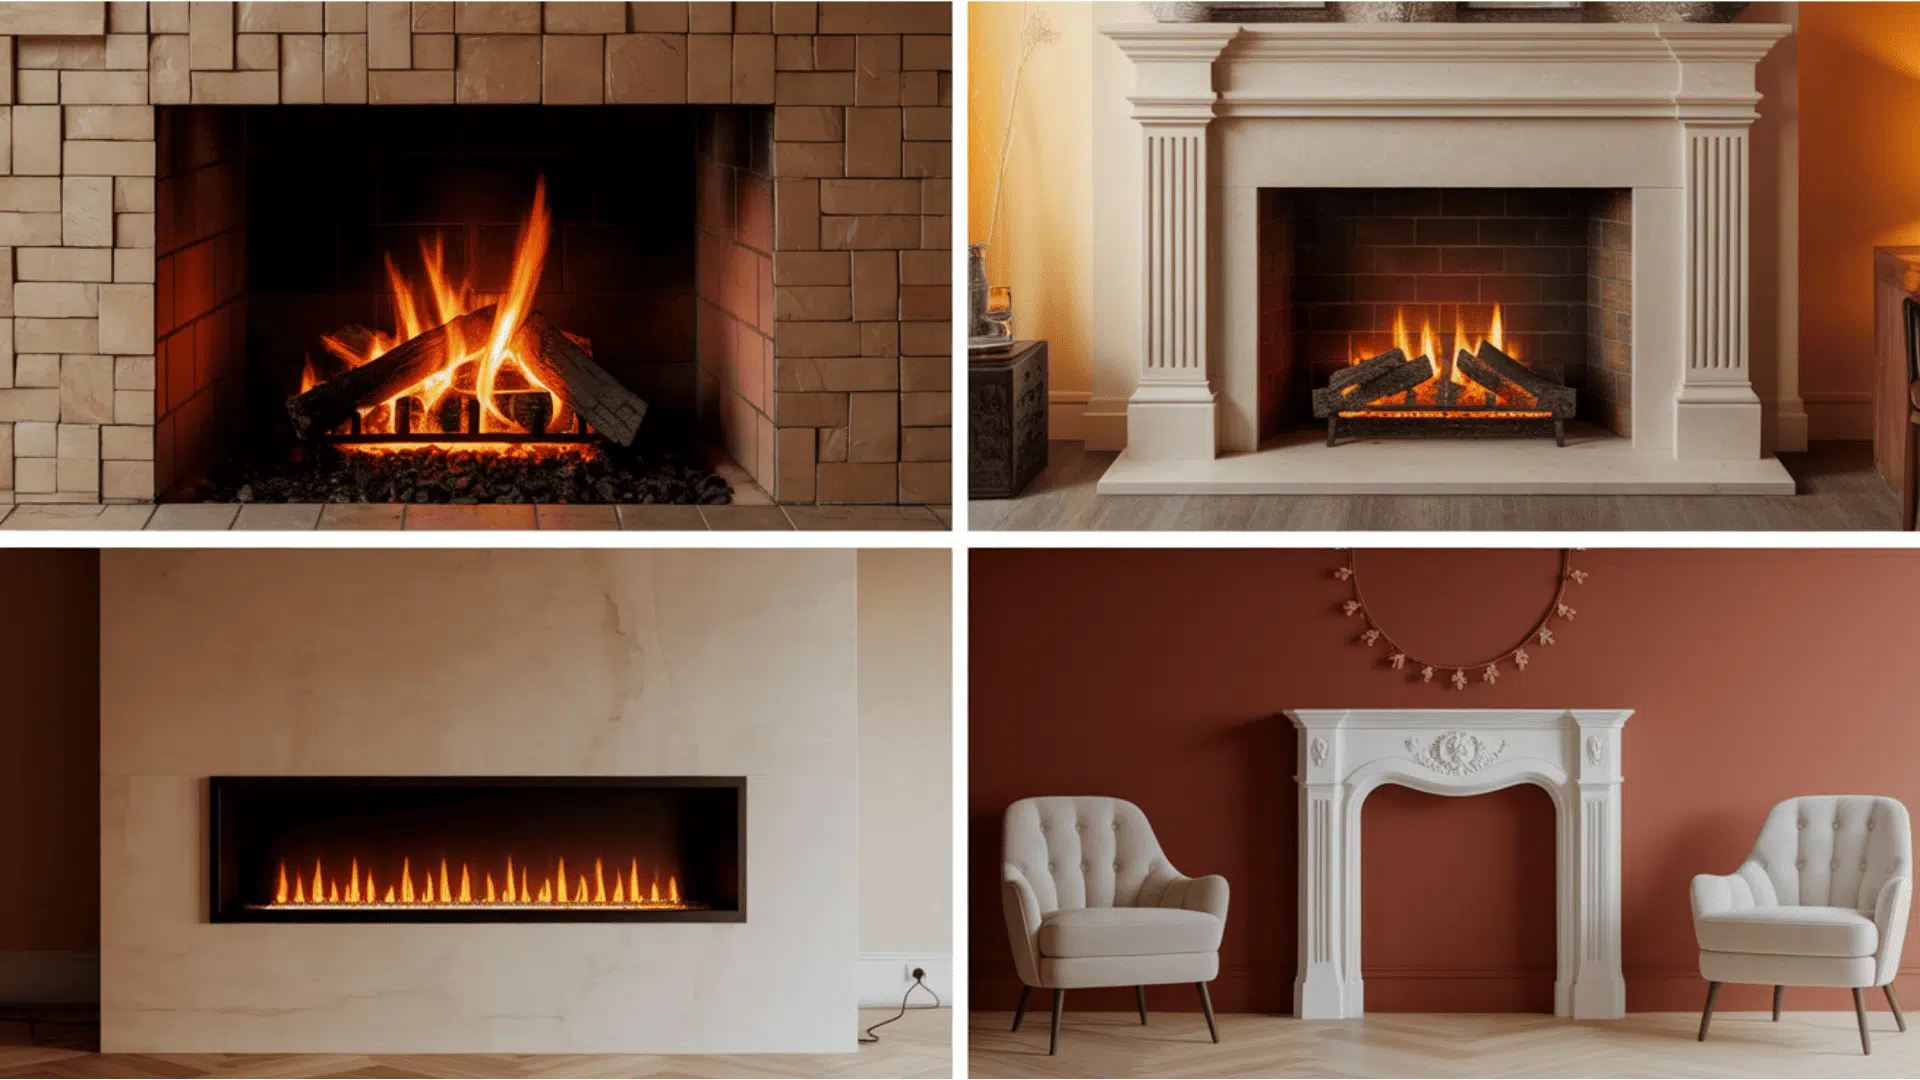
Dreaming of a beautiful fireplace that makes your living room special?
Learning how to build a fireplace surround might be easier than you think!
With just a few materials, you can create a custom surround that perfectly matches your home’s style.
The best part?
You don’t need to be a master carpenter to make it happen.
With basic tools, clear instructions, and a weekend of work, you can change your plain fireplace into a stunning focal point that everyone will notice.
Ready to roll up your sleeves and create something amazing?
Let’s walk through the simple steps!
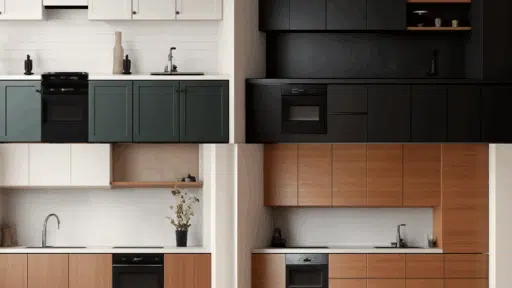
Why DIY Fireplace Surround?
Imagine changing that plain wall heater into a conversation piece that defines your entire room!
Creating your own fireplace surround isn’t just budget-friendly—it’s your chance to design something uniquely yours.
No settling for cookie-cutter options or eye-popping contractor quotes.
The satisfaction of pointing to gorgeous craftsmanship and saying “I built that” is absolutely priceless.
Even with modest woodworking skills, you can boost your home’s value and create a cozy gathering spot your family will enjoy for years!
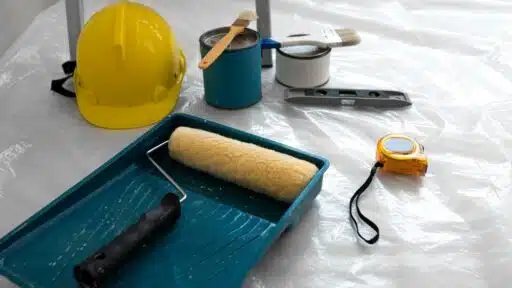
Safety First: Before You Begin

Building a fireplace surround isn’t just about looks – safety must come first.
Your beautiful new surround needs to meet important safety standards to protect your home and family.
Taking time for these safety steps now prevents dangerous situations later.
- Check that your design maintains at least 6 inches of clearance between any combustible materials and the fireplace opening, more for wood-burning fireplaces.
- Before buying materials or starting work, contact your local building department to learn about permits and specific code requirements in your area.
- Consider hiring a professional if your project involves gas lines, electrical work, or structural changes to the wall behind the fireplace.
- Before making your first cut, gather safety gear, including protective goggles, work gloves, a dust mask, and proper hearing protection.
Remember that no design, no matter how beautiful, is worth risking your family’s safety.
When in doubt about any safety aspect, always consult with a fireplace professional.
Following these precautions ensures your project will be both stunning and safe.
Tools and Materials Required
Here’s a quick look at what you might need to build and install a fireplace surround.
These tools and materials are easy to find at most hardware stores.
| TOOLS & MATERIALS | ESTIMATED COST RANGE ($) |
|---|---|
| Wood boards | $28 – $60 |
| Measuring tape | $10 – $25 |
| Scrap wood | $0 – $10 |
| Wall cleats (5 total) | $18 – $25 |
| Screws | $10 – $15 |
| Stud finder | $20 – $50 |
| Drywall anchors | $10 |
| Brad/finishing nails | $3 – $10 |
| Nail gun or hammer | $15 – $40 |
| Masking tape | $2 – $5 |
| Pencil or marker | $1 – $3 |
Total estimated cost: $120-$266
Take your time and follow each step carefully—it doesn’t have to be perfect to look great.
Just focus on making it strong and safe.
With a little effort, your fireplace surround can become the cozy centerpiece of your room.
How to Build a Fireplace Surround: Step-By-Step
Building your fireplace surround is easier than you might think.
This project can change your living room in just a weekend.
Follow these five simple steps to create a custom surround that fits your space perfectly.
STEP 1: Measure and Plan for Your Space
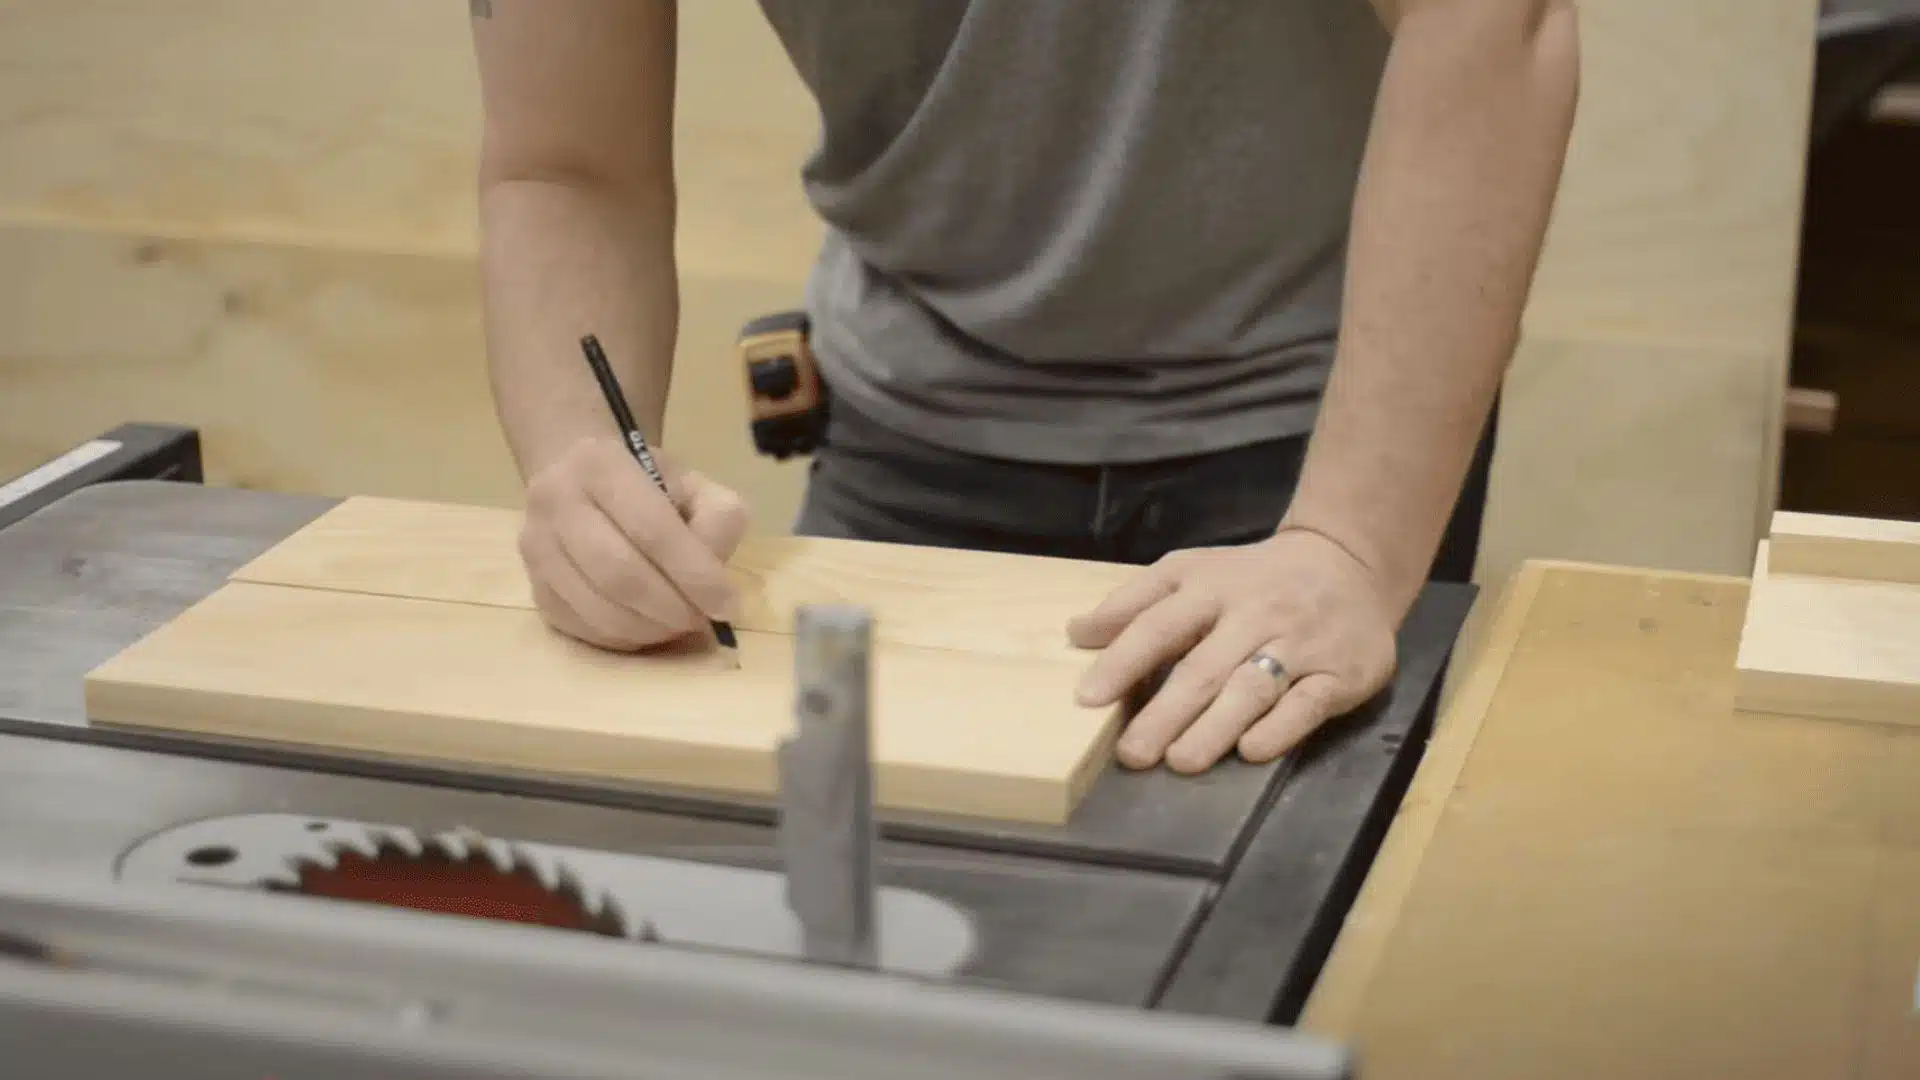
Before building, measure your fireplace area carefully.
The design shown may not fit your space exactly.
Pay close attention to the size of columns, legs, and top sections.
This helps you customize the surround to match your room perfectly.
Planning prevents costly mistakes later.
Insider Insights:
- Mark your center point on the wall before measuring for leg placement.
- Use painter’s tape to sketch the outline on your wall for better visual planning.
- Keep a 1/2-inch gap between the surround edges and nearby furniture.
STEP 2: Build the Fireplace Surround Frame
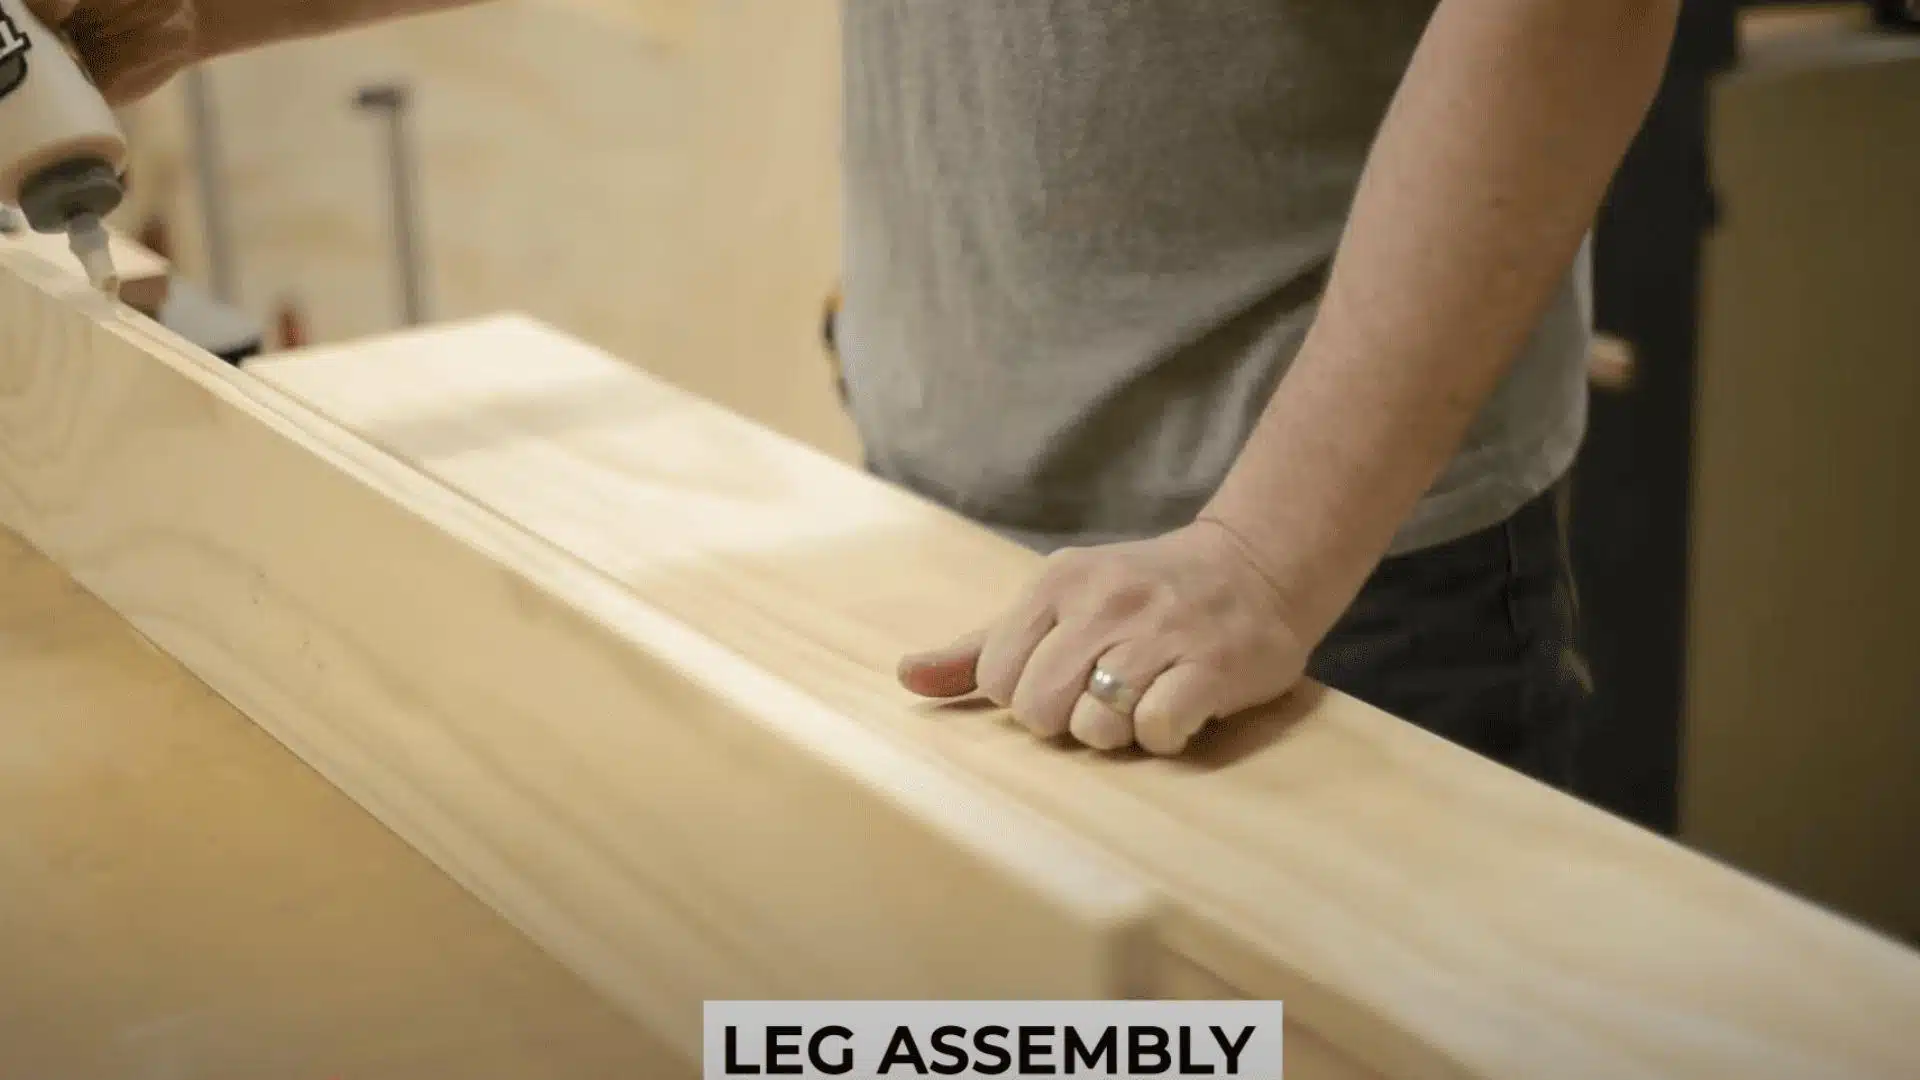
The frame includes leg columns and a top section built to fit together.
Each piece needs careful cutting and assembly.
The frame creates the structure that will surround your fireplace opening.
Insider Insights:
- Pre-drill holes to prevent wood from splitting when you add screws.
- Use wood glue with screws for stronger, more stable joints.
- Label each piece with painter’s tape so you don’t mix them up during assembly.
STEP 3: Prepare Cleats for Installation
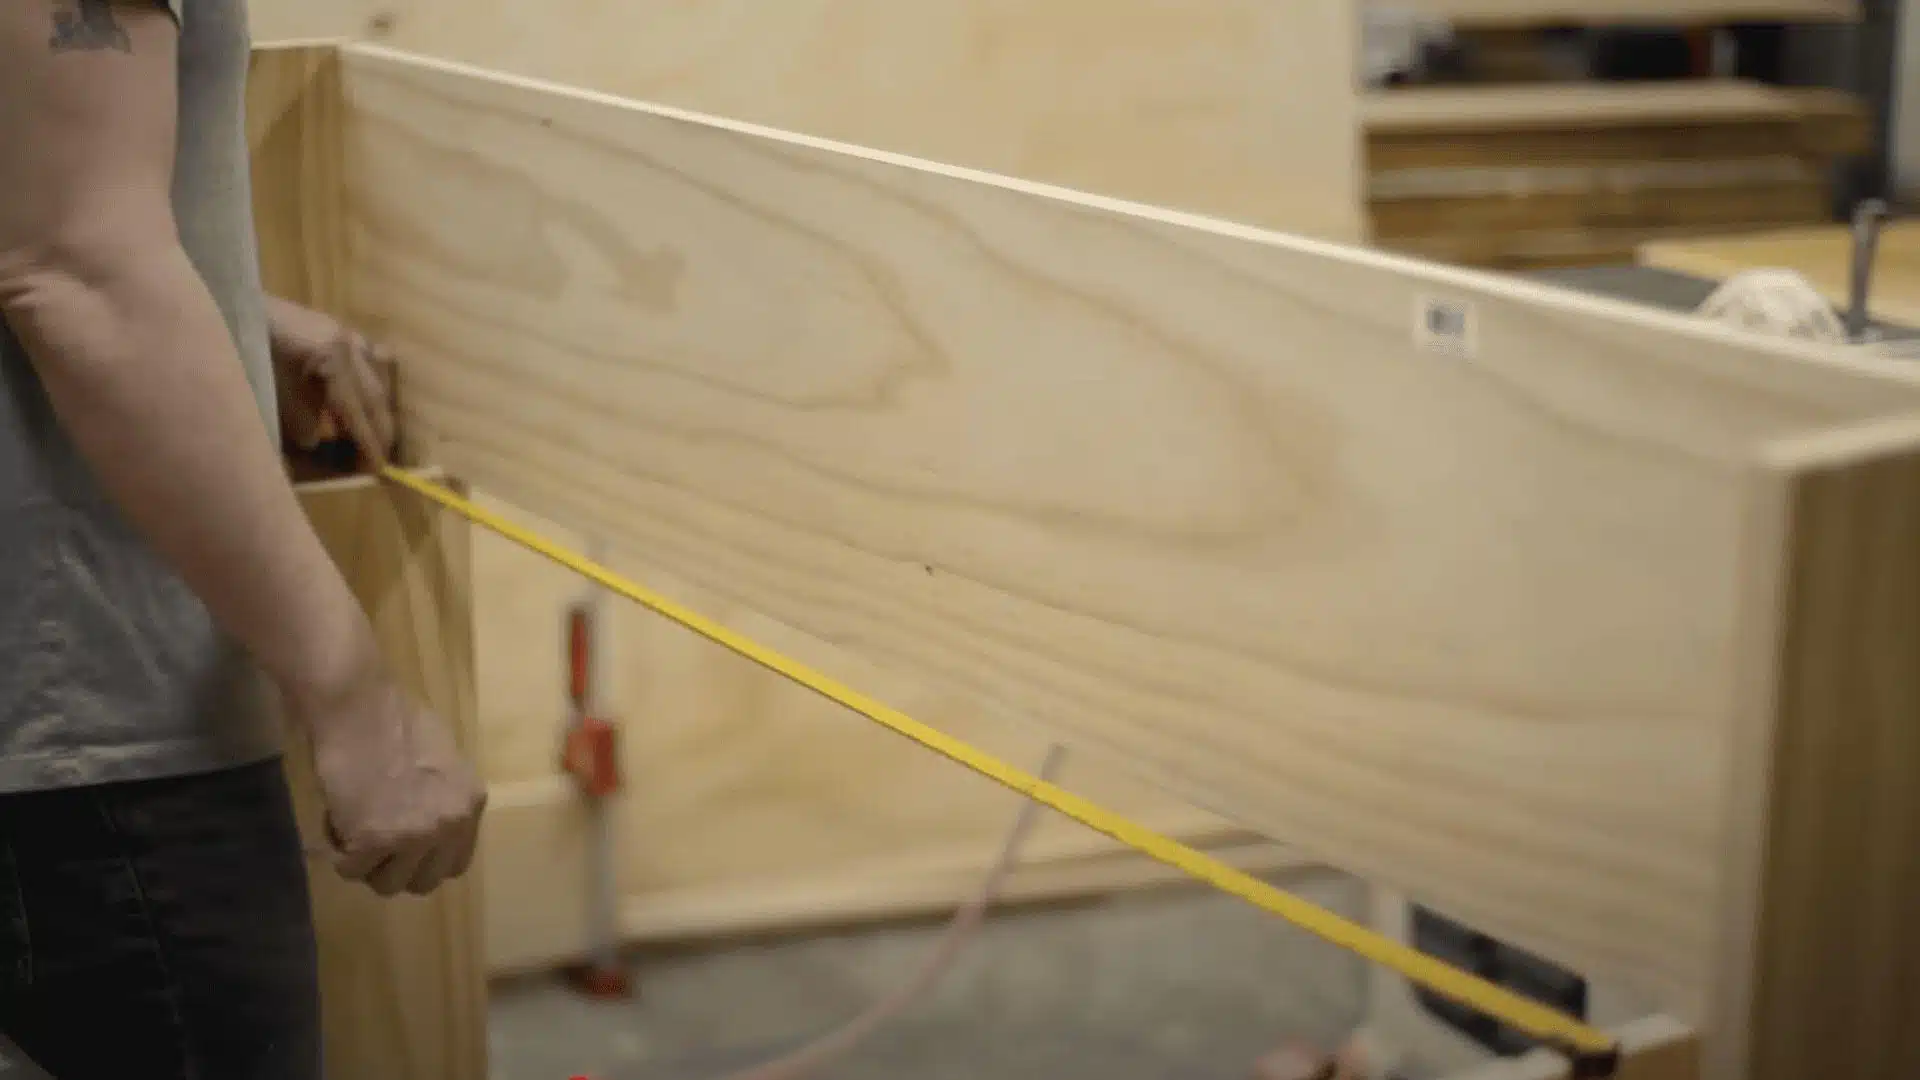
Cut five support cleats to secure the surround to the wall.
Two longer cleats fit inside the leg columns.
Smaller cleats go across the top section.
These prevent the surround from shifting after installation.
Insider Insights:
- Cut cleats slightly smaller than the inner leg width to avoid pushing out the frame.
- Check that all cleats are level before attaching them to the wall.
- Notch bottom cleats if mounting over existing baseboards for a flush fit.
STEP 4: Attach Cleats to Wall
Place cleats on your marked positions and secure them to the wall.
These will be hidden once installed.
Even though the surround can stand alone, cleats prevent sliding or tipping.
Insider Insights:
- Use masking tape to mark and color-code each cleat location for faster installation.
- Drive screws at a slight downward angle for better holding power.
- Choose metal toggle bolts for drywall if you can’t find studs.
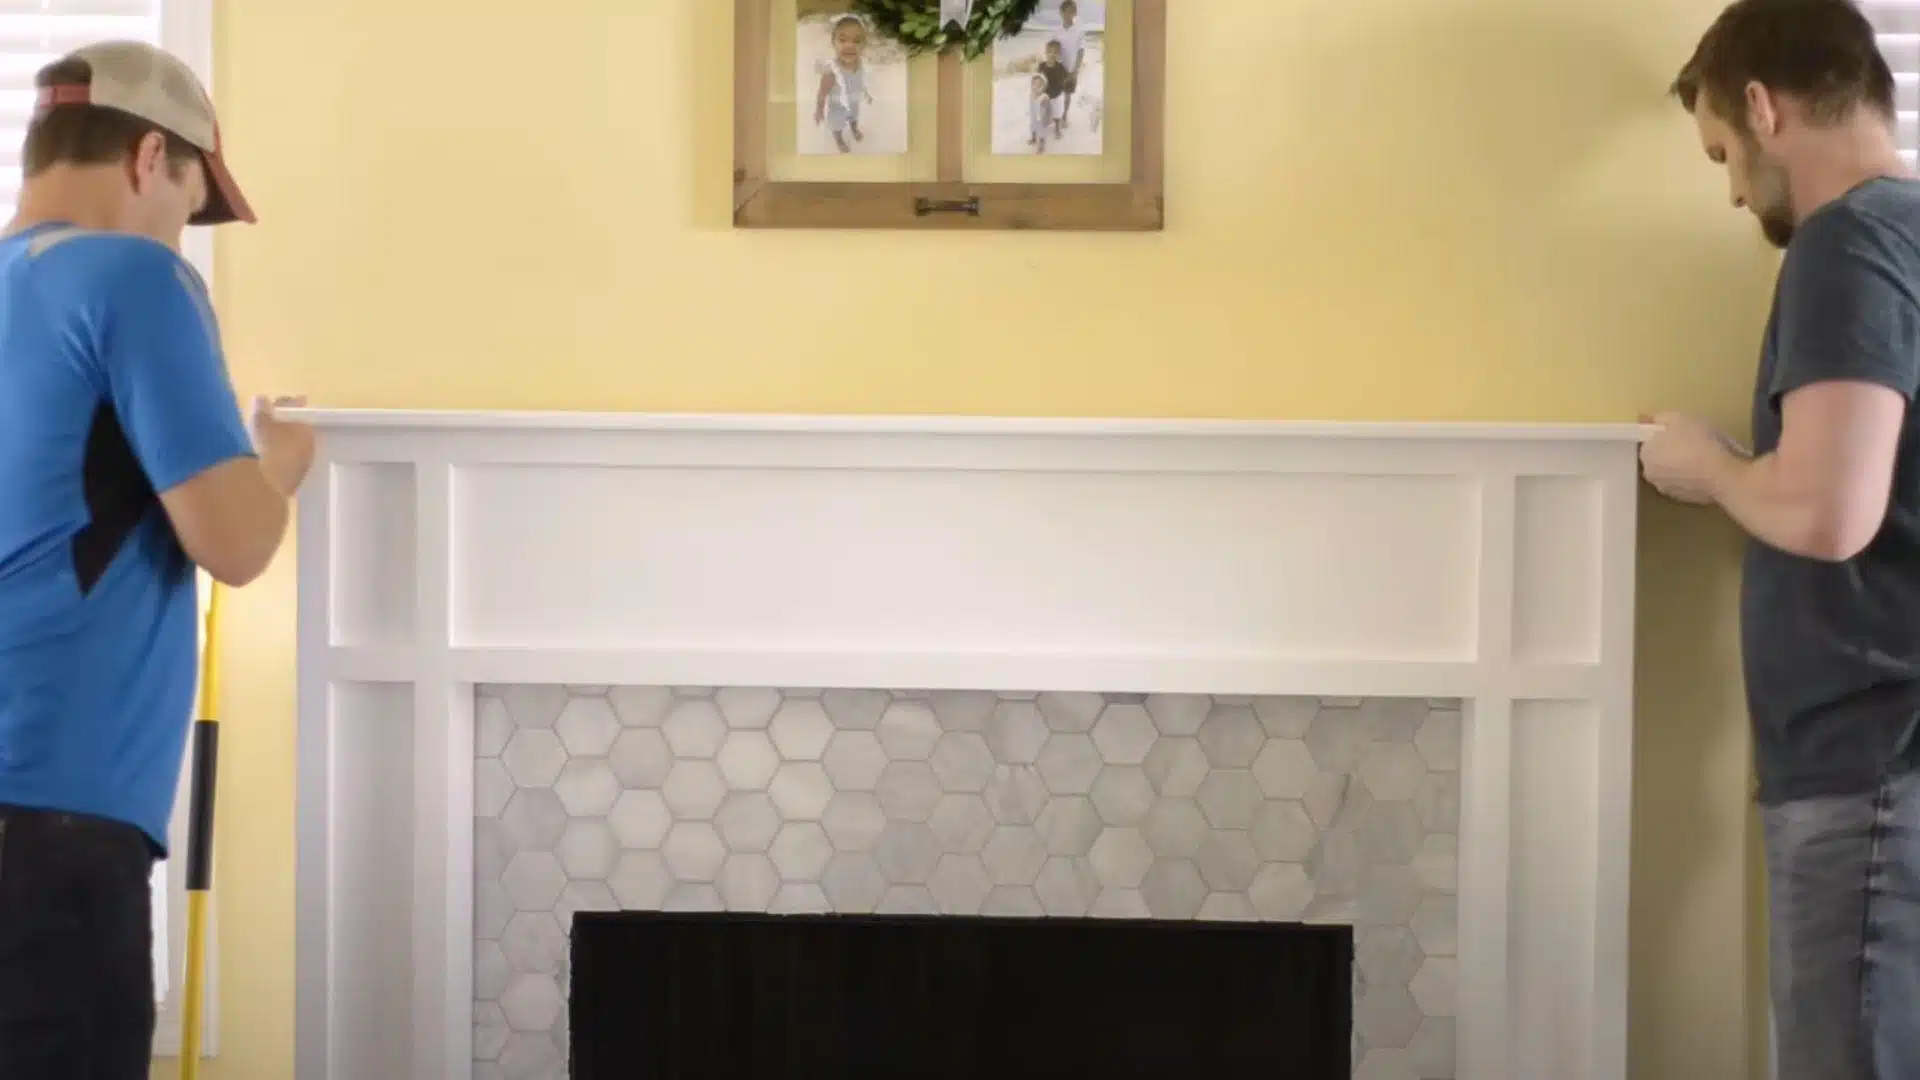
STEP 5: Secure the Surround in Place
Slide the fireplace surround over the mounted cleats.
Use Brad nails to attach the surround to the cleats from the front.
Mark the cleat positions with tape before placing the top section.
Insider Insights:
- Lightly trace the top edge on the wall before nailing for perfect alignment.
- Cover all nail heads with wood filler to create a seamless finished look.
- Always test-fit the entire surround before nailing to ensure all cleats align
How To Build a Fireplace Surround Video Tutorial
For more information, check out this video tutorial by Out of the Woodwork
Special Considerations for Different Fireplace Types
Not all fireplaces are the same, so it’s important to know what kind you have before building a surround.
Each type has its own safety rules and design needs.
Here’s a quick look at what to keep in mind for each fireplace type.
| FIREPLACE TYPE | SPECIAL CONSIDERATIONS |
|---|---|
| Wood-burning fireplace | Use only fire-rated or heat-resistant materials; maintain proper clearance from the firebox. |
| Gas fireplace surrounds | Check manufacturer guidelines for venting and heat clearance; avoid flammable trim nearby. |
| Electric fireplace installations | Surround can be closer to the unit; ensure access to the outlet and cord management. |
| Non-functioning decorative fireplace | No heat concerns—focus on design, proportion, and easy installation with lightweight materials. |
These tips help you stay safe while getting the look you want.
Make sure to follow any building codes or fireplace manuals.
A good fit will last and look great for years.
Maintenance and Care
Your new fireplace surround will last for years with a little regular care.
Taking a few minutes each season to check and clean your surroundings prevents bigger problems later.
Most maintenance tasks are simple enough for anyone to handle.
- Dust wood surrounds weekly with a soft cloth and polish them with furniture wax twice a year to prevent drying and cracking.
- Clean painted surfaces with a damp cloth and mild soap, avoiding harsh chemicals that can strip the finish.
- Touch up small scratches on wood surrounds with a matching stain marker or crayon available at hardware stores.
- Check for loose joints or separating seams each fall before fireplace season begins, tightening any loose screws or adding wood glue as needed.
Remember that prevention is easier than repair when it comes to fireplace surrounds.
Keep decorative items on the mantel away from the edges to avoid knocks and bumps.
A well-maintained surround will continue looking beautiful and stay structurally sound for many years.
Common Mistakes to Avoid
Even experienced DIYers can run into problems when building a fireplace surround.
Knowing what issues to watch for can save you time, money, and frustration.
These common mistakes are easy to avoid with a little extra planning.
- Rushing through measurements without double-checking each dimension, especially the distance from floor to mantel height and the width around your fireplace opening.
- Choosing cheap materials to save money often leads to warping, cracking, or difficult finishing that costs more to fix later.
- Not securing the surround properly to the wall studs or using inadequate cleats can lead to dangerous tipping or sagging over time.
- Skipping proper surface preparation before painting or staining resulting in peeling finishes, visible brush marks, or uneven color absorption.
Taking your time with each step will result in a fireplace surround you can be proud of for years.
Remember that this focal point will be seen by everyone who enters your home, so the extra care is worth the effort.
Wrapping It Up
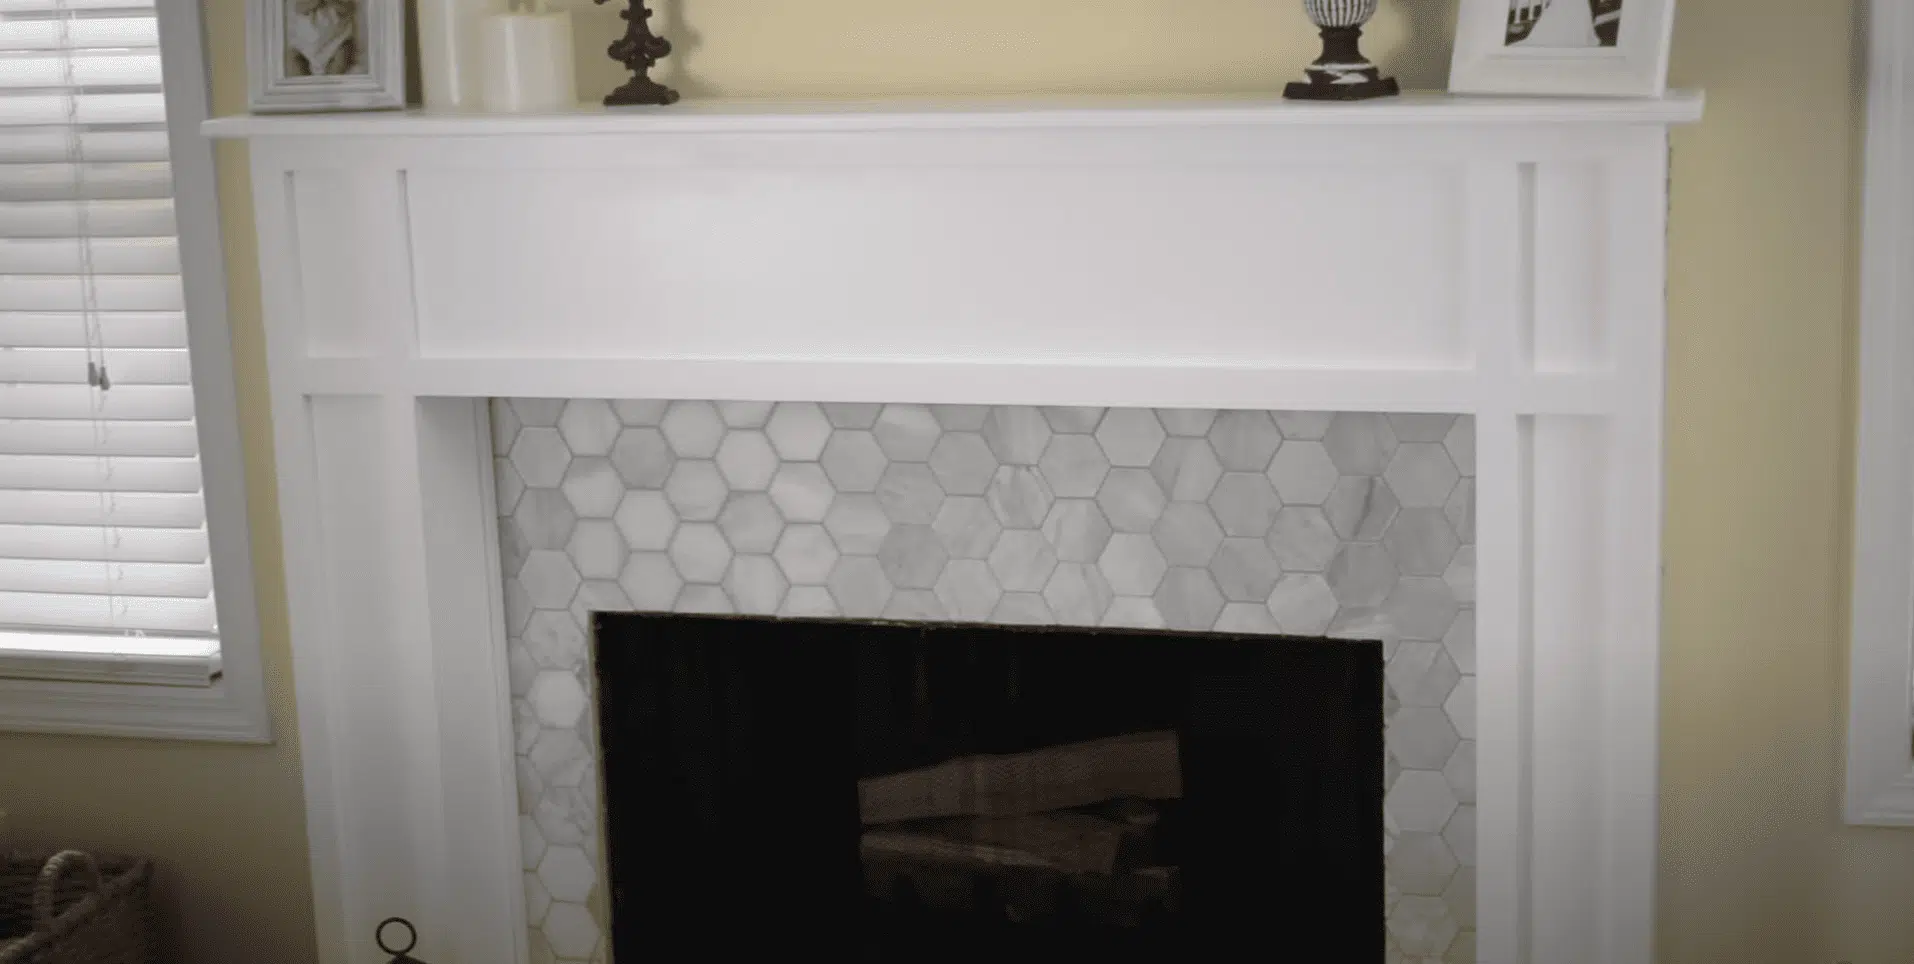
Building your fireplace surround is a rewarding project that alters your home.
By following these steps and avoiding common mistakes, you’ll create a beautiful focal point that looks professional and lasts for years.
Remember to prioritize safety with proper clearances and materials that work with your specific fireplace type.
Take measurements carefully, use quality materials, and secure everything properly to the walls.
The pride you’ll feel when guests admire your handiwork makes every careful cut and measurement worth it.
A little regular maintenance keeps your creation looking great season after season.
Have you built a fireplace surround before?
Share a photo of your finished project in the comments – we’d love to see what you created!
If you’re interested in more informational DIY projects content, feel free to click here and explore other blogs that you might enjoy.

Alex Guerrero, a graduate with a Fine Arts degree from the Rhode Island School of Design, has been a visionary in the world of color and design for over 15 years. His professional journey began in the heart of the fashion industry in Milan, where he developed an acute sense for color harmonies and trends. Alex joined our team in 2018, offering fresh and innovative perspectives on color utilization in various spaces. Renowned for his ability to blend contemporary trends with timeless elegance. Outside of work, Alex is an accomplished painter and a volunteer art therapist, his artistic talents further enriching his professional insights.