What if the faded shell of your house could actually work harder for you, not just look better?
That’s right, your aluminum siding might be tired on the outside, but it still has strength underneath.
With the right prep, tools, and paint, that dull exterior can become a powerful protector again.
Many folks think repainting is just for show, but it’s much more than a fresh face.
It’s like giving your house a new shield, one that keeps out rain, reflects heat, and extends the life of your siding.
If you’ve been putting it off, now’s the time to gear up.
Let’s walk through each step to help you turn that faded surface into a point of pride.
Why Good Painting Matters
Aluminum siding is lightweight, strong, and resistant to rust, but it still fades and collects dust over time.
Painting your siding not only improves how it looks but also protects it from water and weather damage.
It helps stop moisture, shields against sun exposure, and keeps the metal from getting chalky or dull.
Using high-quality 100% acrylic or acrylic latex paint ensures better protection and a long-lasting, smooth finish.
This type of paint creates a flexible coating that won’t crack when temperatures rise or fall.
However, if you skip important steps like cleaning, sanding, or priming, the paint may not stick properly.
Peeling or bubbling paint often means wasted time, extra money, and more work to fix everything later.
Proper preparation, along with using the right paint, makes the project more successful and the results last longer.
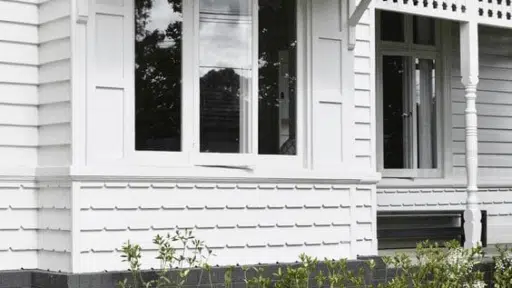
Check Your Siding First
To begin, take a close look at your siding before starting anything else.
Check carefully for white chalky dust, peeling paint, bumps, or any signs of rust damage.
If you notice only small spots or fading, a fresh coat of paint should work well.
However, large rust patches, visible holes, or crumbling sections may require replacing the siding entirely.
Homes built before 1978 could have lead paint, which can be harmful to your health.
If you suspect lead is present, contact a certified professional to remove it safely and properly.
Before you begin, make sure you have enough time, tools, and skills to do each step.
Some steps need larger tools or machines, so hire help if you’re unsure or unprepared.
What You Need to Buy: Materials Required
Before you start your paint job, you need to get all the right tools and supplies.
Here is a list of what to buy.
You can find all these things at most hardware stores.
| ITEM | ESTIMATED COST | NOTES |
|---|---|---|
| Pressure washer (rental for 1–2 days) | $80 | Home Depot: ~$40/day; 2 days estimated. |
| Painter’s tape | $15 | $5 per roll × 3 rolls. |
| Plastic sheeting, paper, or cardboard (for masking) | $30 | $10 per roll × 3 rolls or equivalent. |
| Graco 490 Pro sprayer (purchase) | $1,200 | Home Depot/Lowe’s price for new. |
| Graco 410 spray tip | $40 | Replacement tip for Graco sprayer. |
| Exterior 100% acrylic paint (for 1,500 sq ft.) | $300 | $30/gallon × 10 gallons (2 coats, average coverage). |
| Paint guard or cardboard (edge protection) | $10 | Paint shield or large cardboard. |
| Small paintbrush (touch-ups) | $10 | 2–3″ quality brush. |
| Rags or towels | $10 | Shop towels or old rags. |
Total Estimated Cost: $1,695
The table above shows all you need to get.
Keep in mind that one can of paint covers about 250-400 square feet.
You will need more cans for a big house.
Renting a power washer or paint gun for more than one day will cost more.
Steps to Paint Your Siding
You don’t need to be a pro; take your time, use the right tools, and follow each step.
Here’s a simple way to do it yourself.
Step 1: Clean the Siding Thoroughly

First, wash your siding with a pressure washer.
This tool sprays water to remove dirt.
Make sure all the dirt and dust are gone.
Then let the siding dry for one full day.
Dry siding helps the paint stick better and look nice.
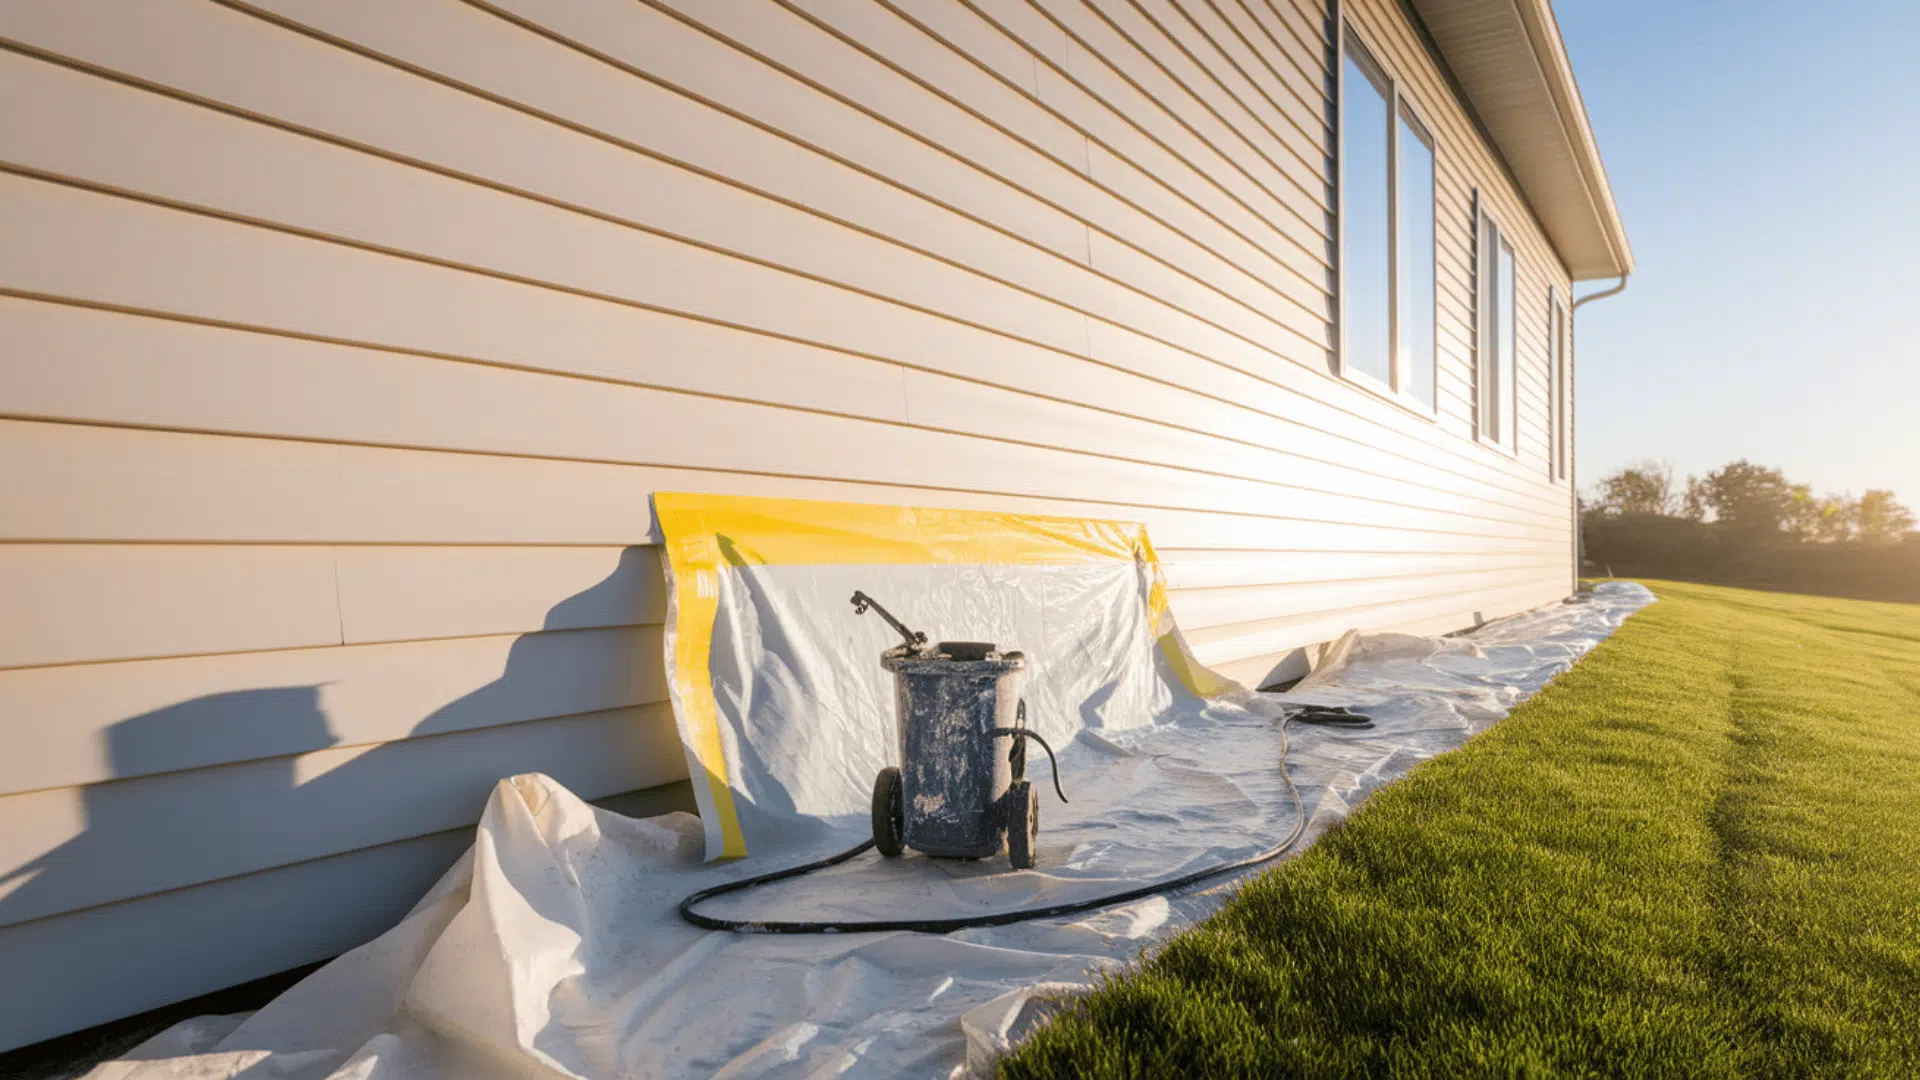
Step 2: Mask and Protect All Surfaces

Before painting, cover anything you don’t want to paint.
Use tape, plastic, or paper to cover windows, doors, lights, and floors.
You can also use cardboard.
This stops paint from getting on the wrong things.
Take your time with this step. It is very important.
Step 3: Use the Right Equipment

A paint sprayer makes the job easy.
You can use the Graco 490 Pro or rent a sprayer from a store.
Use a spray tip made for smooth work, like the Graco 410.
This helps you spray better and keep the paint even.
The paint will not drip too much.
Choose the Right Paint:
Ask for paint made for the outside of a house.
Tell the store it is for aluminum siding.
This paint works best.
Do not use paint for vinyl siding unless that is what your house has.
Good paint will last longer and look better.
Step 4: Spray with Proper Technique

When you spray, go slow and steady.
Each spray line should cover half of the last one, helping you get even color.
Do not move the sprayer too fast, and do not go too slow either.
Going slow is safer—you can always add more paint later.
Step 5: Protect the Roof and Ground

Use cardboard or a paint guard under the siding and near the roof.
This keeps paint off the roof and ground and prevents paint from getting on the sidewalk or porch.
Hold the guard close while you spray.
Step 6: Final Touches and Clean-Up

Once you finish painting, remove all the tape, paper, and covers.
Look for spots you may have missed.
If you see any, spray or brush a little more paint there.
When you’re done, clean your sprayer and tools.
Step back and enjoy your nice, clean siding!
Watch How It’s Done: how to paint aluminum siding.
For more information and a full step-by-step guide, check out the video by The Handy Neighbor.
How to Keep It Looking Good
Your paint job is done, but that doesn’t mean you’re completely finished with the work yet.
To make sure your siding stays looking great for years, regular care is still very important.
Following a few simple tips can help your paint last much longer without needing constant attention.
Look at your siding a few times each year for:
- Chips in the paint
- Cracks in the paint
- Peeling paint
- Spots where water gets in
If you notice any of these problems, take action and fix them right away.
Making a small repair now can prevent much bigger and costlier damage in the future.
Sometimes, all you’ll need to do is touch up one small spot with fresh paint.
This kind of small repair is easier and faster than painting your whole house again.
When you clean your siding, don’t use:
- Strong, clean stuff with bleach
- Hard scrub brushes that could scratch
- Power washers are set too strong
These can hurt the paint and make it wear out fast.
Soft cloths and mild soap are best for keeping your siding clean and your paint job looking fresh.
How Much Does It Cost
Now, let’s talk about money.
How much will this DIY cost you?
The answer depends on the following:
TYPE OF COST | DIY (DO IT YOURSELF) | PAY A PRO |
Tools and Stuff | $250 – $500 | Part of what you pay |
Paint | $200 – $600 | Part of what you pay |
Work Pay | $0 (you do it) | $2,500 – $7,000 |
Time Spent | 3-5 days | 1-3 days |
Total Cost | $450 – $1,100 | $3,125 – $8,300 |
the normal cost to paint aluminum siding when you pay someone is about $5,730.
Doing it by hand saves a lot of money, but takes more of your time.
If you are good with tools and have free time, doing it by hand might be best.
If you are very busy or don’t like this kind of work, paying a pro might be worth the extra cost.
Big Mistakes to Stay Away From
Even if you follow all the steps above,
There are still some big nos that can ruin your hard work.
Let’s look at the worst mistakes people make when painting aluminum siding.
1. Not Using Base Coat
Some folks try to save time or money by skipping the base coat, also called primer.
Unfortunately, skipping this step is one of the worst mistakes you can possibly make.
The base coat acts like glue between the bare metal surface and the layers of paint.
Without using a proper base coat, the following problems are very likely to happen:
- The paint might not stick well.
- The paint can peel off in big sheets.
- Your paint job won’t last half as long.
Always choose a base coat that is specially designed to bond with metal siding.
Apply the primer only to siding that has been cleaned and fully dried in advance.
Let the base coat dry completely before adding any of your exterior topcoat paint layers.
2. Painting When the Air Is Bad
The weather outside plays a huge role in how well your paint dries and sticks.
There are several bad times when painting your siding can lead to poor results, including:
- When it’s raining
- When it’s very wet outside (over 50% wet air)
- When it’s too cold (under 50°F)
- When it’s too hot (over 85°F)
Before starting your project, check the weather report to avoid painting on unsuitable days.
The best time to paint is on a day that’s mild, dry, and not too sunny.
3. Going Too Fast with Getting Ready
Many people get excited and want to skip straight to painting because it feels more rewarding.
But if you rush or skip the preparation steps, your entire paint job could easily fail.
Proper preparation includes all of the following important steps that you should never leave out:
- Full cleaning of all dirt and dust
- Sanding rough spots so they’re smooth
- Filling all holes and cracks
- Letting each step dry fully before the next
Preparing your siding the right way can sometimes take a full day or even a bit more.
Even though it takes time, the results make it absolutely worth every minute of the effort.
Starting with a solid base helps your paint job stay strong and last for many years.
End Note
So, what if your siding could work harder for your home?
Turns out, it absolutely can.
With care and a little effort, aluminum siding goes from worn-out to weather-ready, giving your home lasting protection and fresh appeal.
The secret isn’t in fancy tools or fast tricks; it’s in thoughtful prep, the right materials, and knowing what to avoid.
You’ve now got the steps, the gear list, and smart tips to make it happen.
That’s no small win.
And if this gets you going, just wait, your next painting project might be closer than you think.
Let your work show up loud and clear.
Painting your siding is just the start! If you’re up for more hands-on work, try these easy painting projects next:

With a Master in Architectural Studies from University of Pennysylvania, Marwa Haydar has pioneered living spaces since 2005. Her expertise, initially honed in a prestigious architectural firm, is evident in her approach to creating environments. Marwa became part of our team in 2019 and has since been a driving force in our home improvement section, known for her practical yet stylish solutions. She’s been spearheading our design workshops since then, infusing her passion for teaching into her work. In her leisure time, Marwa enjoys exploring historic architecture and is an enthusiastic pottery hobbyist, further enriching her understanding of form and texture.