Have you ever looked at your TV and thought it just doesn’t fit with your carefully designed room? You’re not alone! A DIY TV frame is the perfect solution to this common problem.
In just a few hours, you can turn that plain black rectangle into a stylish piece that looks like it belongs in your space. During movie nights or while binge-watching your favorite shows, a custom frame adds that special touch that takes your entertainment setup from basic to beautiful.
The best part? You don’t need fancy tools or woodworking skills to make it happen.
With some simple materials and clear instructions, you can make a professional-looking TV frame that will have your friends asking where you bought it!
Why Frame Your TV?
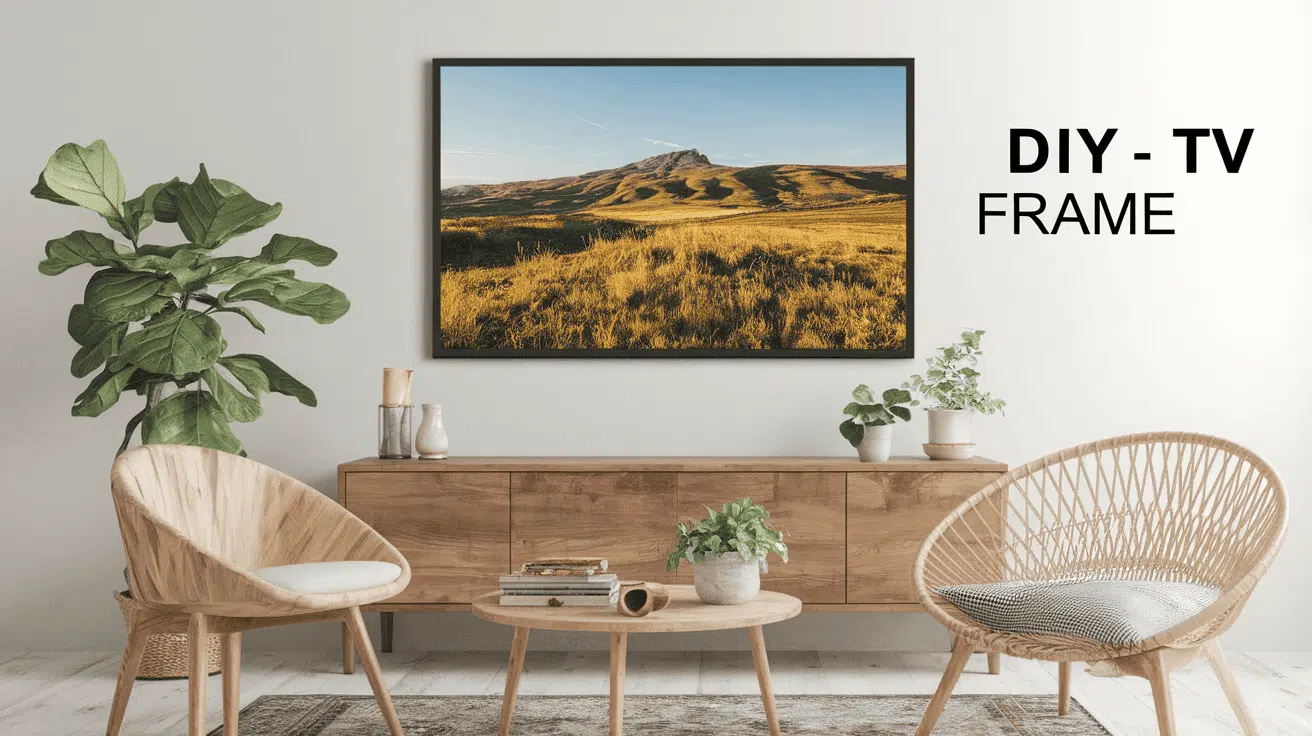
Framing your TV turns a plain black rectangle into a stylish focal point that fits beautifully with your home. It’s like putting artwork in a lovely frame – it instantly improves the entire look of your space.
A custom frame helps your TV blend with your decor instead of standing out awkwardly, whether your style is farmhouse chic, modern, or anything in between.
Beyond looks, frames offer practical benefits, too. They can help shield your screen from dust buildup and provide a buffer against accidental bumps when moving furniture or during active play.
Perhaps most importantly, a framed TV creates a more polished, intentional entertainment area that guests will notice and appreciate.
It’s an affordable weekend project that delivers significant visual impact. It will make your living space feel more cohesive and thoughtfully designed without the expense of built-in entertainment centers.
Materials You’ll Need
Gathering the right supplies is the first step to a successful DIY TV frame project. You don’t need fancy equipment – most items can be found at your local hardware store.
Here’s everything you’ll need before you begin building your custom frame.
- Wood pieces – Choose decorative trim that matches your style; either ribbed or simple designs work well.
- Measuring tape – Essential for taking accurate TV screen dimensions.
- Saw – For cutting wood pieces to the exact lengths needed.
- Corner hinges – To join and secure the frame corners properly.
- Wood filler – Helps create a seamless look by filling gaps and hiding imperfections.
- Sanding tools – Use a block or sandpaper to smooth surfaces for a professional finish.
- Gel stain – Gives your frame a rich color (deep brown is popular, but choose what matches your decor).
- Elastic strips – Allow you to secure the frame to your TV without damaging it.
- Staple gun and staples – For attaching the elastic to the back of the frame.
- Scissors – Needed to cut elastic strips to the right length.
- Wood glue – Optional, but provides extra stability to your frame.
- Clean cloth – For wiping away excess stain and wood filler.
- Your TV – The centerpiece of this project!
Step-by-Step Guide: How to Build Your TV Frame
Creating your own TV frame is easier than you might think. With just a few basic tools and materials, you can enhance your TV’s appearance in a weekend project.
Follow these simple steps to build a custom frame that perfectly fits your television. You’ll be surprised at how such a small change can have such a big impact on your room’s overall look.
Step 1: Measure the TV Screen
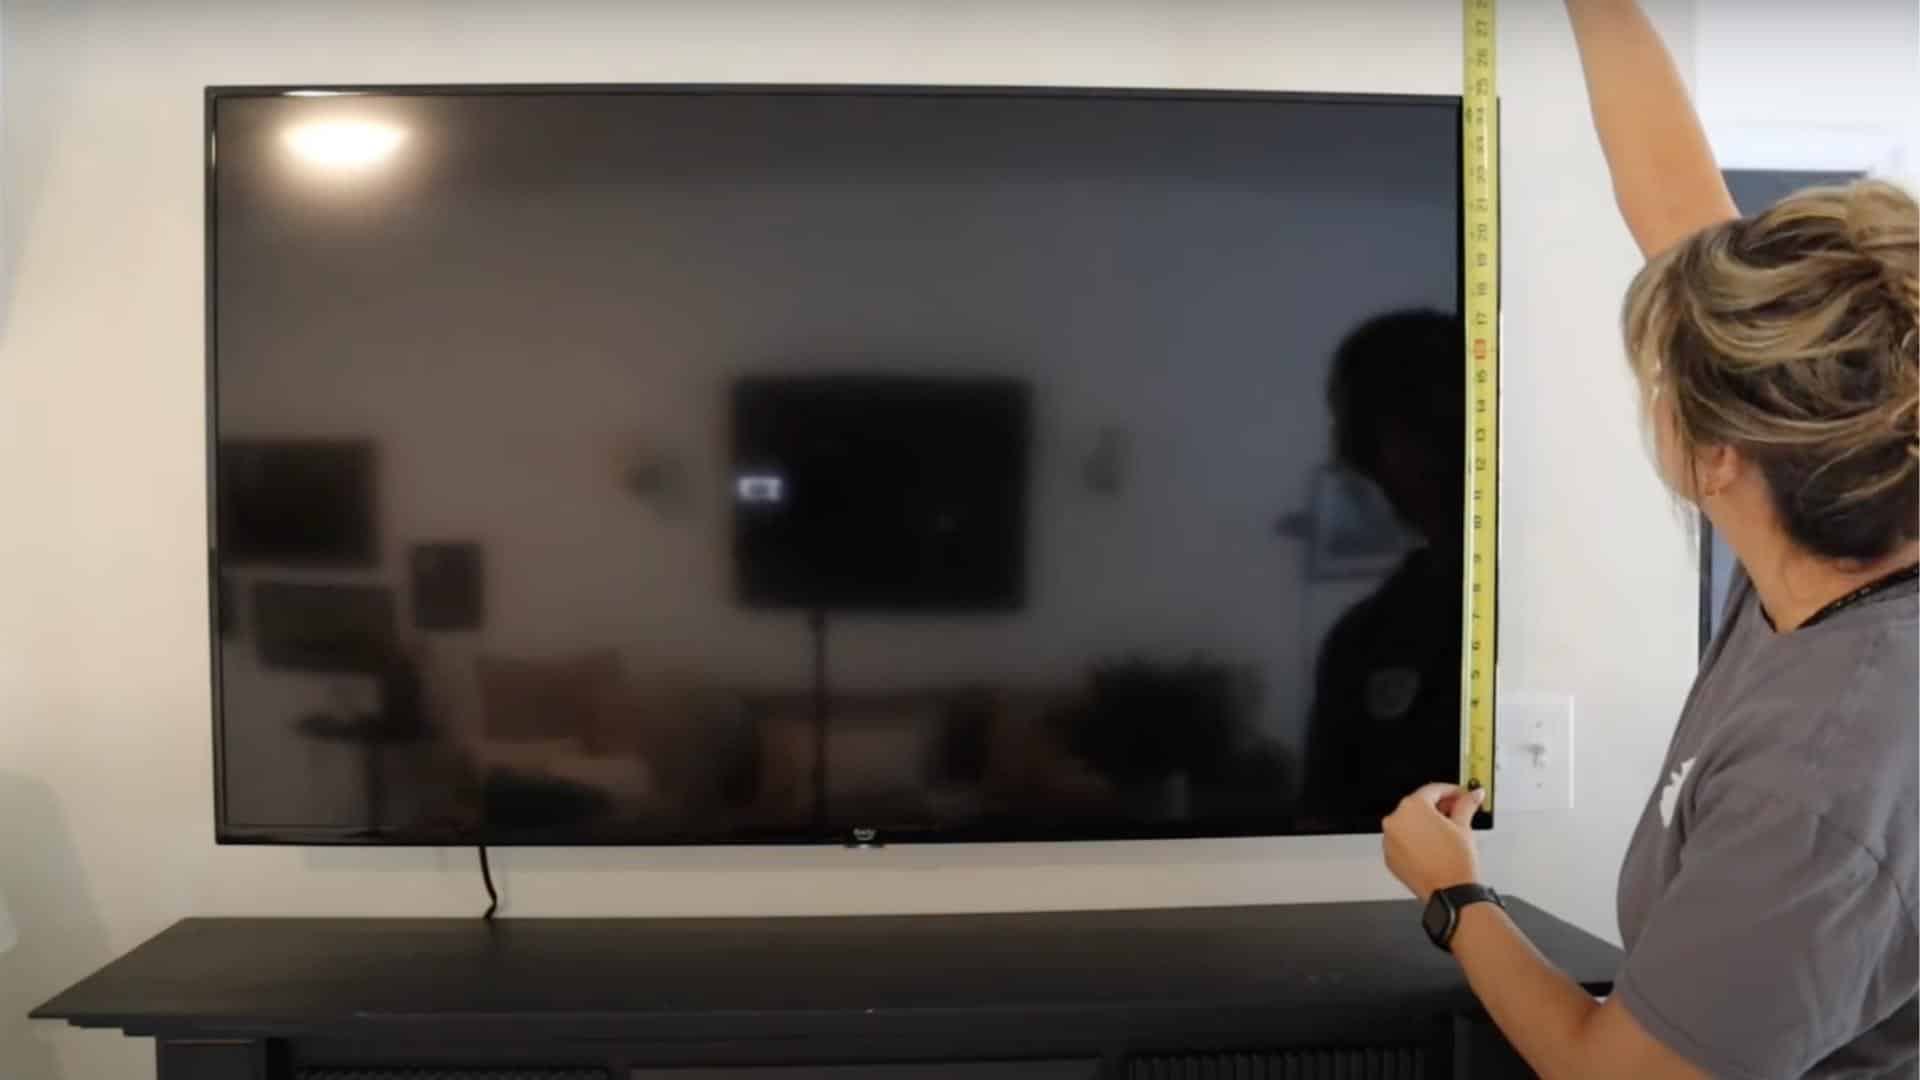
Start by measuring just the screen part of your TV, not including the black border around it. Use measuring tape to get the width and height—in the example, the screen measured about 43 ¼” x 24 ¼”.
Write these numbers down carefully, as they’ll determine the size of your frame. It’s better to measure twice to be sure you have the right dimensions.
These measurements will help you create a frame that fits perfectly over your screen without covering any part of the display. Remember, you’re measuring the visible screen area only.
Step 2: Cut and Assemble the Frame
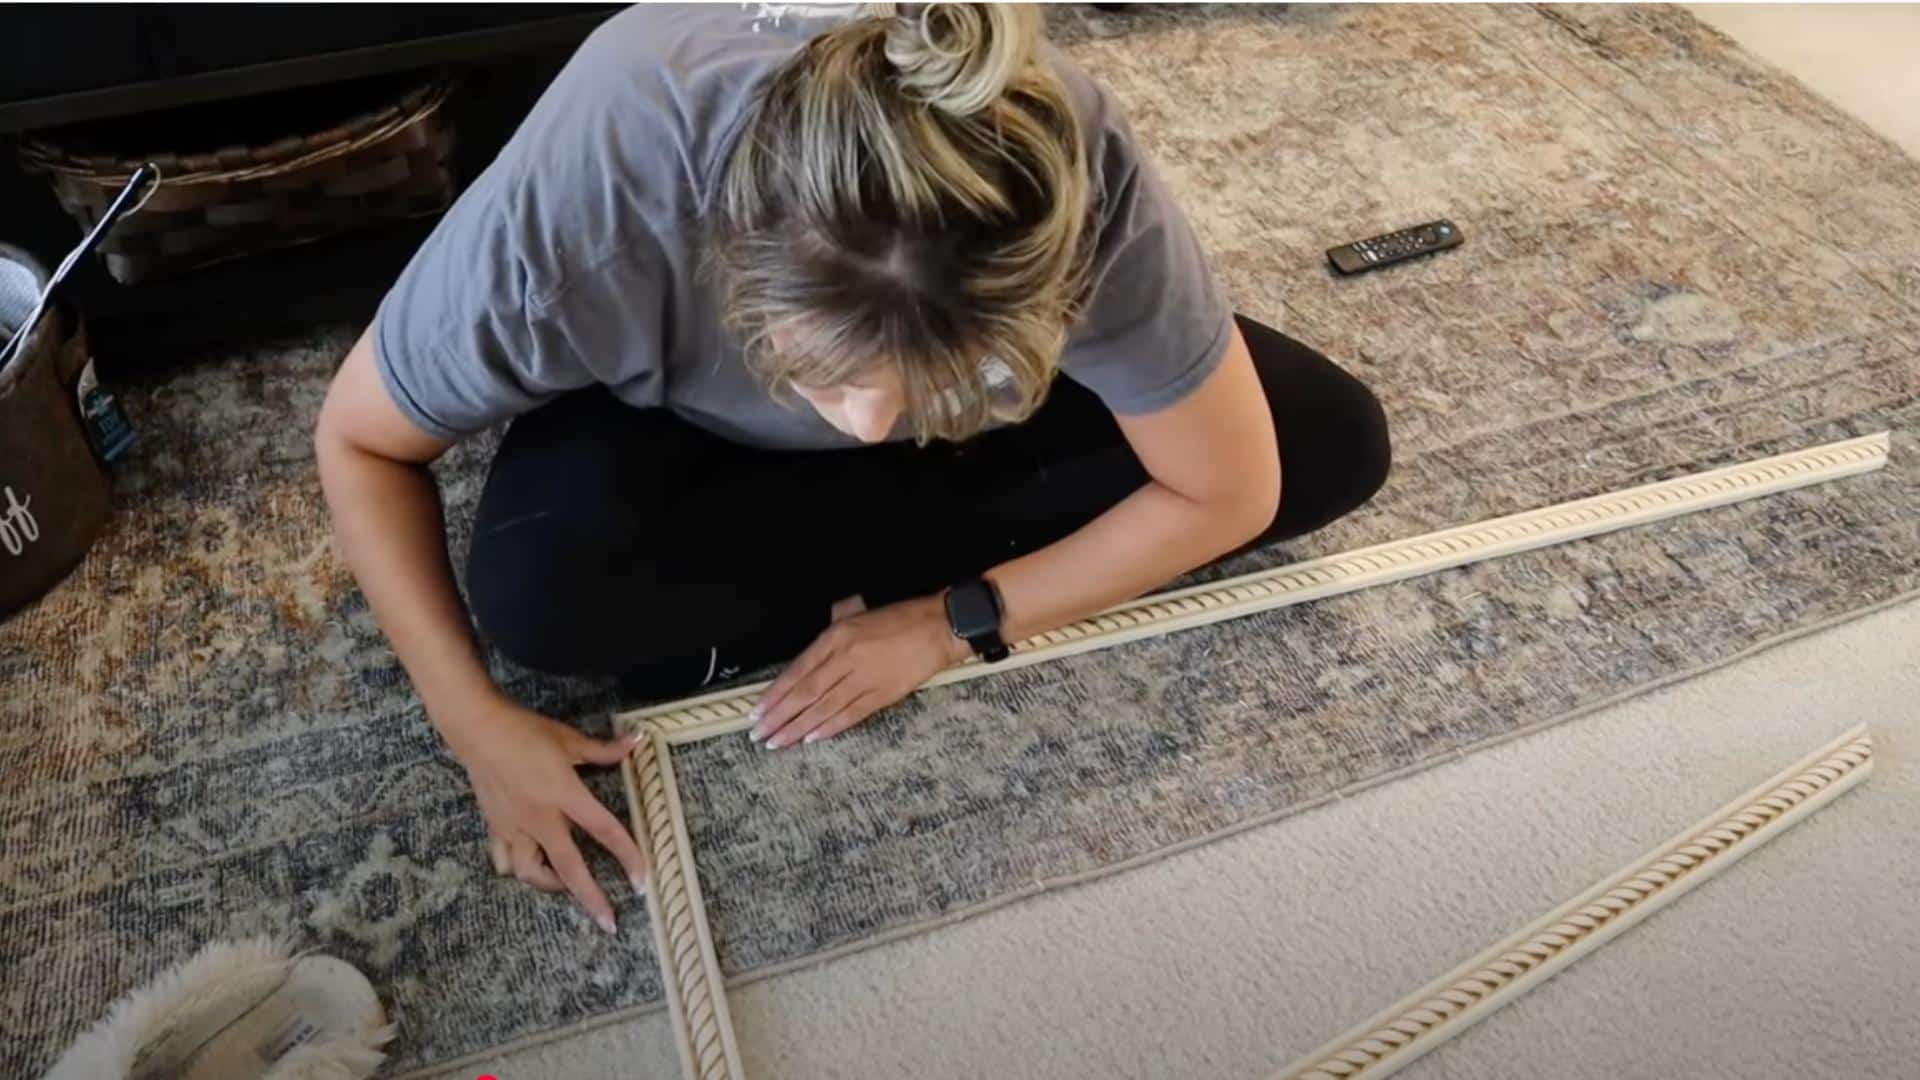
Once you have your measurements, cut your decorative trim pieces to match. Make four pieces: top, bottom, left, and right. Mark each piece on the back to avoid confusion later.
Apply wood glue to join the corners, then add corner hinges for extra strength. The hinges keep everything aligned and stable. Check that your corners meet cleanly – if there are gaps, fill them with wood filler.
Let the glue dry completely before moving on. A square frame is crucial, so take your time with this step to ensure everything fits together correctly.
Step 3: Sand and Stain the Frame
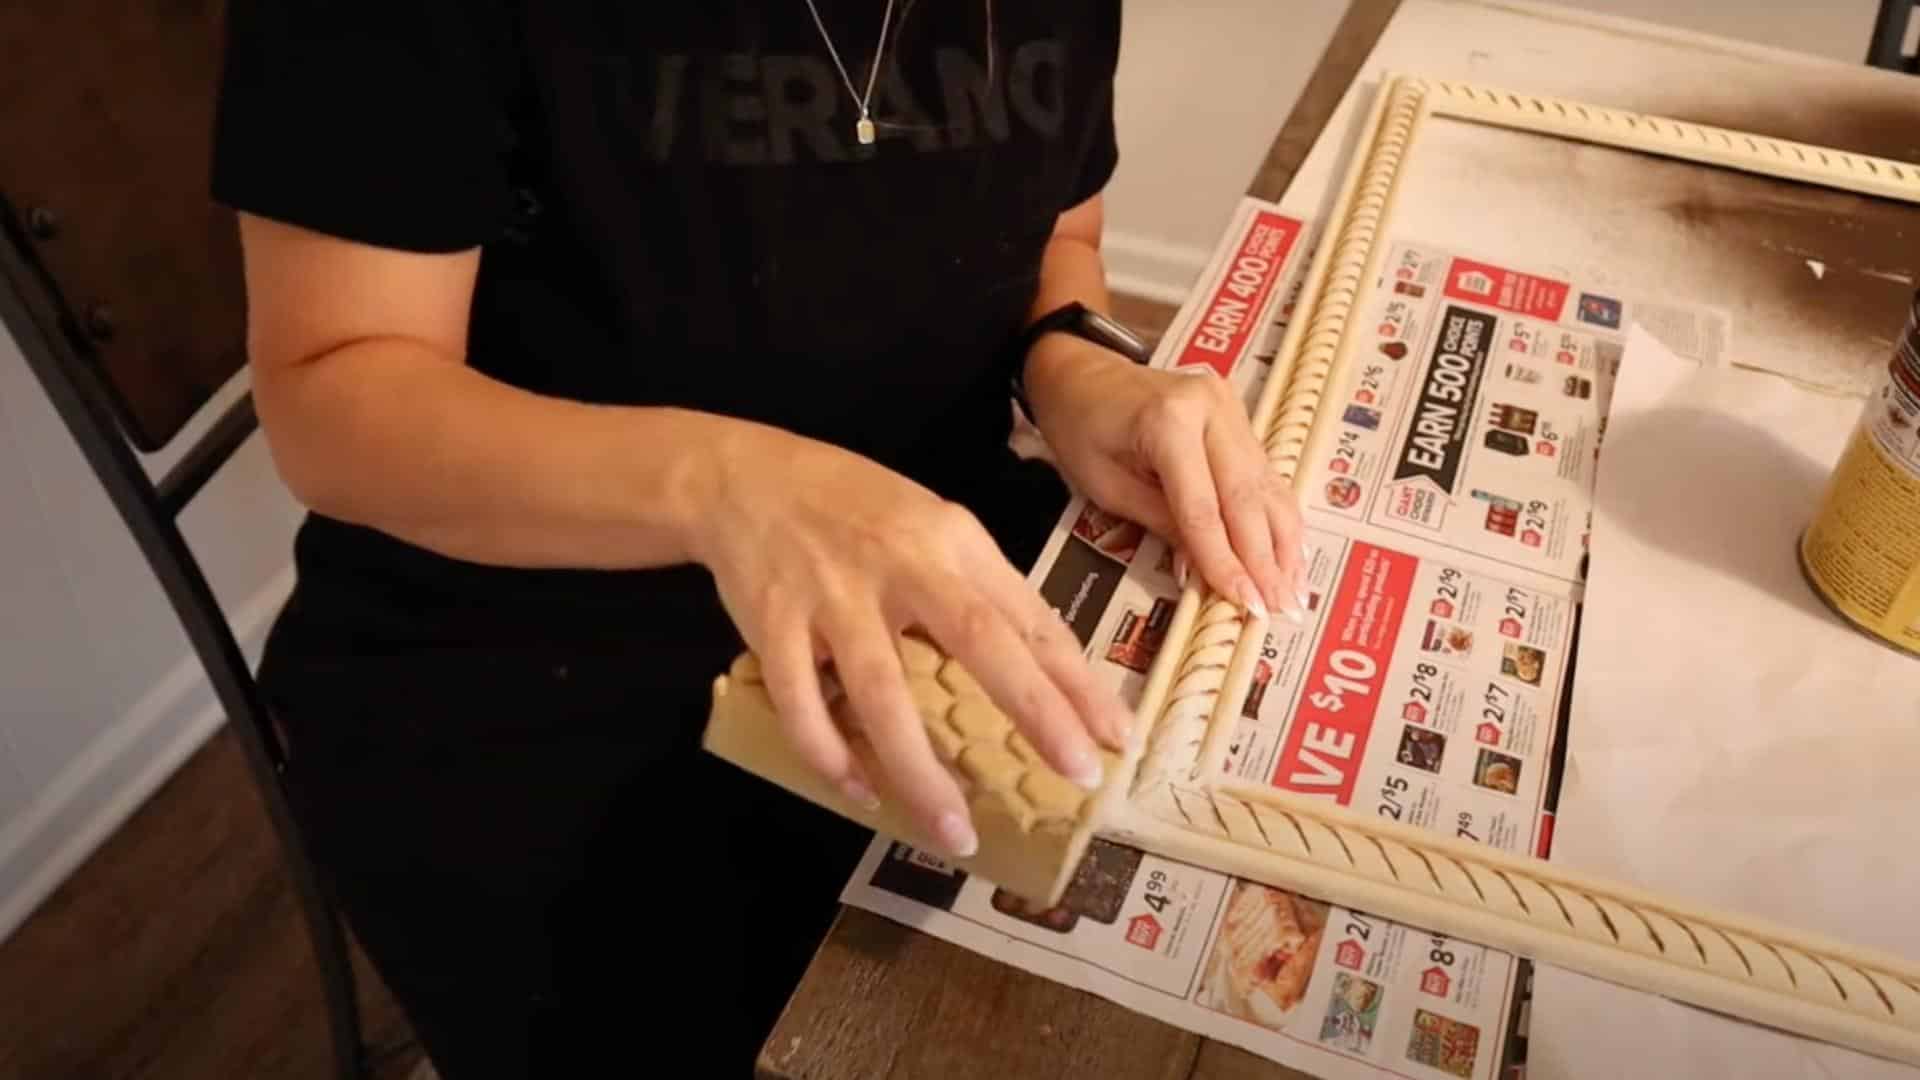
After your frame is assembled, sand all surfaces until smooth. Pay special attention to the corners and any areas with wood filler.
Start with rougher sandpaper, then finish with finer grit for a silky surface. Next, apply gel stain in your chosen color – a rich brown works well for most homes.
Use a cloth to wipe on the stain following the wood grain. Don’t rush this step – allow a full 48 hours for the stain to dry completely. This drying time ensures the finish won’t smudge or transfer onto your TV or walls.
Step 4: Attach Elastic to the Back of the Frame

Cut elastic strips long enough to reach across the back of your TV. Using a staple gun, attach one end of each elastic strip to the back of your frame, then pull it tight before stapling the other end.
Place several strips horizontally and vertically for the best support. Make sure the elastic won’t block any important ports or buttons on your TV.
The elastic should be tight enough to hold the frame securely but not so tight that it pulls the frame out of shape. This creates a simple, adjustable mounting system.
Step 5: Mount the Frame to the TV
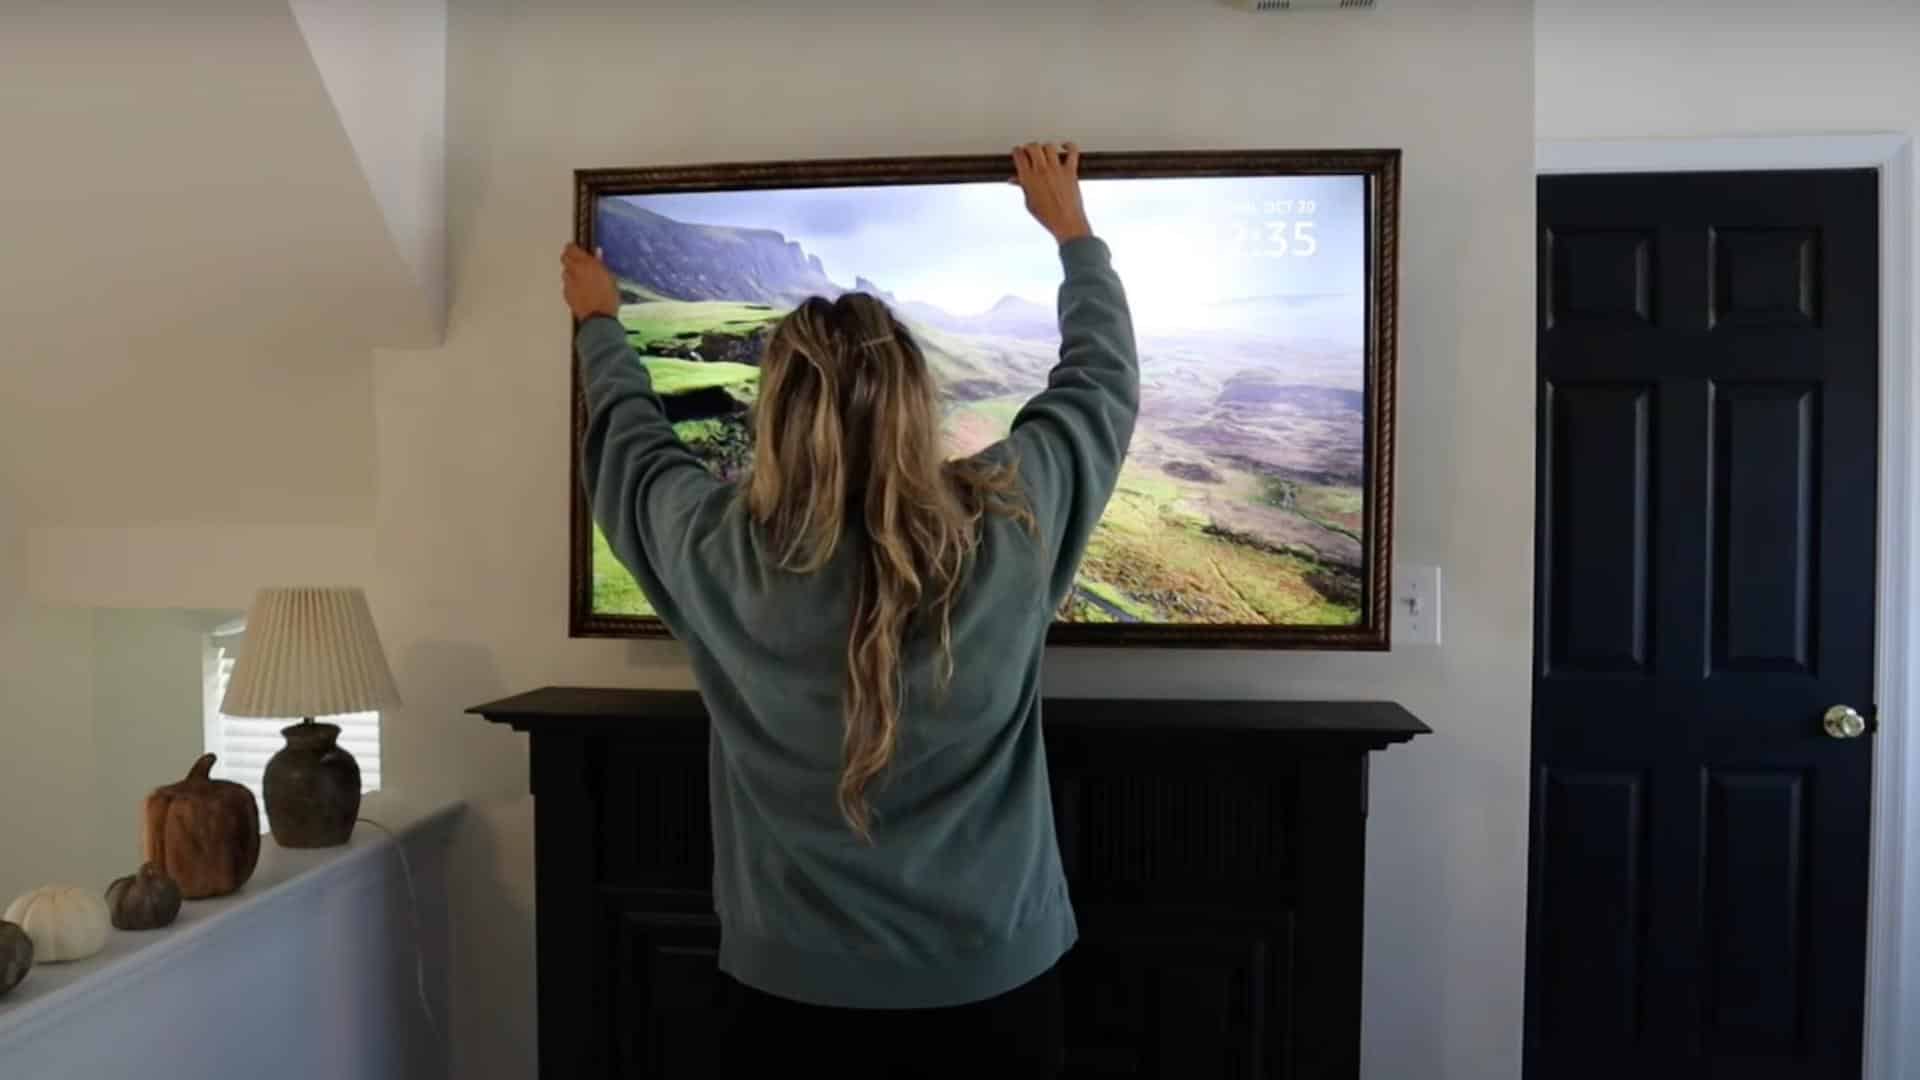
With the elastic attached, carefully position your frame over the front of your TV. Stretch the elastic around the back of the TV, creating tension that holds the frame in place.
Adjust as needed until the frame sits straight and secure. Once mounted, test your remote control to make sure it still works with the frame in place.
Most remotes will function normally even with the frame covering the sensor. Step back and admire your work – your TV now looks like a beautiful framed picture when not in use!
Video Tutorial
For more information, check out this video tutorial by This Girl at Home
Tips for a Professional-Looking Finish
Getting a polished look for your DIY TV frame makes all the difference. Small details can turn a homemade project into something that looks store-bought.
Take your time with these finishing touches to create a frame you’ll be proud to display. The extra effort will make your TV frame look like it was custom-made by a professional.
- Always measure twice and cut once.
- Sand in stages from rough to fine-grit paper.
- Apply thin layers of paint or stain instead of one thick coat.
- Use a good brush or foam roller to avoid brush marks.
- Fill any gaps at the corners before finishing.
- Add decorative corner pieces for a fancier look.
- Let each coat dry fully before adding another.
- Wipe the frame with a tack cloth to remove dust.
How to Maintain and Clean Your TV Frame?
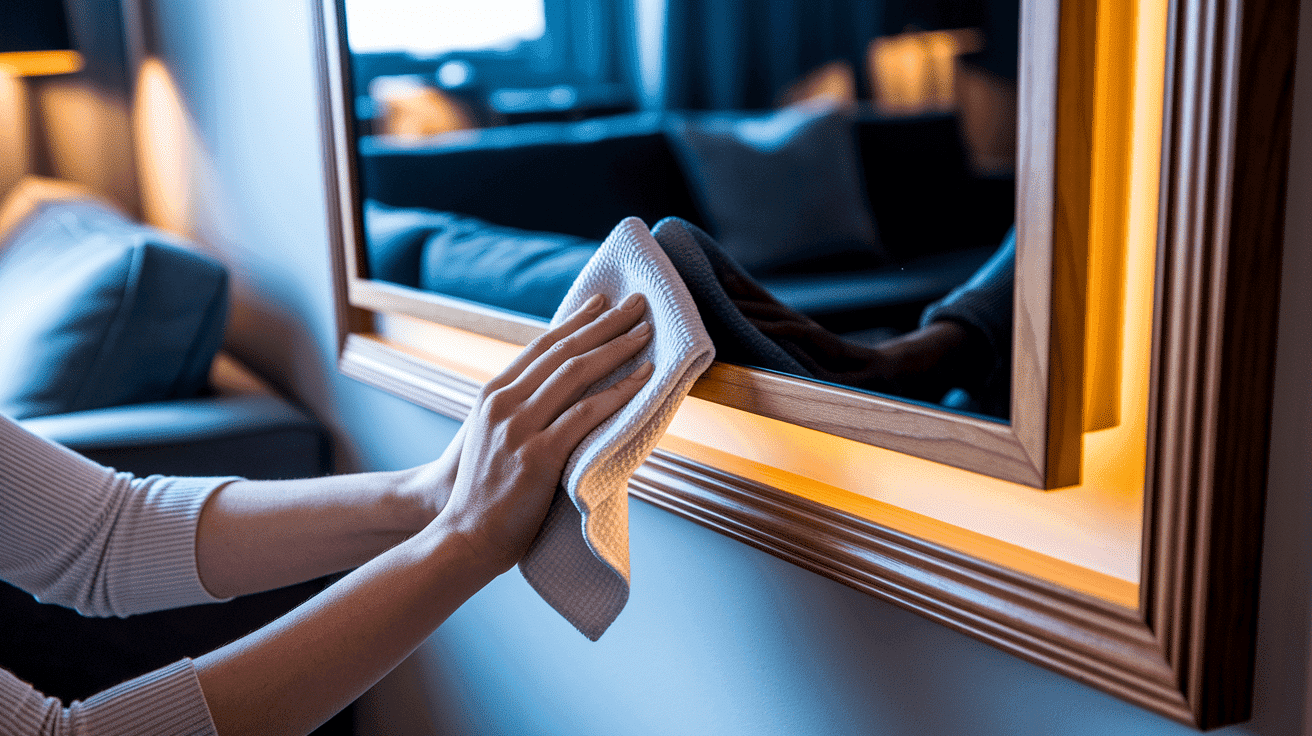
Keeping your DIY TV frame looking great is simple with regular care. For daily dusting, use a soft microfiber cloth to wipe away dust gently without scratching your finish.
Avoid spray cleaners directly on the frame—instead, lightly dampen your cloth with water or a wood cleaner made for your finish type.
For wood frames, apply furniture polish once every few months to keep the wood from drying out and to maintain its shine.
Fingerprints happen, especially in busy households. To avoid water spots, remove them quickly with a slightly damp cloth followed by a dry one.
If your frame has a painted finish, avoid using harsh chemicals that might strip the color. For stubborn marks, a tiny bit of mild soap on a damp cloth works well.
Remember to clean both the front and the edges of your frame, but avoid getting moisture near where the frame meets your TV screen.
The Bottom Line
Ready to start creating your own DIY TV frame? There’s nothing quite like the satisfaction of stepping back and admiring a project you’ve completed with your own hands.
Not only will your TV look amazing, but you’ll also feel proud every time you glance at it. A custom frame turns an ordinary television into a statement piece that ties your whole room together.
Remember, the beauty of a DIY TV frame is that you can always update it if your style changes – remove it and create a new one!
So grab your measuring tape and head to your local hardware store this weekend. In just a few hours, you can enjoy both your favorite shows and the view of your beautifully framed TV!

James McLaren, with a rich background in architecture from the University of Manchester, has been contributing his expertise to the world of creative construction and home innovation for over 20 years. His journey began as a project manager for a leading construction firm, where he honed his skills in bringing complex designs to life. James joined our platform as a freelancer in 2019, quickly becoming a favorite for his insightful and practical advice. He has been a pivotal force to our wing ever since, bringing our readers a blend of technical know-how and creative flair. Beyond his professional life, James is an avid woodworker and enjoys restoring vintage furniture, a hobby that complements his professional insights beautifully.