Have you been thinking about modifying your bathroom or building a new one?
Comfort is the primary factor when it comes to the bathroom area. Style is always the secondary aspect to be considered. With multiple design and layout ideas regarding the bathroom structure, it can be confusing to select an appropriate one.
Determining the right size, material, and colors is a challenging task. This article shares some intricate details about designing the shower area to help you in this burdensome journey.
Certain specifications are pre-determined, keeping in mind human comfort. It includes the kind of material used in the shower base and curb. Also, the shower curb height and base depth should fall in a specific range to form a sturdy and suitable structure. Understands the basic of a shower structure and make your renovation journey easier.
Read ahead to create a perfect shower space with proper dimensions.
Difference Between Shower Pan, Shower Base, and Shower Curb
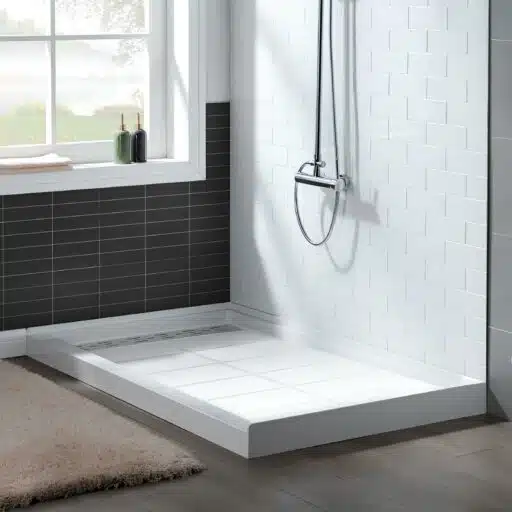
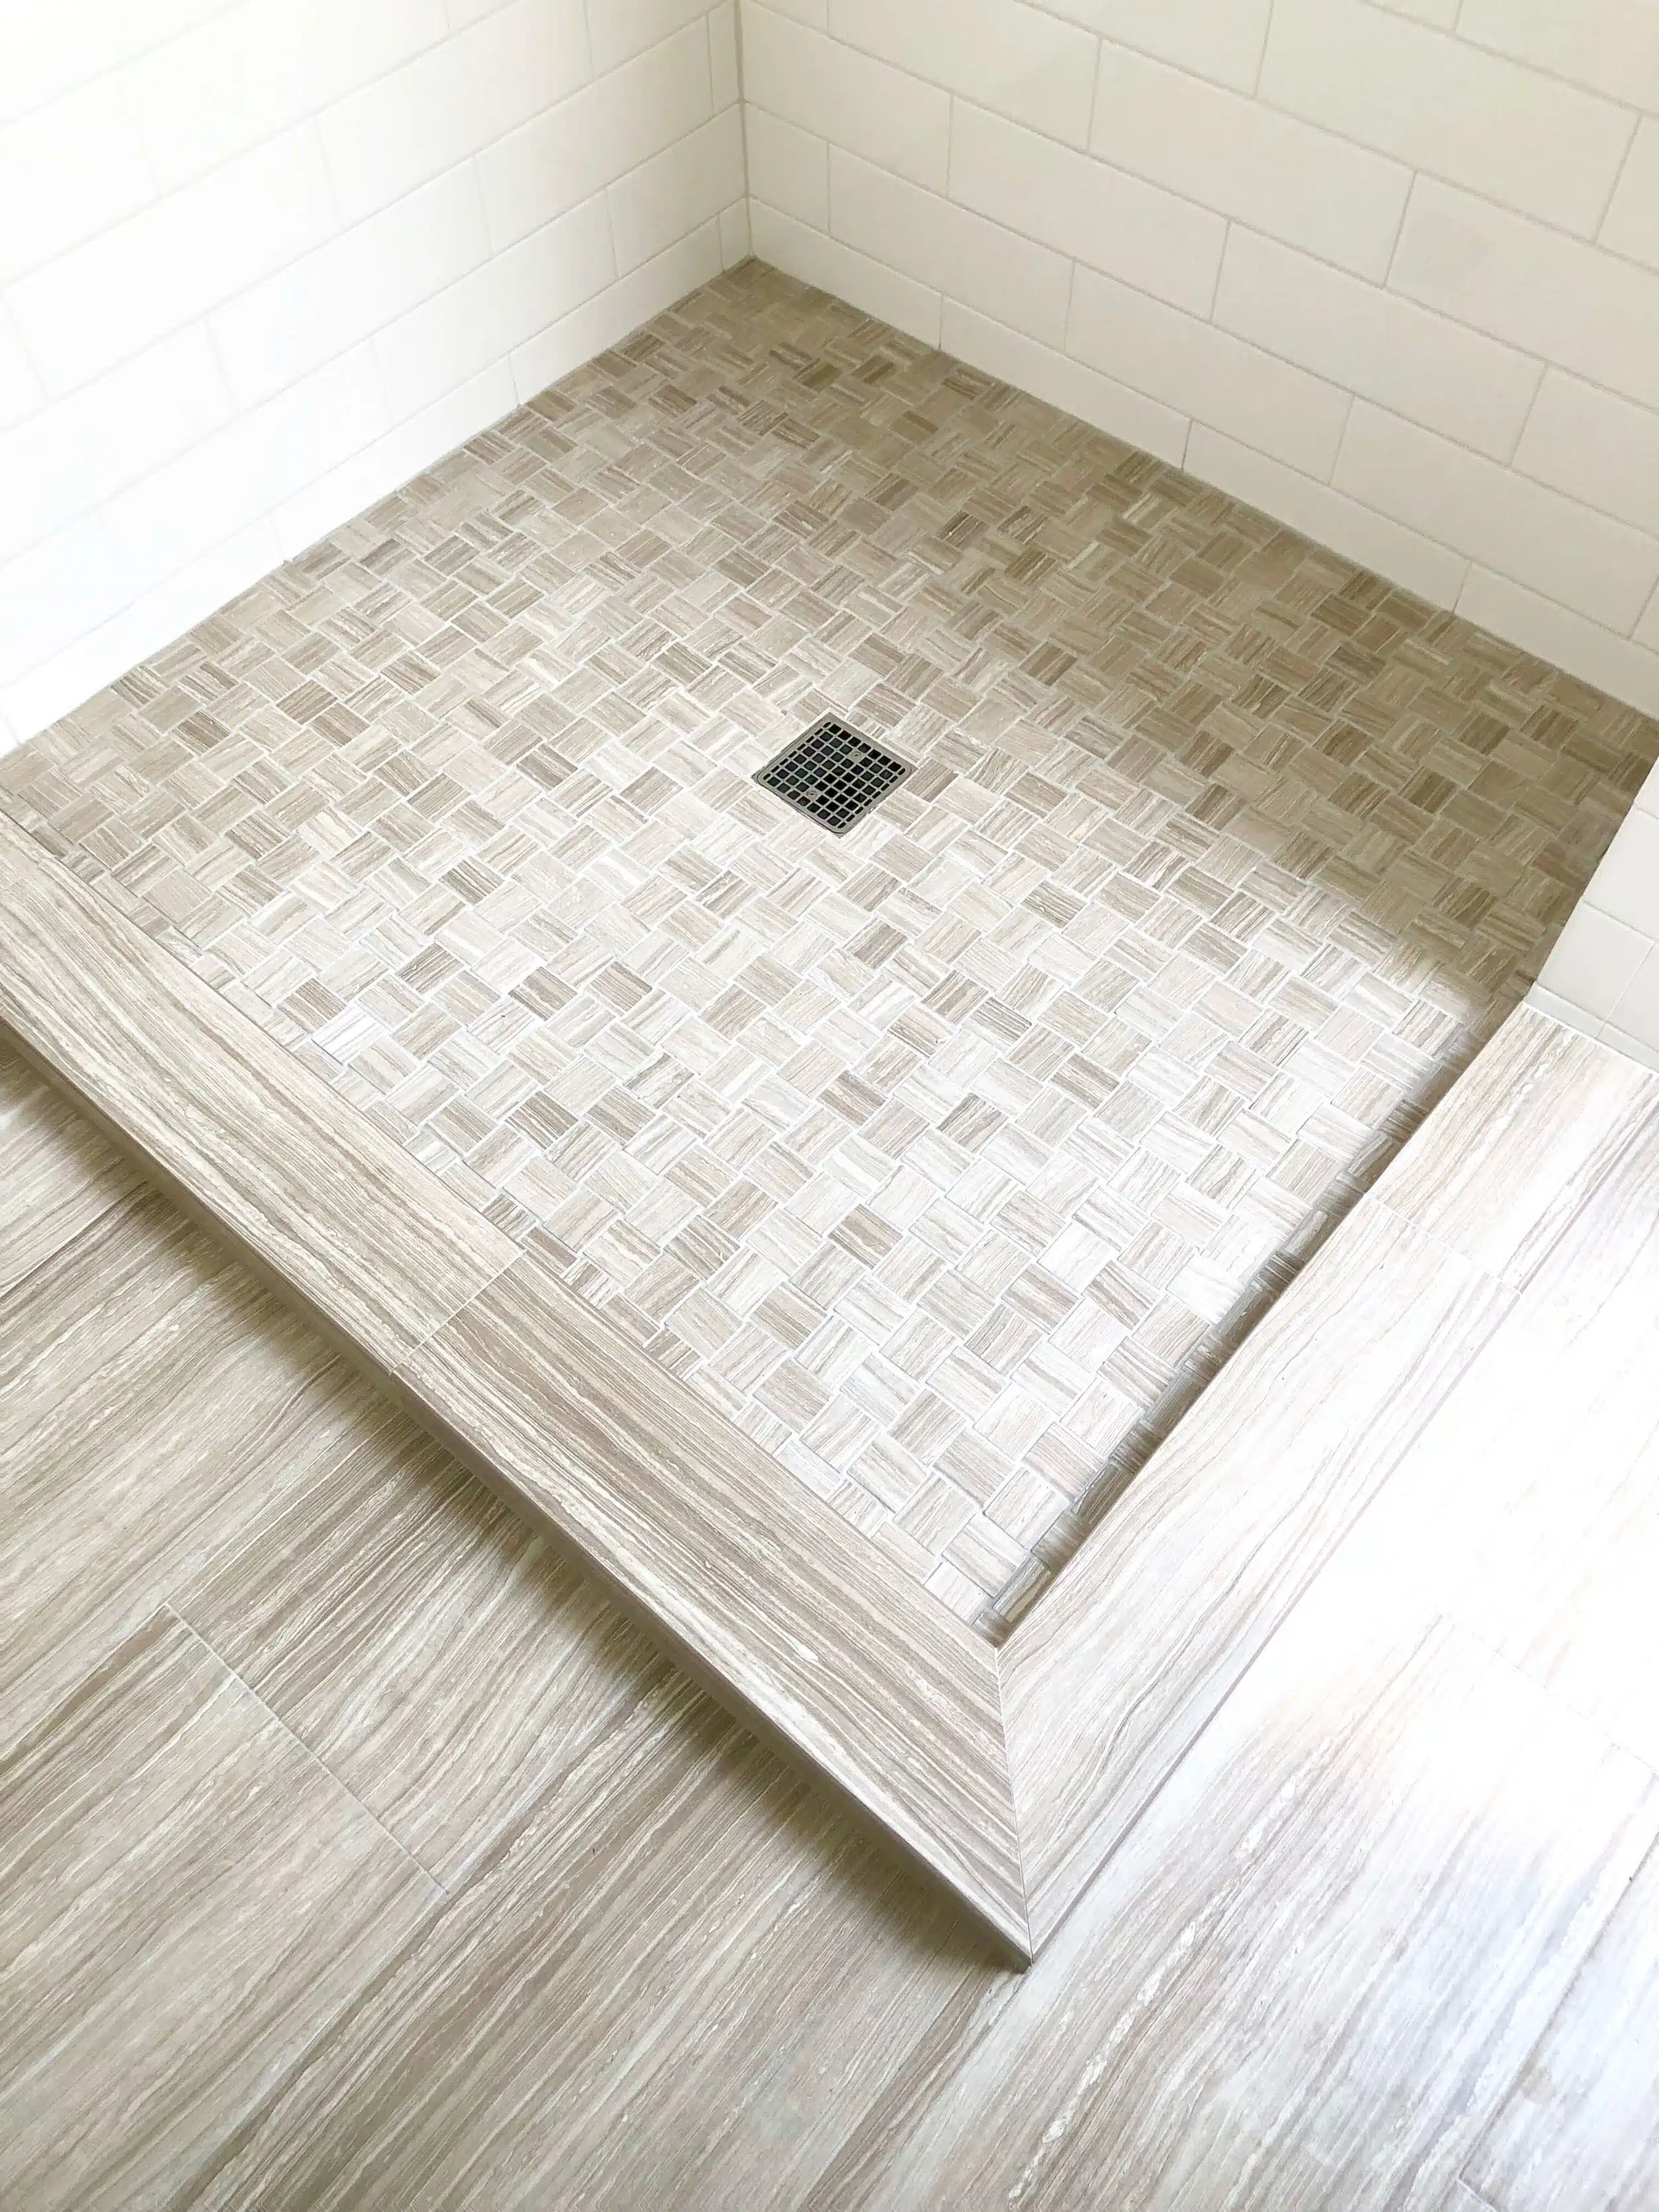
A shower structure in the bathroom comprises three different aspects on the ground: Shower pan, base, and curb. Let us understand each of these components to build a better structure. The shower base is the lowest substructure underneath the shower floor. It is not visible from the top but acts as a strong foundation in the whole built-up.
A shower pan is the floor on which you stand while taking the shower. This layer comes after the base and is visible from the outside.
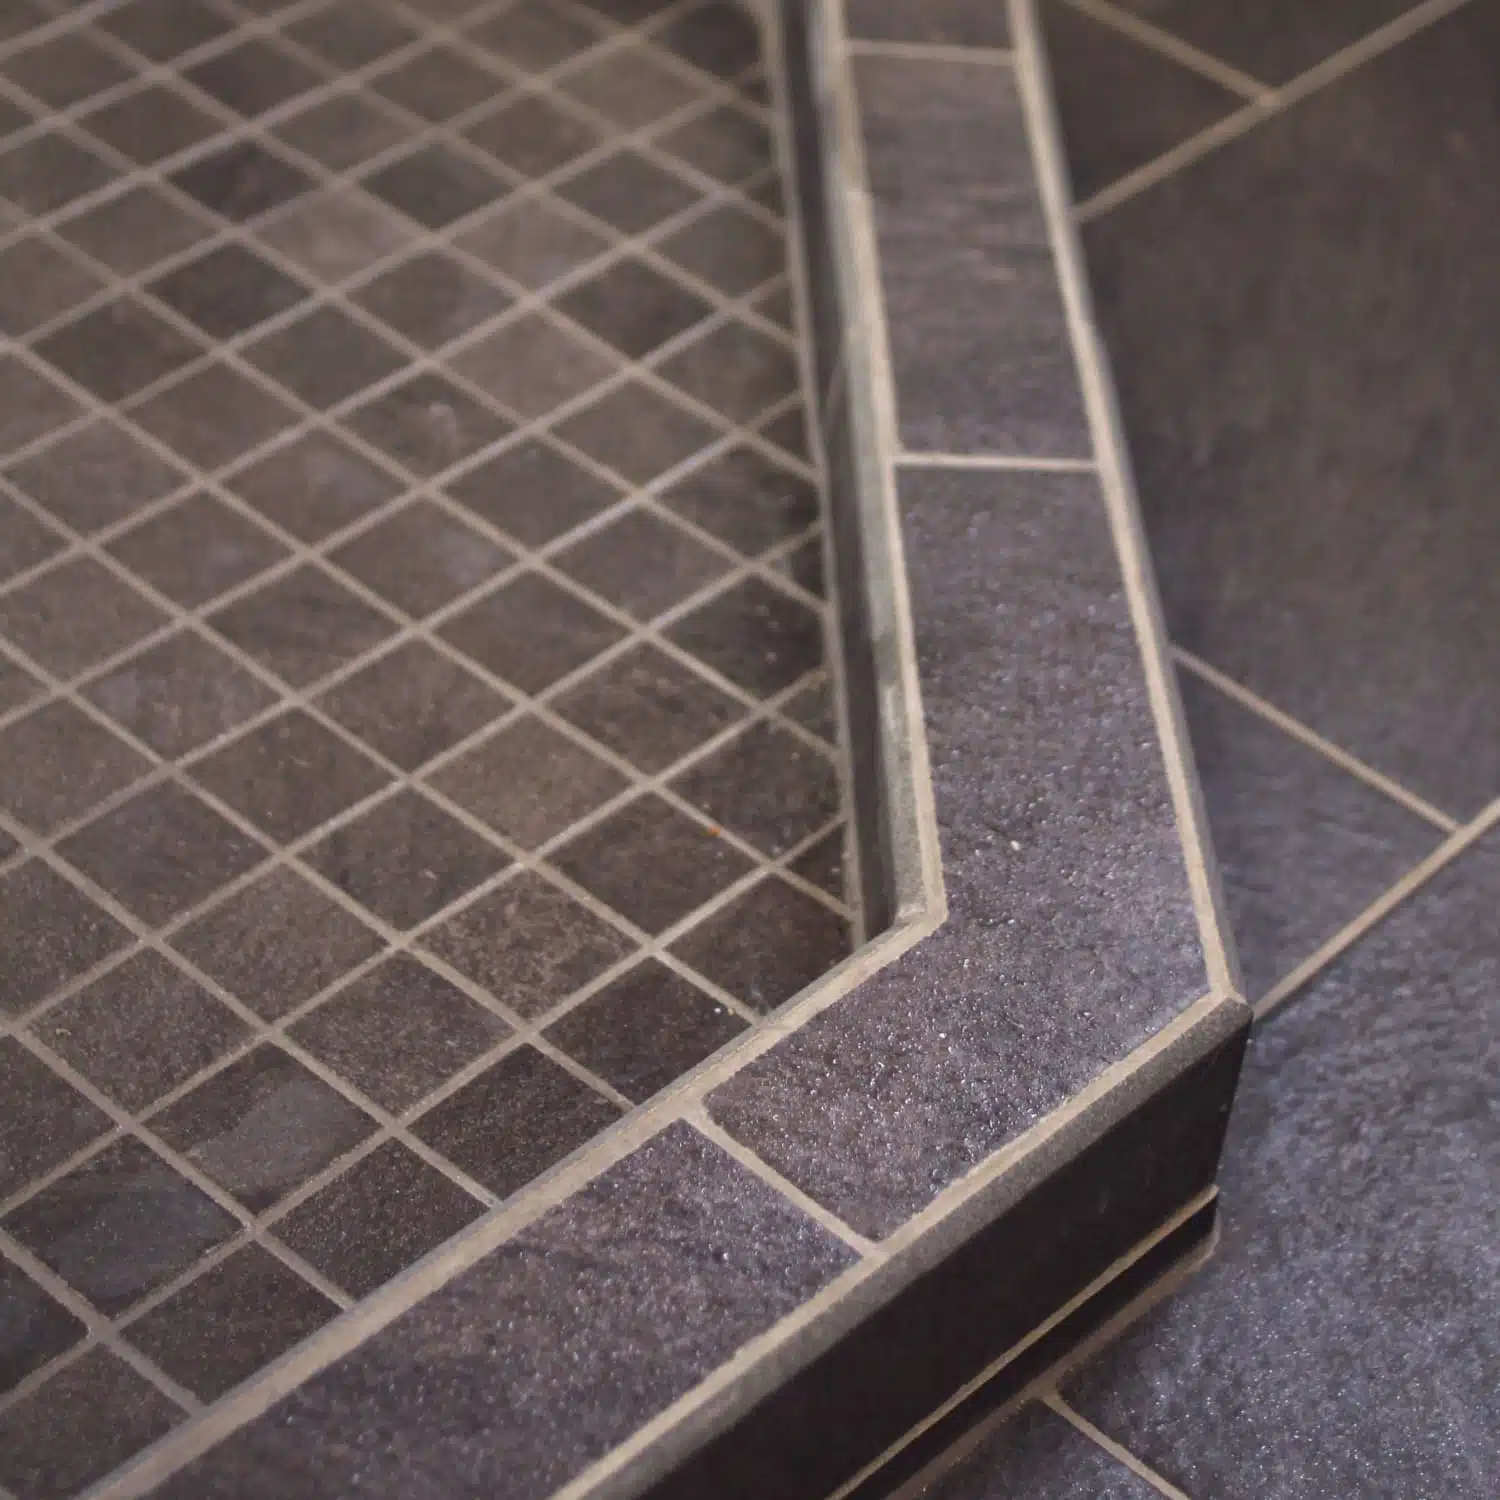
A shower curb is a raised barrier separating the shower from the rest of the bathroom. This ensures the flow of water remains within the shower area. It keeps the bathroom area clean to dry yourself and change clothes after the shower. Imagine water running everywhere after you have a shower! What a mess it would create. The shower Curb is the element that will avoid any such kind of mess.
We will understand in detail which materials are suitable for building such a structure and what is the ideal shower curb height.
Ideal Height and Material Used
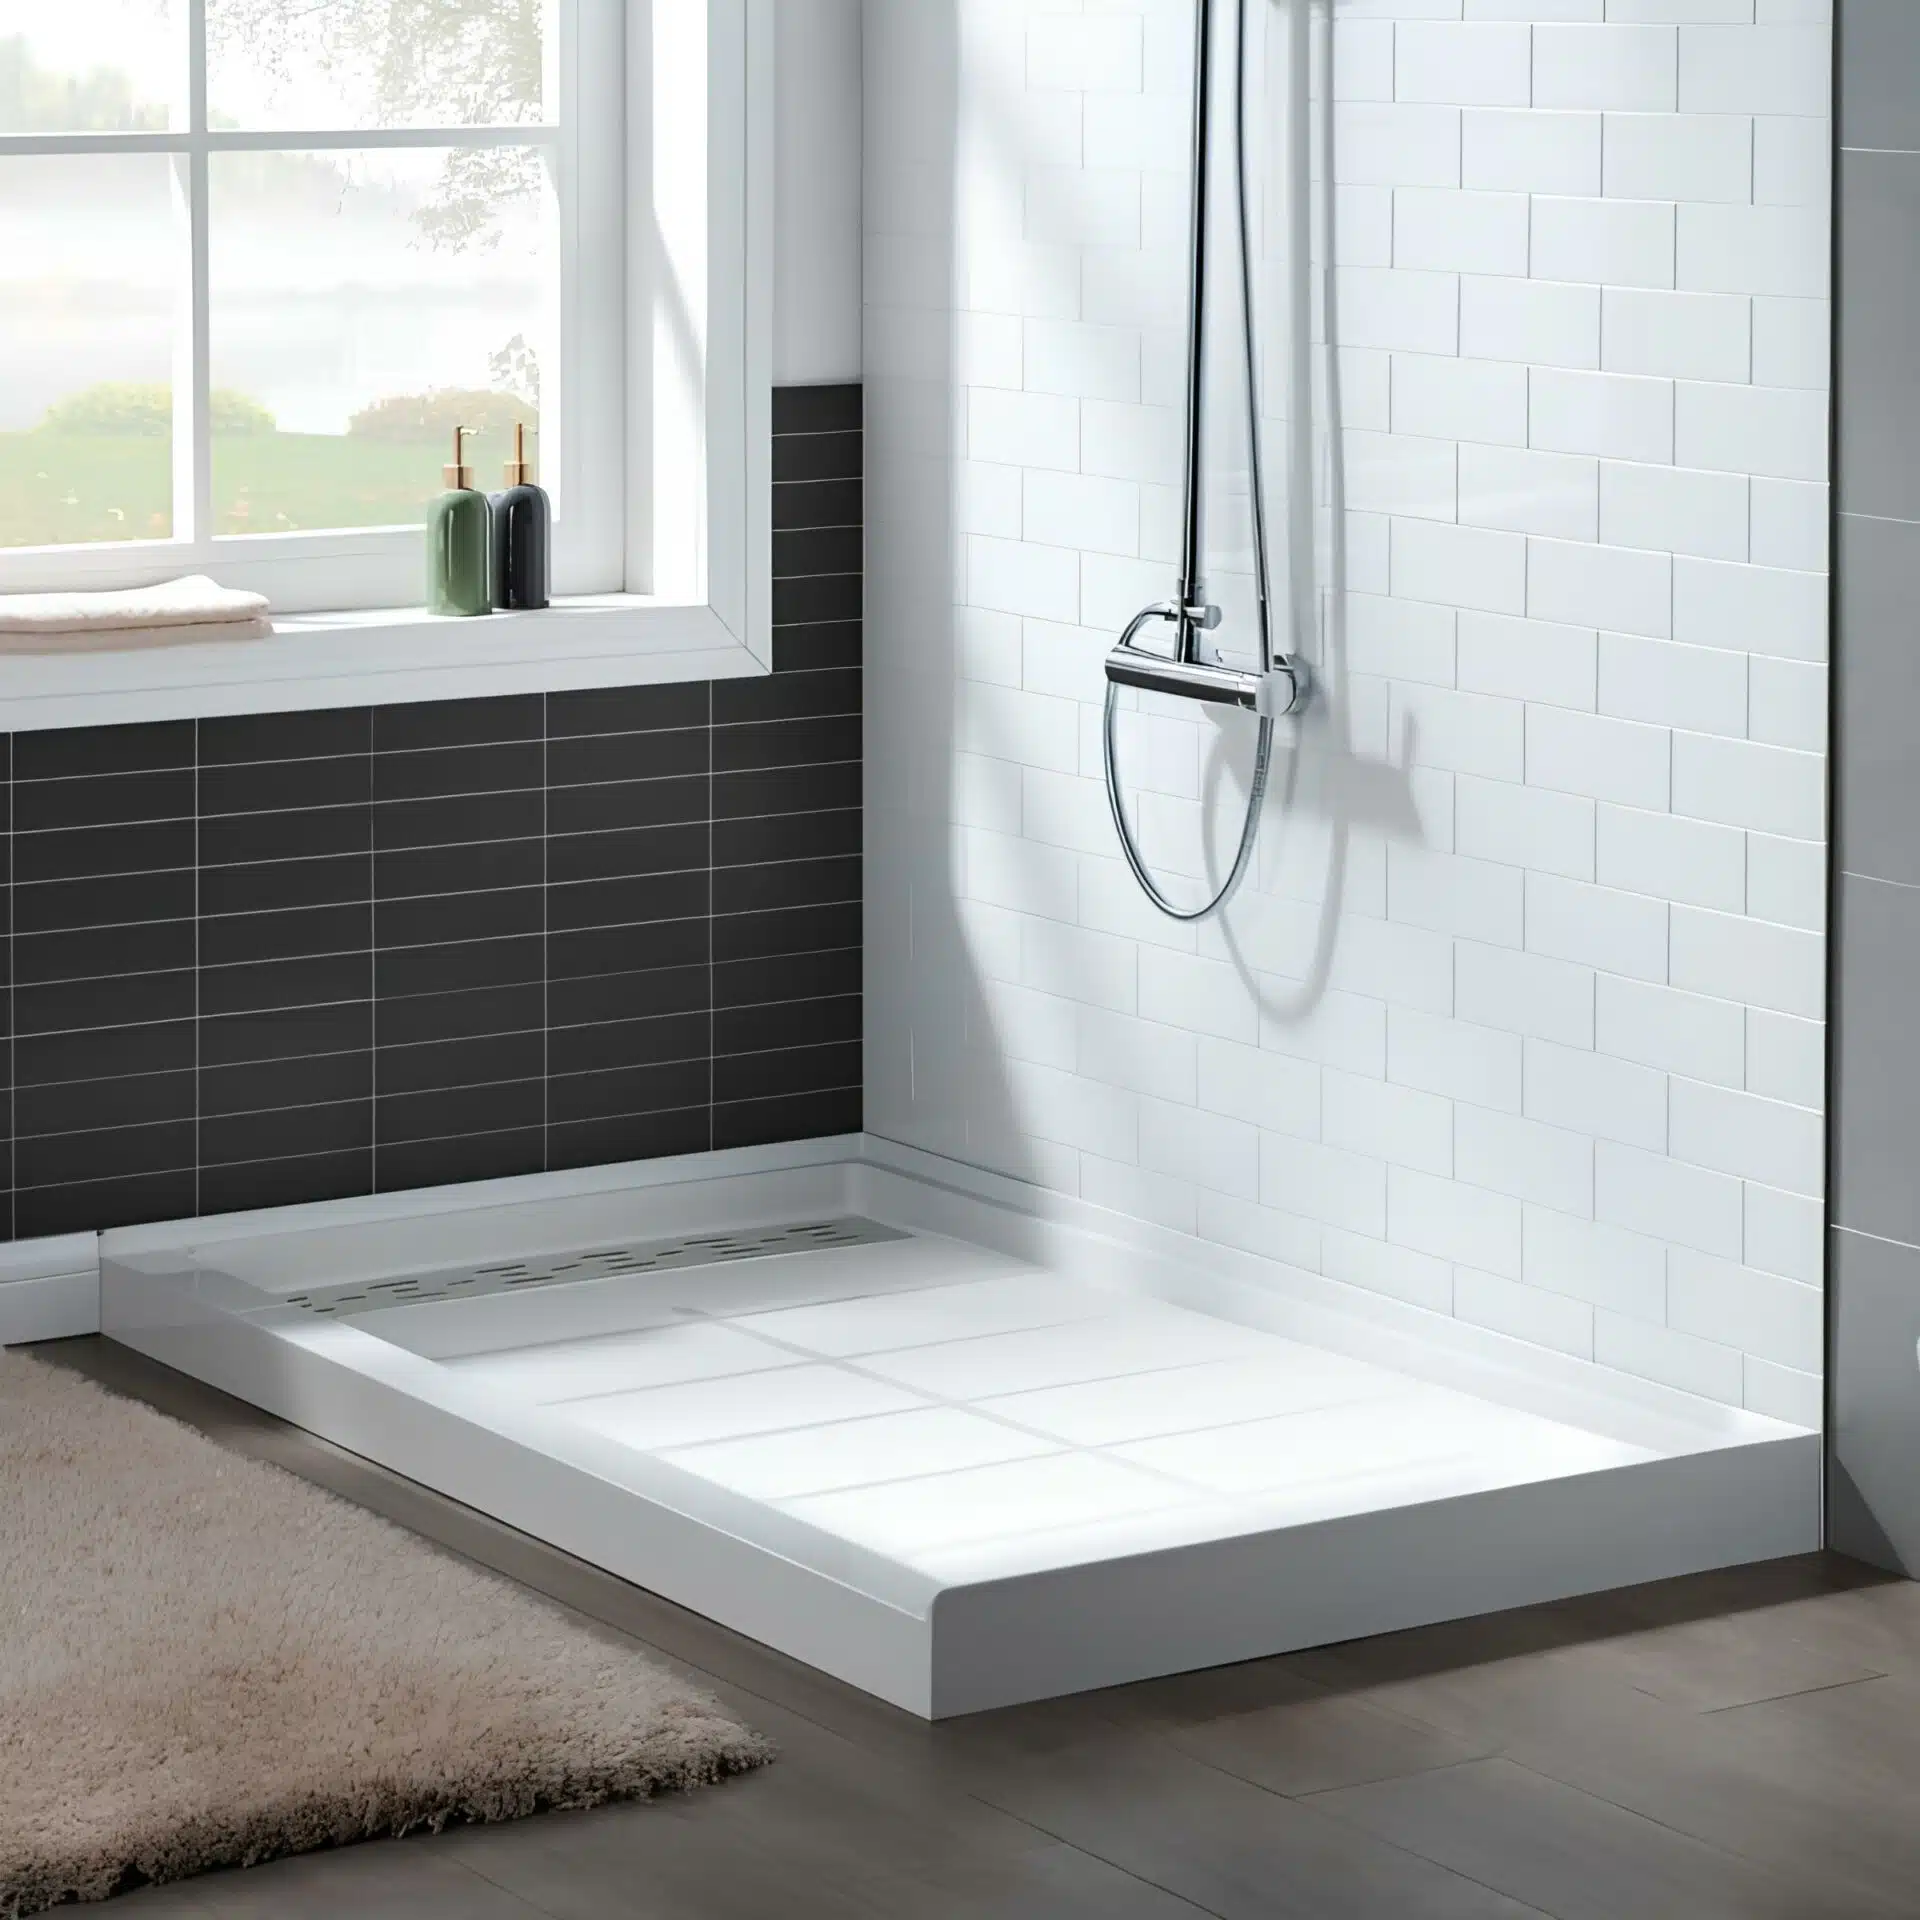
Considering the safety and effectiveness of different levels, a shower curb height can range from a minimum of 2 inches to a maximum of 9 inches. As we saw earlier, a shower curb holds the water within a boundary and keeps the exterior area dry. If we have an extremely low shower curb, it will not be able to serve its purpose and spill the water all over the place.
On the other hand, if it is too high, an individual can trip and fall on the floor, resulting in a major injury.
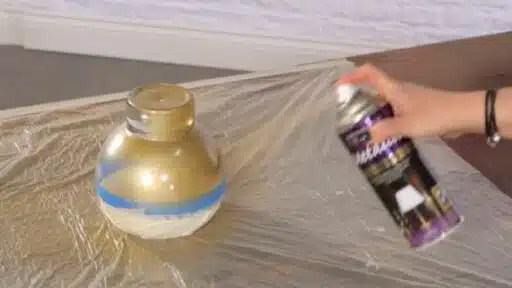
There is no ideal material for building a shower curb. It depends on the interior of your bathroom. Select a material that complements the interior and color of your shower area. Generally, the shower curb can be made of wood, cement, stone, caulk, cement blocks, pre-formed polystyrene pieces, or high-density plastic components. All of these materials can be customized in the shape and color you want.
When using wood as a shower curb, make sure it is waterproofed. Pressure-treated lumber wood is also a great option for shower curbs. Using engineered stones as the shower curb will ensure that the surface will not absorb water and corrode. Stone will give a shiny finish and simply dry off with a simple wipe. Some of the plastic shower curbs come in pre-made form. They simply need to be adjusted and affixed to the surface.
How to Build a Shower Curb?
After knowing about the ideal shower curb height and materials that can be used, it’s time to understand the procedure of making a shower curb. Decide the shower curb height before beginning this process.
Step1: Create the Foundation
Select the curb material depending on the flooring you have. Use a wooden shower curb with wooden flooring. Let us assume you are working with wooden flooring. Put aside three wooden boards of 2*4 size. Now, create a structure by placing these pieces on each other to form a curb. Place the three wooden pieces in a way that the edges of all three wooden boards align with each other.
Affix them to the shower base using a screw and make sure they stick tightly with each other too. You can similarly cut any other material in such shape according to your shower area length and affix it to the floor.
Note:
- Be mindful of the curb height
- Don’t use lumber on the concrete floor, and it will swell.
- Consider durability while deciding the size
- Use non-corrosive screws, if possible.
Step2: Place the Waterproof Pan Liner
The next step is to buy a waterproof pan liner for protection of the surface. It is suitable to buy a flexible structure that is easier to fold according to the shower base. Spread the liner in a way that it covers the whole wooden curb structure. Also, extend the liner to cover the bathroom area fully. Take proper measurements while buying the liner. If you are not sure, there is no harm in buying a larger and flexible liner. In the case of a rigid liner, put it in the sun for some time. It will help in making the material a little loose to fit the curb.
Step3: Removing the Liner from The Drain Hole Area
Once you have placed the liner all over the curb and shower area, it’s time to cut the drain hole. Remember, any cuts made in the liner are permanent. If you mess up in this step, it will cost you more. With a utility knife and precision, cut the drain hole. Feel the hole and target the center of the hole. Once you pierce through it, estimate the round cut and remove the liner with the help of a knife.
Step4: Align the Liner to the Bathroom Base
Arrange the liner with the help of tape and nails by raising the edges to connect with the wall. Affix the liner to the surface in a way that there is no space for water to escape the surface and flow outside the curb. You can also use dam corners to cover the interior part of the liner. Such dams are pre-formed with specific shapes, making it easier for them to adjust and fix.
Step5: Lay Down the Lath Layer
The next step is to cover the shower curb height with a metal lath. To make the foundation stronger, you will then cover the lath with a mortar mixture. Find a metal lath of suitable size and affix it on the curb. Affix the lath by using nails on a wooden surface. If you are building a concrete curb, the lath will stay in place without using nails. You will easily be able to buy metal lath from online stores.
Step6: Mud it up
Once the lath is affixed, it’s time to cover it with the mortar mix for its final strength. If you don’t know how to make a mortar, buy a pre-made mixture from the store and mix water. Apply the mortar on every side with utmost care and build a thickness that protects the curb. Once you are done applying, even out the surface by removing access material on any sides.
If you want to understand the whole process in depth with visuals, do watch this video. Make sure to go through the whole process in detail before beginning the work. If you do not have any experience in this type of work, it is better to consult a professional. You would not want your shower space to be defective and damaged within a few months.
What is a Curbless Shower?
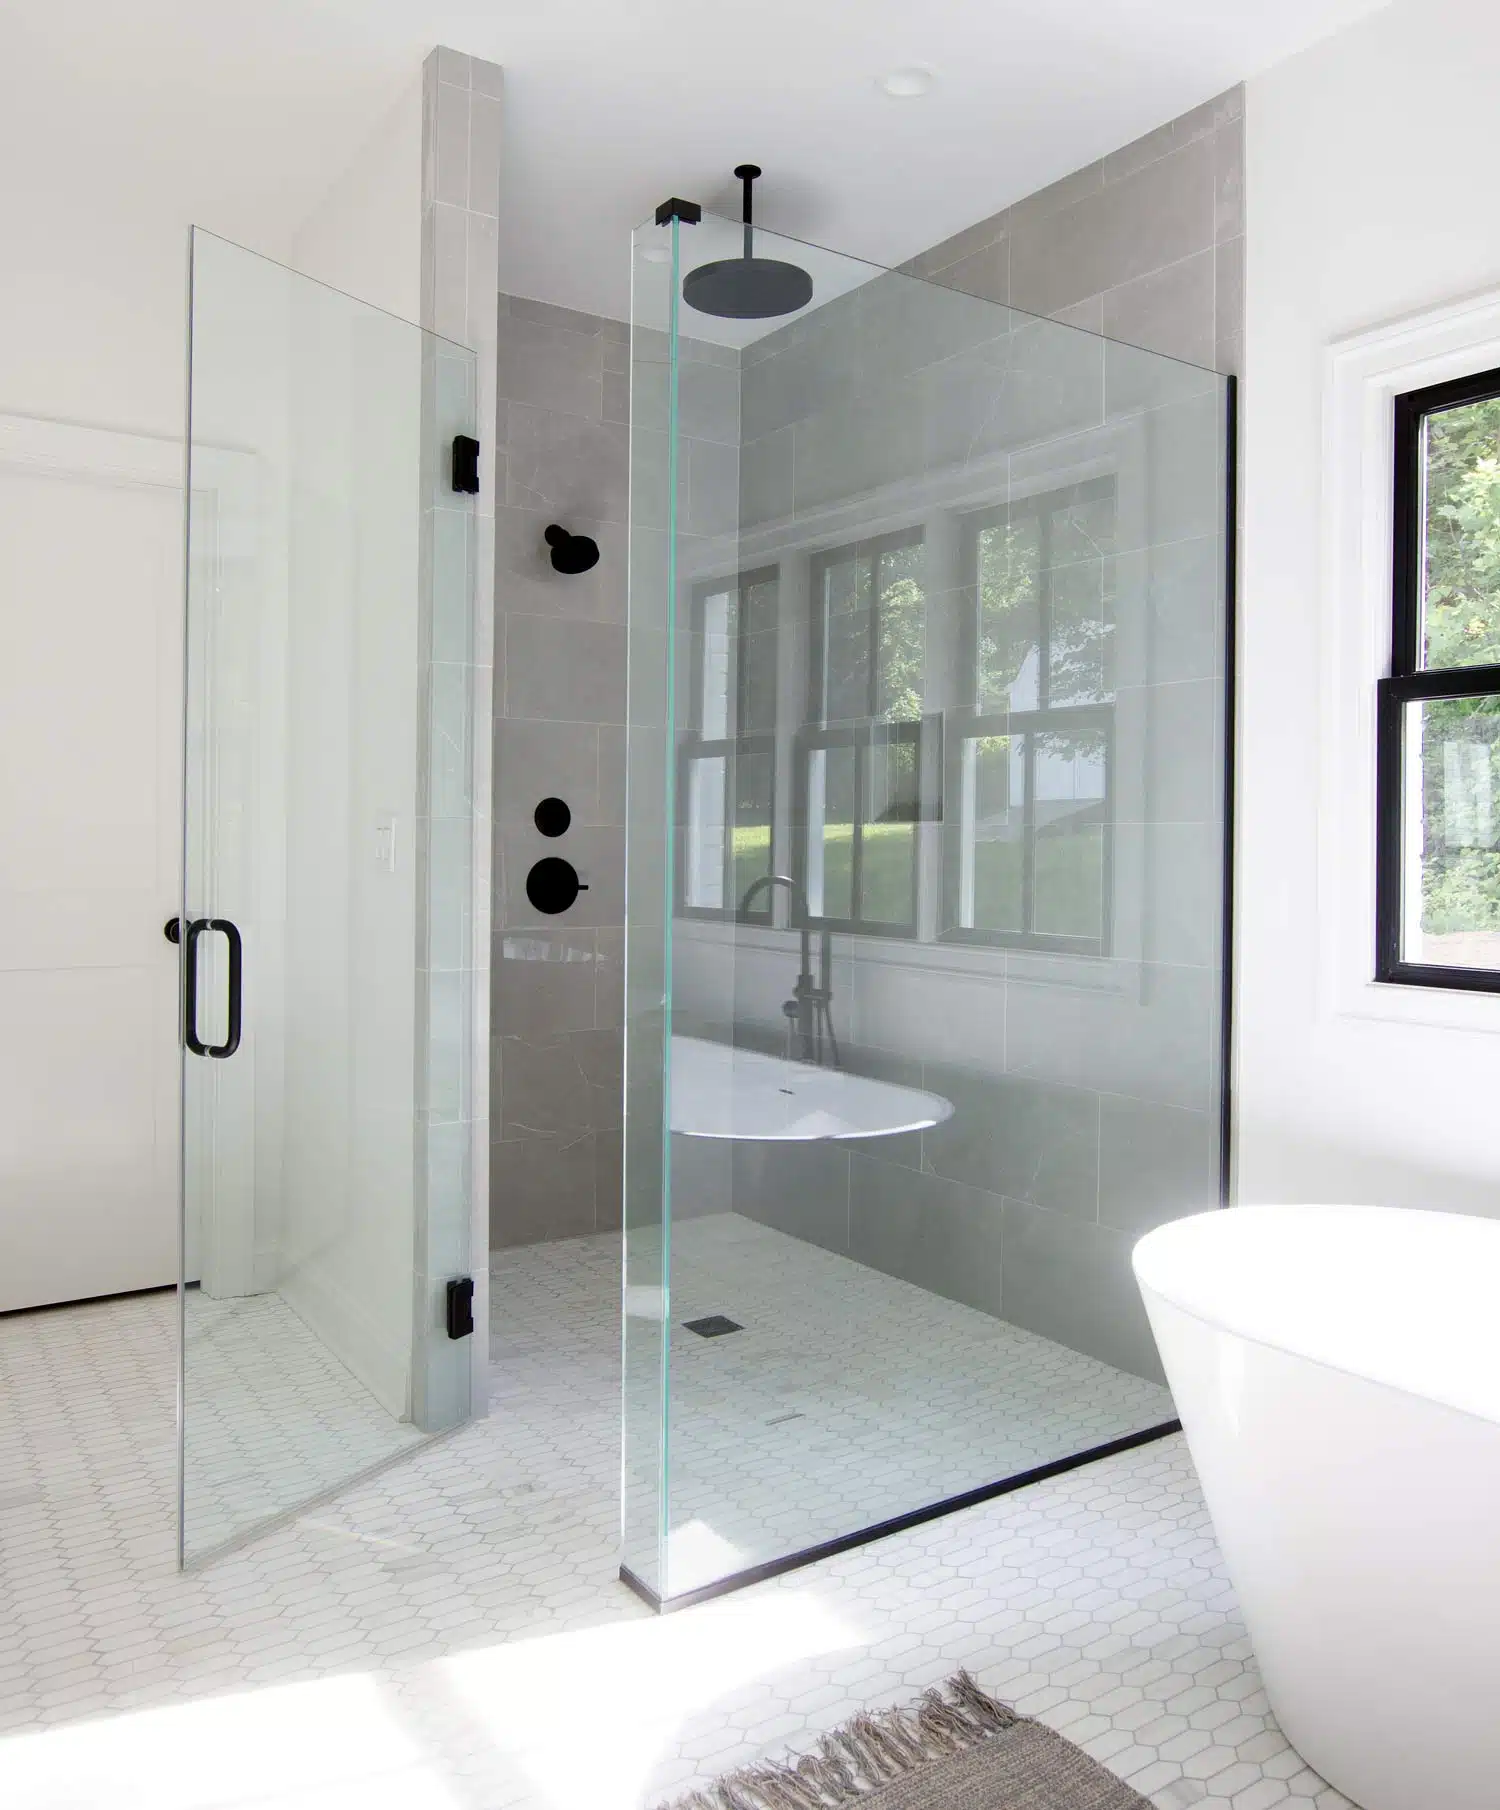
A curbless shower gives more area compared to a curbed shower. In this type of design, there is no divider between the shower floor and the bathroom. This increases the accessibility of the shower.
However, such structures are comparatively costly. When you do not have a curb, the whole area needs to be waterproofed and protected. As a result, the cost of building such kind of structure will need more resources.
Curbless showers are ideal for a certain age group of people. Kids and aged individuals find it hard to make it through the curb. They might end up tripping and hurting themselves. To avoid such incidents, families opt for a curbless shower. Also, curbless showers are accessible to anybody. An individual with a disability can freely move through the bathroom on their wheelchair or any other supporting device.
Whether to go for a shower curb or a curbless bathroom is a personal choice. Many factors need to be considered before making this decision. Involve your family members or people you are going to share your bathroom with. Consider the future circumstances and possibilities before making a decision. A bathroom is a space that will last for years after being built.
So, contemplate which choice is the best for your family and make a decision.
When to Replace a Shower Curb
One of the primary signs that reflect the need for a new shower curb is water leakage. If the shower water leaks into the bathroom area, it shows that the curb is not working effectively. When the shower curb shows signs of wear, rot, or mold, it’s time for a replacement.
If the curb is cracking or breaking into pieces, check the material beneath. In case of any build-up of mold or rot under the surface, take necessary action to eliminate the problem.
Selecting an appropriate shower curb height and suitable material will give it a longer life span.
Modify Your Bathing Experience
Having understood the details about the shower base, pan, and curb, you will be able to make quick decisions regarding the structure. While selecting the color and fittings, consider the opinion of your family members as well. It is necessary to build a structure that imparts comfort to every member who is going to use it.
Select the right shower curb height for your bathroom and create a comfortable space. If you are still confused about a certain aspect of designing your shower area, get help from a professional. Also, building up the space will need expertise unless you have experience building shower spaces.
Be careful if you are going to do it on your own. Use the right measurements and materials to build a sturdy structure. Any carelessness or negligence can lead to adverse incidents in the future. You do not want somebody getting hurt during their leisure time.
So, be careful when you experiment on your own.

Tommy Hardy, an alumnus of the Georgia Institute of Technology with a degree in Mechanical Engineering, has been a go-to figure in residential upkeep and innovation for over 18 years. His career commenced in a leading home appliance manufacturing company, where he mastered the intricacies of household systems. Joining our platform in 2020, Tommy quickly became a reader favorite for his practical and easy-to-follow guides. He took the helm of our DIY section in 2019, consistently delivering content that empowers homeowners. Beyond his professional pursuits, Tommy is a passionate gardener and enjoys woodworking, skills enhancing his hands-on approach to home care.
![How Big Should A Kitchen Window Be?[P]](https://enthrallinggumption.com/wp-content/uploads/2024/02/How-Big-Should-A-Kitchen-Window-BeP--512x288.jpeg.webp)