If you want to change your textured walls with peel-and-stick wallpaper but are unsure where to start, you’re in the right place!
In this blog, I’ll provide a step-by-step guide for textured surfaces, from preparation to application, and share tips.
You’ll also find solutions to common issues, materials needed, and answers to frequently asked questions.
Let us begin!
Stepwise guide: Applying peel-and-stick wallpaper on textured walls
Step 1: Gather materials required
Peel and Stick Wallpaper
- Sufficient rolls based on measured wall area (square footage).
Measuring Tools
- Measuring tape.
- Ruler or straight edge.
Cleaning Supplies
- Bucket.
- Hot water.
- Dish soap.
- Sponge mop.
- Microfiber cloth.
- Baking soda (for stubborn stains).
Cutting Tools
- Rotary cutter or scissors.
- Razor blade or craft knife.
Application Tools
- Flexible window squeegee (for textured walls).
- Vinyl scraper or plastic putty knife (optional for flat areas).
Marking Tools
- Blue painter’s tape (to mark patterns and alignment).
- Pen or marker (to label panels).
Ladder or Step Stool
- For reaching high areas safely.
Optional
- Flathead mop (for drying walls).
- Protective gloves (to prevent cuts while cutting).
Step 2: Preparation
Measure the Wall
- Determine the width and height of the wall to calculate the square footage.
- Example: Width: 67.5 inches, Height (half wall): 66 inches = 31.5 square feet.
Clean the Wall
- Mix hot water with a teaspoon of dish soap.
- Use a sponge mop to clean the wall in a W-shaped motion.
- Clean textured walls as thoroughly as possible to remove dust and stains.
Dry the Wall
- Use a microfiber cloth on a flathead mop to dry in the same W-shaped motion.
- Let the wall air dry for any remaining wet areas.
Step 3: Cutting the wallpaper
Pre-Cut Panels
- Measure the length needed for each panel (for half-wall projects or specific areas).
- Use blue tape to mark patterns and align panels.
- Label each panel to ensure correct order and alignment.
Trim Excess Material
- Use a ruler or straight edge for clean cuts.
- For smaller adjustments, use a rotary cutter or scissors.
Step 4: Application
Start at the Top
- Peel off a few inches of the wax paper backing.
- Allow an inch of overhang at the top for adjustments.
Smooth the Wallpaper
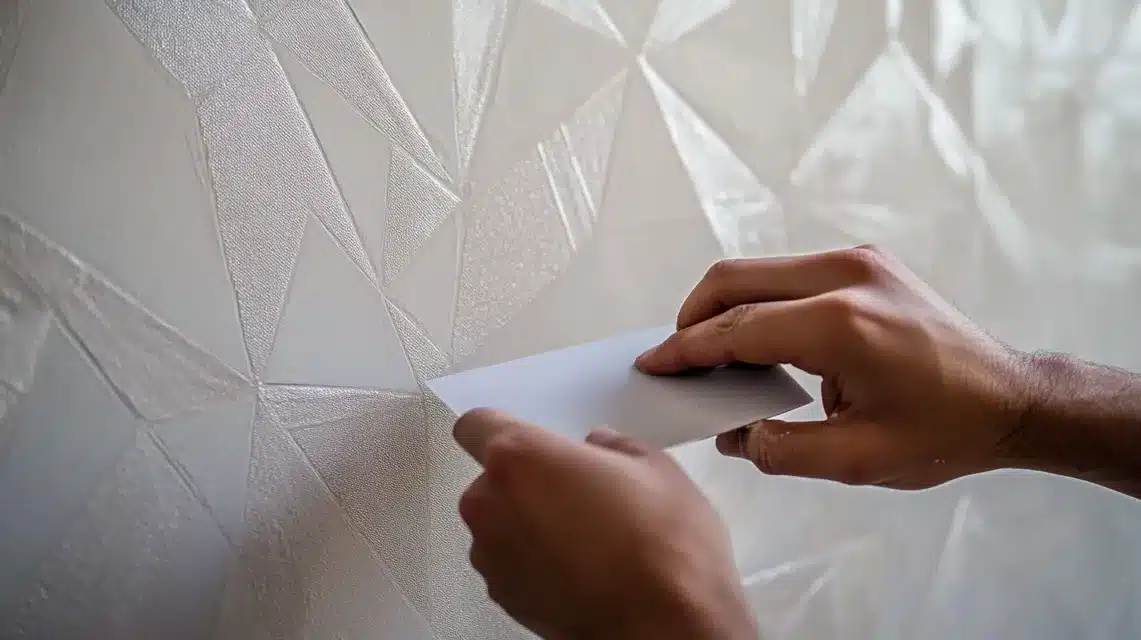
- Use a flexible window squeegee to press the wallpaper into the textured surface.
- Experiment with strokes; vertical motions may work better for textured walls.
- Smooth out air bubbles as you go.
Handle Obstacles (Outlets or Fixtures)
- Remove outlet covers and carefully cut around them with a razor blade.
- Workaround fixtures like water boxes with precision.
Overlap Panels
- Slightly overlap panels by 1/8 to 1/4 inch for seamless design and prevent gaps.
- Squeegee along seams to press panels tightly together.
Trim Edges
- Use a razor blade or craft knife to trim excess material around edges and corners.
Tips for textured walls and final touches
- Use Tools: A flexible squeegee works better on textured surfaces than a rigid scraper.
- Work Slowly: Apply in small sections, peeling the backing gradually.
- Adjust as Needed: Peel and stick wallpaper is forgiving—reapply if needed.
- Corners: Take extra care to tuck excess material into corners for a neat finish.
- After application, trim edges and check for air bubbles.
- The wallpaper may look even better in person than on camera!
Potential issues and solutions for peel-and-stick wallpaper on textured walls
| Potential Issue | Description | Solutions |
|---|---|---|
| Adhesion Problems | Wallpaper may not stick well to textured surfaces. | – Clean the wall thoroughly. – Use a primer designed for textured walls. – Press firmly with a flexible squeegee. |
| Air Bubbles | Bubbles get trapped under the wallpaper, creating an uneven surface. | – Smooth wallpaper as you apply, working in small sections. – Use vertical or outward motions to push bubbles out. – Reapply if necessary. |
| Misalignment of Patterns | Patterns may not line up, causing a mismatched look. | – Mark panels with blue tape for alignment. – Slightly overlap panels (1/8 to 1/4 inch). – Adjust before pressing down. |
| Peeling at Edges or Corners | Edges or corners may peel away over time. | – Leave extra overhang and trim after securing. – Press edges firmly with a squeegee. – Avoid placing in high-moisture areas. |
| Difficulty with Obstacles | Wrinkles or tearing around outlets, fixtures, or corners. | – Remove outlet covers and carefully cut with a razor blade. – Tuck extra material into corners. – Use precise tools for clean cuts. |
| Uneven Seams | Seams between panels may become visible. | – Slightly overlap panels. – Press seams firmly together with a squeegee. – Avoid stretching the wallpaper. |
| Wrinkling During Application | Wrinkles form when the wallpaper isn’t smoothed properly. | – Peel the backing slowly, a few inches at a time. – Smooth wallpaper gently as you go. – Reposition if wrinkles form. |
| Wallpaper Damage During Cutting | Tears or uneven cuts occur during trimming. | – Use sharp tools like a rotary cutter or craft knife. – Work slowly and use a straight edge for guidance. |
| Incompatibility with Extreme Textures | Very rough walls may prevent proper application. | – Lightly sand the wall to reduce texture. – Use wallpaper specifically designed for textured surfaces. |
Summing Up
Textured walls can pose challenges for peel-and-stick wallpaper, as the texture may show through thinner designs.
Choosing thicker, high-quality wallpaper brands like RoomMates, NuWallpaper, or WallPops can help minimize this issue.
Always test a sample first to check adhesion and appearance. While textured walls require extra prep and care, the results can be stunning with the right materials and techniques.
Frequently Asked Questions
How long will peel-and-stick wallpaper last on a textured surface?
If applied properly, it can last several years, but heavy textures may reduce adhesion and cause peeling over time.
Can I remove peel-and-stick wallpaper from textured walls without damage?
Yes, it’s removable, but textured surfaces might retain some adhesive residue or experience minor paint peeling during removal.
Are there alternatives if peel-and-stick wallpaper doesn’t work on textured walls?
Consider traditional wallpaper with paste, wall decals, or painting with textured paint for a similar decorative effect.

