A shower pan does one big job: it directs water to the drain and keeps moisture out of your home. Done right, it protects the floor, walls, and framing for years.
Done poorly, it can lead to smells, stains, and expensive repairs. This DIY project is very doable with the right tools, steady pacing, and careful waterproofing.
The key is to work clean, follow each step in order, and allow proper cure time.
With a solid plan, you can build a shower base that feels professional and performs like it.
Who Can Get This DIY Shower Pan Done
This DIY shower pan works best for confident beginners and handy homeowners who already tackle weekend projects.
Basic skills like measuring accurately, cutting cleanly, mixing mortar, and following step-by-step instructions make a big difference.
Comfort using a level, drill, trowel, and utility knife helps you stay on track. Patience matters too, since waterproofing and curing times cannot be rushed.
This project fits people who can read directions closely, keep the area clean, and fix small mistakes early.
If you have steady hands and a detail-focused mindset, you can build a solid, leak-resistant base.
Step by Step: How To Build a Shower Pan
A shower pan is the foundation of a waterproof, well-draining shower. This step-by-step guide shows you how to build one that’s strong, level, and DIY-friendly.
Required Materials
| Item | Quantity/Notes |
|---|---|
| Dry pack mortar (e.g., Laticrete 209 Floor Mud) | 1–2 bags (50 lb each) for 3′ × 3′ shower base |
| Water | ~1 gallon for mixing + light slab misting |
| Foam board (for perimeter screeds) | 1 sheet of 2″ thick foam, cut to fit shower walls |
| Screws + construction adhesive (e.g., Liquid Nails) | 8–10 screws + 1 tube adhesive |
| Circular saw or miter saw | For cutting foam board to size |
| Level or laser level | 1 tool to mark accurate slope lines |
| Grout float or trowel | 1 for packing and shaping deck mud |
| Plywood strips (straight) | 2–3 pieces, 18–24″ each for screeding |
| Vacuum | For cleanup before and after mud placement |
| Marker | 1 permanent marker for slope markings |
| Thinset (optional) | ~¼ bag for bonding to concrete (if used) |
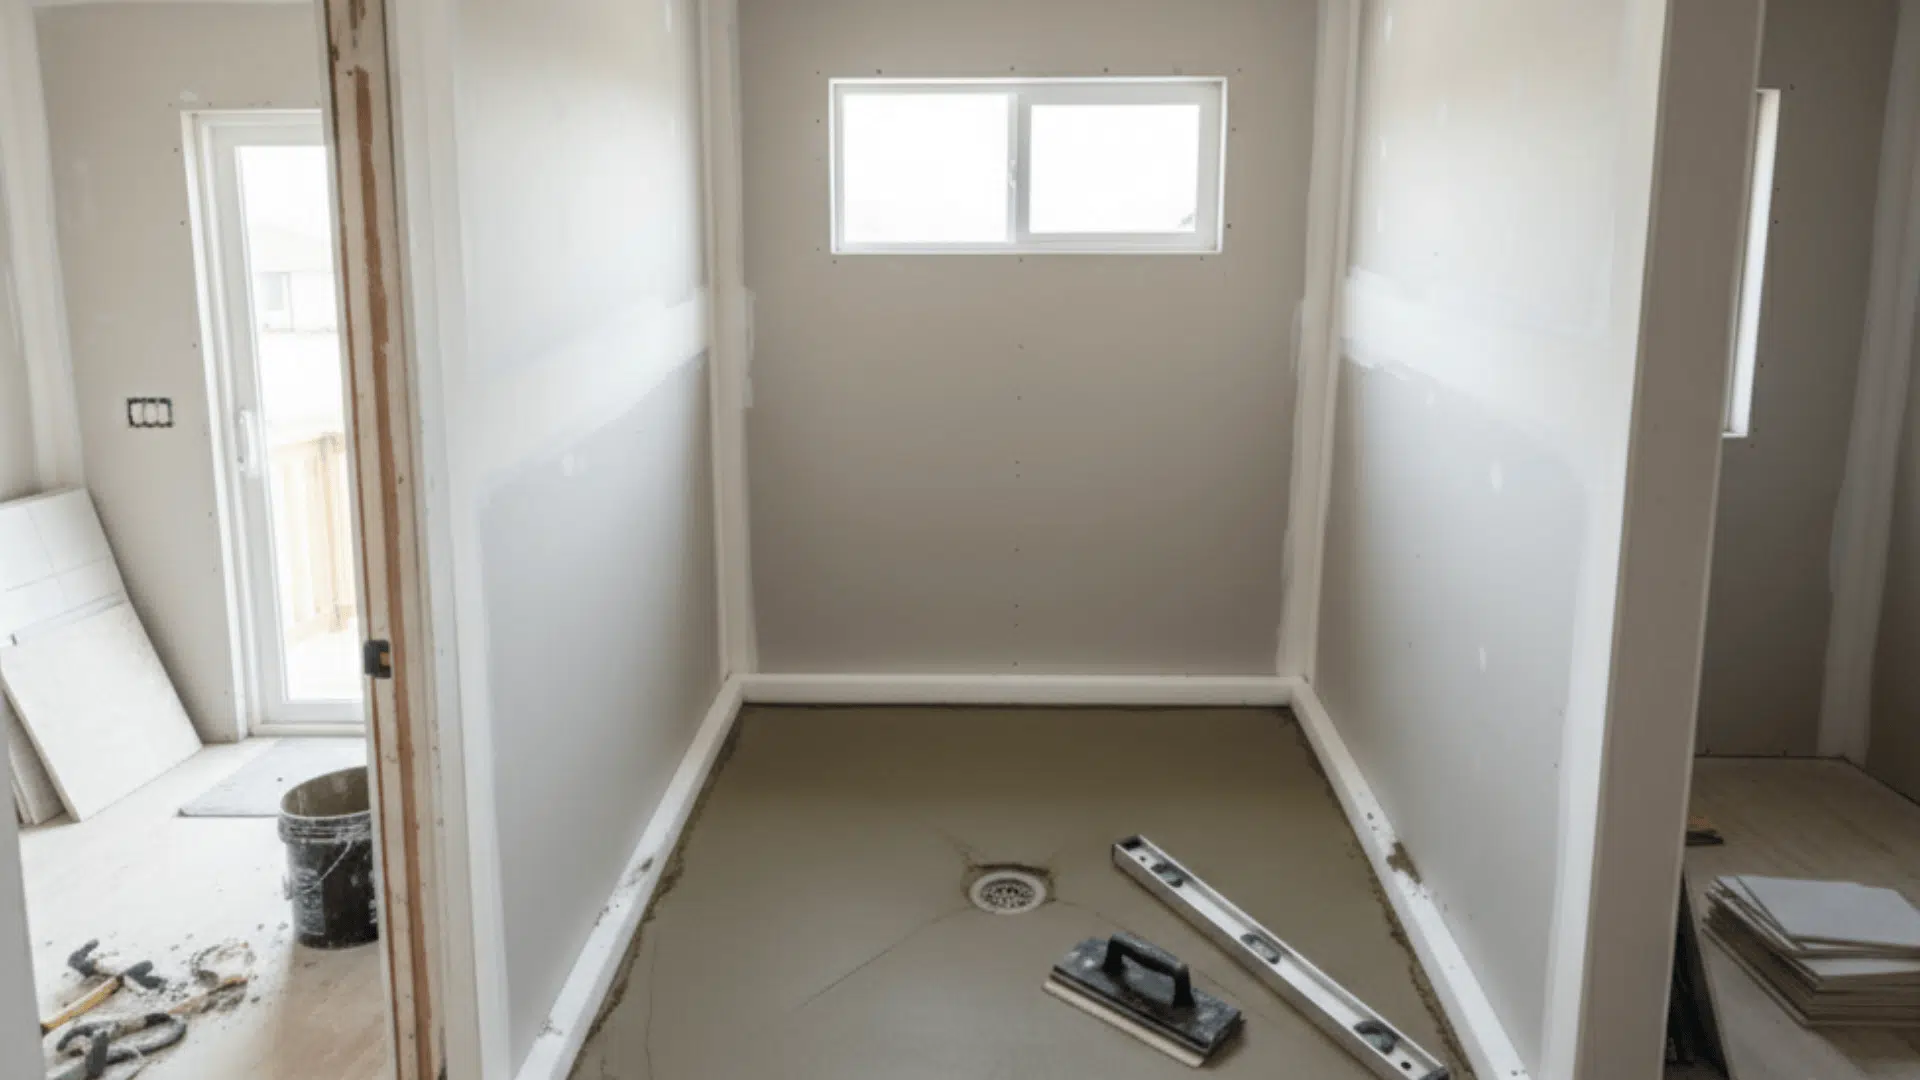
Step 1: Prep the Area

Clean the shower base thoroughly, removing old materials, dust, and debris. Vacuum the slab and block the drain.
Measure the shower layout and mark slope height using a level or laser. Aim for a quarter-inch drop per foot from the wall edge toward the central drain.
Step 2: Cut and Install Foam Screeds

Measure each shower wall and cut foam board to fit. Miter corners for a snug fit. Mark the correct slope height on each piece and bevel if desired.
Secure with adhesive and screws to create a consistent, stable perimeter for guiding your deck mud slope.
Step 3: Hydrate the Slab

Lightly mist the concrete surface with water using a sprayer. This prevents it from drawing too much moisture out of the dry pack, ensuring a consistent cure.
Proper hydration helps with adhesion and extends working time while forming your slope without premature drying or cracking.
Step 4: Mix the Dry Pack

In a wheelbarrow, combine 1–2 bags of dry pack mortar with approximately 1 gallon of water until it forms a damp, moldable mix like beach sand.
The consistency should hold its shape without dripping. Use a hoe or trowel to mix thoroughly, ensuring no dry clumps remain.
Step 5: Place and Pack the Dry Pack

Apply deck mud first near the drain and perimeter screeds. Use your hands and a float to pack it gently but firmly.
Build out sections you can reach comfortably. Maintain a gentle press to create a solid surface while forming the desired slope toward the drain.
Step 6: Screed the Surface

Use straight plywood strips cut to size to connect the screed edge to the drain flange. Scrape gently in short, controlled strokes to smooth the surface.
Work around the entire shower pan until all sections meet evenly with no dips or high points visible.
Step 7: Touch Up and Final Shape

Use your float or screed board to refine any rough areas. Fill low spots or trim excess as needed. If desired, smooth with a steel trowel for a more polished surface.
The finish should feel sandy but firm, ready for waterproofing once fully dry.
Step 8: Let It Cure

Allow the pre-slope to cure undisturbed. Avoid stepping on it while drying. Once hardened, you can apply a waterproofing membrane like Kerdi over the top.
Ensure full dryness before proceeding to tile to prevent moisture problems or adhesion issues in your shower system.
Video Tutorial
Special thanks to Stud Pack for providing valuable insights in their video, which I referenced while creating this guide.
Pro Tips to Avoid Future Hassles
Getting a flawless shower pre-slope depends on good prep, steady hands, and the right tools. These simple tricks make the job faster and more reliable.
Keep the drain protected: Block the drain opening during work to prevent debris from falling in.
Work clean: Clean tools and a vacuumed surface reduce mess and lead to a smoother finish.
Measure from the high point: Use a level or laser from the highest point to ensure accurate slope across all sides.
Check screed board fit: Cut plywood to span from drain to screed edge, avoiding the opposite flange.
Smooth with a float: Use light pressure and keep your screed board edge clean for even results.
With these tips, you’ll get a solid, well-drained base that’s ready for waterproofing and tile.
When to Hire a Professional?
Hire a professional if the shower sits on an upper floor, the subfloor feels soft, or there are signs of past leaks or rot.
A pro is also the safer choice if the shower needs a custom slope, a linear drain, or a curb-free entry. Complex layouts, multiple shower heads, or moving plumbing lines raise the risk of failure.
Call in help when local codes require permits, or when you are unsure about waterproofing steps.
One mistake here can cause hidden water damage and costly repairs.
Conclusion
A DIY shower pan can be a smart upgrade when you have solid skills, a stable subfloor, and the time to work carefully.
The most important part is waterproofing, followed closely by getting the slope right and keeping the drain assembly sealed.
Take your time with measurements, mix materials consistently, and let everything cure fully before tiling.
For tougher situations like damaged framing, tricky drains, or code requirements, a professional brings speed and confidence. Either way, a well-built shower pan pays off with a cleaner shower, fewer problems, and long-lasting peace of mind.

James McLaren, with a rich background in architecture from the University of Manchester, has been contributing his expertise to the world of creative construction and home innovation for over 20 years. His journey began as a project manager for a leading construction firm, where he honed his skills in bringing complex designs to life. James joined our platform as a freelancer in 2019, quickly becoming a favorite for his insightful and practical advice. He has been a pivotal force to our wing ever since, bringing our readers a blend of technical know-how and creative flair. Beyond his professional life, James is an avid woodworker and enjoys restoring vintage furniture, a hobby that complements his professional insights beautifully.