Noise can significantly disrupt your peace and focus. That’s where sound-absorbing panels come in.
These soft, fabric-covered boards help absorb unwanted sounds, making your room feel more tranquil.
Maybe you’re working from home. Maybe your kids are loud. Or perhaps you’re recording something. These panels help with all of that by reducing echoes and background noise.
I’ve built lots of these panels myself. I’ve learned what works best and what mistakes to avoid. You don’t need fancy tools or skills, just the right steps.
In this guide, I’ll show you everything you need to know. You’ll learn what materials to buy and how to build the panels step-by-step.
By the end, you’ll have pro-quality panels for half the price of store-bought ones. They’ll look great, work well, and you’ll feel proud you made them yourself.
How Do Sound Absorbing Panels Work?
Sound doesn’t just stay where it starts. It bounces around, especially off hard surfaces like walls, ceilings, and floors. It’s like throwing a ball in a small room and watching it bounce back and forth.
This bouncing creates echoes and noisy spaces. Sound-absorbing panels stop that from happening. They trap the sound waves using soft, thick materials.
These materials capture the sound and convert it into tiny amounts of heat, rather than letting it bounce around. Hard surfaces reflect sound. Soft ones absorb it. That’s the simple science behind these panels.
Thicker panels work better. And it’s smart to space them out randomly. Perfect grids aren’t always best.
Benefits of Sound Absorbing Panels
I added sound-absorbing panels to a few rooms in my home, and the difference was noticeable right away. If you’re thinking about doing the same, here are some simple reasons why they’re worth it:
- Make rooms quieter: They reduce echo, helping voices sound clearer and music feel smoother.
- Great for focus: Ideal for home offices, bedrooms, or media rooms where less noise means less stress.
- Improve privacy: Panels keep conversations from carrying into other rooms, especially helpful in shared spaces.
- Style-friendly options: Available in many colors and designs, some even work as decorative wall art.
- Easy to install: No major remodeling needed, and you’ll see (and hear) the benefits quickly.
Overall, I found them to be a smart upgrade – practical, affordable, and surprisingly stylish.
Tools and Materials You’ll Need
The following are the supplies you’ll need for constructing your sound-absorbing panel:
- Drill with bits
- Staple gun
- Measuring tape
- Level
- Screwdriver
- Utility knife
- 1×4 lumber pieces
- Wood screws (2.5 inches)
- Rockwool or fiberglass insulation (2-4 inches thick)
- Acoustic fabric
- Heavy-duty staples
- Wall mounting hardware
- Corner brackets (optional)
Step-by-Step Guide: Sound Absorbing Panel
Building these panels takes patience, not skill. I’ll walk you through each step. Take your time and measure twice.
1. Building the Frames
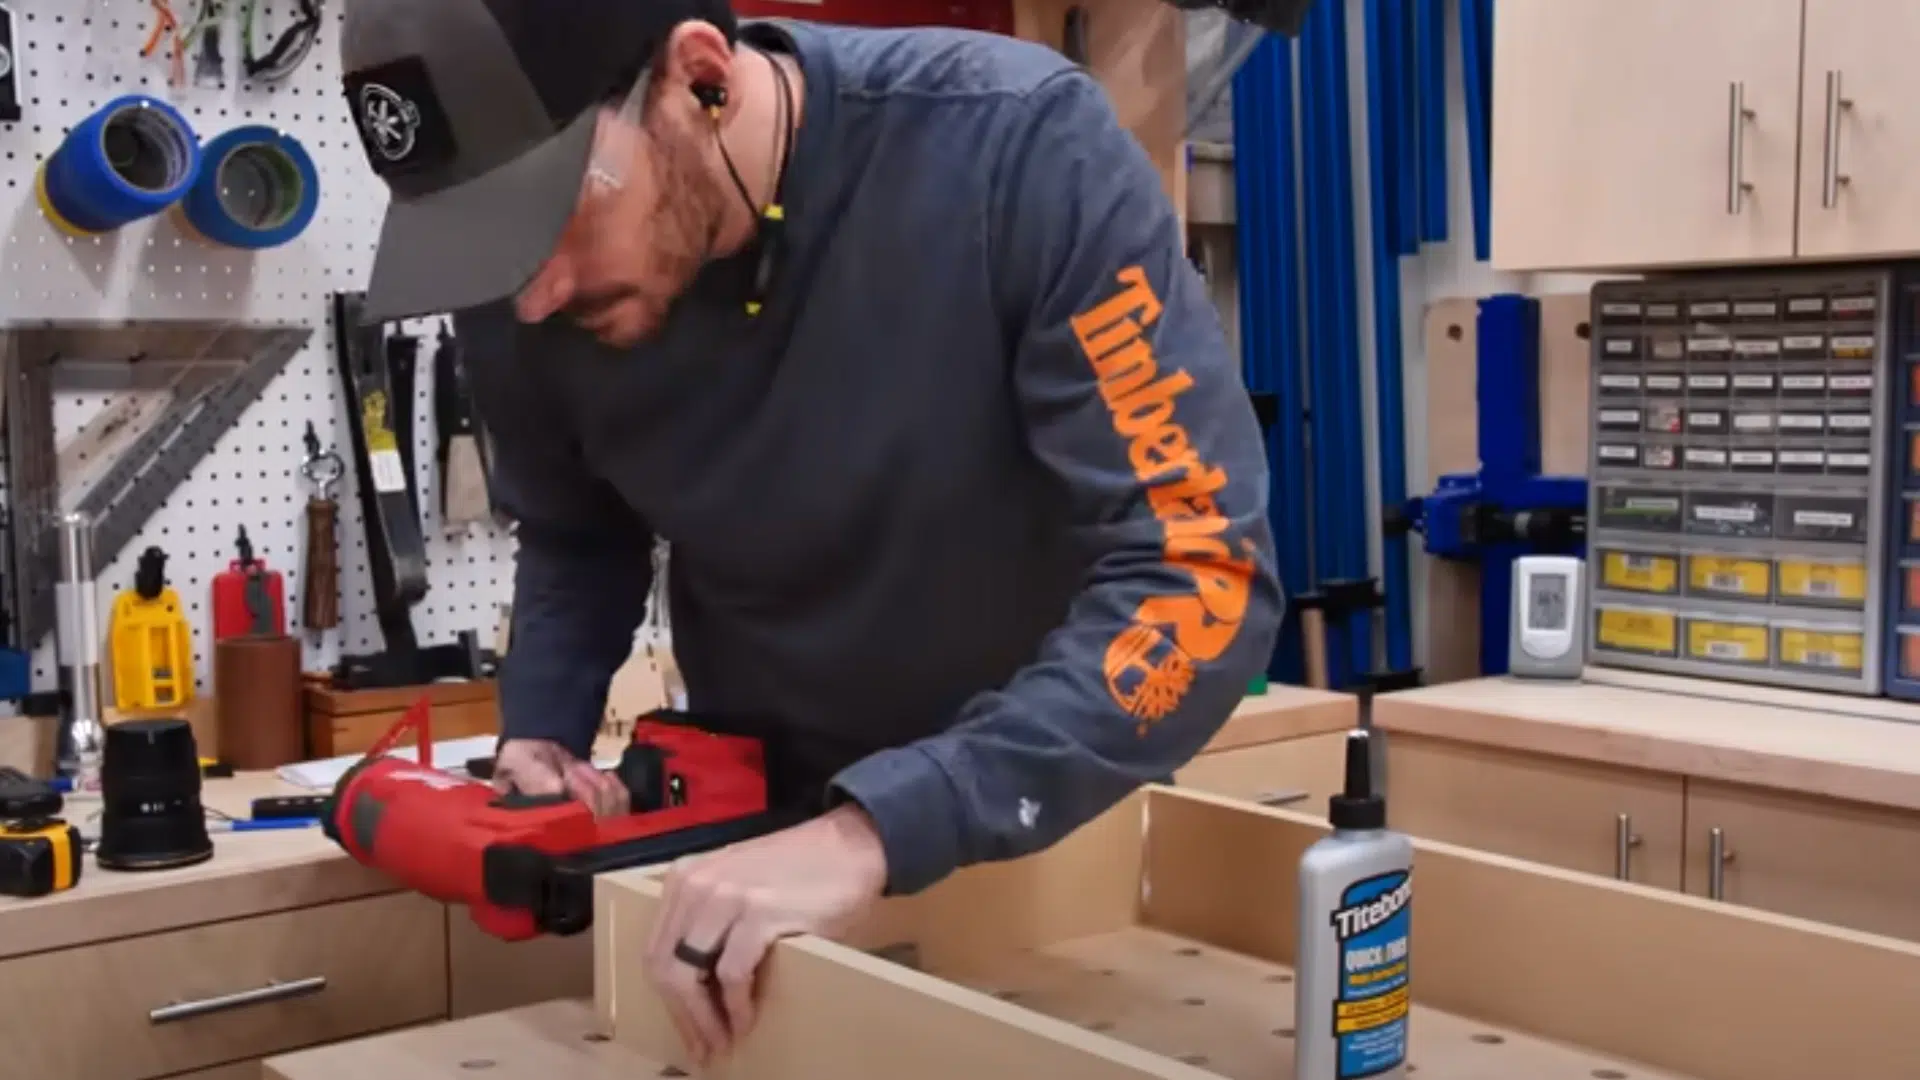
Start by cutting your 1×4 boards to build each frame. Most people opt for 24×48 inches because it accommodates most spaces well.
You’ll need four pieces per panel, consisting of two long and two short pieces. Be sure to subtract about 3 inches from the short pieces to account for the thickness of the longer ones.
Drill small pilot holes before you screw the corners together. This keeps the wood from splitting. Use 2.5-inch screws to hold the frame tight.
Check for squareness by measuring diagonals. Both should match. Lightly sand the edges so the fabric lays smoother.
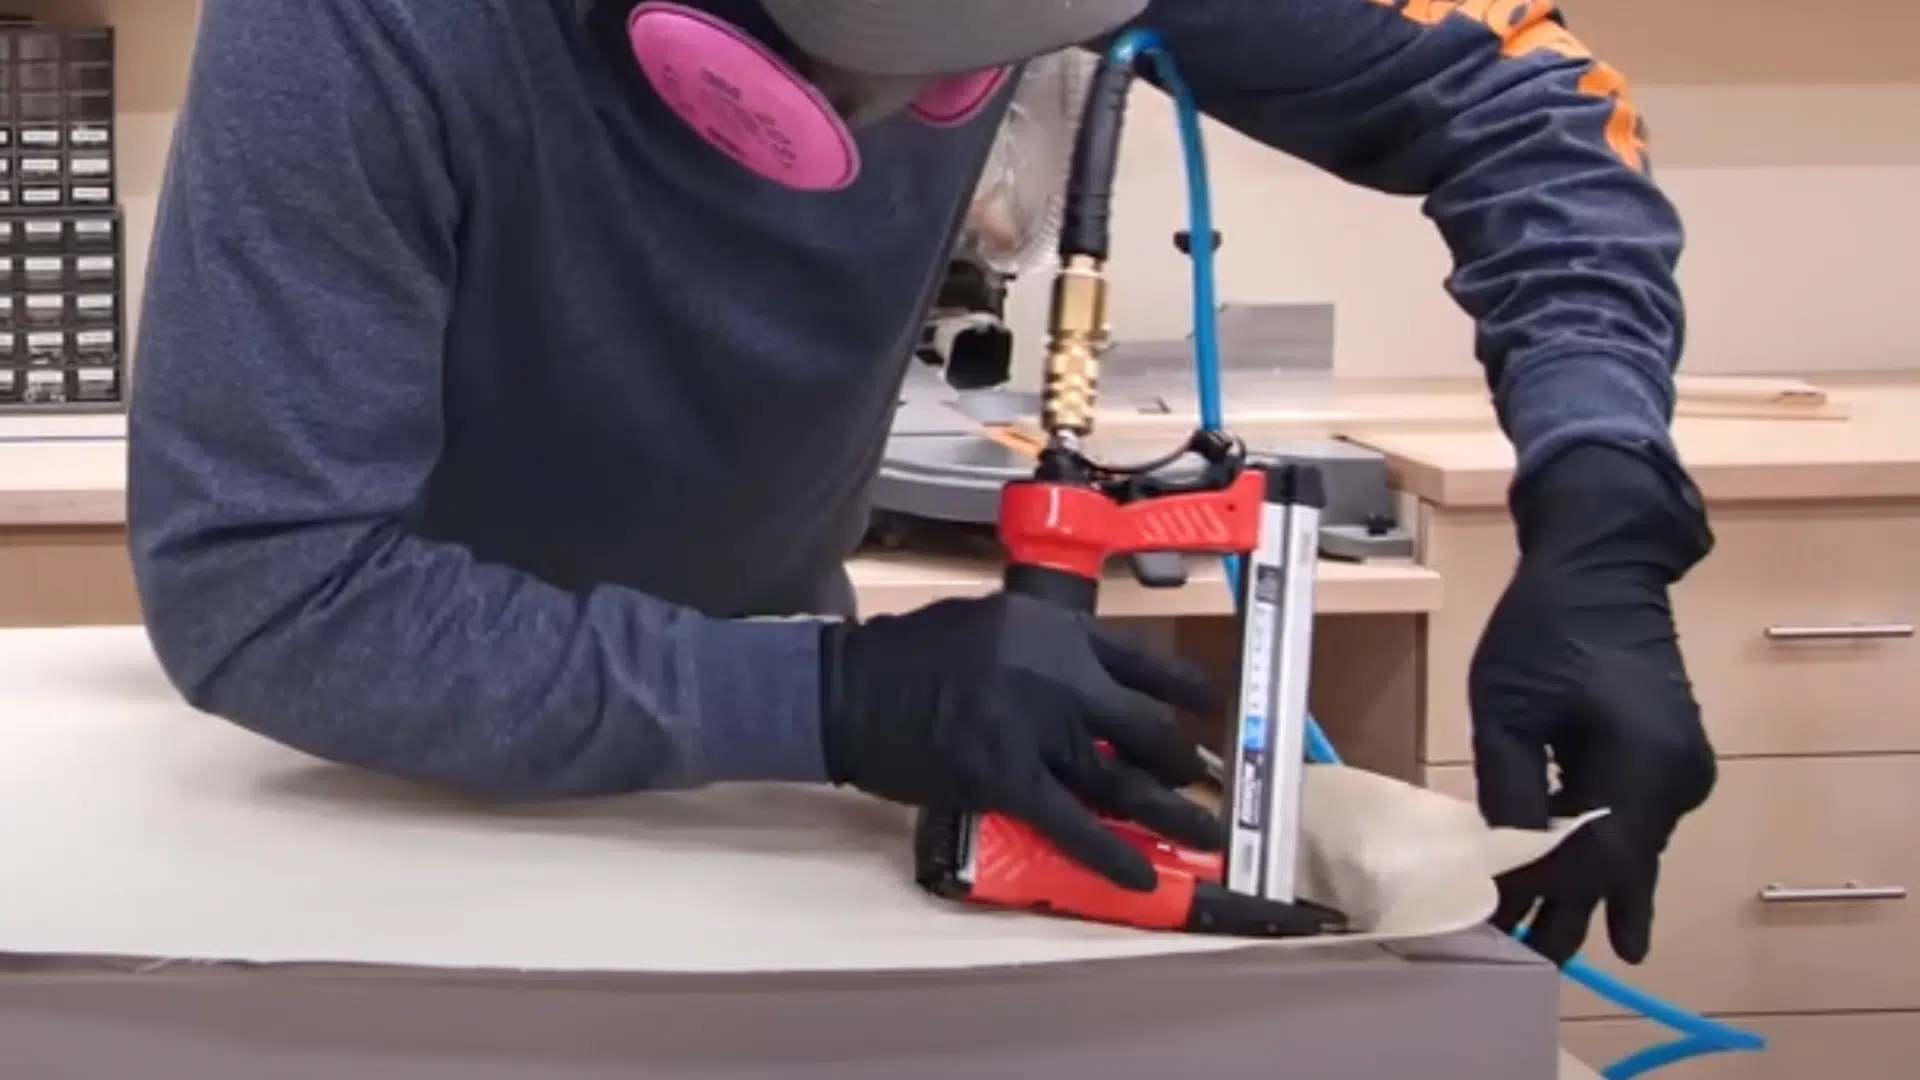
2. Wrapping with Fabric

Place your fabric face down on a clean surface, such as a floor or table. Center the wooden frame on top.
Cut the fabric so it’s 6 to 8 inches longer on all sides. It’s better to have too much than too little.
Start stapling on one long side and work out from the center. Then do the opposite side while pulling the fabric tight but not too tight.
Fold the corners neatly, as if wrapping a present. Trim the leftover fabric, but leave a couple of inches so it doesn’t fray later.
3. Adding Insulation
This part can get messy, so wear gloves and long sleeves. Work outside or in a well-ventilated space.
Cut your insulation carefully to ensure it fits snugly inside the frame. Don’t squish it down—it works better when it stays fluffy.
Gently push it into place. If it sticks out a bit, that’s okay; the fabric will keep it in. Go panel by panel and don’t rush. Insulation fibers can irritate your skin, so take breaks when needed.
4. Mounting the Panels
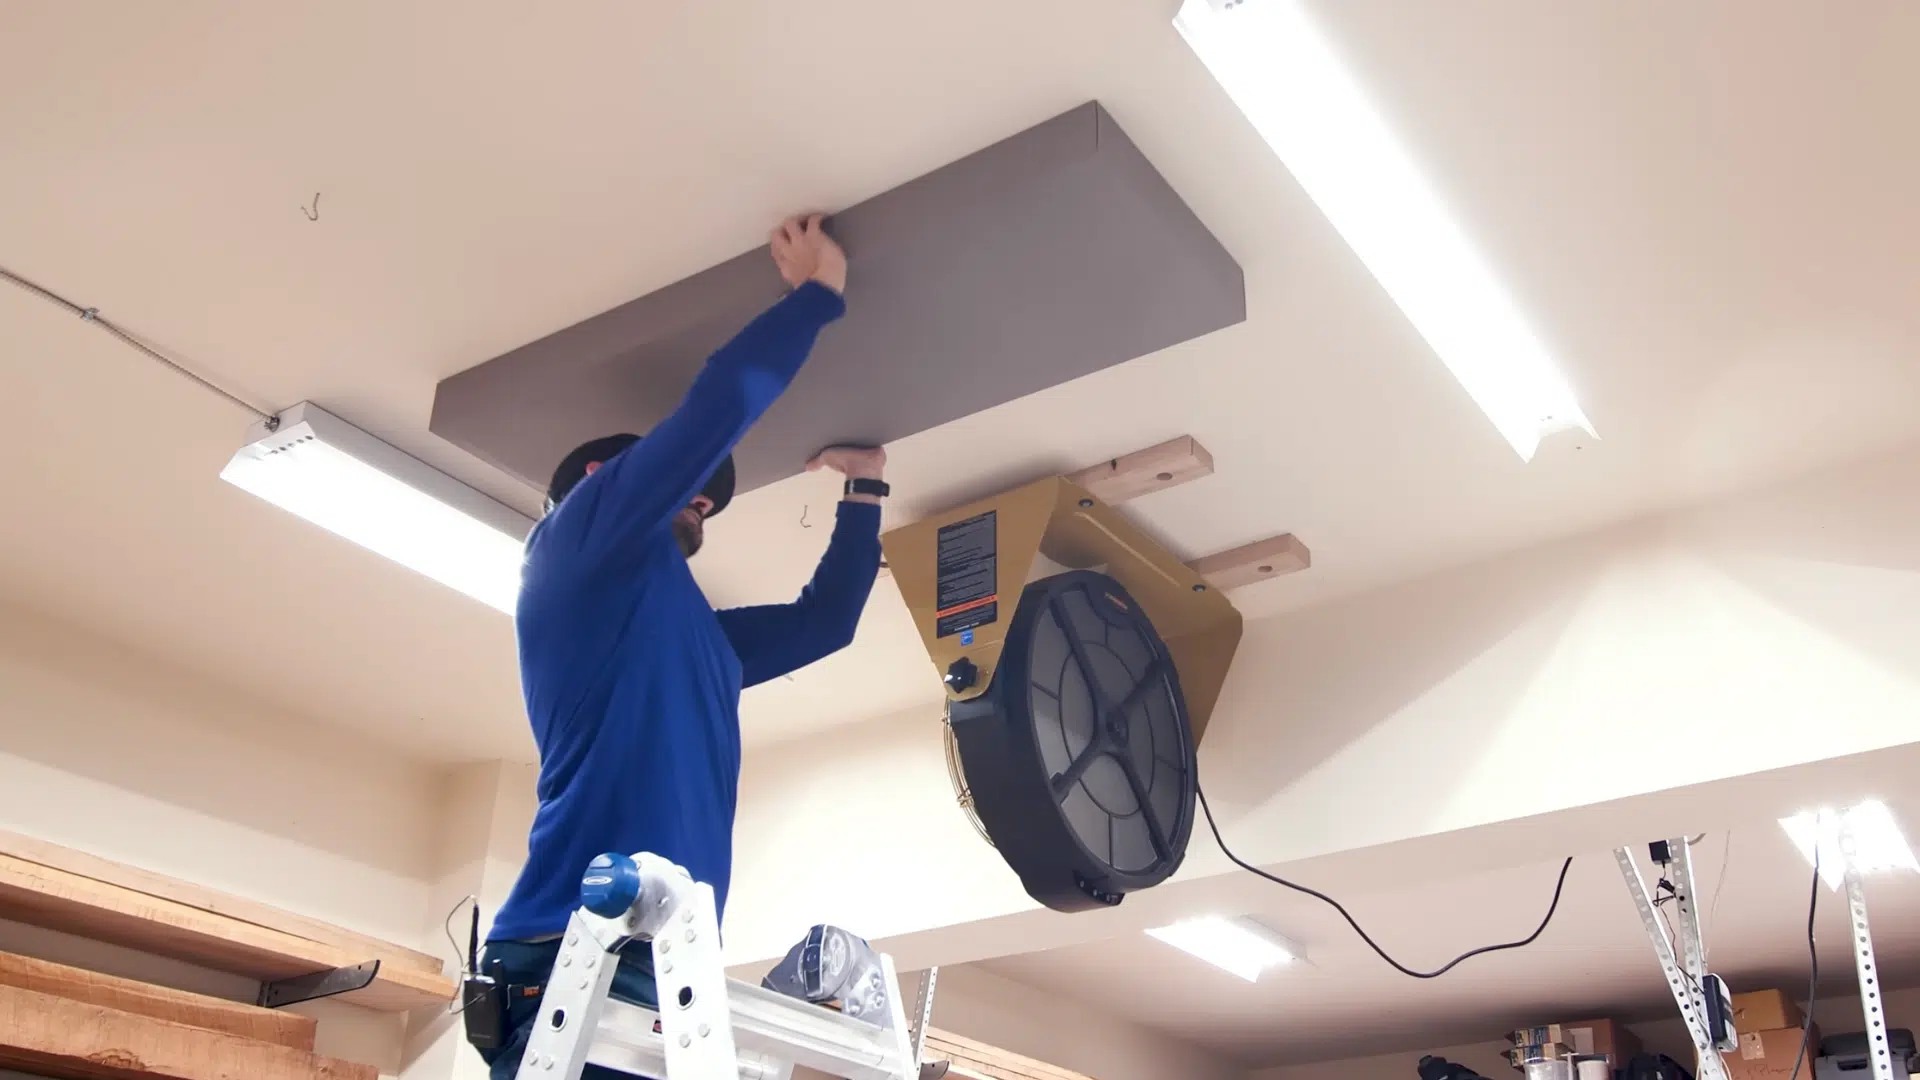
Start by marking on your wall where each panel will go. Use a level to make sure everything lines up straight.
Install wall anchors based on the type of wall you have. Drywall needs plastic anchors; concrete needs stronger ones.
Put the panels at ear level to block the most sound. That’s usually 4 to 5 feet up from the floor.
Space them out about 12 to 18 inches. Try a random layout instead of a perfect grid. It often looks more visually appealing. After hanging each one, make sure it’s secure before moving on.
To better understand the steps, watch this video from @Fixthisbuildthat to see them in action.
Cost Comparison: DIY vs Store Budget Sound Absorbing Panel
Store-bought sound panels might seem like the easier option, but when you’re treating an entire room, the costs can add up fast.
With a little effort, you can make your own panels for a fraction of the price. I found that doing it myself not only saved money but also gave me full control over the size, design, and materials.
Most people are able to finish their panels in a weekend using just basic tools.
| Option | Cost per Panel | Total for 12 Panels | Other Notes |
|---|---|---|---|
| Store-Bought | $40–$80 | $600–$960 | Add $240–$360 for pro installation |
| DIY | $15–$25 | $180–$300 | Includes materials; labor is your own |
Making your panels isn’t just about saving cash. You get better results and more custom options, too. It’s a smart weekend project that pays off with a sense of peace.
Maintenance Tips for Sound Absorbing Panels
Keeping your DIY sound panels in great shape doesn’t take much effort. Just a few simple habits will make them last longer and look better.
- Dust them monthly with a vacuum brush attachment.
- Don’t press hard – light passes work better than deep cleaning.
- Use fabric protector spray before hanging panels.
- Reapply the protector every 6–12 months based on room use.
- Rotate panels occasionally to prevent uneven fading.
- Replace damaged panels instead of attempting to repair them.
- Keep spare fabric on hand for future fixes.
Conclusion
DIY sound-absorbing panels can make a big difference in how a room sounds and feels. I’ve helped many people build them, and they’re always surprised by how much quieter and more comfortable their space becomes.
The best part is that you save money and get complete control over the design. You can customize the size, shape, and color to match your room perfectly.
Start with just a couple of panels in a noisy spot. You’ll hear the improvement right away. Don’t worry if the first one isn’t perfect – you’ll get better with each one.
Try out different fabric styles too. These panels don’t just reduce noise – they can also add to your room’s look.
Frequently Asked Questions
What Thickness Works Best for Home Use?
Panels between 2 to 4 inches thick work well. Thicker panels absorb lower sounds better. Start with 2-inch panels if you’re watching your budget.
How Many Panels Does One Room Need?
Most rooms need panels on 20–30% of the wall space. Start with corners and where sound hits first. Add more panels if echoes still bounce around.
Do These Panels Block Sound Completely?
No, they don’t block sound. They absorb echo and make rooms sound better. True soundproofing requires heavy materials, such as drywall or mass-loaded vinyl.
What Fabrics Should I Avoid Using?
Avoid vinyl, leather, or thick fabrics. They reflect sound instead of absorbing it. Use breathable acoustic fabric for the best sound control.

Stephanie Grace, a graduate with a degree in Fine Arts from the Savannah College of Art and Design, has been inspiring DIY enthusiasts with her creative and practical guidance for over 14 years. Her career in design and crafting began in a small artisan workshop, where she developed a passion for transforming everyday materials into beautiful and functional items. Stephanie joined our website in 2018, rapidly gaining popularity for her easy-to-follow DIY tutorials and innovative project ideas. Since then, she has been the creative mind behind our DIY section, helping readers bring their artistic visions to life. Outside her professional pursuits, Stephanie enjoys pottery and urban gardening, hobbies that showcase her love for hands-on creativity and nature.