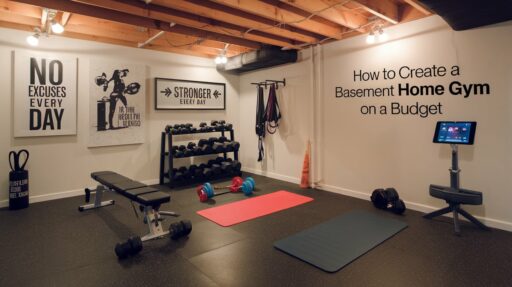
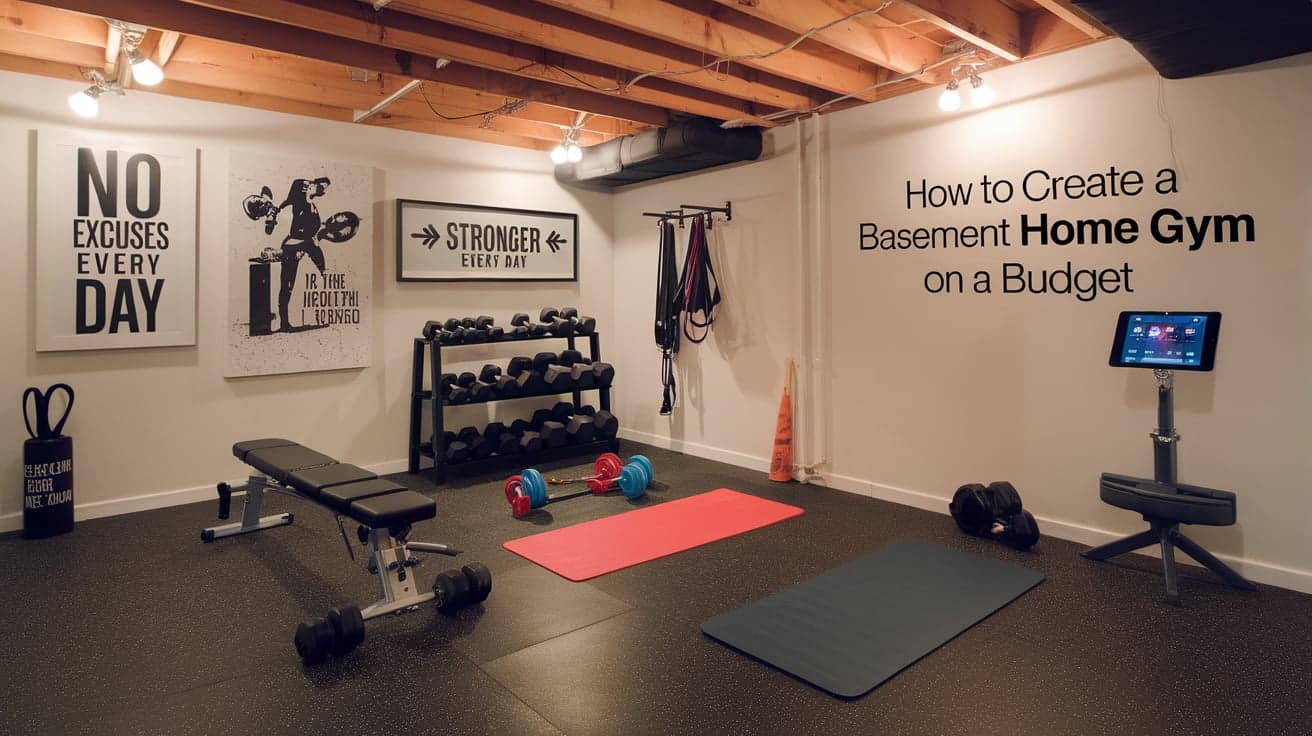
A basement home gym helps you stay fit while saving money and time. You can work out any time, skip gym fees, and exercise in complete privacy. I turned my basement into a fitness space last year.
Now, I just walk downstairs to exercise – no more weather excuses or long drives to the gym!
This guide shows you how to create your own basement home gym without overspending.
We’ll walk through each step, from checking your space to planning your setup, choosing equipment wisely, making it comfortable, and keeping it safe.
You don’t need to buy everything at once. Start with basic equipment and build up over time. Many successful home gyms began with just a few key items.
Ready to create your perfect workout space? Let’s begin!
Budget-Friendly Gym Equipment Options
| Step | Details | Additional Info |
|---|---|---|
| Must-Have Equipment | Start with dumbbells, resistance bands, a workout mat, and a bench. These basics cover 80% of effective workouts and enable hundreds of exercises. | Choose neoprene dumbbells, varying resistance bands, and a high-density mat for durability and comfort. |
| Space-Saving Equipment | Use adjustable dumbbells, foldable benches, pull-up bars, and resistance bands. Compact tools offer over 100 exercise options and save space. | Adjustable dumbbells replace multiple pairs; foldable benches take minimal storage space. |
| Second-Hand Equipment Options | Buy second-hand from local sales or online for 40-60% off. Inspect for rust, smooth movement, intact cables, and weight accuracy before purchase. | Check Facebook Marketplace, Craigslist, or thrift stores for affordable, barely-used gym equipment. |
Step-by-Step Guide To Transform Your Basement Into A Gym
1. Planning Your Space
The first step involves checking your basement area and deciding how to use it effectively. The video shows a partially finished basement, with one section marked for the gym build.
When planning, consider the ceiling height, existing utilities, and available floor space. Make a basic sketch of your layout to help visualize the final result.
2. Improving the Lighting
Before starting construction, update your basement lighting. The video shows the replacement of older hanging lights with new LED fixtures attached directly to the ceiling.
Better lighting makes a significant difference in creating a welcoming exercise space. This step helps create a brighter, more welcoming environment.
3. Building the Walls
The wall construction starts with measuring and cutting lumber for framing. The video uses 24-inch spacing between studs since these aren’t load-bearing walls.
When building, measure from your lowest ceiling point and subtract 1/8 inch to ensure the wall fits when raised. Leave about 6.5 inches between the new wall and the existing basement wall for insulation and airflow.
4. Wall Installation
Secure the wall frames in place using appropriate fasteners. Use shims between the top of the wall and floor joists above to create a tight fit.
The video demonstrates using a string line between separate wall sections to ensure they align properly, which helps when adding the wall covering later.
5. Adding Wall Covering
Instead of drywall, the video uses plywood for wall covering. This choice offers several benefits: no need for taping and finishing, easier mounting of equipment, and better durability for a gym setting.
The plywood gets installed directly onto the wall frames.
6. Electrical Work
Plan your electrical needs before closing up the walls. Run wiring for outlets and any additional fixtures you’ll need.
The video shows leaving wire loops at planned outlet locations, allowing for final positioning later. This preparation ensures you’ll have power where needed for equipment.
7. Finishing Touches
Add trim around the edges and joints to create a clean look. Fill screw holes with wood filler and caulk around trim pieces.
Paint the walls to create a finished appearance. The video shows that even in a basement gym, these details make a difference in the final result.
8. Flooring Installation
The video recommends using 3/4-inch rubber horse stall mats for flooring. These provide excellent durability and protection.
Install quarter-round trim around the perimeter, painted black and secured with heavy-duty tape, to keep mats from shifting.
9. Equipment Setup
The final step involves bringing in and setting up your exercise equipment.
Consider your workout style when arranging the space. The video shows areas for different activities, including cardio equipment and strength training zones. Mount necessary equipment securely to the walls according to manufacturer specifications.
For a detailed visual demonstration, here is a detailed video on the step-by-step guide to transform your basement into a Gym:-
Safety And Maintenance Tips
Ensuring Gym Safety
Your basement home gym needs a proper safety setup. Put equipment on flat, stable surfaces. Test all gear before using it. Keep a first aid kit nearby – bandages, ice packs, and basic supplies work fine.
Check your workout space for hazards. Look for loose wires, uneven spots, or items that might fall. Make sure you have enough room to move without bumping into things. Good lighting helps you see what you’re doing.
Regular Maintenance
Clean your basement home gym gear weekly. Wipe down weights after use. Dust off machines and benches. This keeps everything working well and lasting longer.
Simple maintenance tasks:
- Check the nuts and bolts on the equipment
- Look for signs of wear on bands
- Clean floor mats with soap and water
- Test stability of wall-mounted items
- Keep moving parts oiled
Fix small problems right away. Small fixes now stop big issues later. Your basement home gym works better when you take care of it.
Cost-Effective DIY Storage Solutions
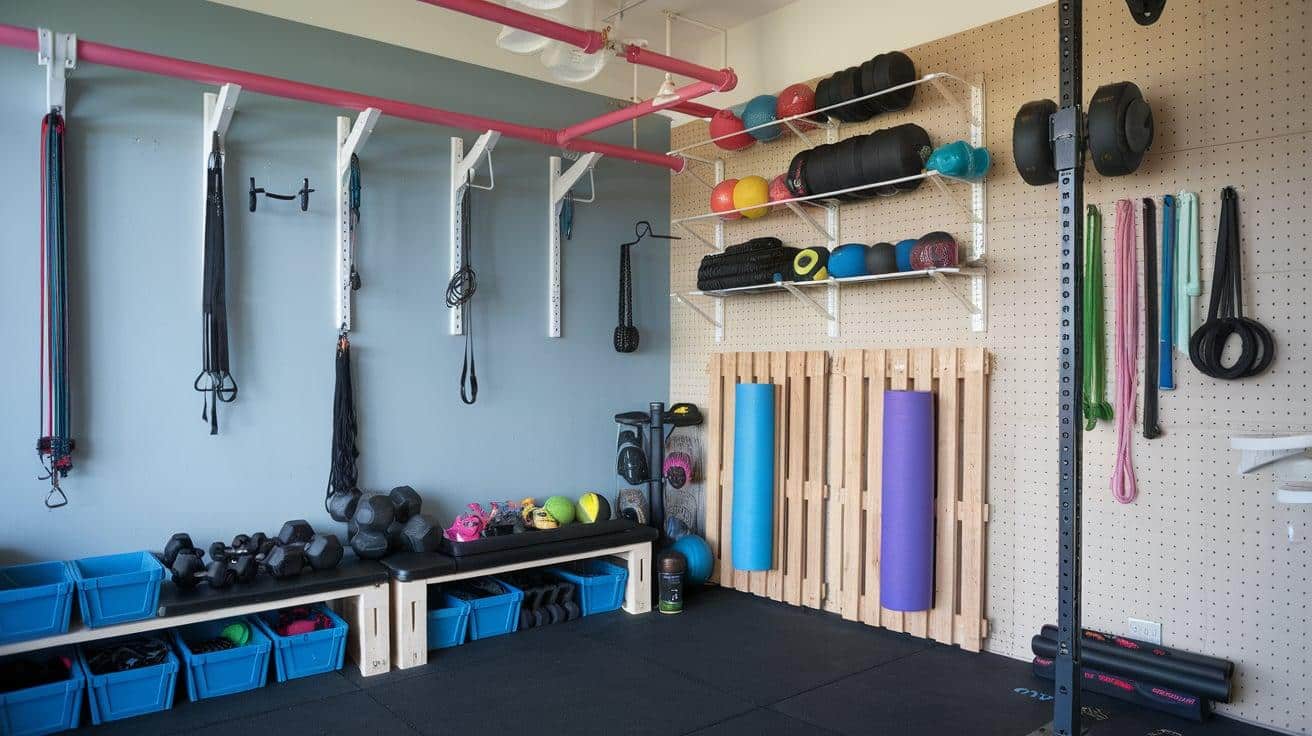
Keep your gym equipment organized with simple, low-cost storage ideas that make your space work better.
Turn common items into smart storage solutions. Install PVC pipes on walls to hold resistance bands. Add hooks at different heights for medicine balls and jump ropes. Mount plastic bins under benches to store small gear.
Build a basic dumbbell rack using 2x4s and dowels. The angled design makes weights easy to grab and put back. Use old wooden pallets as vertical holders for yoga mats and foam rollers. Just sand them smooth and mount them securely to wall studs.
Make a pegboard wall with movable hooks to hang various items. This flexible system grows with your needs. Install corner poles with brackets to save floor space while storing lots of equipment.
These simple fixes help keep your gym tidy and your gear easy to find, all without spending much money.
Common Mistakes to Avoid When Building a Basement Gym
Many people make basic errors when setting up their basement gym, but you can avoid these costly missteps.
Don’t rush to buy every piece of equipment at once. Start with basic items you’ll use often—a few weights, a bench, and simple cardio gear—and add more as your workouts grow. This will help you save money and keep your space from getting crowded.
Check your basement’s basics first. Poor lighting can make workouts hard and unsafe. Make sure you have good airflow to prevent stuffiness during exercise. Look for signs of dampness – fix water issues before adding equipment to prevent rust and mold.
Use a dehumidifier if needed, install bright ceiling lights that don’t get in your way while exercising, and add fans to move air around, especially in warmer months. These small steps will make a big difference in how often you’ll want to use your gym.
Remember, a simple, well-planned space works better than an overcrowded room with unused gear.
Conclusion
Setting up a basement home gym fits any budget. Your home workout space grows with you, one piece at a time. Start small, focus on the basics, and build up as you go.
Remember that good planning helps you save money. Look for deals, buy used items, and pick the gear you’ll really use. Keep your space clean and organized. Fix small problems quickly. These simple steps make your gym last longer.
Your basement home gym brings fitness right to your home. No more monthly fees or long drives to exercise. You control the music, the gear, and the schedule. Each workout moves you closer to your goals.
Start today. Even a small corner with basic equipment gets you moving. Your perfect home gym starts with a single step.

