Does your all-white room feel boring and bland? If yes, you can give it a makeover by creating a herringbone accent wall with paint. This way, you can create a focal point in your room and accentuate the beauty of your home.
You can choose a bold pattern or color to make a statement-worthy herringbone accent wall or pick up a subtle paint color if you do not want the accent wall to be overly dramatic.
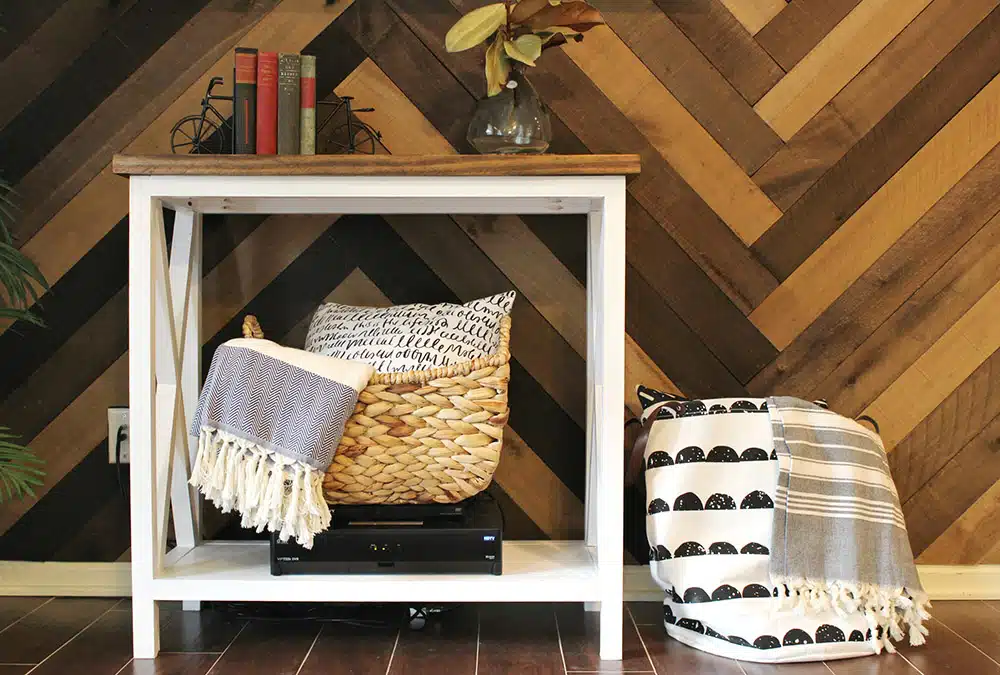
The look of a herringbone accent wall in an indoor space complements rustic, cottage, and industrial decor and enhances the beauty of your home.
Whatever design vision you have in your mind, you can recreate it on your accent wall just with a splash of paint. Whether your style is boho, minimal, or modern, herringbone accent can give your home a paradise-like feel.
You can even pair it with rustic furniture or an art piece to enhance your room’s aesthetic value.
Ways to Create a Herringbone Accent Wall with Paint
Let’s take a look at the ways to create a herringbone accent wall with paint to give your room a finished look.
1. New Base Paint Color
Do you want a different color for your tape lines? If yes, you will have to paint your wall with a different color. But if you’re happy with the existing color of your walls, you don’t need to follow this step.
Remember, warmer herringbone accent colors must harmonize with the color on the surrounding walls, and the same can be said for cooler tones. To prevent clashing, match the room’s undertone to the accent wall’s tone. Keep in mind your room’s color palette when choosing the color of your accent wall. Keep the space harmonized by bringing in pops of the accent wall into the decor and furniture.
2. Make Your Columns
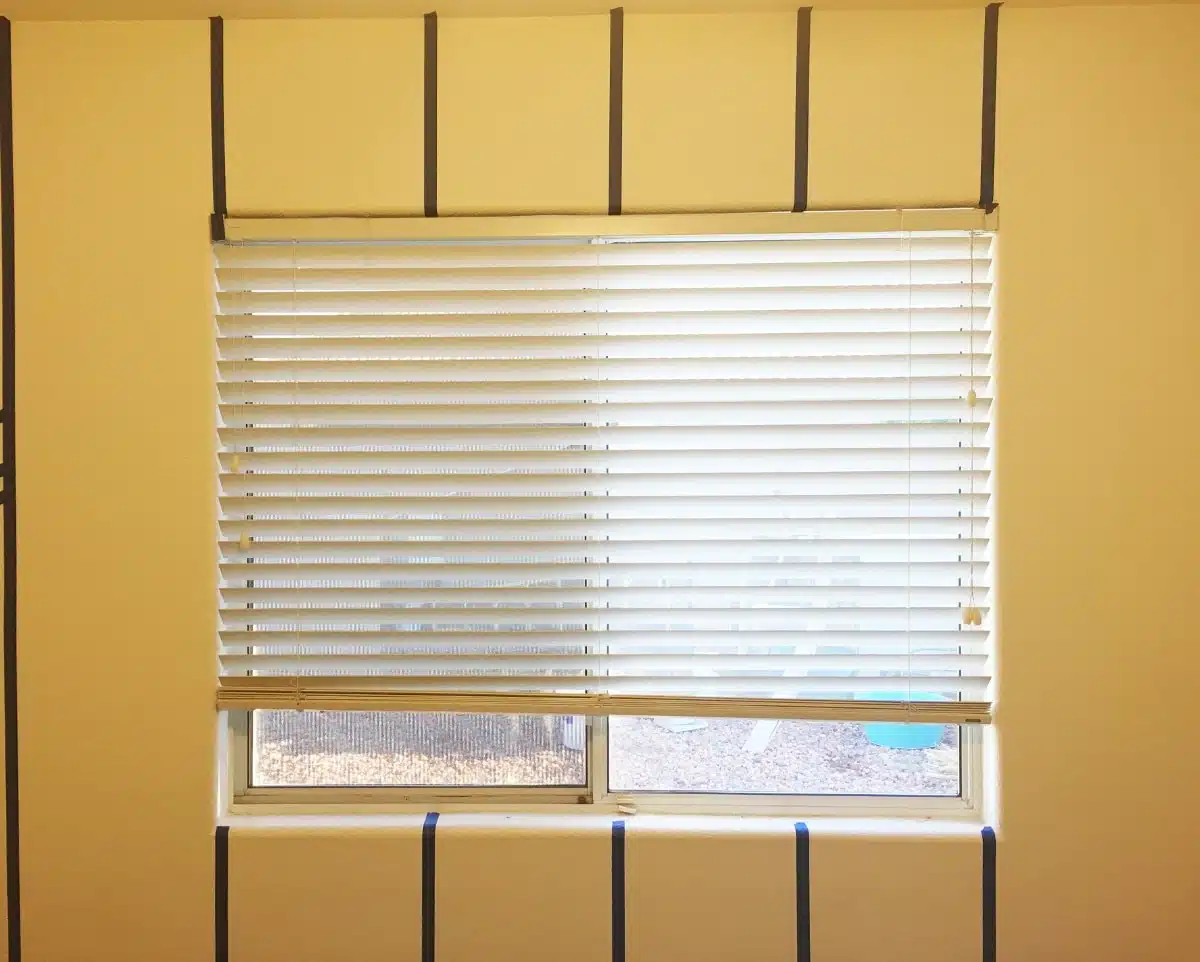
The next step will be to decide the number of columns you want to have on your feature wall. Whatever number of columns you select, ensure they are evenly spaced and don’t look cramped. Measure the wall to see how many columns will fit into your space. If you thought to set up four columns on the wall and it looked sparse, you can add more to achieve the type of look you want. Tap off the columns and ensure that the pencil markings you have made are outside of the tape so that it won’t get covered up by the paint and will look untidy. Keep the tape line straight, and when mapping out your design, pull it tightly to get crisp and clean lines.
3. Make Your Angled Lines
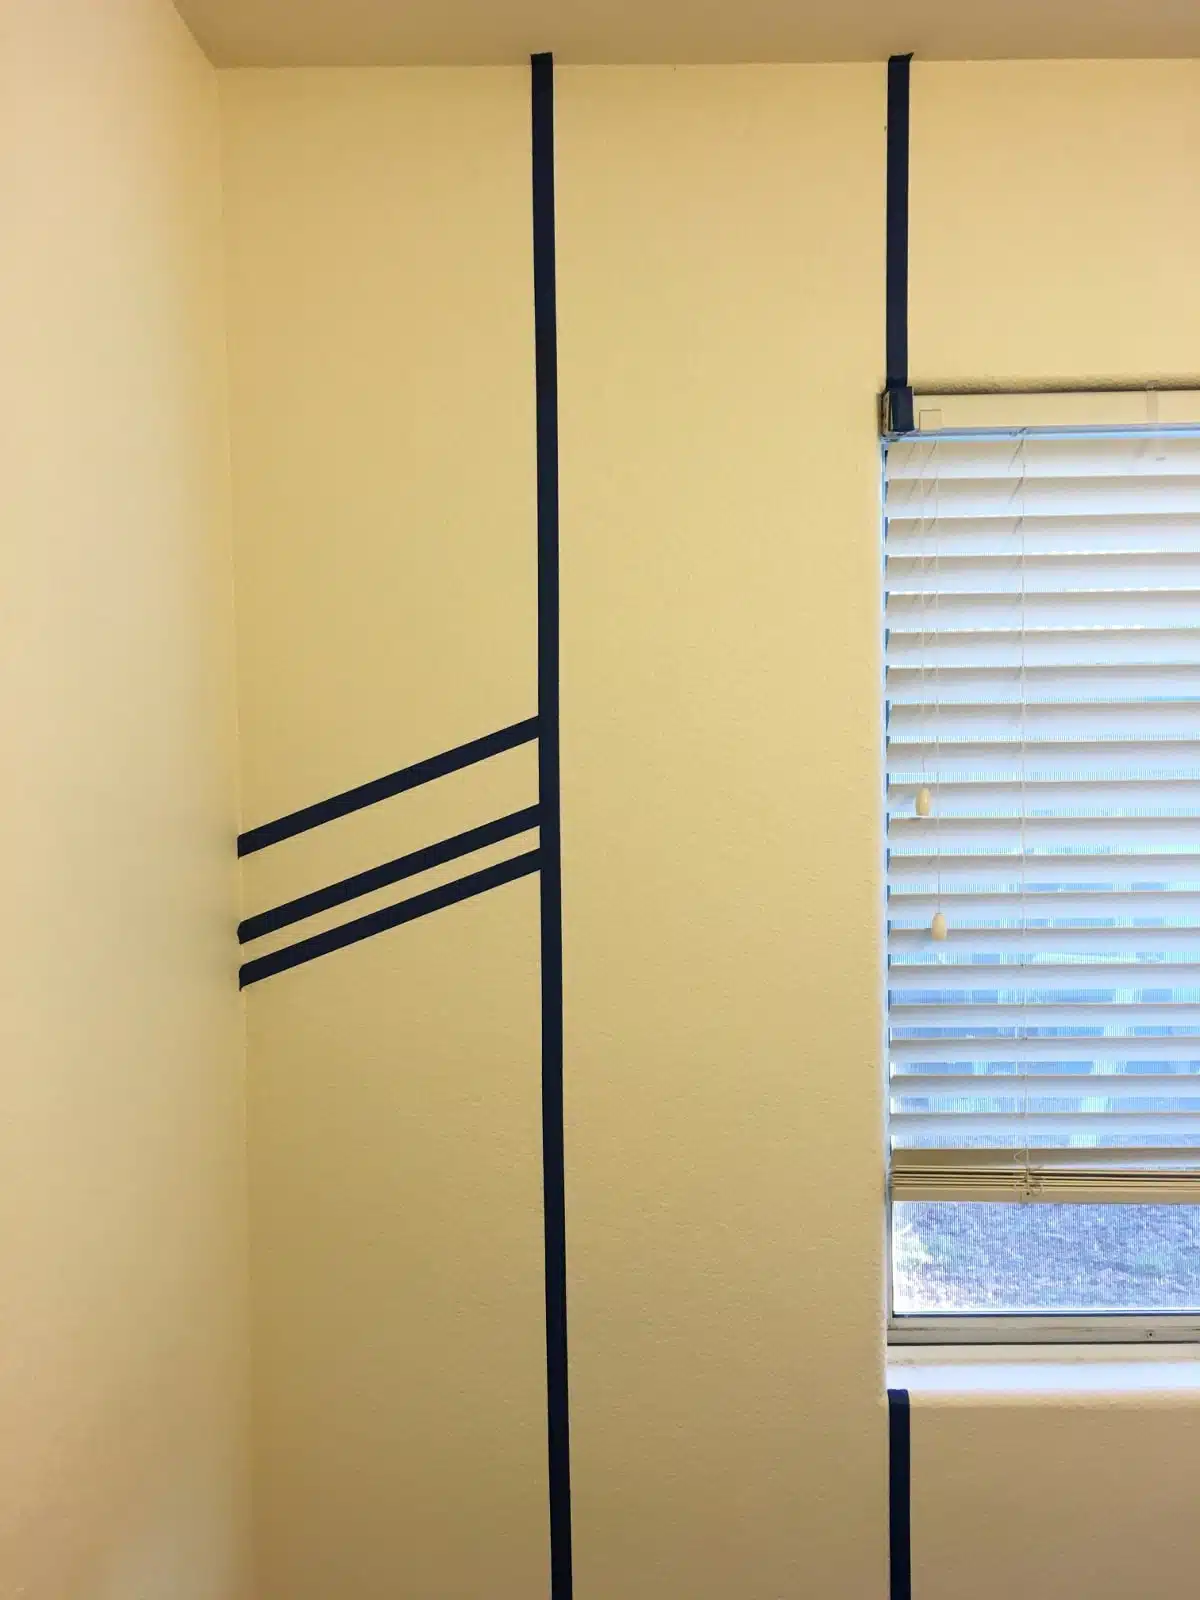
When making the angled lines on your accent wall, ensure that all lines are parallel to each other. You can measure from the top of the ceiling or wall to the angled tape’s left-hand and right-hand sides to see if there is any difference between all the lines.
If you don’t want a perfectly patterned herringbone accent wall, you can make different measurements for the herringbone parts. Once you’re done with one column, switch the same pattern for the next column in a way that all the angles face the other way.
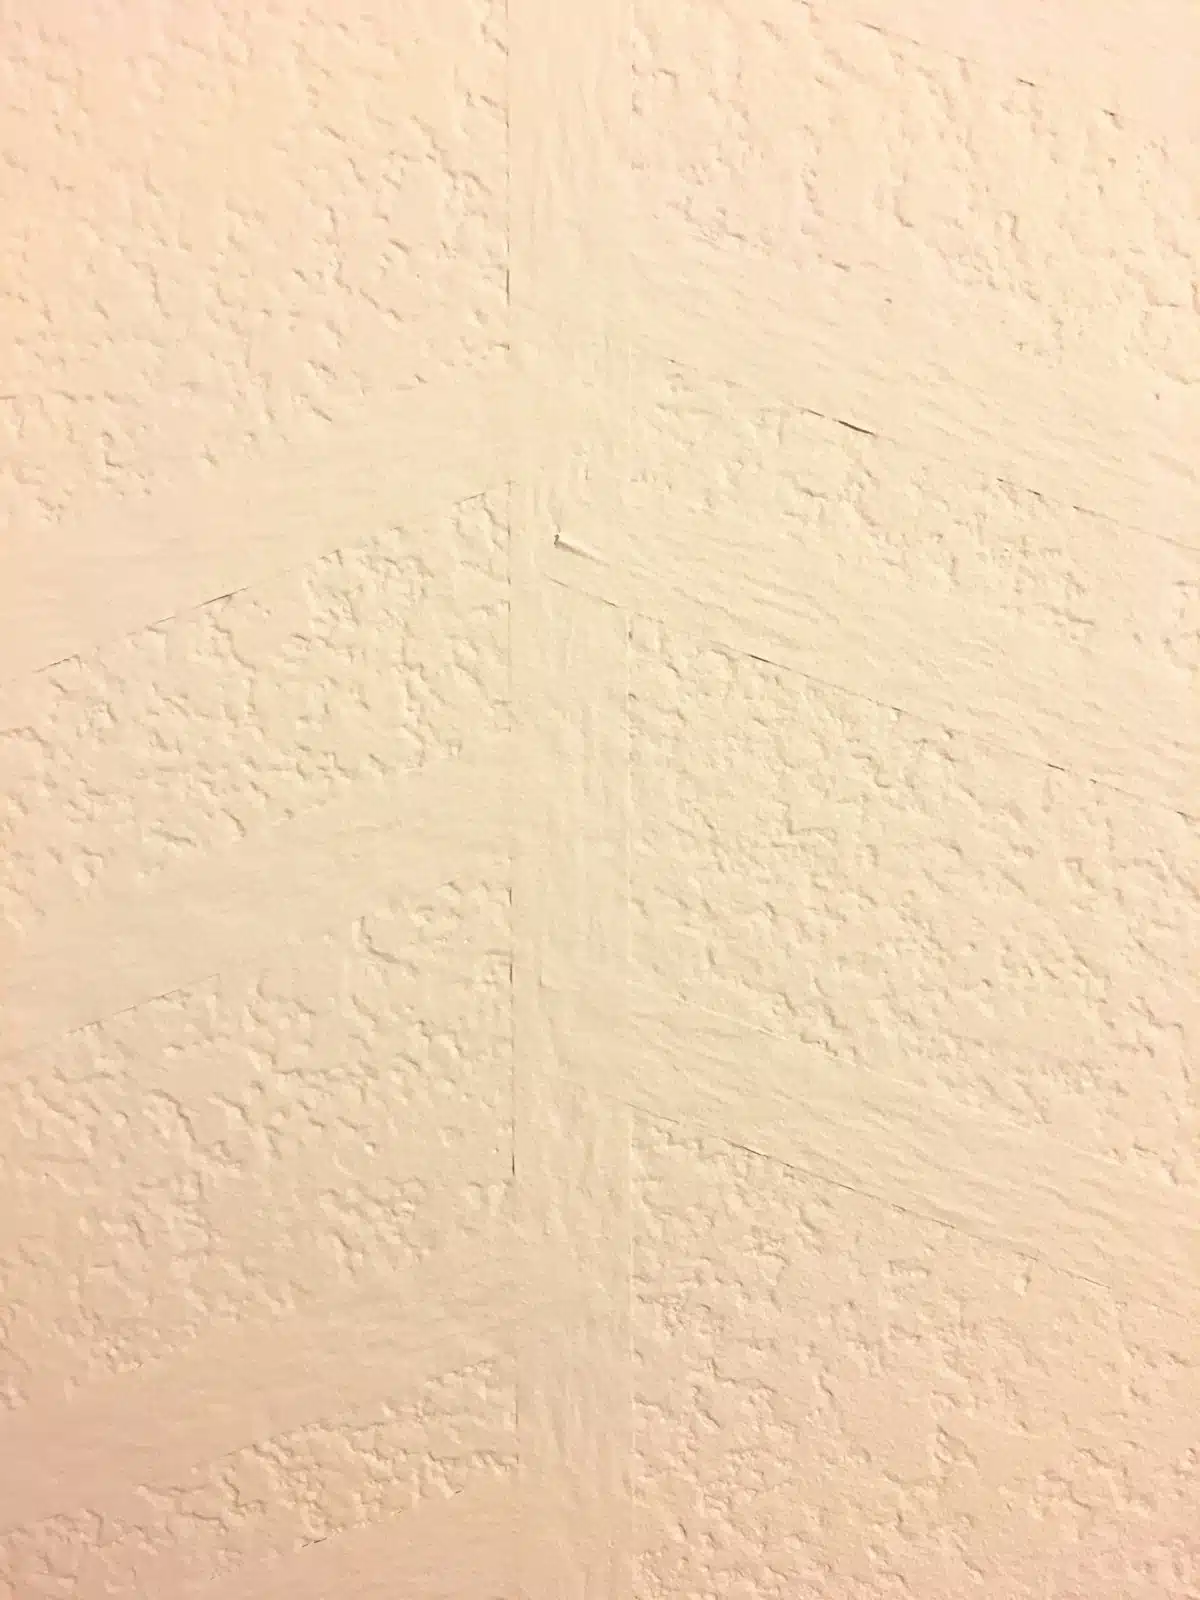
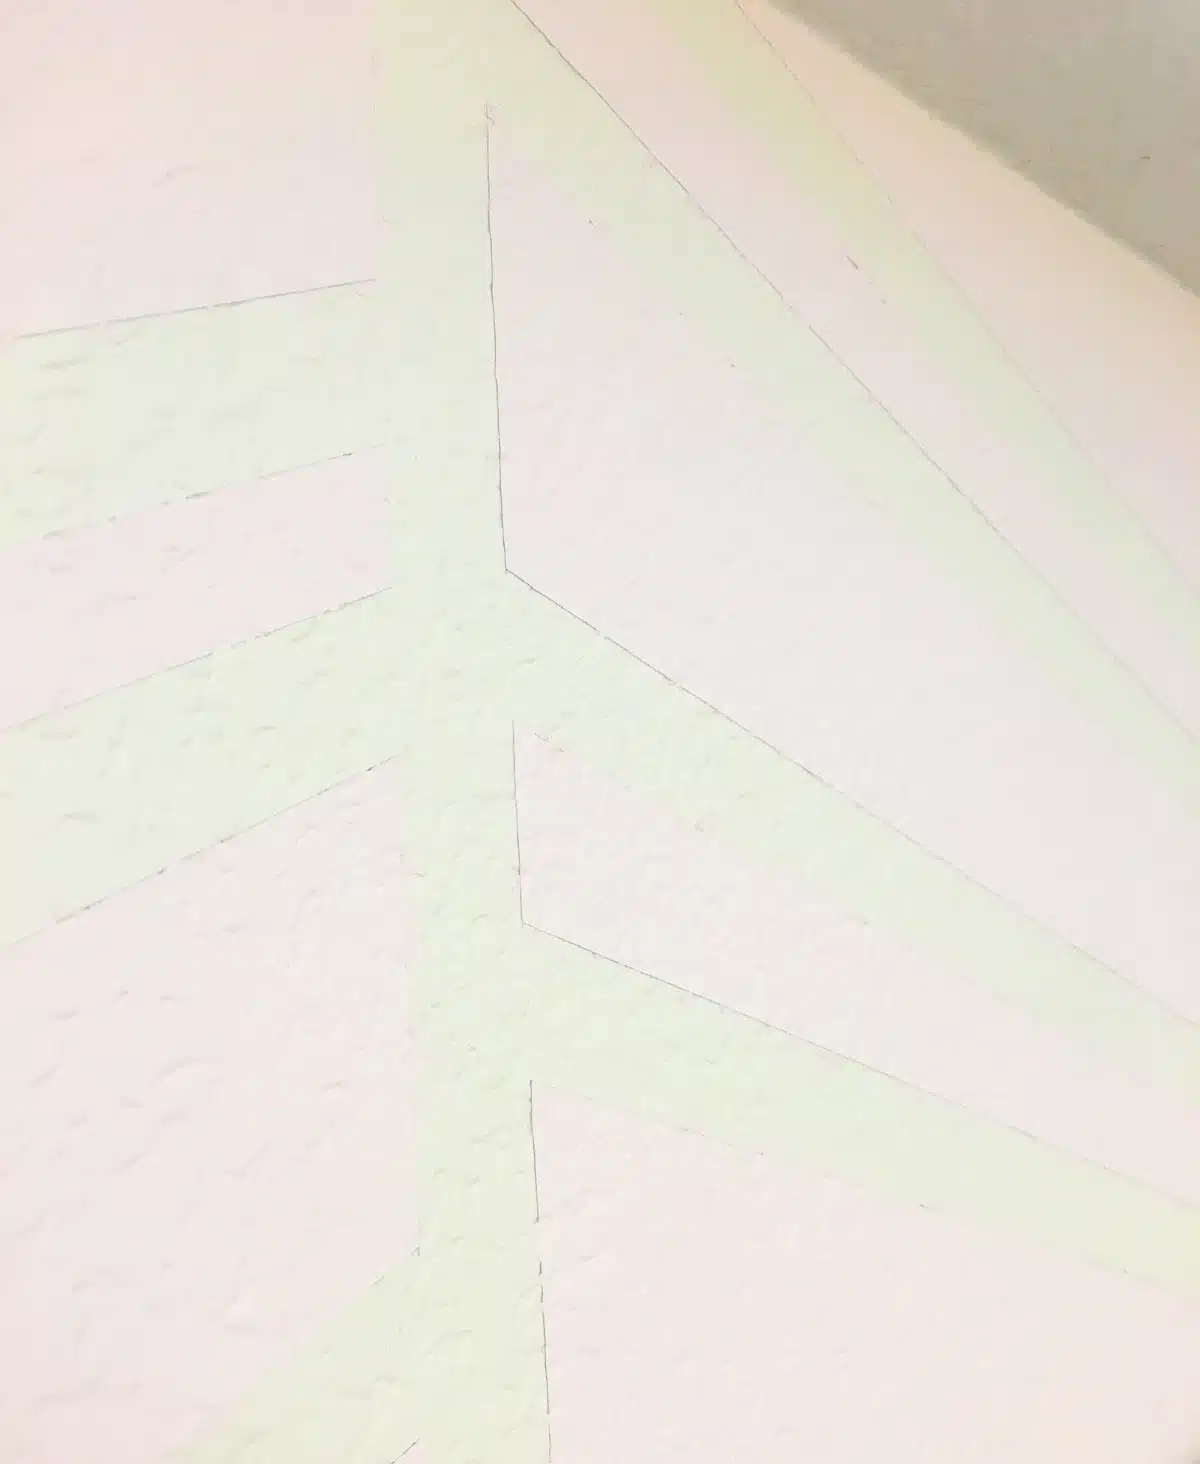
Keep repeating this step to make the herringbone pattern. Once you’re done, press the tape line fully. Start taping at the bottom or baseboard of the wall. Don’t stretch the tape all the way to the ceiling.
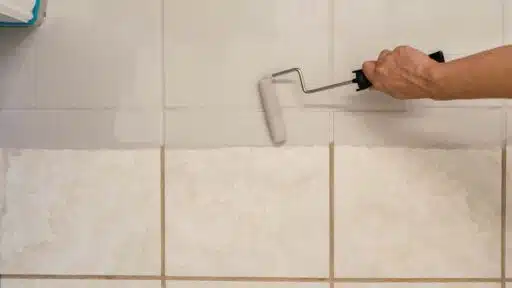
4. Paint the Wall
Move ahead with this step only if you have completely taped the herringbone design. Pour the herringbone paint color into a disposable cup or small painting tray. Create a 2 2 ½ inches vertical straight line from the start of the wall that you have decided to paint.
Paint the entire surface using a roller and trim out the edges with the help of a brush. Only the front part of the brush needs paint on it for a neat paint job. Lightly wipe off the sponge brush onto the paper towel to remove any excess paint.
The brush should not have too much paint to avoid any drips and create the pattern you like. Begin with one coat and then apply two to three coats to achieve the desired color for your herringbone accent wall. Ensure that everything looks neat and there are no harsh lines on the wall.
5. Peel the Tape
Now comes the most interesting part of the herringbone accent wall painting process. Once you’re done with trimming and rolling, and the paint is partially dry, you’ll have to peel the tape. It’s better to wait for at least one day after the application of paint.
If you’re impatient and can’t wait that long to see the final results, you can even pull the tape straight out after two to three hours of the paint job. If there are any bleeds or irregular designs, you can touch them up with the base coat. In some areas, the tape will come off easily, but you may have to apply extra pressure to peel the tape in many areas.
One important tip is not to use colored painter’s tape as it may leave a few marks. Use beige/white tape so that there are no marks on the accent wall. If there is a lot of paint on your wall, remove the tape before the wall gets fully dry. It will peel up your wall. If you encounter this problem, you can use a craft knife to separate the tape and the paint.
6. Clean Up
Once you have taken off the painter’s tape, clean up the edges and lines that need a little touch-up. Erase the pencil marks on the wall and use the same paint you have used to create the accent to touch up the lines left over by the tape.
Now that your final project is ready, admire your hard work and appreciate your inner artist. A herringbone wall is an interesting addition to your space. The best thing is that it is not a long-term commitment, so you can change it up for a bolder or more sophisticated look. If you don’t want to go with this design scheme on a big wall, you can try out a small accent wall in your closet or bathroom.
Tips and Tricks for Creating a Herringbone Accent Wall with Paint

- Use top-notch quality painter’s tape for crisp and clean lines. This small step will make the painting project look like it was executed by a professional.
- Ensure that walls are free of dust and sparkling clean before you apply the tape on them. If you have painted your walls, wait for at least 24 hours before using painter’s tape to ensure when you remove the tape, the paint doesn’t peel off.
- Remove the painter’s tape from the walls shortly after you have finished the painting process. Don’t let the paint dry out completely, and your paint will get peeled while removing the tape.
- If you forgot to peel the tape and the paint dried, use the putty knife’s straight edge to peel the tape cleanly without causing the paint to chip.
- Don’t make the mistake of using masking tape if you don’t have painter’s tape. Since masking tape has a high adhesion, it may chip or peel off some of the surfaces being protected.
- Use long sections of tape as they are easy to apply. Press hard against the area being protected to avoid the slipping of paint underneath the tape.
- When painting, be very careful. Paint your accent wall as if there was no painter’s tape at all. Remember, the painter’s tape is only meant to act as extra insurance.
- When peeling the tape, peel off one corner at roughly a 45-degree angle. Pull the tape away from the wall to prevent any kind of damage to the surface.
Different Types of Herringbone Accent Wall Designs
We bring you a list of the best herringbone accent wall designs that will give your room an Instagram-worthy look.
- Color-Crazy Herringbone: This herringbone accent wall design is much different from the typical accent designs. Your main intent while undertaking this project should be to use too many colors to bring a unique vibe to your room. You can choose two or three different colors or go for muted and loud shades of the same color while creating this design. You should only go for this accent wall design if you want to give a dramatic look to your space.
- Mixed Angle Herringbone Design: You can add dynamism to both contemporary and modern homes with the help of mixed-angle herringbone accent wall design. In this design scheme, the angles are not parallel, so they give a funky look to your space. The main intent of this design is to experiment with the kind of look that you want to achieve and expand your imagination while carrying out this project beyond the common zig-zag pattern.
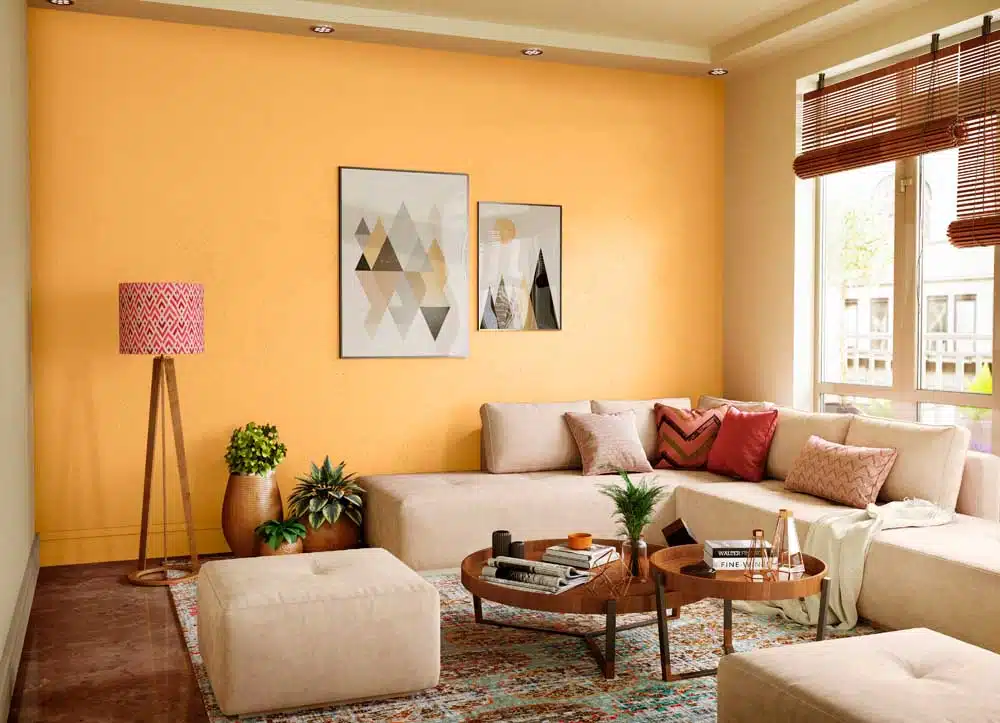
- Dark Color Herringbone: You can go for this design scheme if the walls in your room are white in color. Dark color herringbone contrasts well with the white background and instantly uplifts the vibe of your room. This design scheme is perfect if you want to highlight any specific portion of your room. To enhance the appeal of this design scheme, pair it with some art pieces or paintings.
- Gray Herringbone with Gray Walls: If you want your herringbone wall accent to align well with the other walls in the room, then you can go for this design scheme. Grey herringbone will give a rustic look to your home without creating any contrast effect with the walls. The best thing about this design scheme is that it will blend with your walls and other accessories and won’t stand out as the only showstopper element of your room.
- Perfectly lined Herringbone: If you’re a perfectionist and want every line of the herringbone wall accent to be parallel to each other, you can go for this design scheme. You’ll have to be a bit more careful while carrying out this project, as there are no scopes of mistakes. If the lines are not crisp and straight, you’ll have to draw them again and again until they look perfect. Don’t go for this accent wall design if you have limited time on your hands and you can’t rework the same thing again and again. Use a measurement tape and a ruler to make the lining process easier.
Conclusion
Adding a herringbone accent wall with paint is an easy and fun way to enhance the appearance of your space without doing a furniture overhaul or painting your entire room. The best thing is that you can finish the entire project in one or two days, and the final results will leave you astounded.
You can check out the step-by-step instructions mentioned above to create the ideal herringbone wall accent with paint. Whether you want a classic look, bohemian design, or modern pattern, the herringbone wall accent with paint will help you achieve your design goal.
Playoff with other accessories in your room, like blankets, artwork, throw pillows, and even throw rugs, to enhance the look of your herringbone wall accent.
Frequently Asked Questions
Is it Time-Consuming to Create a Herringbone Accent Wall with Paint?
No, it is not time-consuming to create a herringbone accent wall with paint. You’ll need only two to three days to complete the entire project, even if you’re a beginner and do not have painting skills. Follow the instructions of the design that you want to implement in your home for the best results.
What Can You Do if The Paint Bleeds While Creating a Herringbone Accent Wall with Paint?
Suppose the paint bleeds while creating a herringbone accent wall with paint the base color’s thin level over the paint. You can use a clean foam roller, an old plastic card, or your fingernail to ensure the painter’s tape doesn’t peel out easily during the painting process.

Alex Guerrero, a graduate with a Fine Arts degree from the Rhode Island School of Design, has been a visionary in the world of color and design for over 15 years. His professional journey began in the heart of the fashion industry in Milan, where he developed an acute sense for color harmonies and trends. Alex joined our team in 2018, offering fresh and innovative perspectives on color utilization in various spaces. Renowned for his ability to blend contemporary trends with timeless elegance. Outside of work, Alex is an accomplished painter and a volunteer art therapist, his artistic talents further enriching his professional insights.