Have you heard strange sounds coming from your sump pump?
Or maybe it keeps running without stopping?
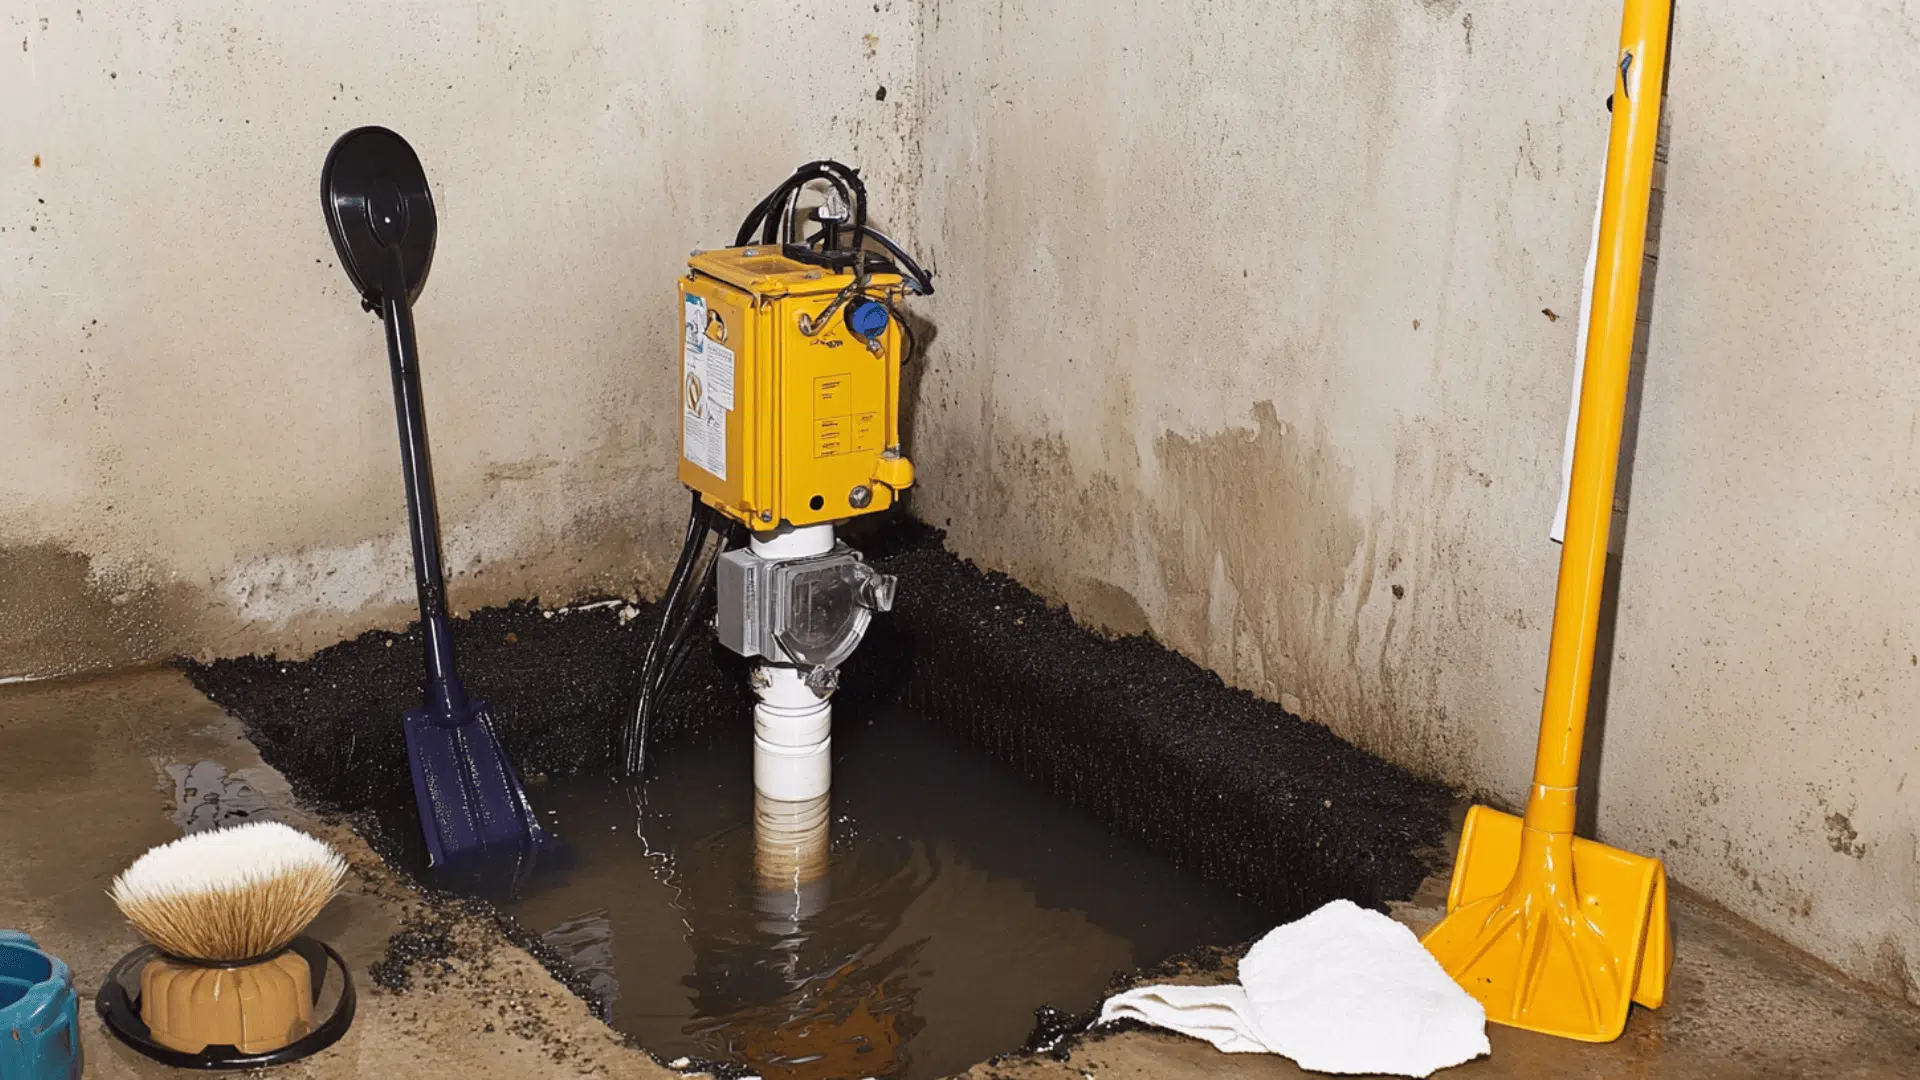
That little device in the corner of your basement could be trying to tell you something.
It’s more important than it looks; it helps keep water out and your space dry.
If it stops doing its job, things can go wrong fast.
No one wants to deal with a soaked floor or worse.
Today, we’ll show you how to spot signs of trouble and fix them early.
Let’s get ahead of the problem before it turns into a flood.
Why Fixing Your Sump Pump is Critical
A sump pump might seem small, but it does a big job. If it stops working, your basement can flood quickly.
Water can ruin furniture, flooring, and anything stored down there.
It can also damage your home’s foundation, causing cracks or weakening the structure.
On top of that, a wet basement becomes the perfect place for mold to grow.
Mold isn’t just ugly; it can cause health problems, especially for kids or anyone with allergies or asthma.
Fixing your sump pump as soon as you notice a problem can save you thousands of dollars in repairs.
Most home insurance policies don’t cover flood damage caused by poor maintenance.
Keeping your pump in working order protects your belongings, your health, and your peace of mind.
Tools and Materials Needed
Before you start working on your sump pump, gather all the right tools.
Having everything ready makes the job proceed more efficiently.
You can buy most of these items at any hardware store.
Some tools you may already have at home.
Here is your information formatted in a clean, non-scrollable table:
| ITEM | ESTIMATED PRICE (USD) |
|---|---|
| Flathead screwdriver | $2.68–$17.99 |
| Phillips screwdriver | $7.99–$16.98 |
| Clean water source (hose, 50′) | $255.81–$381.19 |
| Protective gloves (nitrile/utility) | $1.39–$10.39 |
| Power source (extension cord) | $10–$30 |
| Work surface or tarp | $10–$25 |
| Test the switch or float switch | $75–$125 |
| Screw tray or magnetic dish | $7–$15 |
| Leather/hard plastic bracket | $5–$20 |
| Cleaning brush | $3–$10 |
| Dielectric fluid (1 qt) | $15–$30 |
Note: Prices may vary based on location, brand, supplier, and market fluctuations.
Getting quality tools makes the repair job easier.
Avoid buying the cheapest tools, as they may break during use.
Good tools last longer and work better.
Keep all your tools clean and dry after each use.
Step-by-Step Fixing Process
Follow these steps to fix your sump pump; each step builds on the last one.
Take your time and work safely.
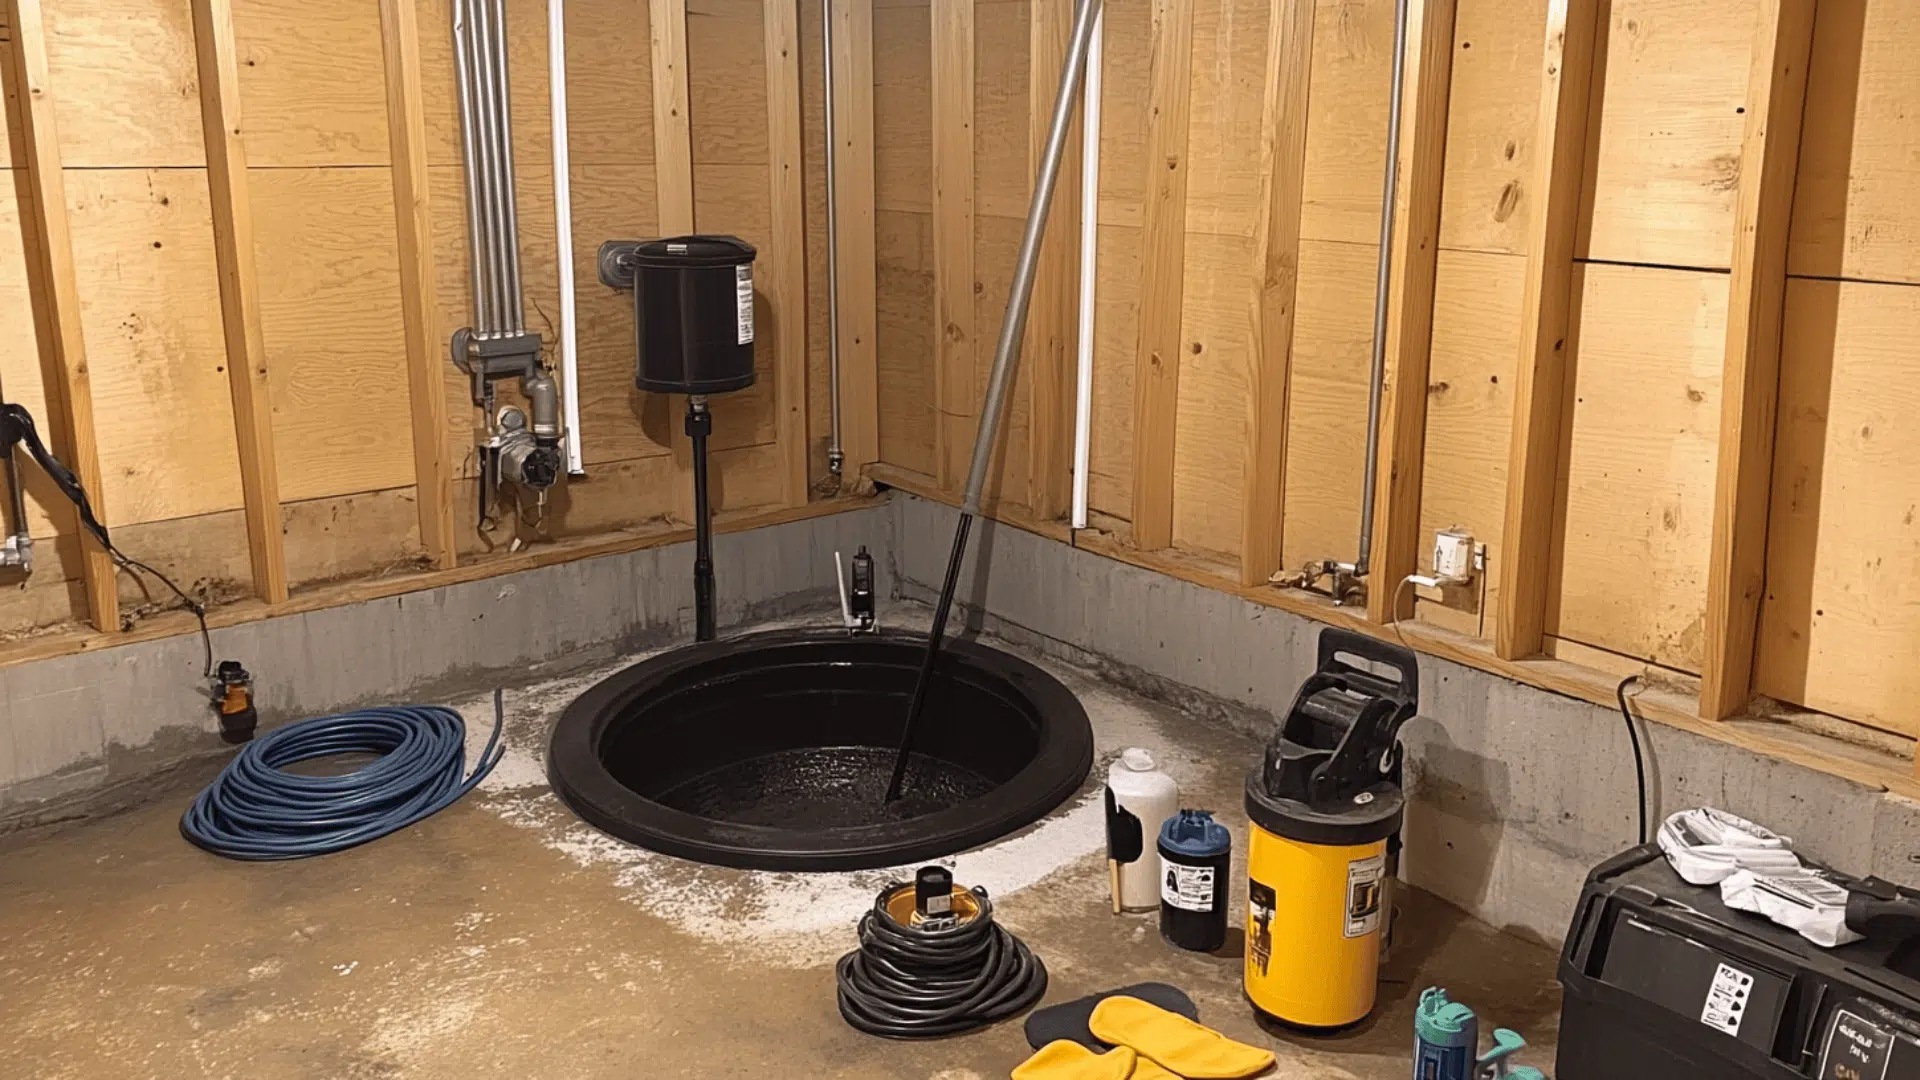
Step 1: Check the Pump
First, check how long the sump pump has been running.
Many pumps have hour meters; this one had over 5,400 hours logged, which is an unusually high number.
A pump running this long may be near the end of its life.
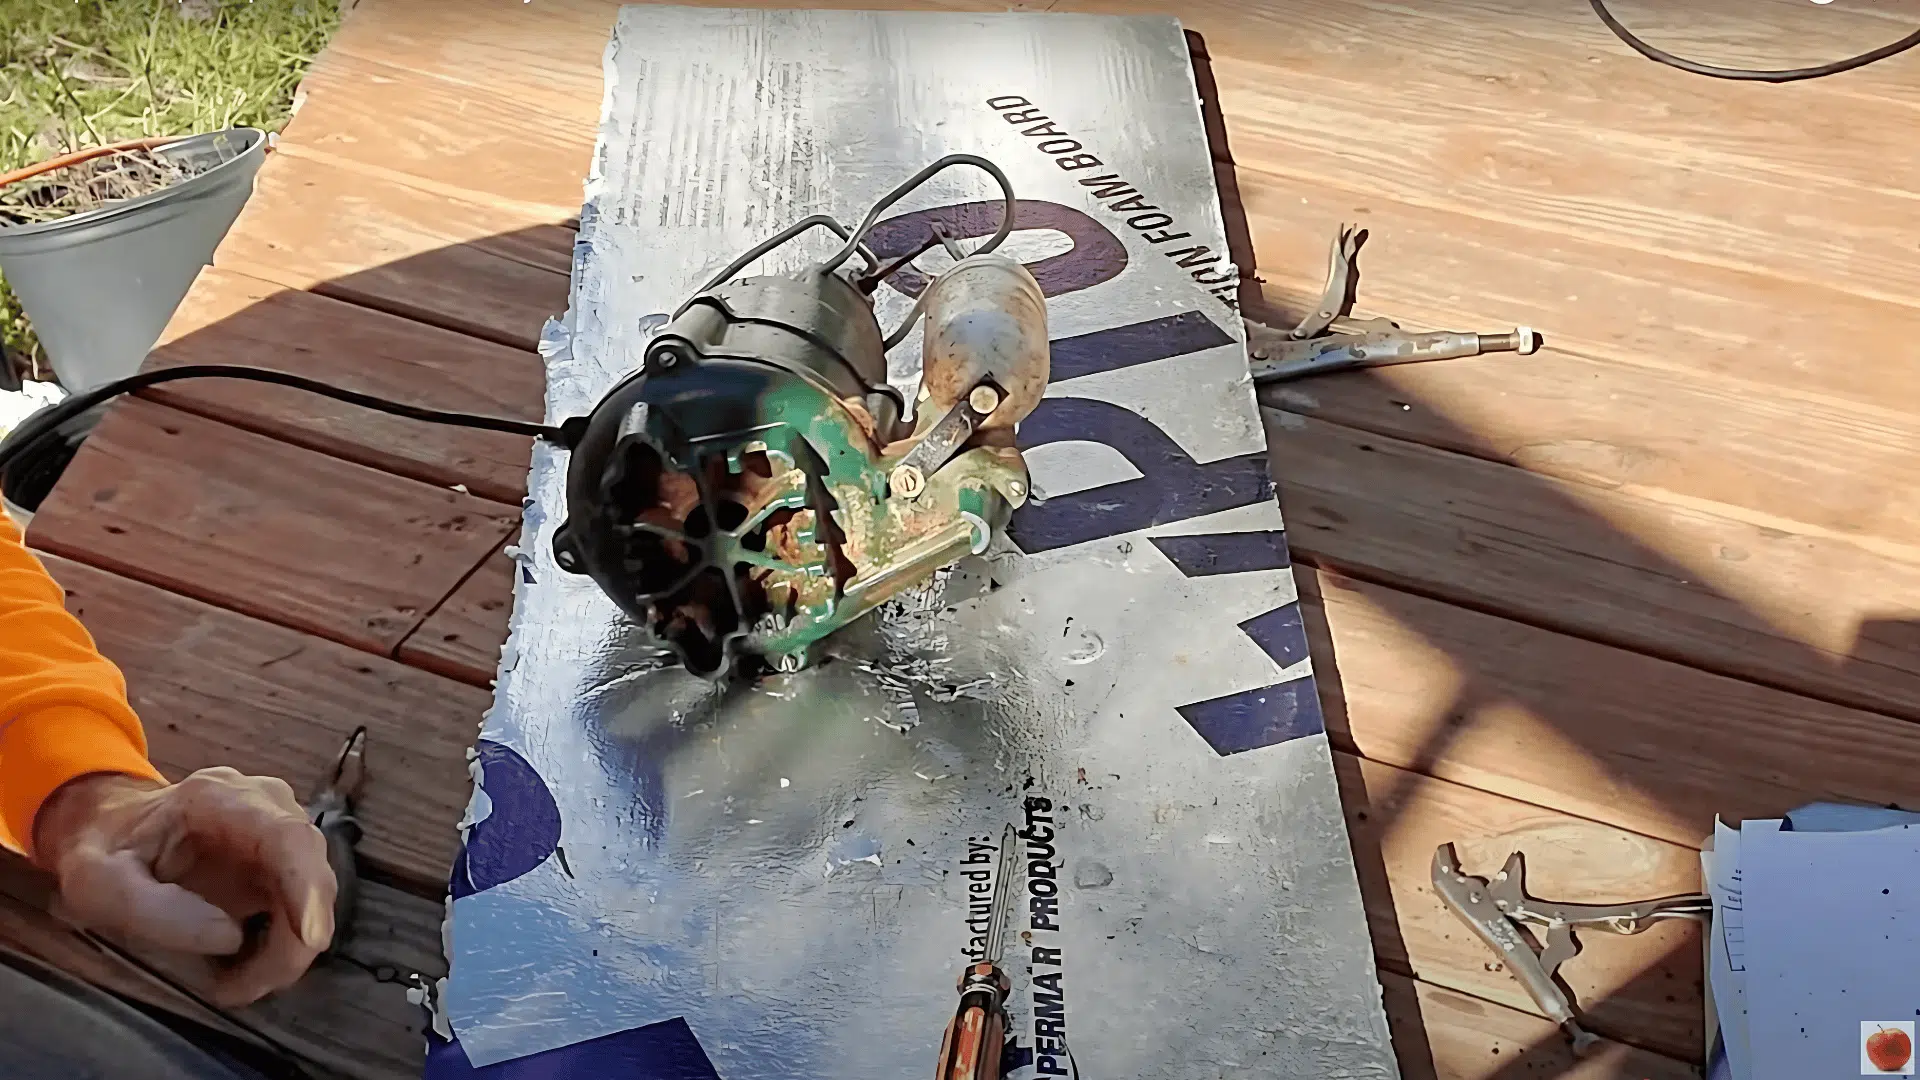
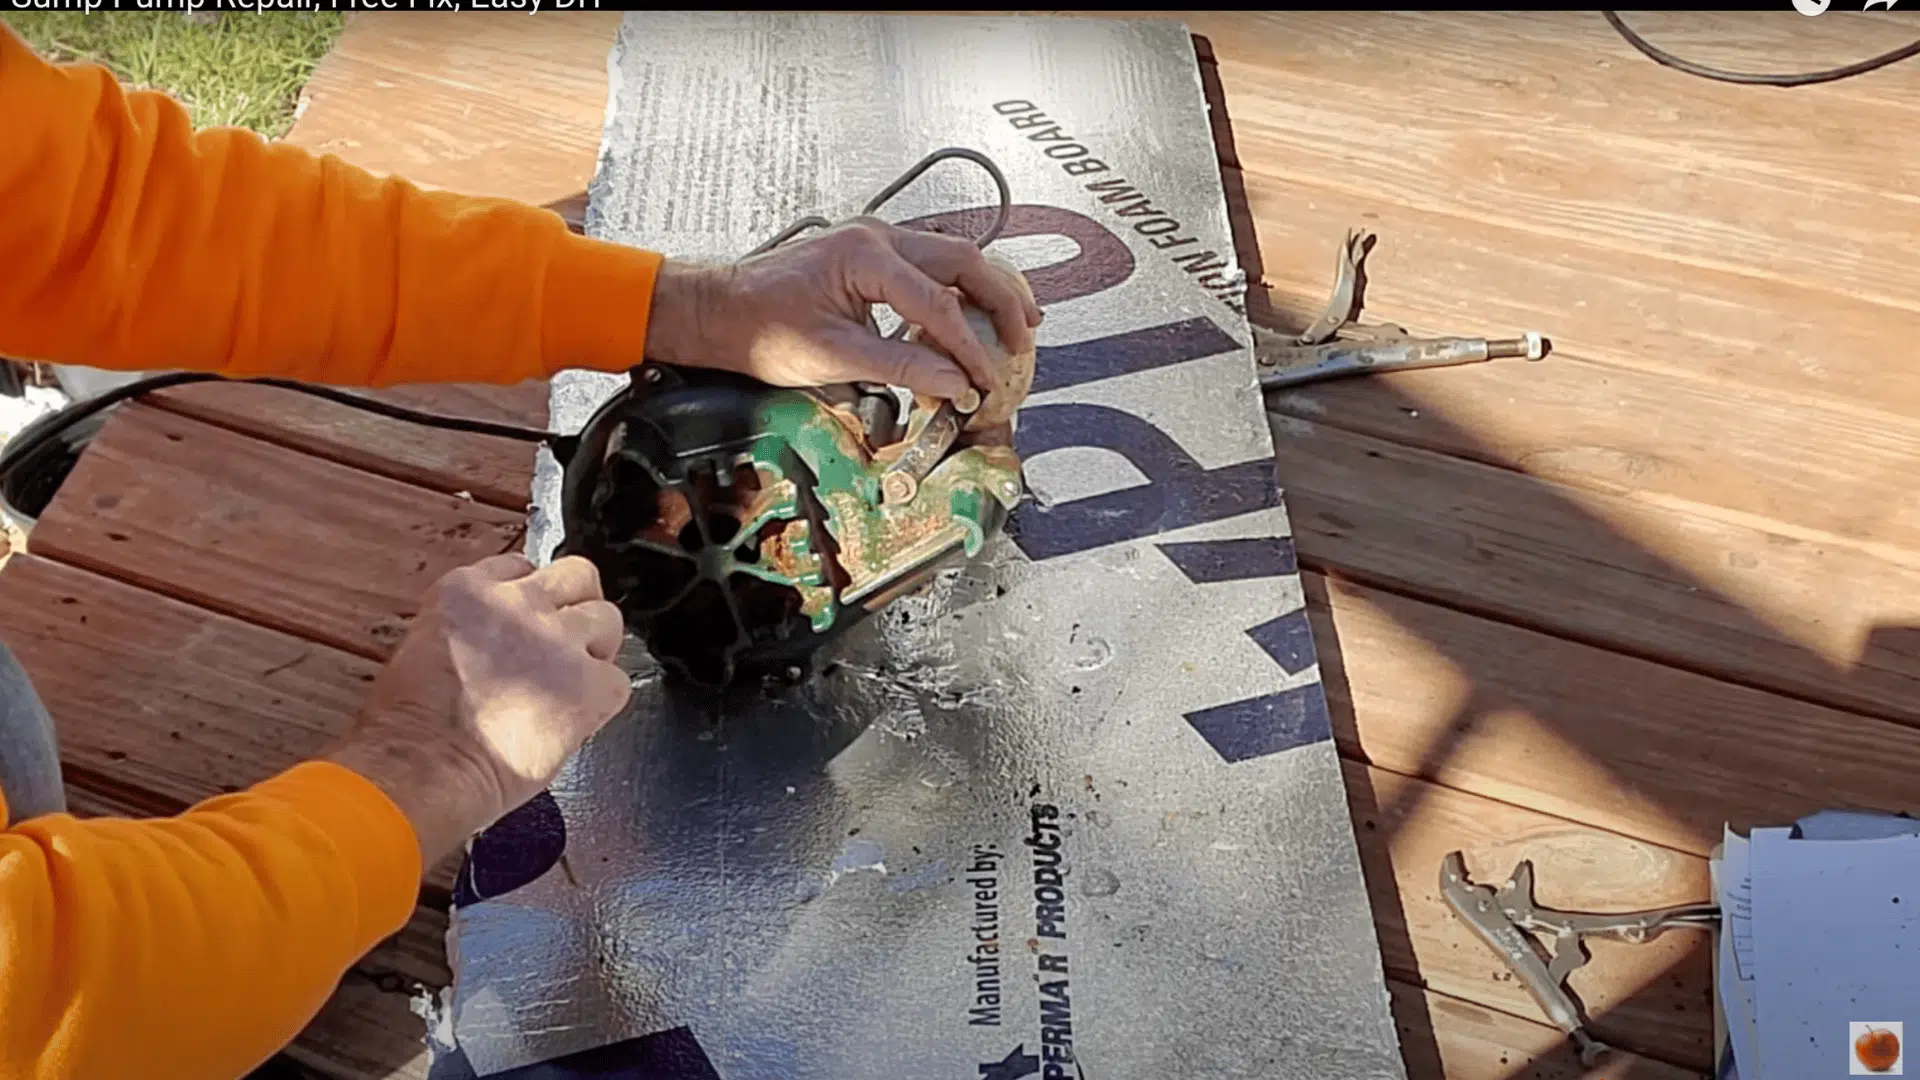
Make sure it still turns on properly, and then inspect it closely for signs of wear.
Look for burn marks on the casing, rust on metal parts, or any pieces that seem loose or damaged.
These are all signs the pump may be failing.
Step 2: Clean the Pump
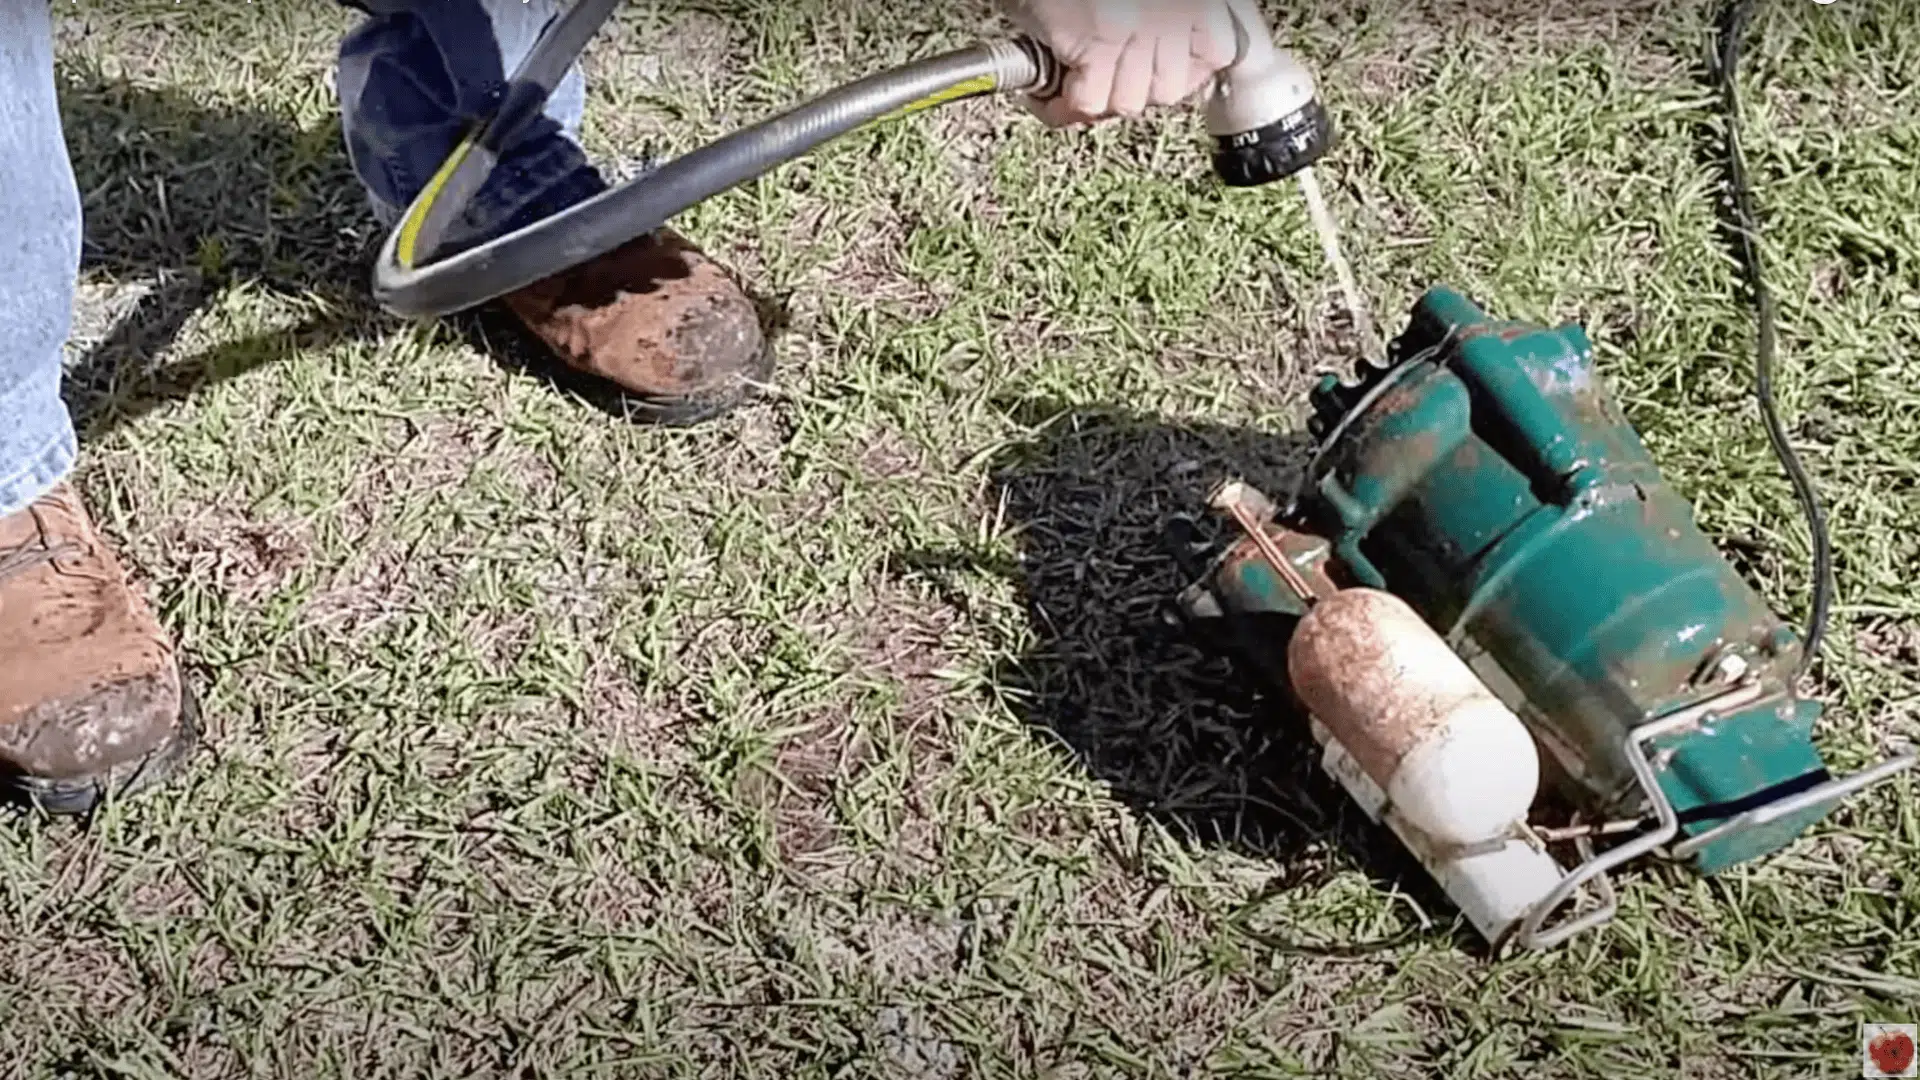
Start by rinsing off the sump pump using clean water.
The goal isn’t to make it look brand new, but to remove any visible dirt, mud, or rust buildup.
Avoid using abrasive tools; refrain from scraping or painting the surface, as this can cause damage.
Concentrate your cleaning efforts on key areas, such as the impeller and bottom plate, where grime tends to accumulate.
Cleaning these parts prevents debris from spreading, ensuring smoother operation during testing or maintenance on the pump.
A simple rinse can go a long way.
Step 3: Take Off the Bottom Plate
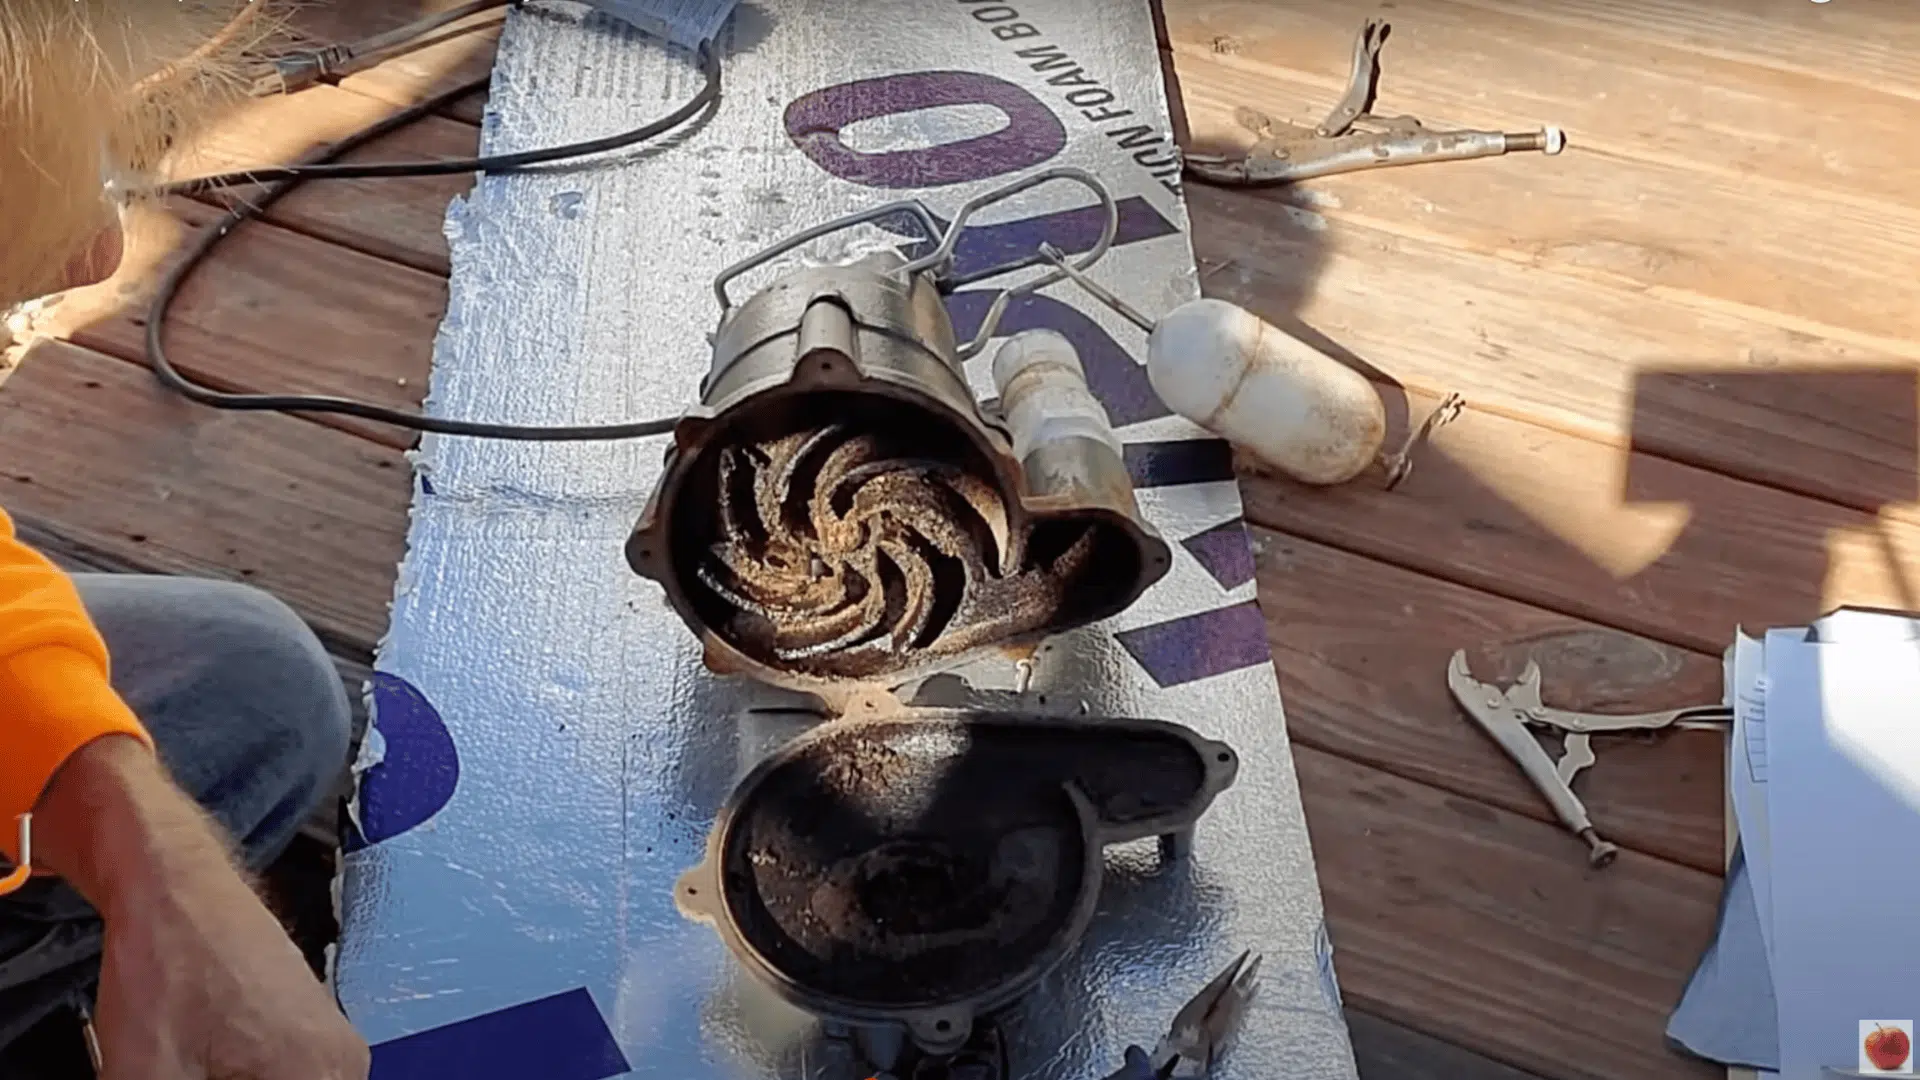
Unscrew the bottom plate of the sump pump and carefully remove the float component.
Once opened, check if the impeller moves freely by spinning it with your fingers.
If it spins easily without resistance, the blockage likely isn’t in the impeller area.
This step helps you narrow down the real issue.
In many cases, a motor shaft that’s either burnt out or clogged is the actual problem.
Step 4: Test with Power
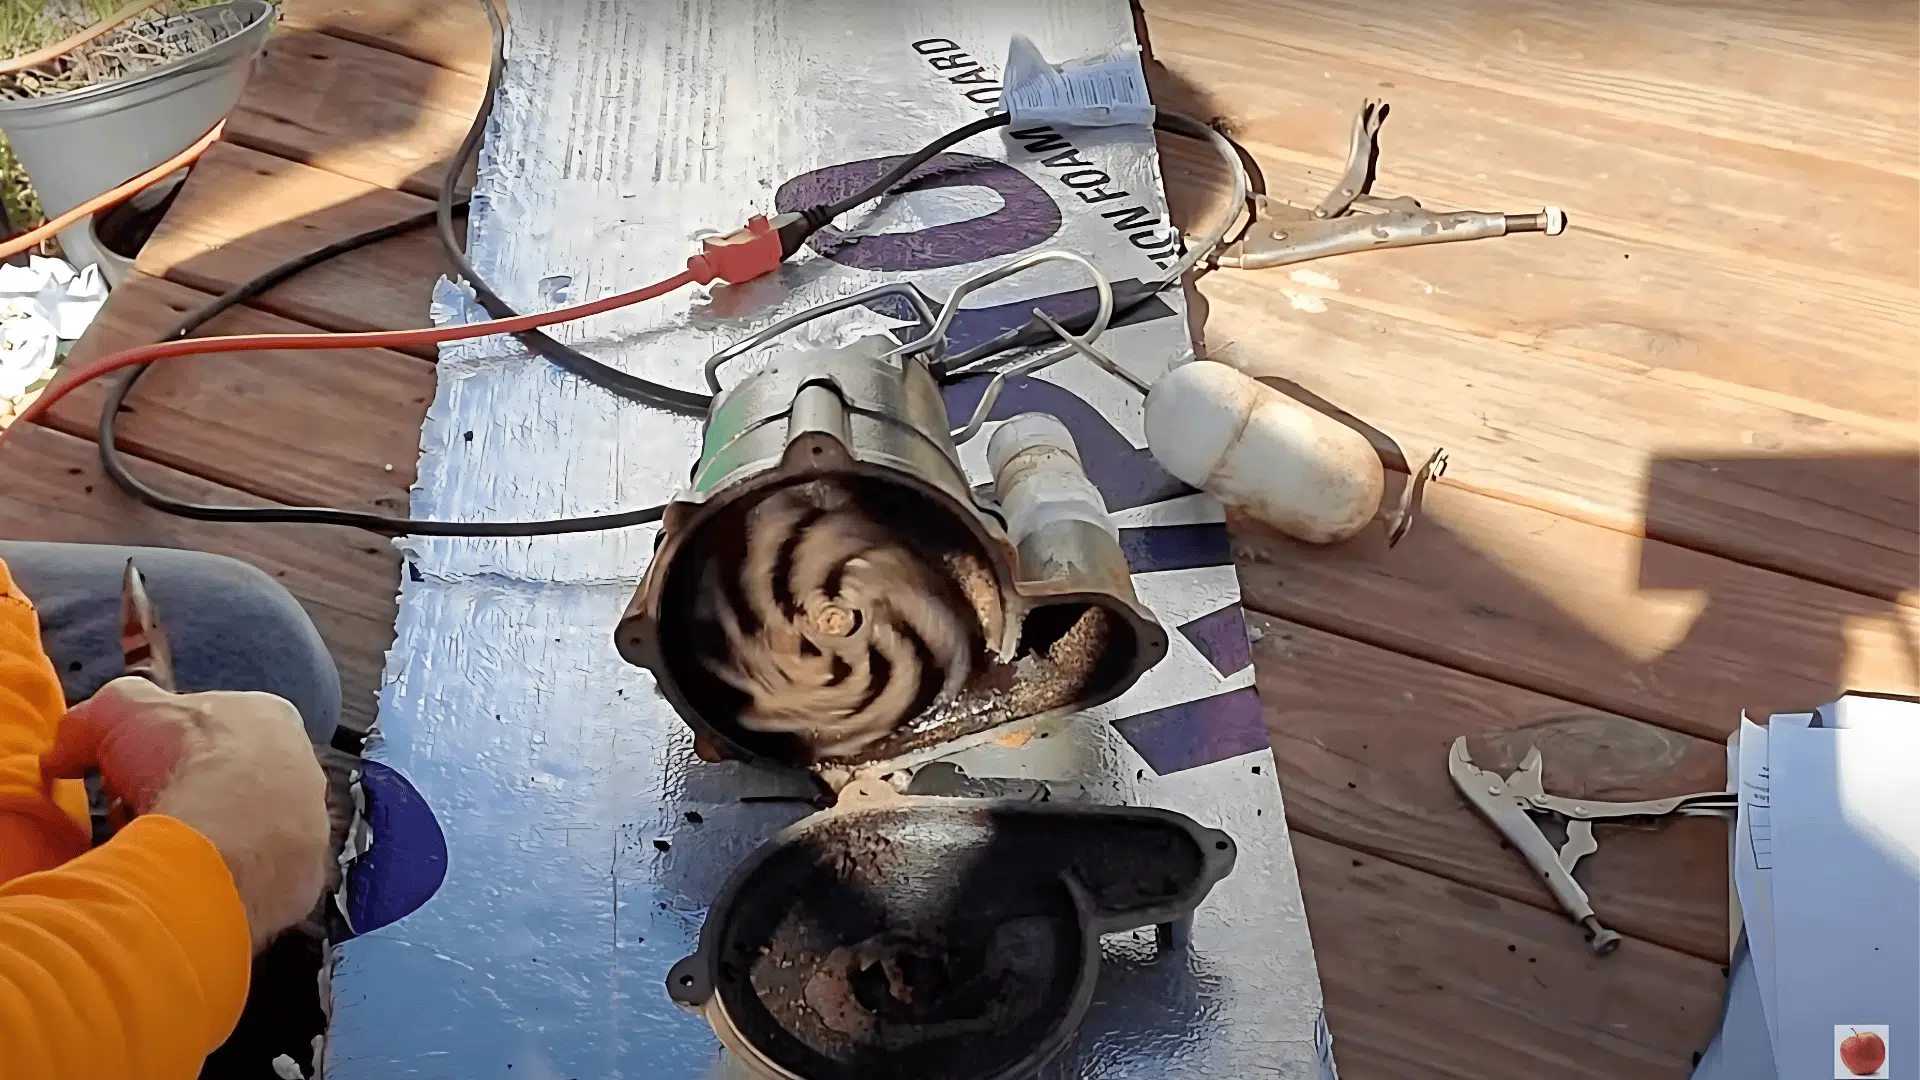
Start by plugging in the sump pump securely.
Then, gently test the switch by hand to turn it on.
Watch the motor area closely to see if the shaft tries to spin.
If the shaft is slow to start or seems hesitant, that’s often a sign that dirt or debris is stuck inside the shaft housing.
The spinning motion creates enough force to dislodge the buildup.
However, be sure to listen for grinding or unusual noises, which may indicate a more serious issue.
Step 5: Reassemble the Pump
Once everything is working, it’s time to reassemble the pump.
Reattach the float and bottom plate using the screws you saved.
Ensure each part fits snugly and that nothing is loose.
Wipe off any leftover water or dirt.
Now your sump pump is clean, checked, and ready to be returned to the pit.
Watch the Full Process Here: A Video Tutorial!
For More Information, Visit: Apple Drains
How to Test Your Sump Pump?
Test your pump regularly to ensure it functions properly when needed.
These tests help you identify problems before they worsen.
Perform these tests once a month, especially when it rains frequently.
Here is your information in a clear, non-scrollable table format:
| TEST METHOD | WHAT TO DO | WHAT TO CHECK |
|---|---|---|
| Water Pour Test | Add water slowly to the hole | Watch it turn on by itself, see it pump all the water out, and make sure it turns off by itself. |
| Float Switch Test | Lift the float switch by hand | Ensure the pump turns on, test it for only a few seconds, and return the float to its normal position. |
| Cord Test | Unplug both the pump and float cords | Test cords one at a time, listen for motor sound, and put cords back together right. |
After testing, ensure all parts are securely in place.
Ensure the system returns to regular operation.
Write down any weird sounds or slow starts.
Common Problems and Their Fixes
Sump pump problems typically fall into five main categories, each with distinct signs that you can recognize and corresponding steps to address them.
Problem 1: Pump Won’t Start
This common problem happens when your pump won’t start, but don’t panic because you can follow steps to fix it.
Cause: The pump may not start due to tripped breakers, blown fuses, loose wires, low water, or stuck switches.
Solution: Check and reset breakers, replace fuses, tighten wires, add water to test, and manually move stuck float switches.
Problem 2: Pump Runs But Doesn’t Take Out Water
It can be frustrating when the pump turns on, but the water stays in the pit.
Luckily, this is often easy to solve with a few simple steps.
Cause: The discharge pipe may have issues such as blockage, check valve failure, clogged impeller, trapped air, or the pump being too far from the outlet.
Solution: Clear pipe blockages, fix or replace the check valve, clean the impeller and pump inlet, open the vent hole to release trapped air, or relocate the pump to reduce lift distance.
Problem 3: Pump Runs All The Time
A sump pump that never shuts off wastes energy and wears out faster.
If yours runs nonstop, it likely needs a simple adjustment or part replacement.
Cause: The float switch may be stuck in the “on” position, the float mechanism might be broken, or the pump could be the wrong size for the pit.
Solution: Adjust the float switch to its proper position, replace a faulty float, or reposition the pump so it sits centered in the pit for better function.
Tips to Take Care of a Sump Pump
Taking care of your pump makes it last longer and stops big problems before they start.
A well-kept pump protects your home when storms come.
- Please take a few minutes each month to inspect your sump pump and ensure it’s working properly.
- Schedule a full inspection by a professional at least once a year to catch hidden issues.
- Keep the area around the discharge pipe clean and free of any blockages or debris.
- Always test your pump before storm season or periods of heavy rain to ensure it will turn on when needed.
- Remove any mud, gravel, or buildup from the sump pit so it doesn’t clog the pump.
- Check the intake screen regularly and clean it to prevent dirt from clogging the pump.
These simple steps keep your pump working well and save you lots of money and trouble.
Most jobs take just a few minutes to complete.
When to Call a Pro
Some sump pump problems are too risky to fix alone.
If the same issue keeps coming back, it’s time to call a pro.
Electrical issues can cause shock or fire and should only be handled by trained technicians.
Replacing the motor or adjusting pipes also requires expert knowledge; mistakes here can lead to serious damage or flooding.
Installing a backup battery or second pump is best done professionally to ensure protection during power outages.
Plus, DIY repairs might void your warranty.
Many warranties require licensed service.
Hiring a professional keeps your system safe, working properly, and your warranty fully protected.
Backup Power
Battery backup systems keep your pump working when the power goes out.
These systems cost less than fixing flood damage.
They give you peace of mind during bad storms.
You need to think about battery size and how it charges.
Different backup types cater to various needs.
Some give basic power for emergencies.
Others can run at full power for hours.
Take care of backup systems so they work when you need them.
Test the backup and check the battery often.
This makes sure it won’t let you down during real emergencies.
Wrapping It Up
No one wants to walk into a flooded basement.
It’s messy, costly, and stressful.
The good news?
Regular sump pump maintenance can prevent major problems.
Check it monthly, listen for unusual noises, and note if it’s running too frequently or not at all.
Clean the pit, check the screen, and test it before storm season.
These quick checks make a big difference.
If something seems off, write it down and don’t wait.
Asking for help early is better than facing water damage later.
A few minutes of care now can save you a lot of trouble down the road.
Your future self will thank you!
For more helpful Home Improvement content, check out our other blogs.

With a Master in Architectural Studies from University of Pennysylvania, Marwa Haydar has pioneered living spaces since 2005. Her expertise, initially honed in a prestigious architectural firm, is evident in her approach to creating environments. Marwa became part of our team in 2019 and has since been a driving force in our home improvement section, known for her practical yet stylish solutions. She’s been spearheading our design workshops since then, infusing her passion for teaching into her work. In her leisure time, Marwa enjoys exploring historic architecture and is an enthusiastic pottery hobbyist, further enriching her understanding of form and texture.