Low water pressure in your bathroom sink can be annoying. You turn the faucet, and instead of a steady stream, you get a weak trickle.
I’ve dealt with that before, and it’s usually easier to fix than you might think. You don’t need to be a plumber or have special tools.
Most of the time, the cause is something small, like a clogged part inside your faucet. I’ll walk you through clear, simple steps to help you find the problem and fix it fast.
You’ll learn how to check for blockages, test your water flow, and even clean or replace the parts that cause low pressure.
This guide is here to save you time and give you confidence. You’re not alone, and I’ll make sure each step is easy to follow.
What Causes Low Water Pressure in a Bathroom Sink?
If your bathroom sink is the only place with weak water flow, the problem is probably just with that sink, not your whole house.
That’s actually good news because it means the fix should be easier. First, try to notice if the low pressure is happening with both hot and cold water.
If only one side is weak, the problem could be with that specific part inside the faucet. If both sides have low pressure, the issue is likely at the end of the faucet where the water comes out.
This small part is called an aerator, and it can get blocked by dirt or hard water. It’s a common cause and usually the easiest to fix.
Paying attention to whether the hot, cold, or both are affected will help you figure out where to start. This small check can save you time and help you fix things faster.
Step-by-Step Fix: Low Water Pressure in a Bathroom Sink
If the issue is with one sink, it’s likely a clog inside the faucet. Follow these steps to clean it and restore water flow.
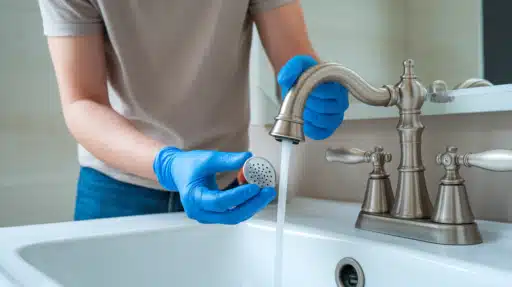
Step 1: Remove the Aerator
The aerator is a small screen right at the tip of your faucet. It helps control the water flow and save water.
But over time, it can get clogged with dirt or hard water bits. To remove it, grab a soft cloth and wrap it around the tip to protect the faucet.
Try turning it with your fingers first. If it’s stuck, you can use pliers-just be gentle so you don’t scratch anything.
Twist it to the left to loosen and take it off. Once it’s off, set it aside and get ready to inspect it.
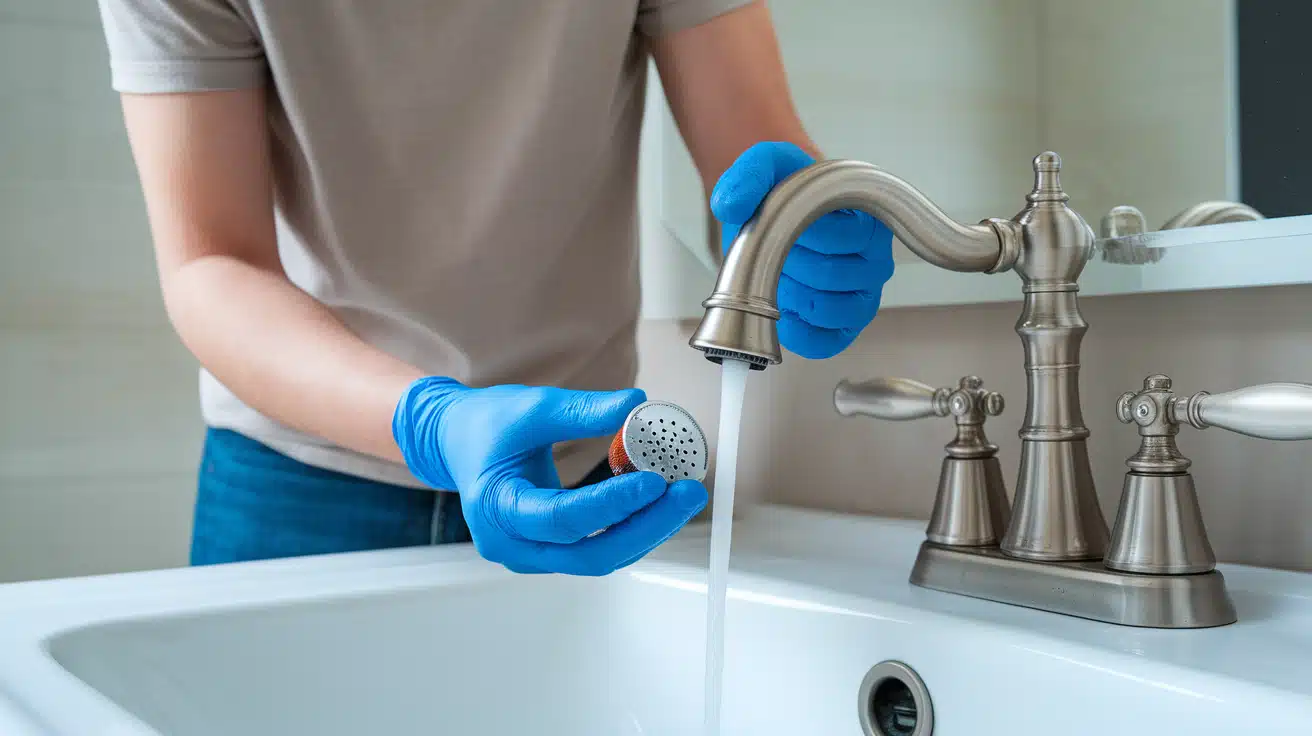
Step 2: Look Inside for Debris
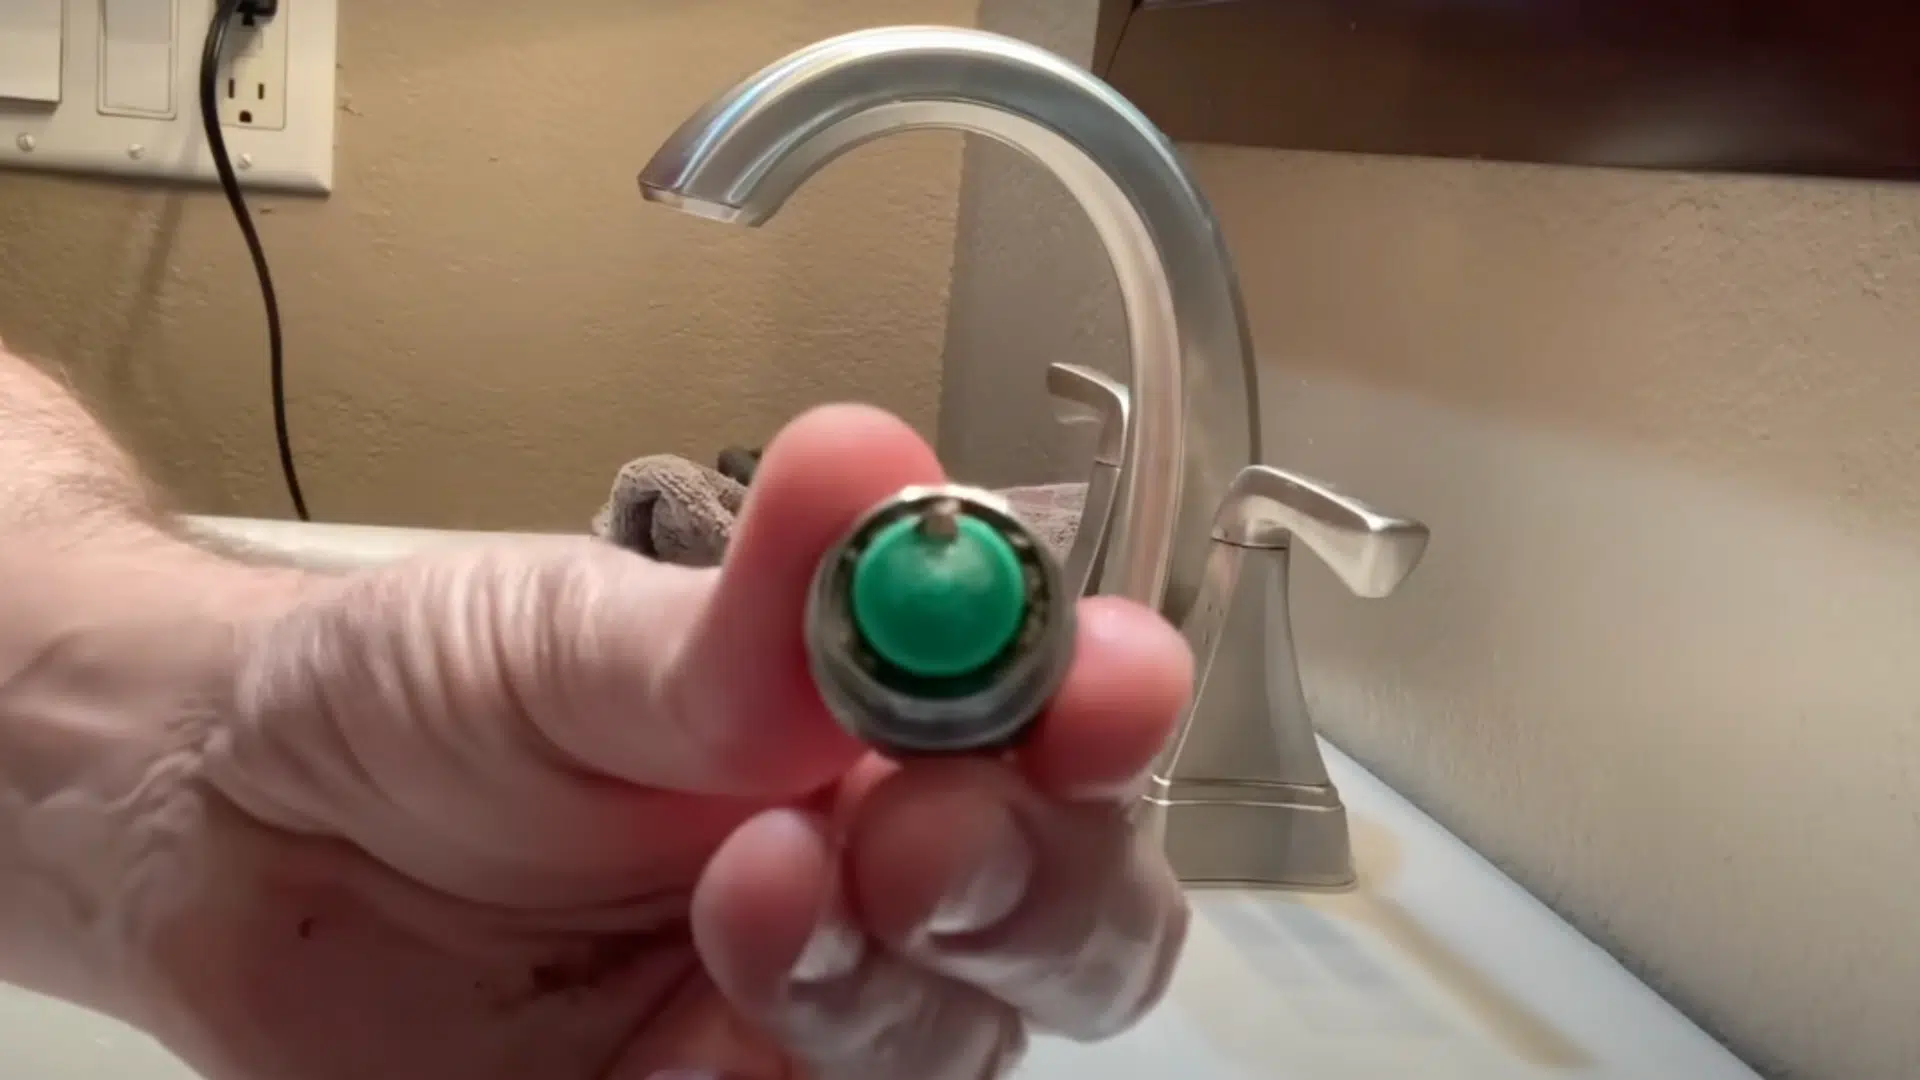
Now that the aerator is off, take a close look inside. You might see little bits of sand, dirt, or white crusty stuff-those are signs of hard water.
Even tiny pieces can block the small holes in the screen and make your water flow weak. Hold the aerator up to the light so you can see if anything is stuck inside.
If it looks dirty or blocked, that’s likely what’s causing the low pressure.
Cleaning it up or replacing it should help your water come out stronger and smoother.
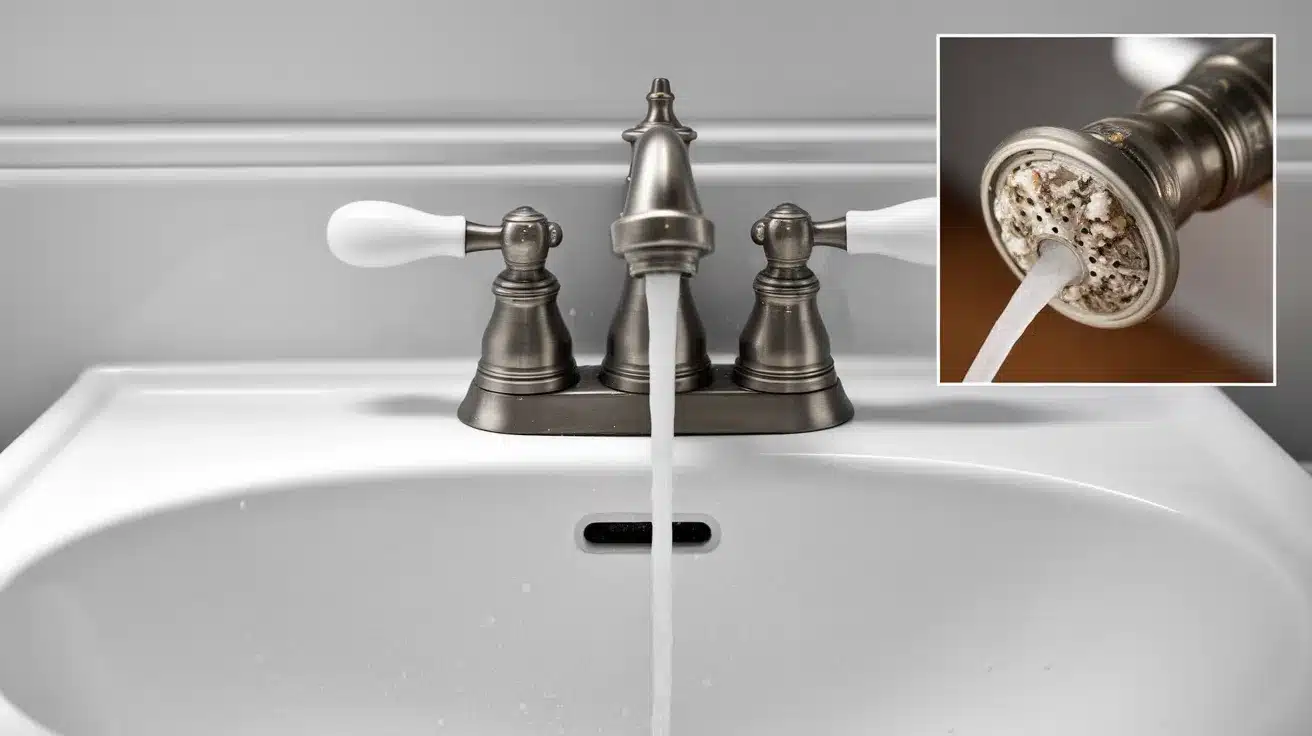
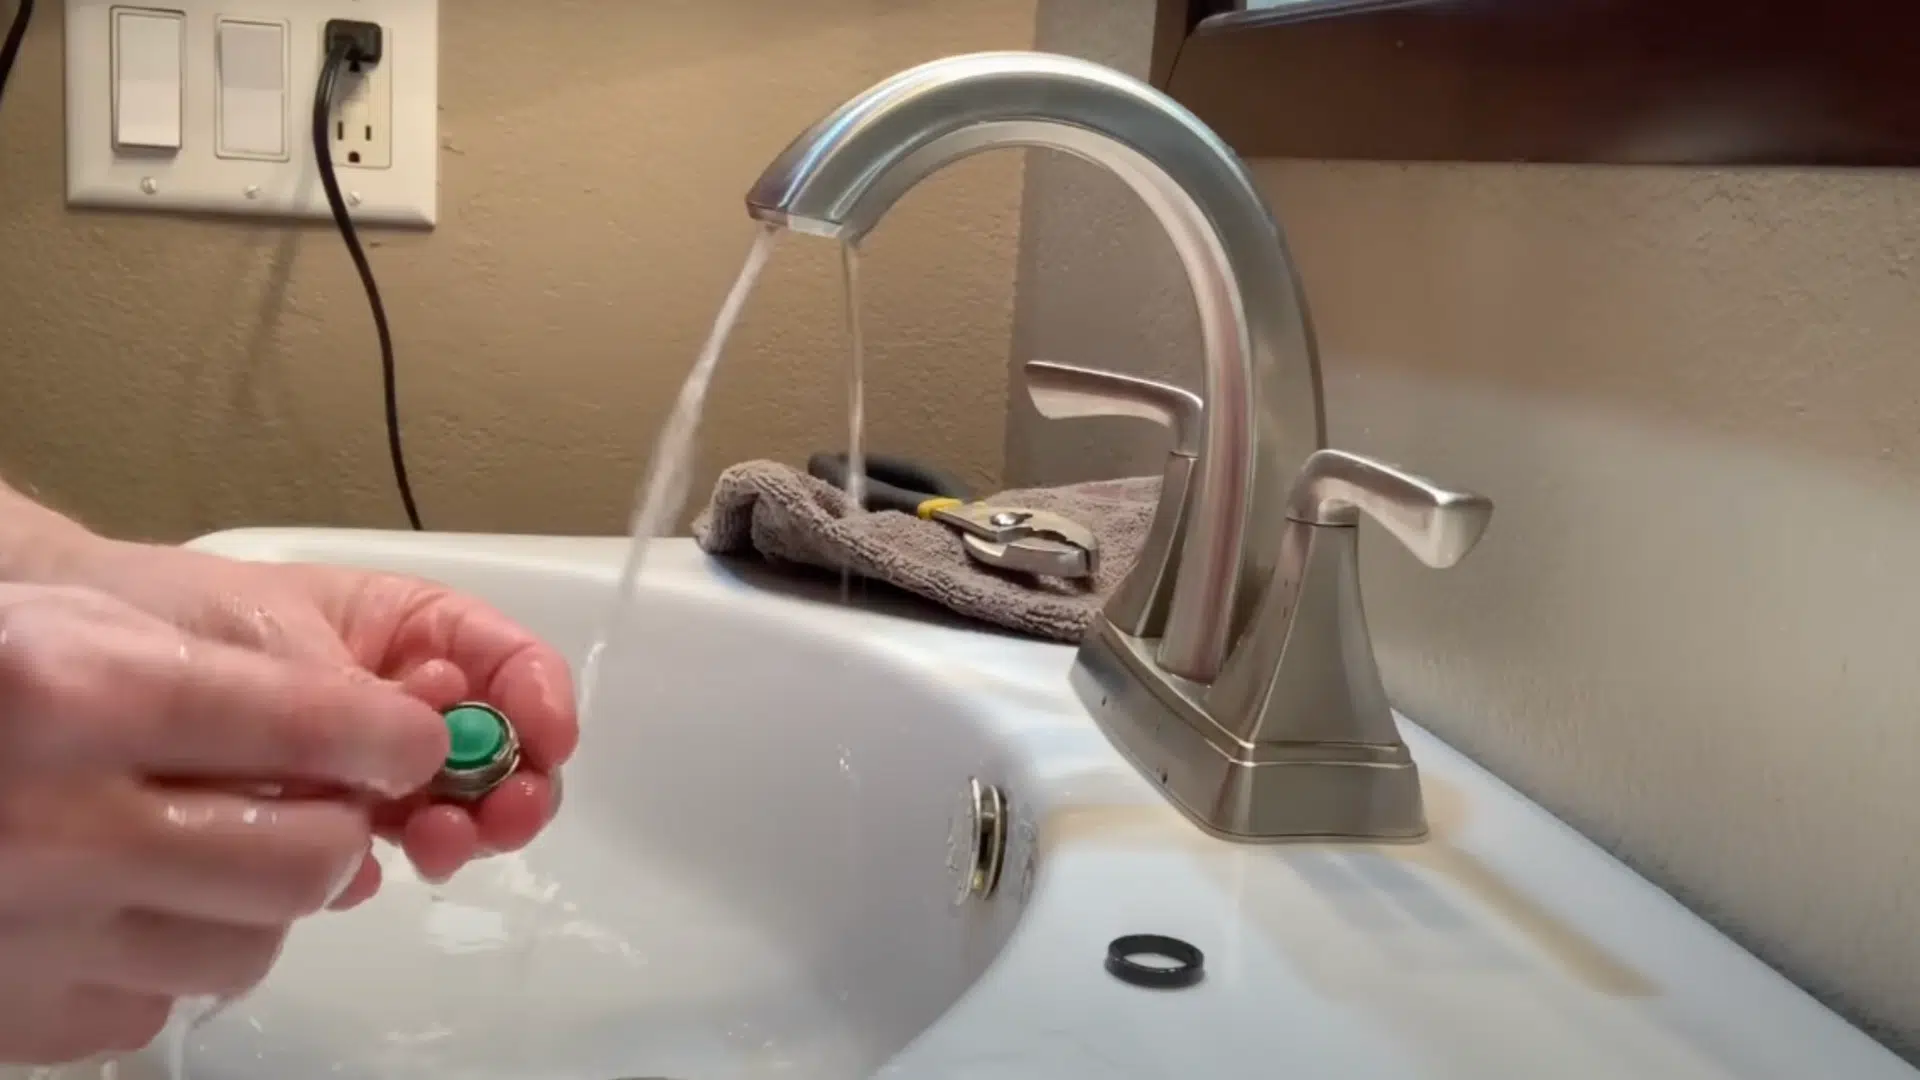
Step 3: Test Water Without the Aerator
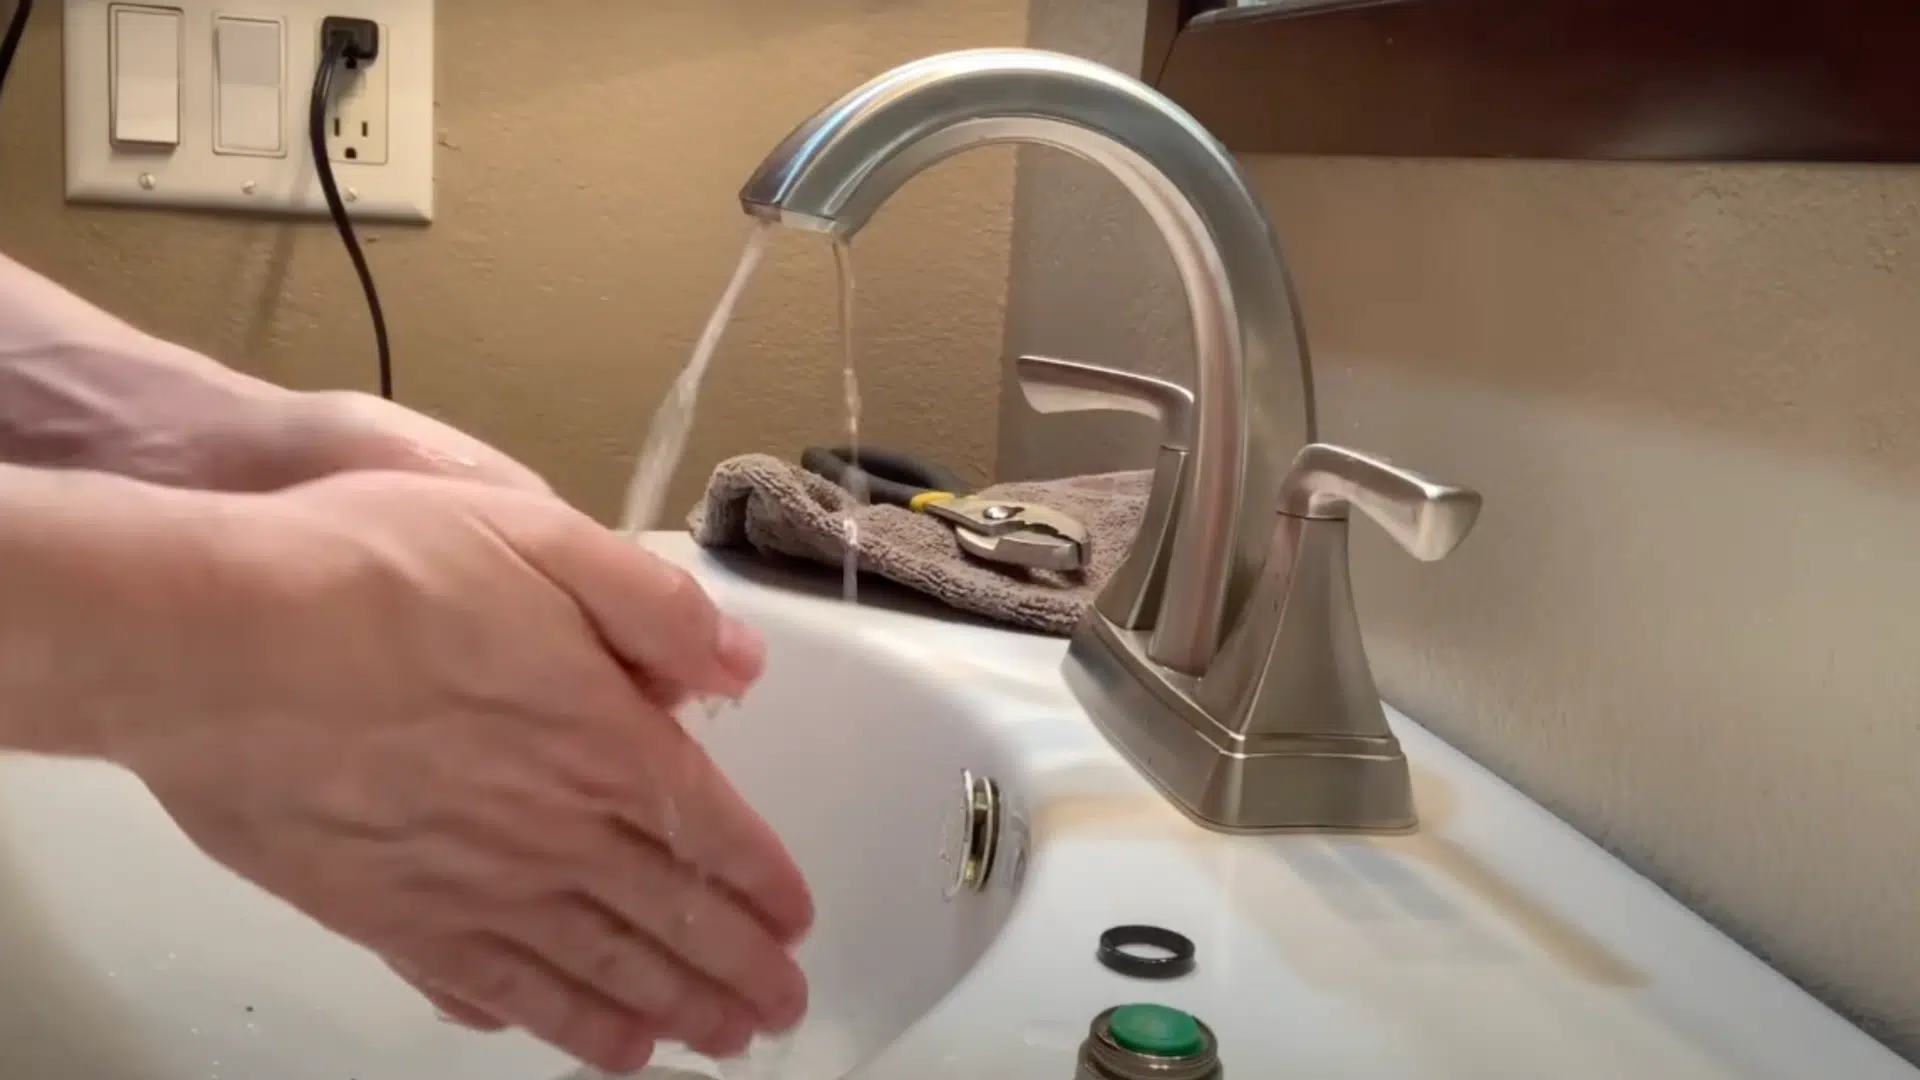
Before cleaning or replacing anything, it’s smart to test your faucet. Turn the water on while the aerator is still off.
If the water now comes out strong and steady, that means the aerator is definitely the problem.
This quick test saves time because you now know where the issue is. Let the water run for a few seconds, and make sure both hot and cold water are flowing better.
If the water still dribbles, then the problem might be somewhere else, and you’ll need to check more parts.
But often, this test gives you a clear answer.
Step 4: Clean or Replace the Aerator
If the aerator is clogged but not broken, you can try cleaning it. Use a pin or needle to gently poke through the tiny holes and push out anything stuck.
If there’s white buildup from hard water, soak the aerator in vinegar for a few hours. That helps loosen and remove the crusty stuff.
If the screen is damaged, rusted, or still blocked after cleaning, it’s better to replace it. Bring the old aerator with you to the hardware store to get the right size.
They’re cheap and easy to swap in.
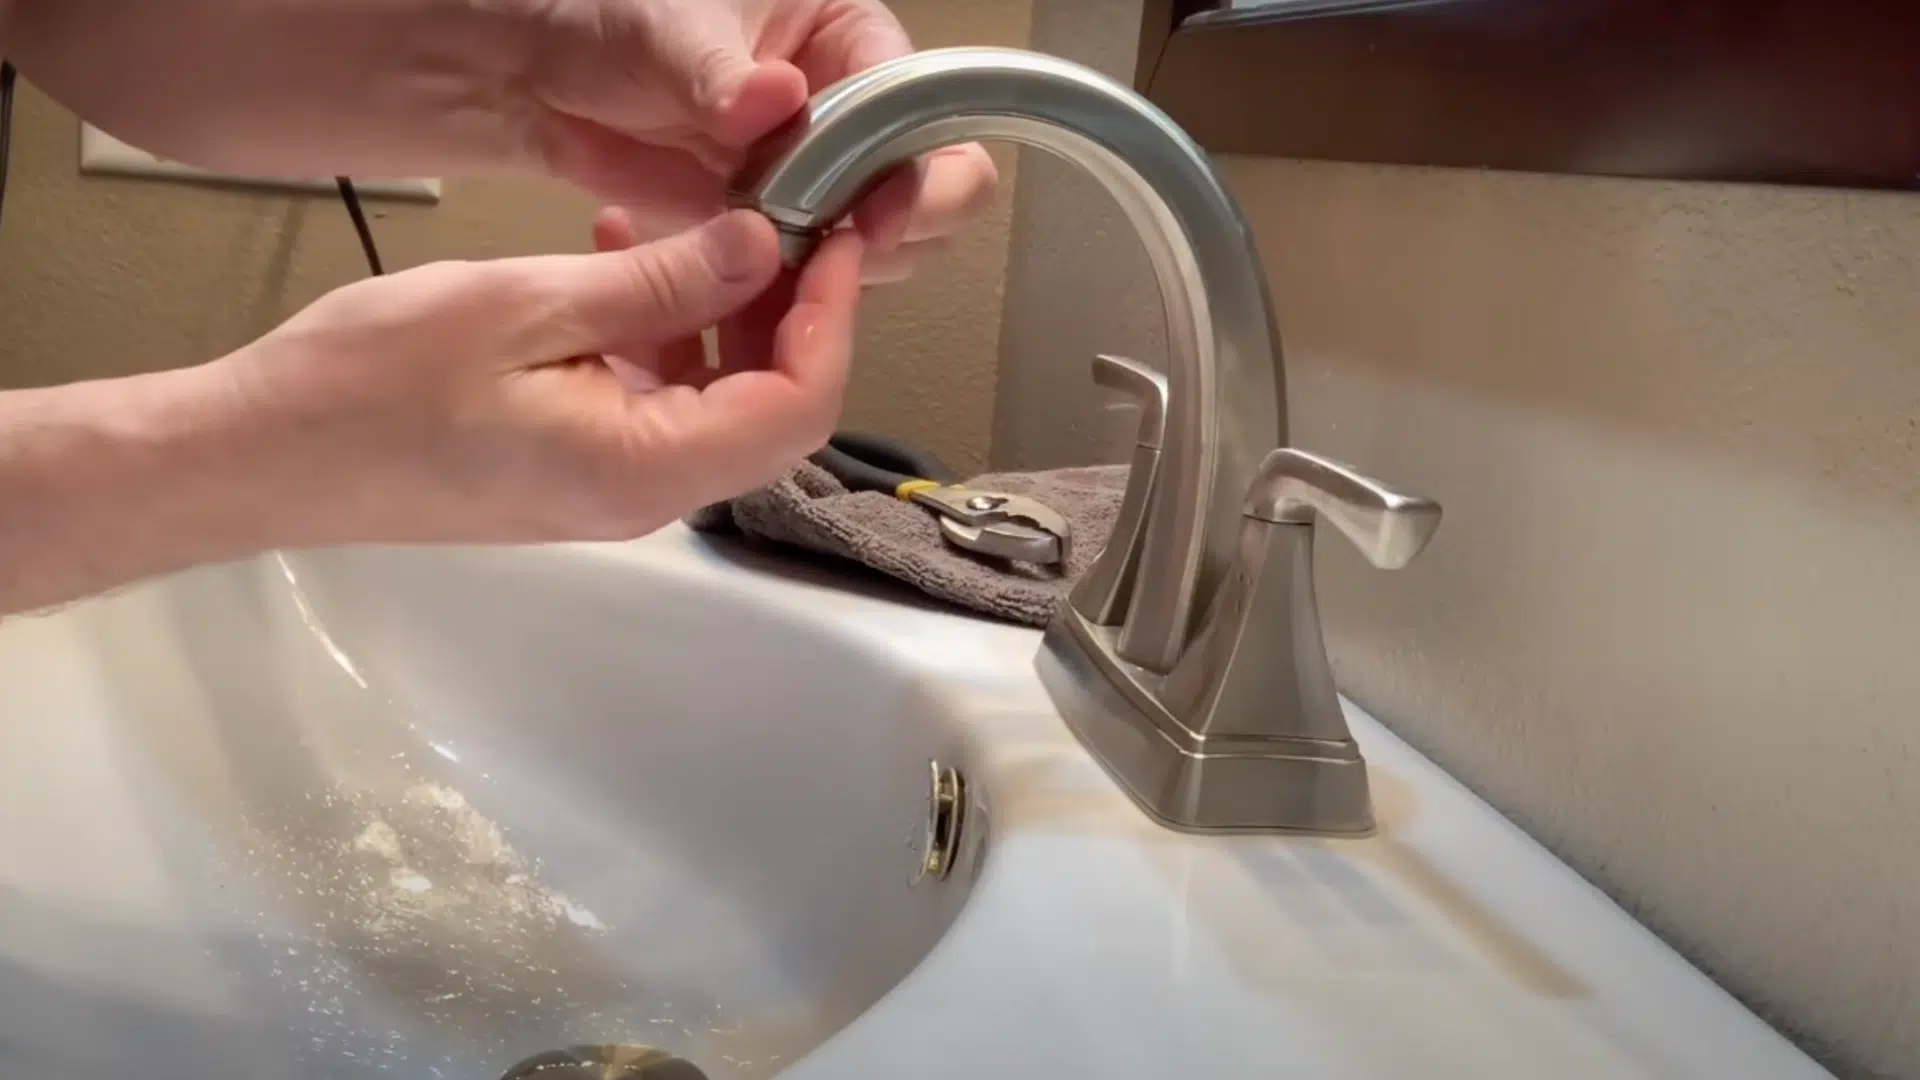
Step 5: Put the Aerator Back

Once the aerator is clean or you’ve got a new one, it’s time to put it back. Line it up with the end of the faucet and twist it to the right (clockwise) until it’s snug.
Use your fingers-don’t tighten it too much or you might damage the faucet. Turn the water back on and see how it flows.
If the pressure is strong and steady now, you’ve fixed the problem.
Cleaning or changing the aerator is a simple solution that works most of the time, and you didn’t need to call anyone for help.
Want to see how it’s done? Check out this helpful video from @Mike Klimek-it walks you through each step so you can follow along with confidence.
What If the Aerator Isn’t the Problem?
If your water pressure is still low after checking the aerator, these are a few more things to try:
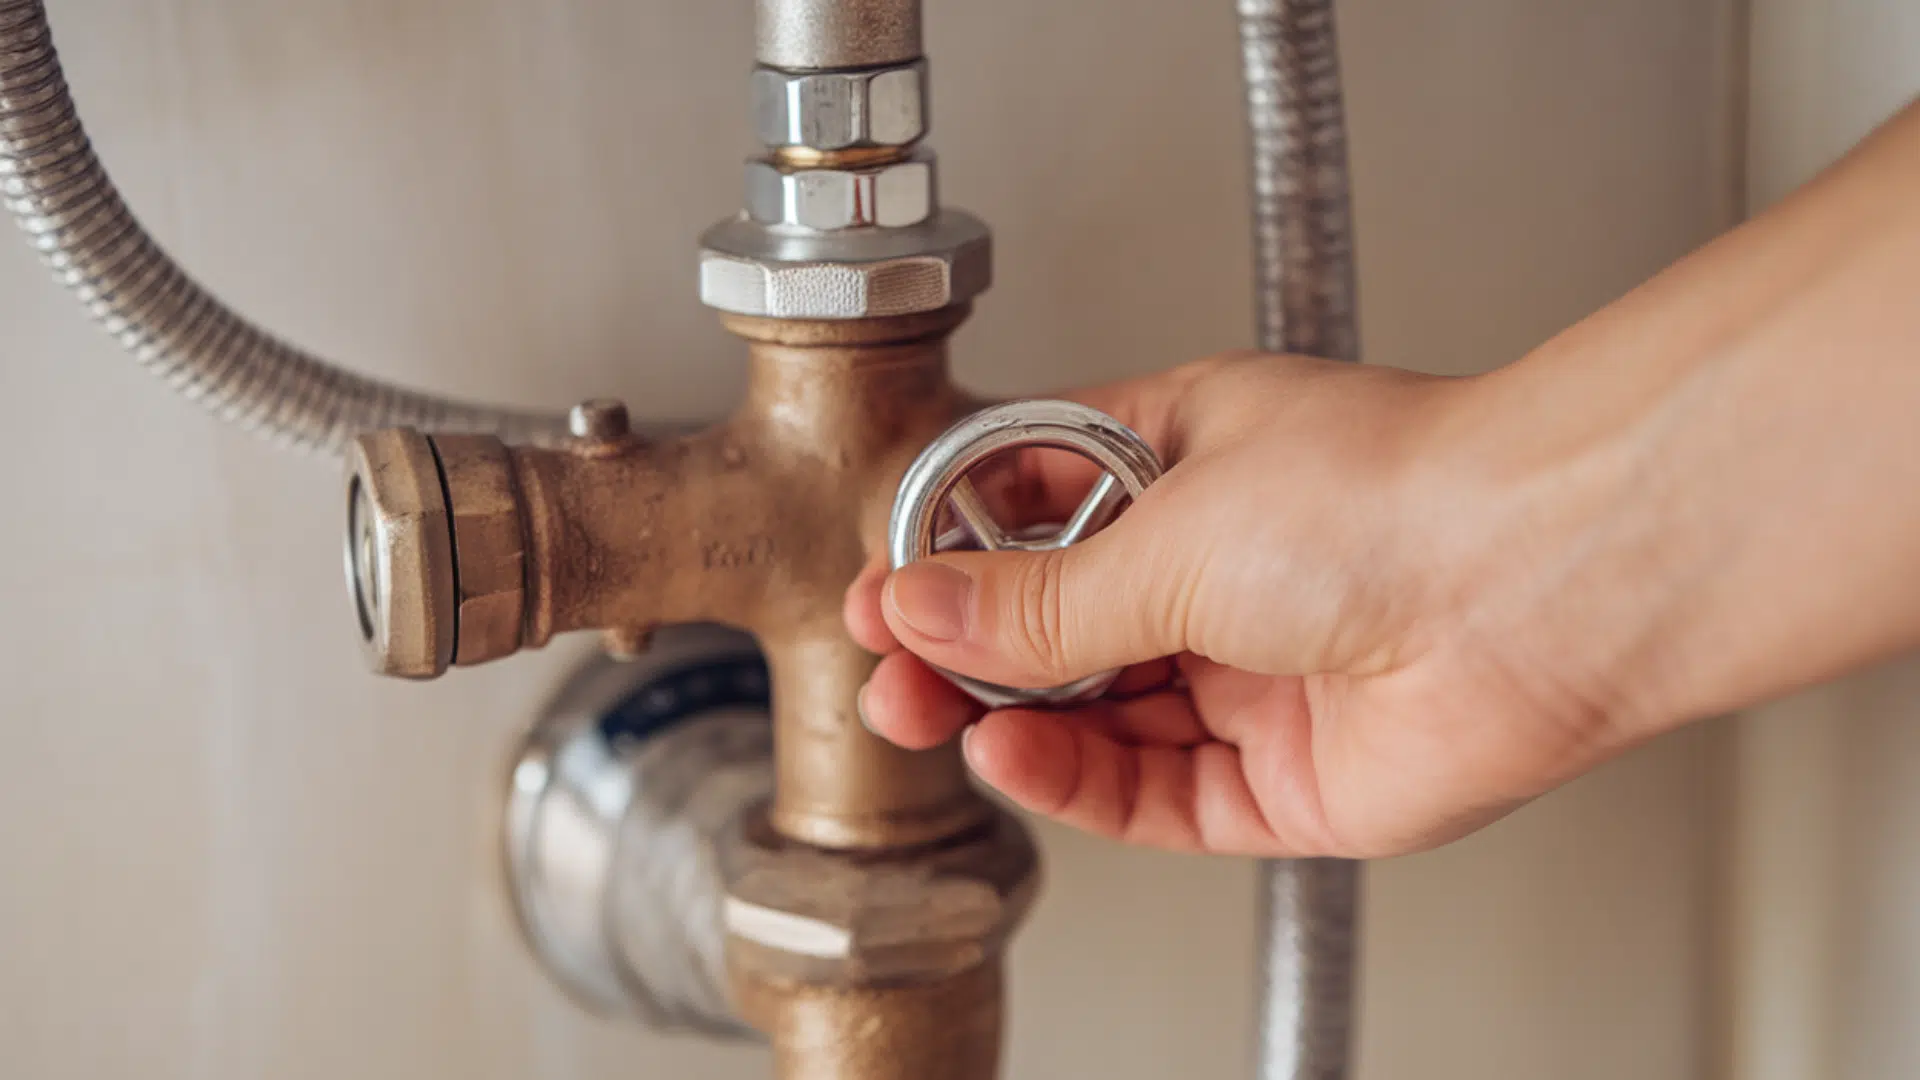
- Check the water supply lines under the sink: Make sure the hoses aren’t twisted, clogged, or that the shut-off valves are fully open.
- Test the water flow through the supply lines: Disconnect the lines and let the water run into a bucket. If the pressure is strong, the problem may be inside the faucet.
- Inspect the faucet parts (cartridge or stem): These parts control water flow and can get dirty or worn out over time. If they’re the issue, cleaning or replacing them might solve the problem.
With a few basic tools, you can often fix this yourself.
When to Call a Plumber?

Sometimes, even after checking the aerator, supply lines, and faucet parts, the water pressure still stays low.
If that happens, it might be time to call a plumber. This is especially true if the problem is in more than one sink or affects the shower and other faucets too.
That could mean there’s a bigger issue in the main water line or pipes inside the wall. A plumber has the tools and skills to check deeper problems that are harder to reach.
Also, if you see signs of rust, leaks, or very old pipes, it’s best to get professional help.
Trying to fix deep plumbing problems on your own could cause more damage. Calling a plumber doesn’t mean you failed-it just means the problem needs more experience to fix.
You’ve already done a lot by checking everything you could, and that’s a smart and helpful first step.
Easy Tips to Keep Water Pressure Strong
- Use a faucet screen or filter: This helps stop dirt and hard water bits from clogging your faucet.
- Clean the aerator often: Every 3 to 6 months, take off the aerator and rinse out any buildup or dirt.
- Watch for slow changes: If your water pressure starts to drop little by little, don’t ignore it. A small fix now can stop a bigger problem later.
- Don’t twist supply lines: Make sure the hoses under your sink aren’t bent or squeezed. That can block water flow.
- Turn faucet handles gently: This helps the inside parts last longer and work better.
- Use vinegar to soak parts: If you live in a hard water area, vinegar can help remove white buildup on faucet parts.
Conclusion
Low water pressure in your bathroom sink can feel like a big problem, but it’s usually something small that you can fix.
I’ve been there, and I know how annoying it is to deal with a weak stream when all you want is to wash your hands or brush your teeth.
The good news is, with a few easy checks, like cleaning the aerator or looking at the supply lines, you can often solve it yourself.
If you’ve followed the steps and the water still doesn’t flow right, that’s when it might be time to call a plumber. But most of the time, you won’t need to.
I hope this guide helped make things clear and gave you the confidence to get your water pressure back to normal.
Fixing it doesn’t have to be hard, and you’ve got what it takes to do it.

With a Master in Architectural Studies from University of Pennysylvania, Marwa Haydar has pioneered living spaces since 2005. Her expertise, initially honed in a prestigious architectural firm, is evident in her approach to creating environments. Marwa became part of our team in 2019 and has since been a driving force in our home improvement section, known for her practical yet stylish solutions. She’s been spearheading our design workshops since then, infusing her passion for teaching into her work. In her leisure time, Marwa enjoys exploring historic architecture and is an enthusiastic pottery hobbyist, further enriching her understanding of form and texture.