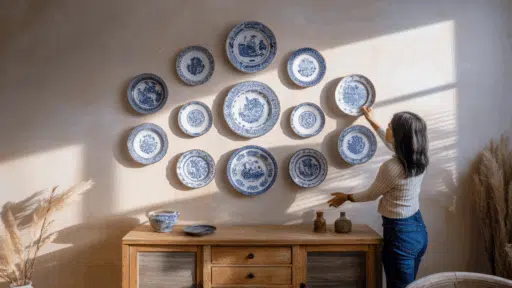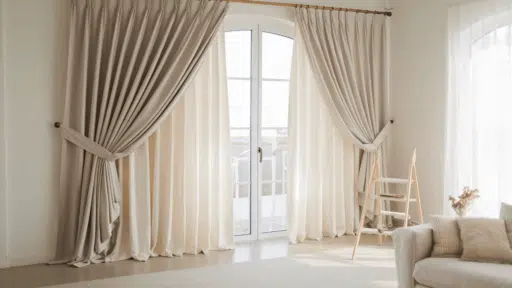
Curtains are more than just fabric; they shape how a room feels, how much light it gets, and how private it feels.
A bare window often looks unfinished, but the right curtain can instantly make a space feel warm and put-together.
Many people think hanging curtains is tricky, but it doesn’t have to be.
With a few basic tools, some measuring, and the right steps, you can do it yourself, even as a beginner.
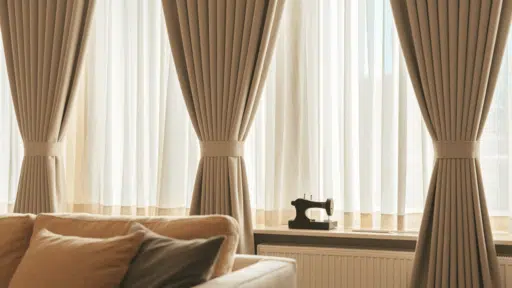
This guide focuses on pinch pleat curtains, one of the most stylish and polished options for any room.
We’ll walk you through the tools you need, common mistakes to avoid, and how to hang and shape your curtains so they look great from day one.
Why Curtains Matter?
Understanding the Deeper Value of curtains in your home.
Curtains do more than add visual appeal.
In bedrooms, blackout curtains improve sleep by keeping the room dark.
In living rooms, light-filtering curtains reduce glare on screens and help regulate indoor temperatures.
Privacy is another major reason to hang curtains.
Especially at night, when indoor lights are on, curtains keep your activities hidden from view.
This is key in bedrooms, bathrooms, or any room facing the street.
Lastly, curtains complete the room’s design.
They soften the edges of windows and add color, texture, or height to a space.
A bare window looks cold or unfinished.
But with the right curtains, your room feels warm, inviting, and personal.
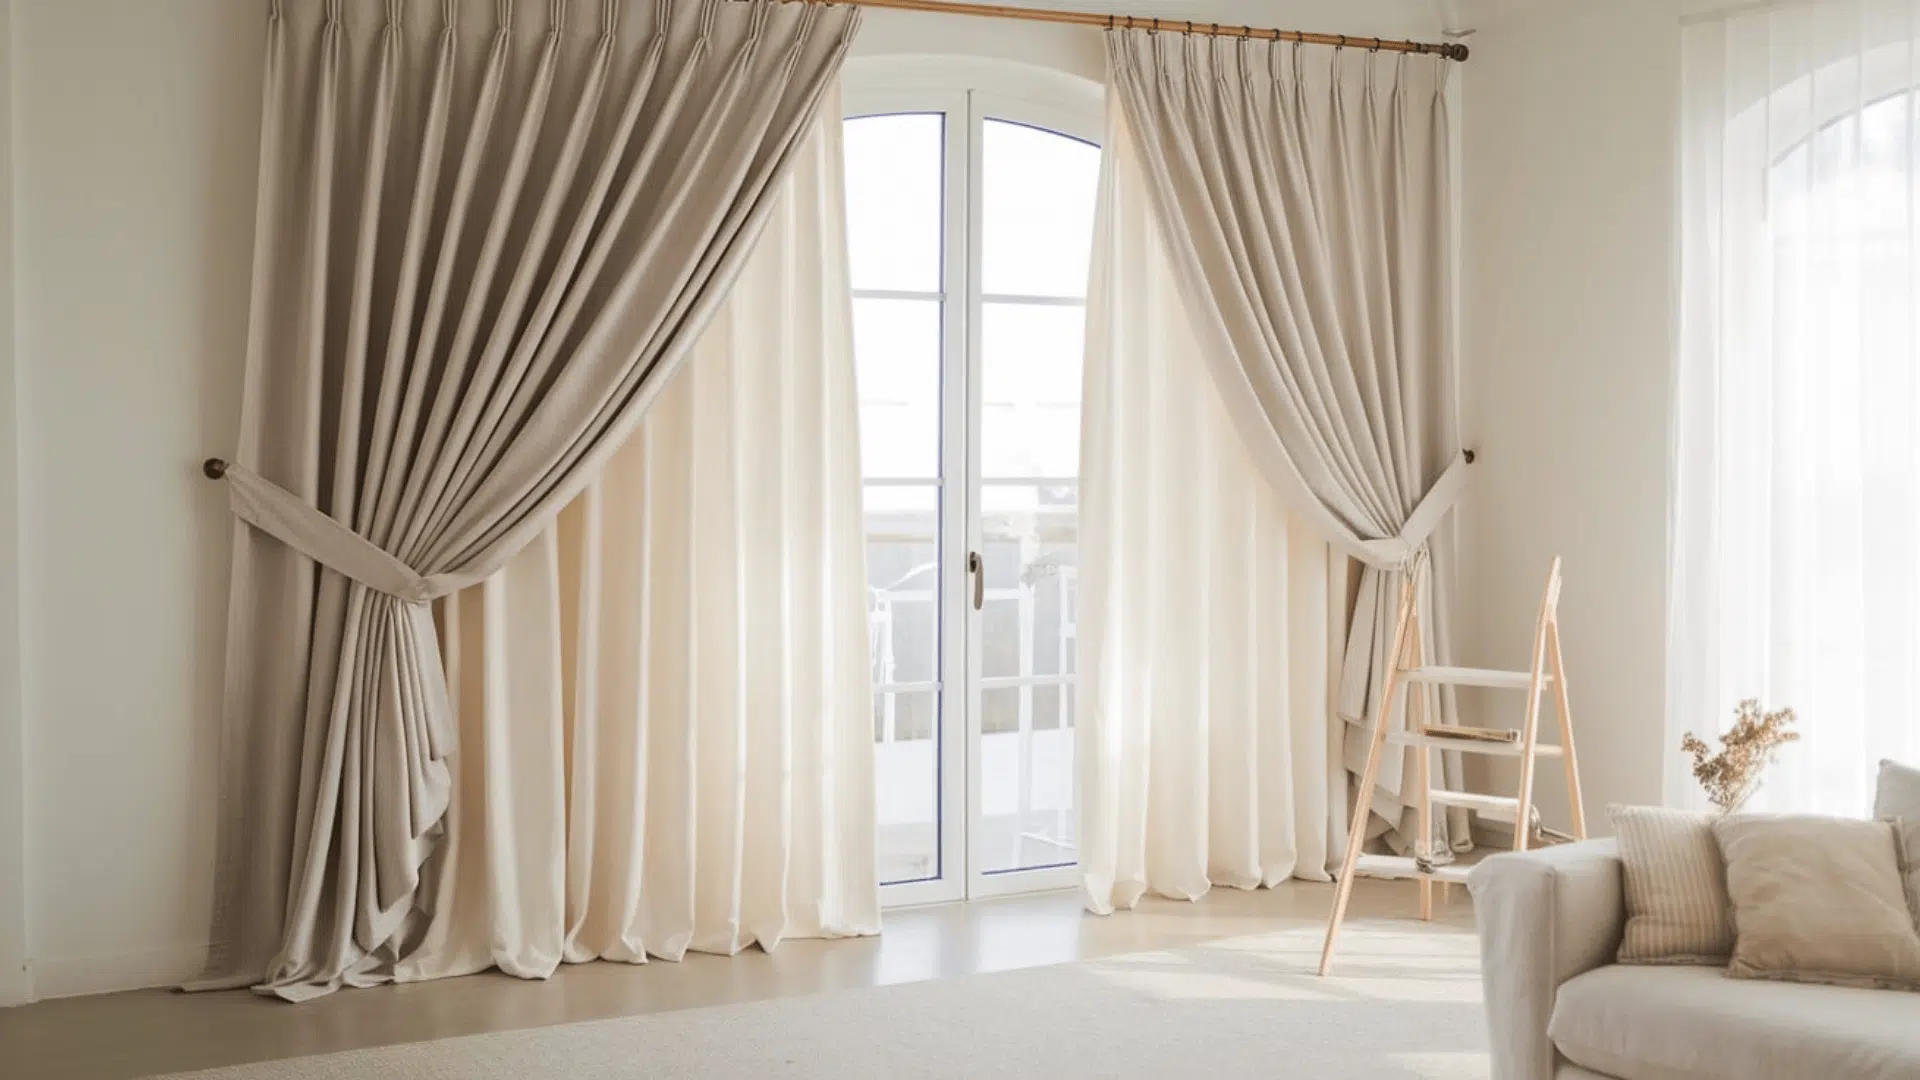
What Are Pinch Pleat Curtains?
These curtains have folds sewn at the top, called pleats.
The pleats help the curtain hang neatly and fully.
You can choose Double pleats (two folds) for a softer, less full look or Triple pleats (three folds) for a fuller, richer look.
These curtains use hooks that attach to a track or rings on a curtain rod. Once hung, they stay in shape and always look tidy.
Best Places:
They are great for
- Living Rooms
- Dining Rooms
- Master Bedrooms.
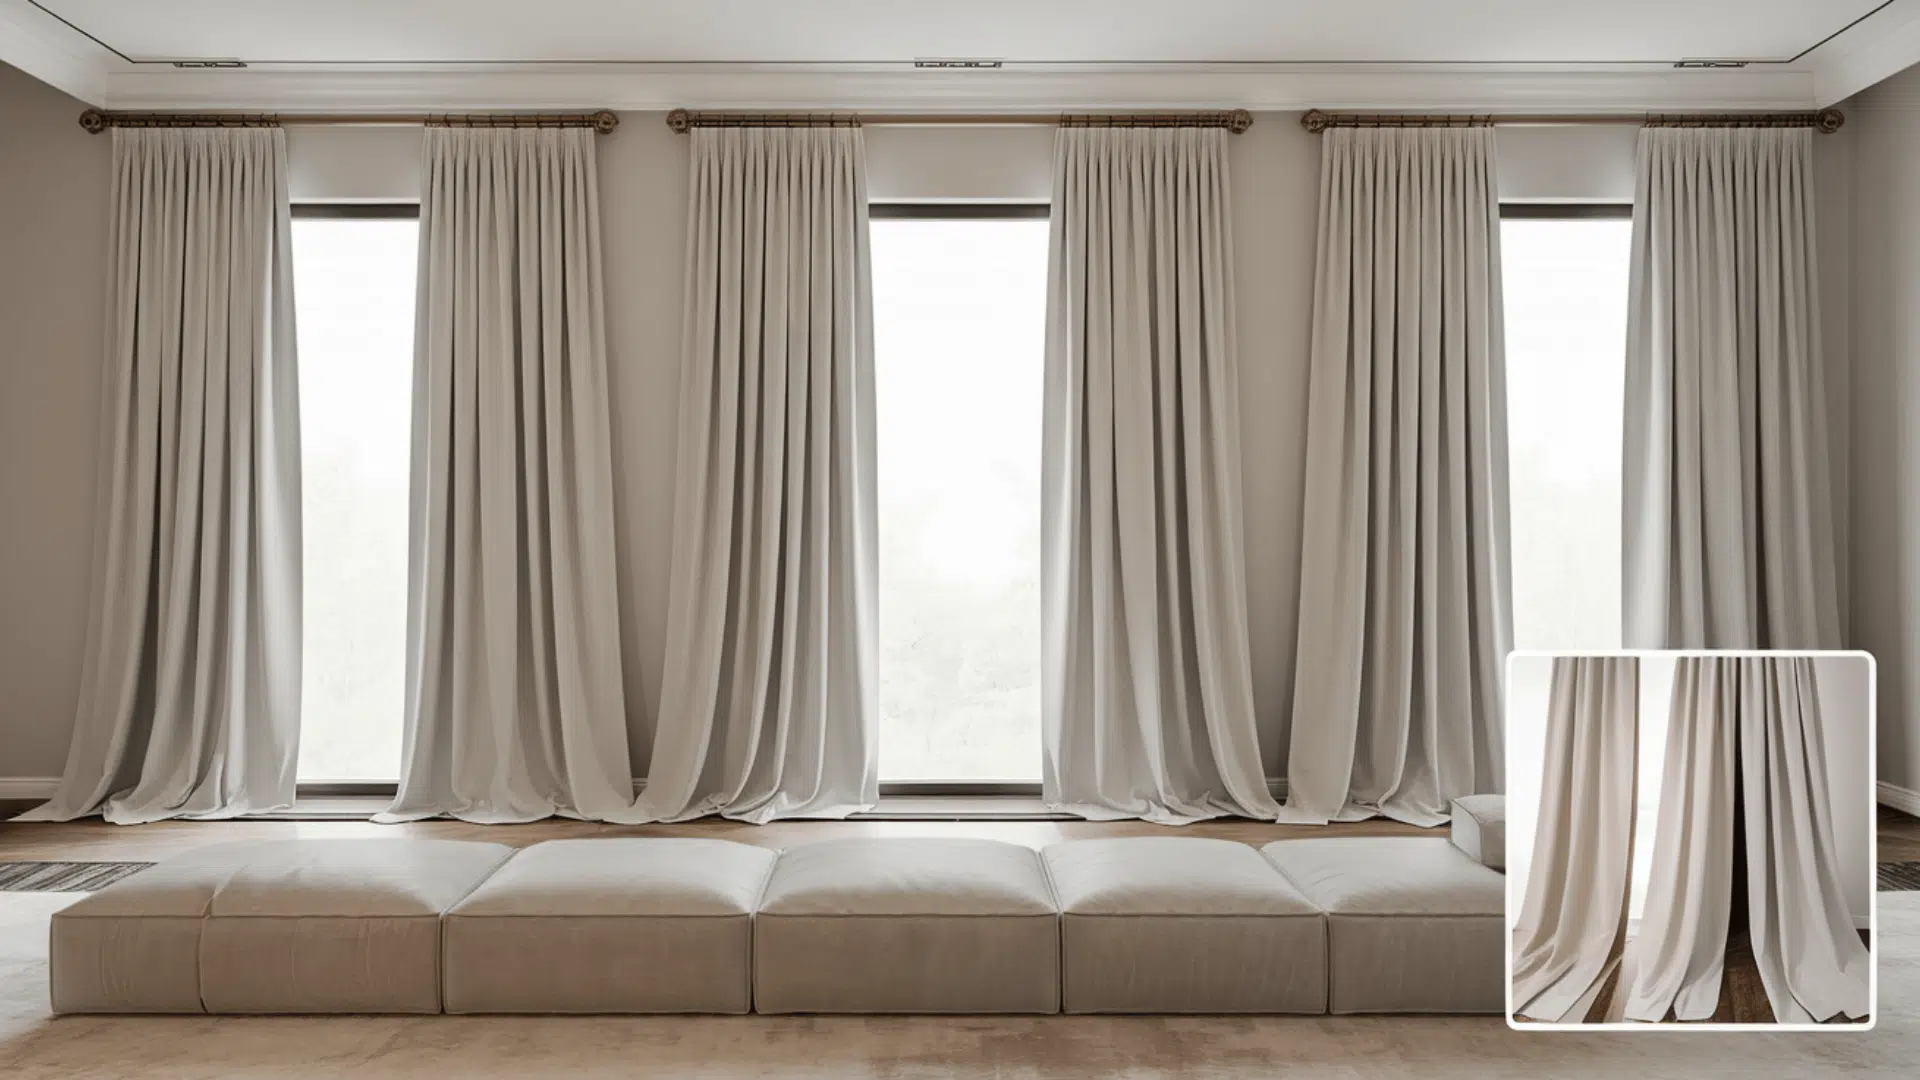
They are suitable for both classic and modern homes, especially those with windows as a major design element.
Why Choose These:
The sewn-in pleats give the curtain a clean and fancy look.
They help heavier fabrics hang straight, which can also block more light and give you more privacy.
These curtains are a good choice if you want something that looks formal, well-made, and stays looking nice over time.
Materials and Tools You’ll Need
Before getting started, it’s smart to gather everything you need.
Having your tools and curtain supplies on hand makes the job faster and less stressful.
Setting up curtains at home doesn’t have to be expensive.
With the right tools and materials, you can install them with ease while keeping costs under control.
| ITEM | TYPICAL COST RANGE (USD) | NOTES |
|---|---|---|
| Measuring tape | $2 – $5 | Standard 3–5 meter tape |
| Steamer or iron | $15 – $40 | Basic models |
| Pencil or tailor’s chalk | $0.25 – $1.50 | Per piece |
| Step stool or ladder | $15 – $40 | Small household ladder |
| Drill or screwdriver | $8 – $30 | Manual or electric |
Curtain Supplies:
Below is a breakdown of the common tools and curtain supplies you’ll need, along with their typical price ranges.
| ITEM | TYPICAL COST RANGE (USD) | NOTES |
|---|---|---|
| Curtain rod or track | $5 – $375 | Varies by material and type |
| Curtain rings or gliders | $0.75 – $10 each | Per piece; total depends on curtain count |
| Hooks (for pleated curtains) | $1 – $7 per set | Usually sold in sets |
| Fabric ties or ribbons | $1 – $5 per pair | For shaping folds |
Estimated Cost: $48 – $513
Make sure your rod fits the curtain style and is wide enough for your window.
Count hooks and rings in advance to avoid last-minute surprises.
Step-by-Step Instructions for Pinch Pleat Curtains
Now that you have your tools and materials ready, it’s time to start hanging. Each curtain style requires a slightly different approach.
Follow these detailed steps to make sure your curtains look neat and stay secure.
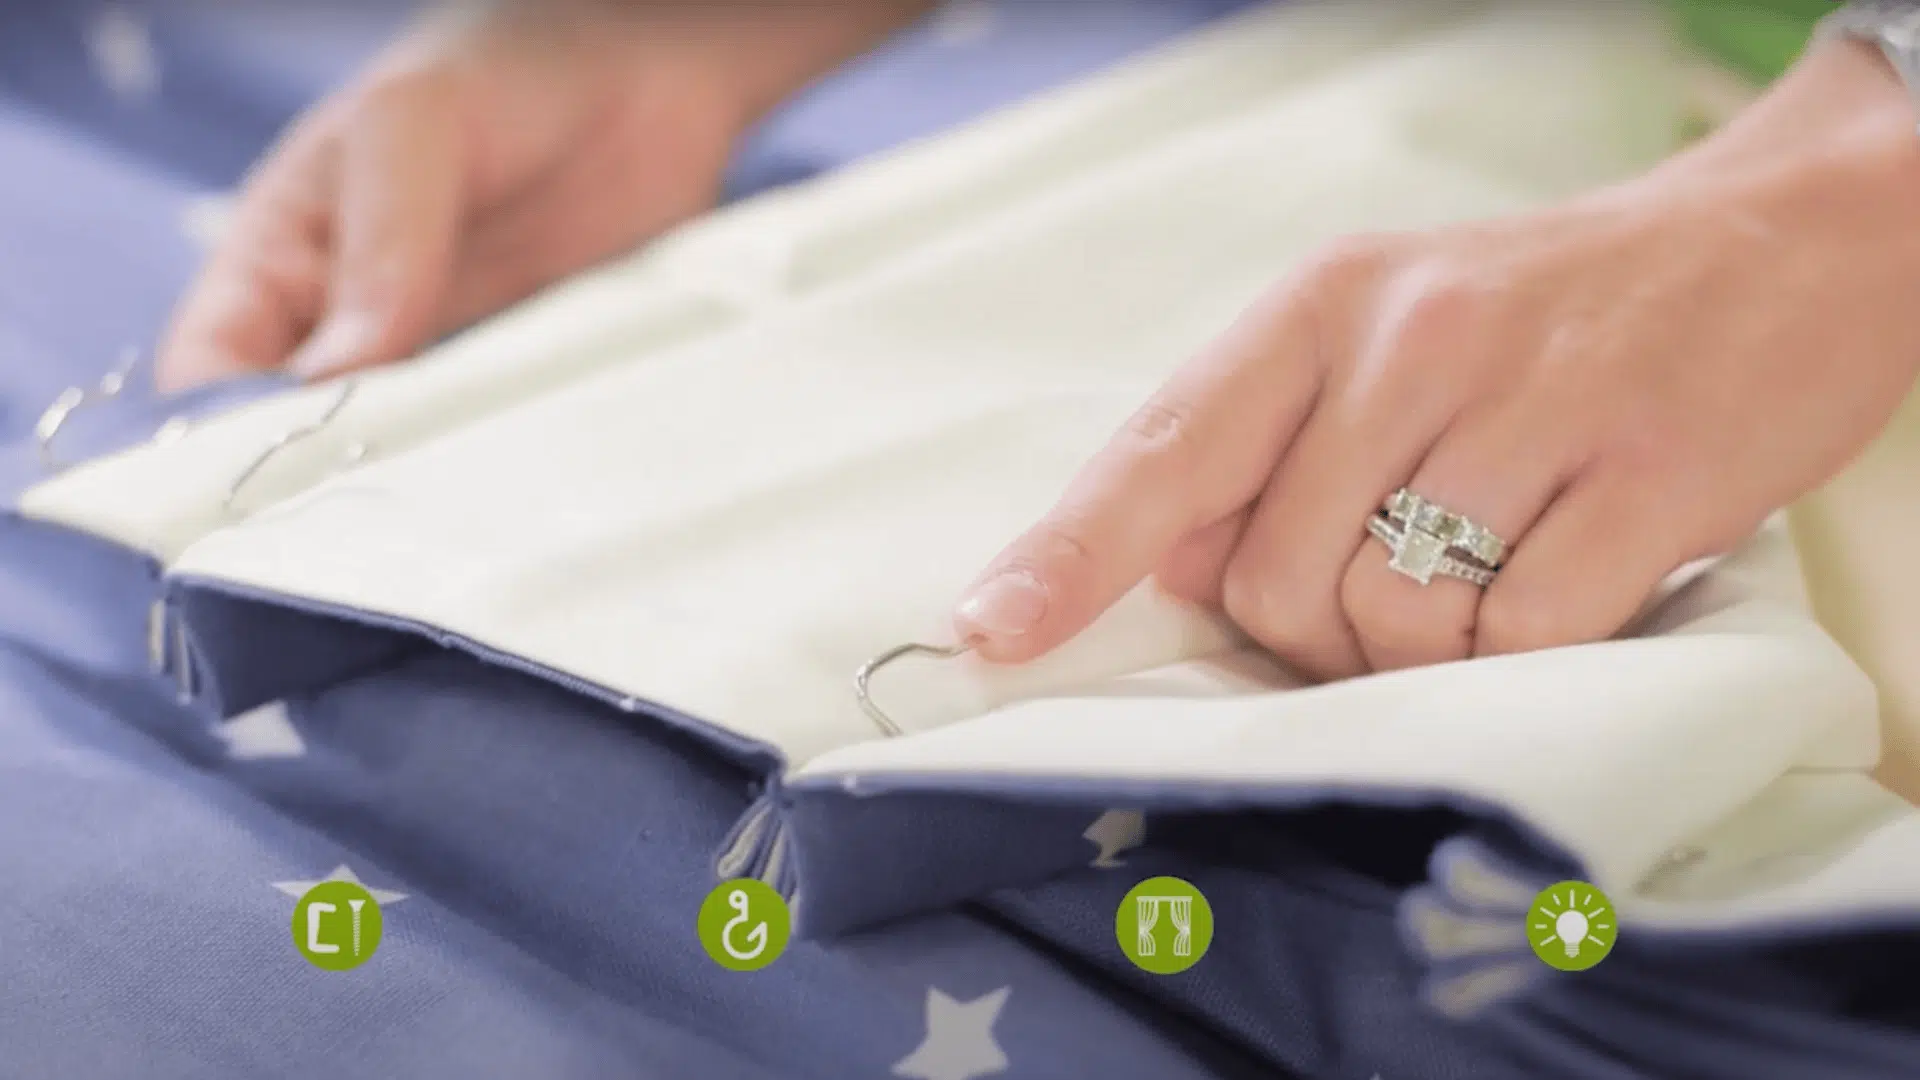
Step 1: Check the Curtain and Hooks

First, open your curtain package and lay it flat on a table or bed.
Look at the back of the curtain.
You’ll see small hooks already placed along a stitched line.
These hooks are used to hang the curtain.
Count how many hooks there are so you know how many rings you’ll need on your curtain rod.
Step 2: Place the Curtain Rings on the Rod
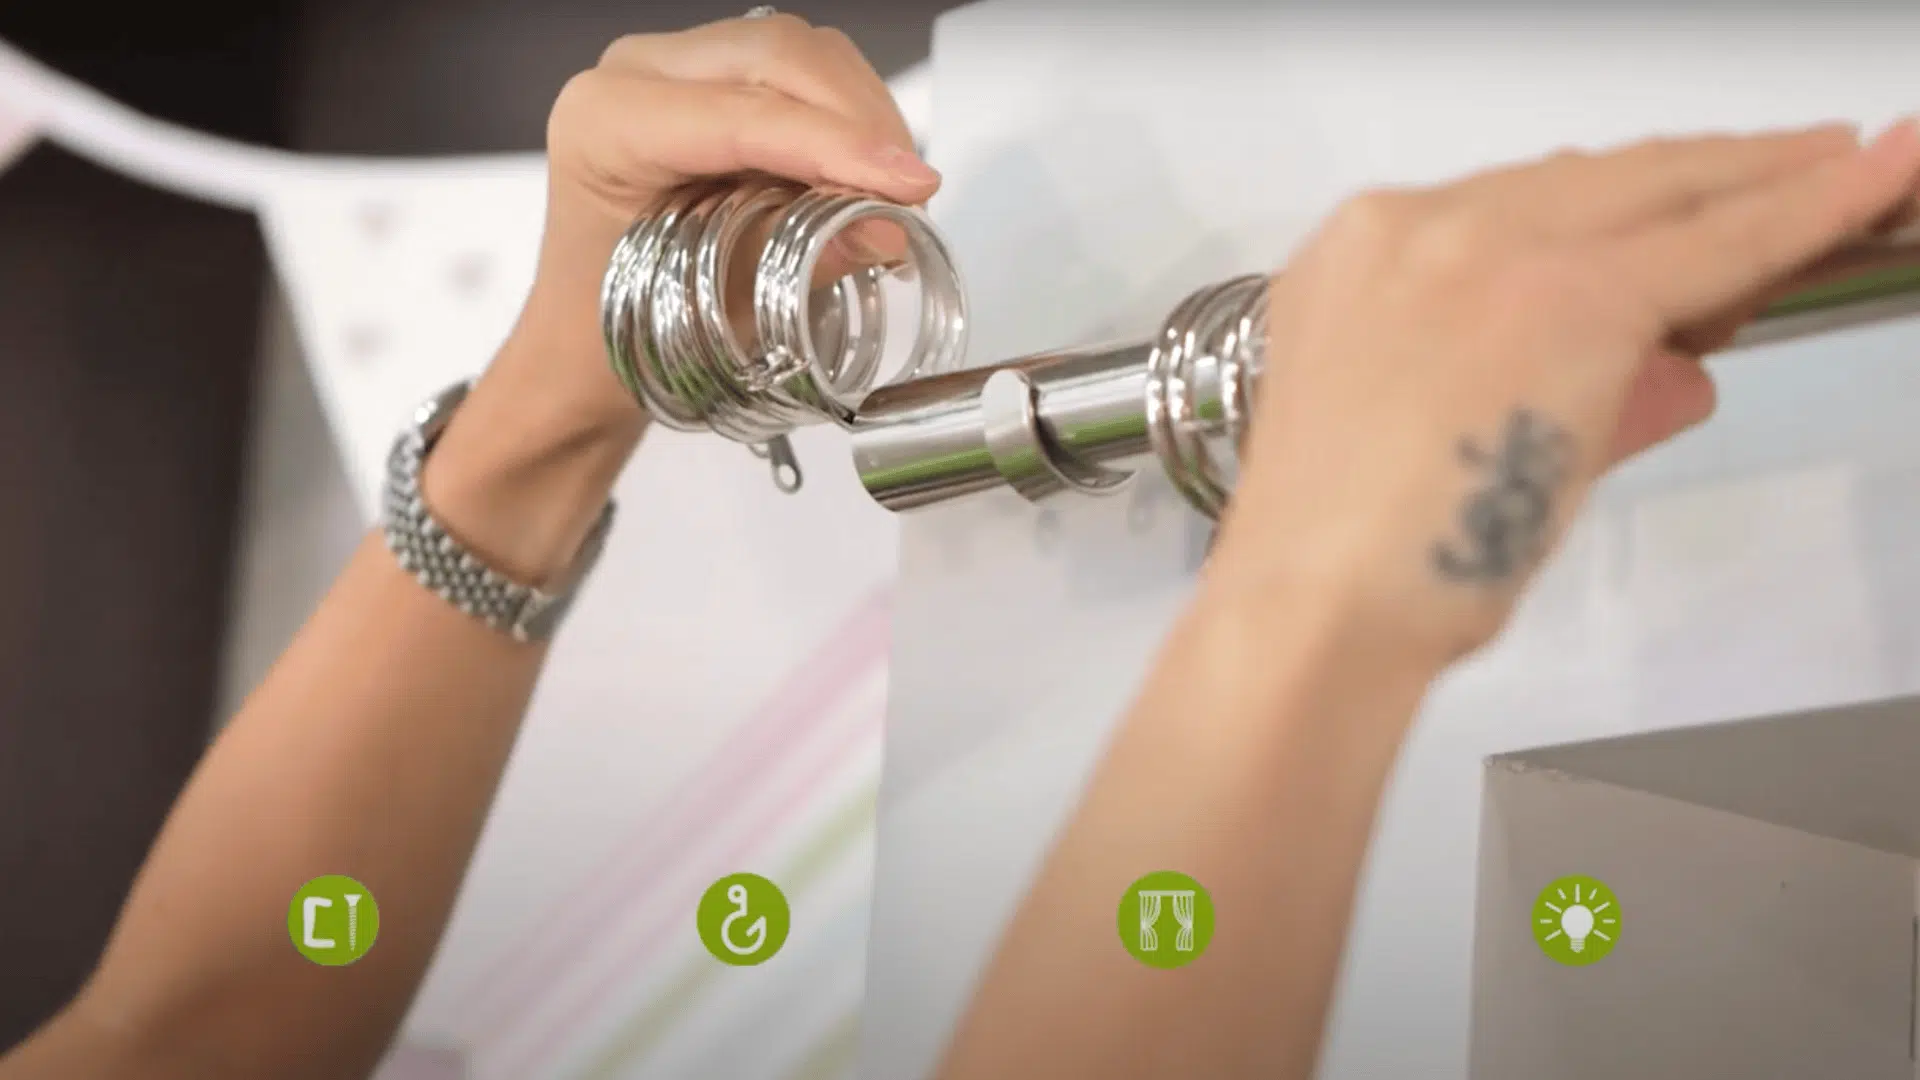
Before you hang the curtains, slide the curtain rings onto the rod.
These rings help hold the curtain up.
Make sure the number of rings matches the number of hooks on your curtain.
If they don’t match, your curtain may not hang the right way or might look uneven.
Step 3: Match the Hooks to the Rings
Now that the hooks and rings are ready, double-check that the number of hooks on the curtain matches the number of rings on the rod.
This step is important so the curtain spreads out properly and doesn’t bunch up in one spot.
Step 4: Adjust the Hook Height if Needed
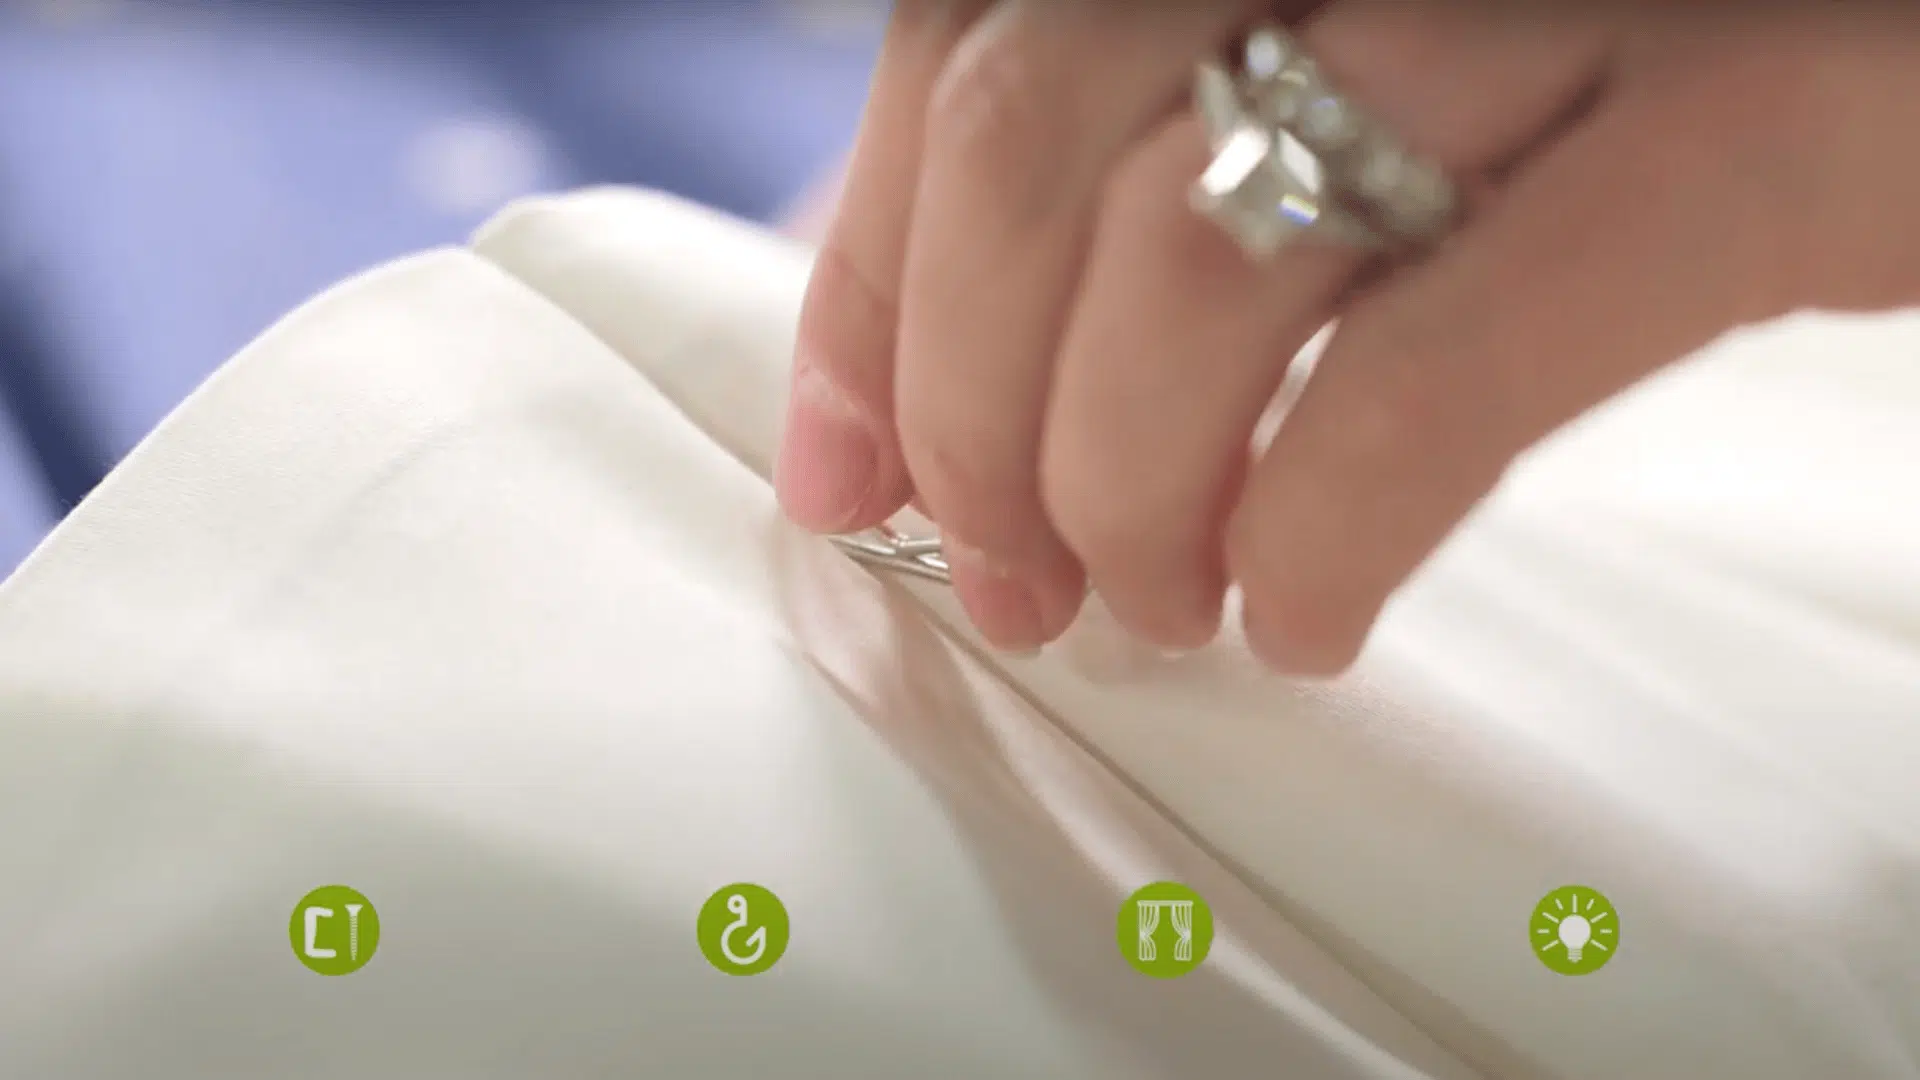
If the curtain looks too high or too low when you hang it, you can move the hooks.
Gently pull a hook out of the stitched area and place it in a higher or lower spot along that same line.
This helps set the curtain at the height you want.
Step 5: Hang the Curtain on the Rod
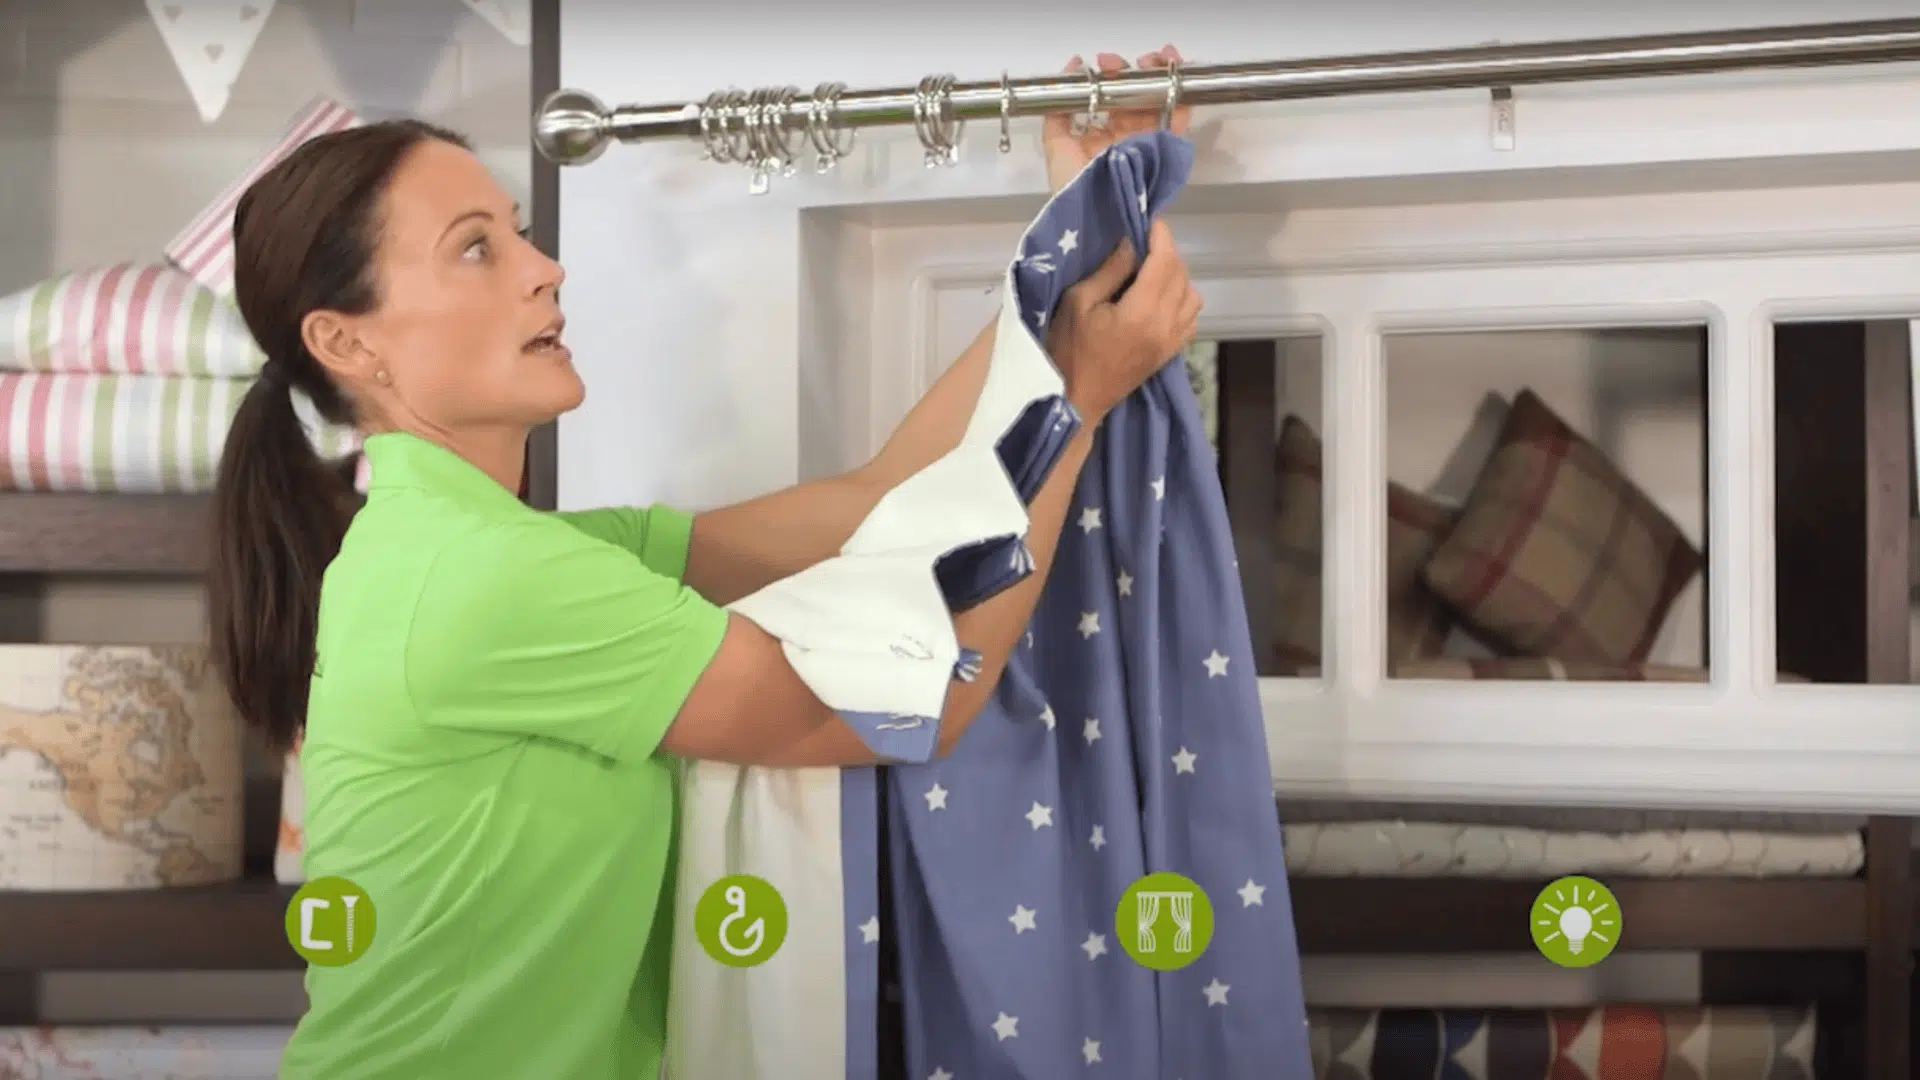
Once the rings are on the rod and the hooks are in the right place, it’s time to hang the curtain.
Take each hook and place it into the little loop (called an eyelet) at the bottom of each curtain ring.
After all hooks are in, your curtain should hang straight and frame the window nicely.
Watch How It’s Done: How to Hang Pinch Pleat Curtains
For more information, check out this video tutorial by Curtains Made For Free.
Shaping and Finishing Touches
After you’ve hung your curtains, it’s important to help them fall naturally and look polished.
Start by shaping the folds using your hands.
Gently run your fingers from the top to the bottom of each pleat.
Next, take soft fabric ties and wrap them around the curtain at three points: the top, middle, and bottom.
Leave the curtains tied like this for 2 to 3 days to help the fabric “remember” the folds.
If creases remain, use a handheld steamer to smooth them out.
Let the curtains settle.
Avoid tugging or tying them back during the first few days.
After this, your curtains will hold their shape better and look clean without much extra effort.
How to Increase Curtain Longevity
Curtains enhance the look of your space and protect your home from the sun, dust, and drafts.
With a little routine care, you can keep them looking crisp and clean while making them last much longer.
Here are some easy and effective habits to adopt:
1. Vacuum Regularly Using a Brush Attachment
Dust and airborne particles settle on curtains quickly.
Use a vacuum cleaner with a soft brush attachment to gently remove surface dust at least once a week.
Start from the top and work your way down using smooth, vertical strokes.
This helps maintain the fabric’s texture and color without the need for frequent washing.
2. Spot Clean Spills and Stains Immediately
Accidents happen—whether it’s a splash of juice or a child’s sticky fingers.
Address spills as soon as they occur. Blot (don’t rub) the area with a clean cloth and mild detergent.
Acting quickly prevents the stain from setting and becoming permanent.
3. Always Follow Washing Instructions
Every curtain fabric is different. Some are machine washable, while others require dry cleaning.
Check the care label before cleaning.
Using the wrong method can lead to shrinking, color fading, or fabric damage.
If in doubt, hand wash in cold water or consult a professional.
4. Protect from Strong Sunlight
Direct sunlight can bleach and weaken certain fibers over time.
To reduce this damage, consider installing a protective lining behind your curtains or using a second set of sheer panels.
You can also adjust blinds or shades during peak sunlight hours to limit exposure.
5. Handle with Care When Opening and Closing
Avoid tugging on curtains roughly, which can pull rings out of place or stretch the fabric.
Use tiebacks or holdbacks where possible, and slide them gently along the rod. This prevents wear on hooks, pleats, and seams.
Common Mistakes When Hanging Curtains
Hanging curtains might seem easy, but small mistakes can make a big difference.
If the fabric doesn’t hang right or parts are missing, it can affect how the room looks and feels.
Knowing these common mistakes ahead of time helps avoid problems later on.
The good news is, most of these issues have quick fixes you can do right away.
| PROBLEM | QUICK FIX |
|---|---|
| Uneven folds | Adjust hook positions before hanging |
| Missing hardware | Count rings or gliders before setup |
| Curtain too short | Adjust the hook height or placement |
| Gaps in the center | Add one extra pleat hook at the overlapping edge |
These fixes can make your curtains look smooth and balanced, without needing extra tools or skills.
It’s always best to take your time during setup to spot these small issues early.
Time and Cost to Plan For
Before starting your curtain project, it’s smart to know how long it might take and how much it might cost.
Different curtain types need different setup times, and prices can vary based on the style.
The chart below gives you a basic idea of what to expect.
| CURTAIN TYPE | TIME NEEDED | AVERAGE COST PER PANEL | NOTES |
|---|---|---|---|
| Eyelet | 20–30 minutes | $20–$60 | Simple to slide, easy to hang |
| Pinch Pleat | 40–60 minutes | $50–$150+ | May need careful measuring |
| Pencil Pleat | 30–50 minutes | $30–$100+ | Gathering cords may take extra time |
Extra items like brackets, tiebacks, or liners can add $10–$30 more.
Planning helps avoid stress and lets you stay on budget.
Even a small curtain job can feel easier when you know what’s coming in terms of time and cost.
Conclusion
Curtains are more than just a finishing touch; they help control light, add privacy, and bring comfort to any room.
With the right tools and a few simple steps, even a beginner can hang them well.
Pinch pleat curtains, in particular, offer a neat, tailored look that suits both modern and classic spaces.
Careful measuring, matching rings and hooks, and shaping the folds make a big difference in how the curtains hang and look over time.
Routine care, like vacuuming, spot cleaning, and steaming, can help keep them in great shape for years.
Avoiding common mistakes, such as wrong hook placement or missing hardware, ensures a smooth and satisfying setup.
Planning also saves time and money.
With a little effort, your curtains will hang beautifully and add real value to your home.
Enjoy every detail of your transformation!
Looking for more curtain guides? Check out our related articles:
- How High to Hang Curtains + Easy Hanging Steps
- How to Pleat Curtains: Folding Fabric into Finery
- DIY Front Porch Curtains: A Simple & Inexpensive Guide

Stephanie Grace, a graduate with a degree in Fine Arts from the Savannah College of Art and Design, has been inspiring DIY enthusiasts with her creative and practical guidance for over 14 years. Her career in design and crafting began in a small artisan workshop, where she developed a passion for transforming everyday materials into beautiful and functional items. Stephanie joined our website in 2018, rapidly gaining popularity for her easy-to-follow DIY tutorials and innovative project ideas. Since then, she has been the creative mind behind our DIY section, helping readers bring their artistic visions to life. Outside her professional pursuits, Stephanie enjoys pottery and urban gardening, hobbies that showcase her love for hands-on creativity and nature.