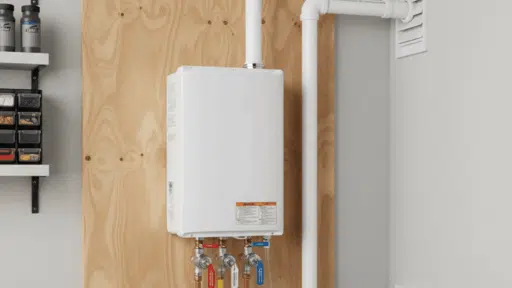
Installing a tankless water heater is a smart upgrade for homeowners seeking better energy efficiency, space savings, and continuous hot water.
Unlike traditional tank systems, tankless units demand careful planning, correct sizing, and proper venting to operate safely and perform as expected.
Gas supply capacity, water line configuration, and condensate management all play a critical role in a successful installation.
Taking time to understand the process before starting helps prevent common mistakes, code violations, and costly adjustments.
With the right tools, materials, and safety awareness, experienced homeowners can approach a tankless water heater installation with confidence and achieve reliable, long-term results.
Step-by-Step DIY Tankless Water Heater Installation
These steps explains how to replace a traditional tank water heater with a tankless unit using standard plumbing and mechanical skills.
Follow each step carefully and stop immediately if local codes or conditions require licensed work.
Materials & Tools Required
| Item | Quantity |
|---|---|
| Tankless water heater (gas) | 1 |
| 3/4″ plywood backing board | 1 sheet |
| Lag screws (for studs) | 4–6 |
| Tankless isolation valve kit (hot & cold) | 1 set |
| Temperature & pressure relief valve | 1 |
| 3/4″ Type L copper pipe | As needed |
| 3/4″ copper fittings (90s, tees, adapters) | As needed |
| 3/4″ male threaded adapters (MIP) | 2 |
| Flux, solder, torch | 1 set |
| Teflon tape & pipe dope | 1 each |
| Condensate neutralizer kit | 1 |
| PVC pipe & fittings (condensate + venting) | As needed |
| PVC cement & primer | 1 set |
| Masonry hole saw | 1 |
| Intake & exhaust PVC pipe (per manufacturer) | As needed |
| Wire mesh (rodent screen) | Small section |
| Gas pipe (upsized to 3/4″ or 7/8″) | As needed |
| Gas tee, nipples, cap (sediment trap) | 1 set |
| Expansion tank & mounting bracket | 1 |
| Pipe straps & mounting hardware | As needed |
| Drill, impact driver | 1 each |
| Level, tape measure, marker | 1 each |
| Channel-lock pliers & wrenches | As needed |
| Safety gloves & eye protection | 1 set |
Step 1: Install Wall Backing and Mounting Bracket
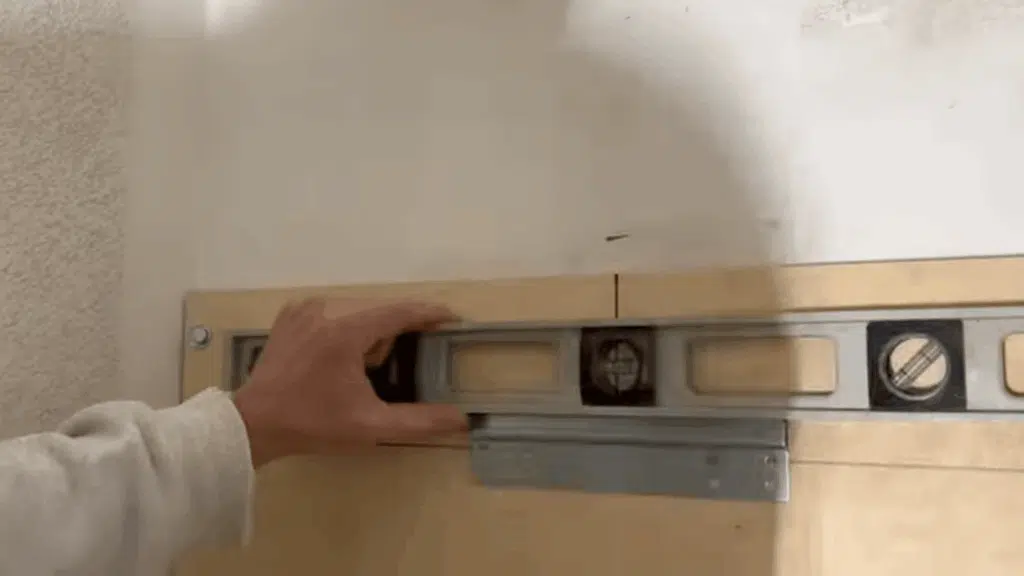
Locate wall studs and securely fasten a 3/4-inch plywood backing board using lag screws.
Measure and mark the centerline and bracket spacing. Install the tankless mounting bracket level and at the correct height to support the unit and allow proper clearance for piping and venting.
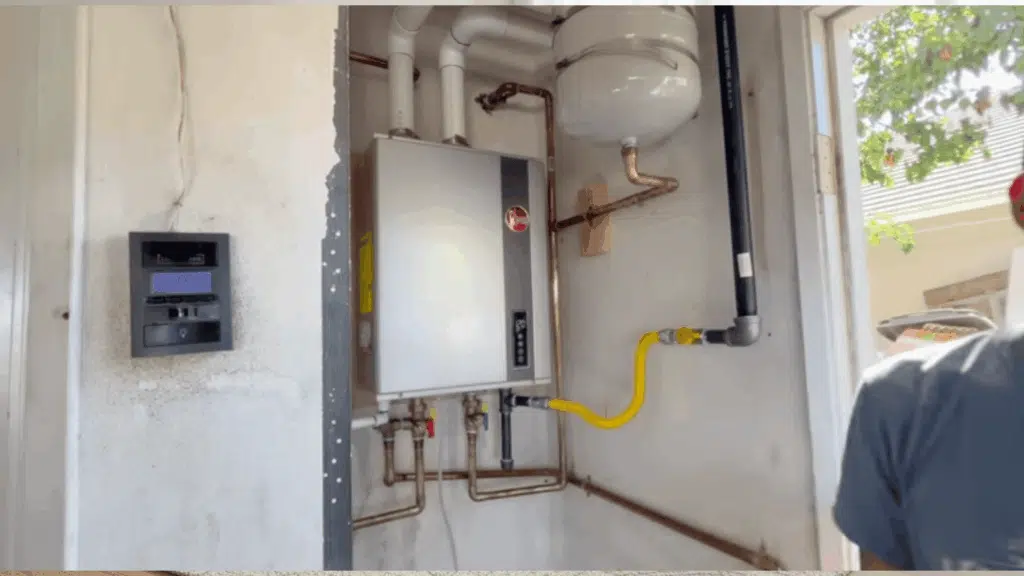
Step 2: Hang the Tankless Water Heater
Lift the tankless water heater onto the mounting bracket with assistance.
Confirm it locks fully into place and sits level. Verify all required clearances around the unit for service access, ventilation, and code compliance before connecting any utilities.
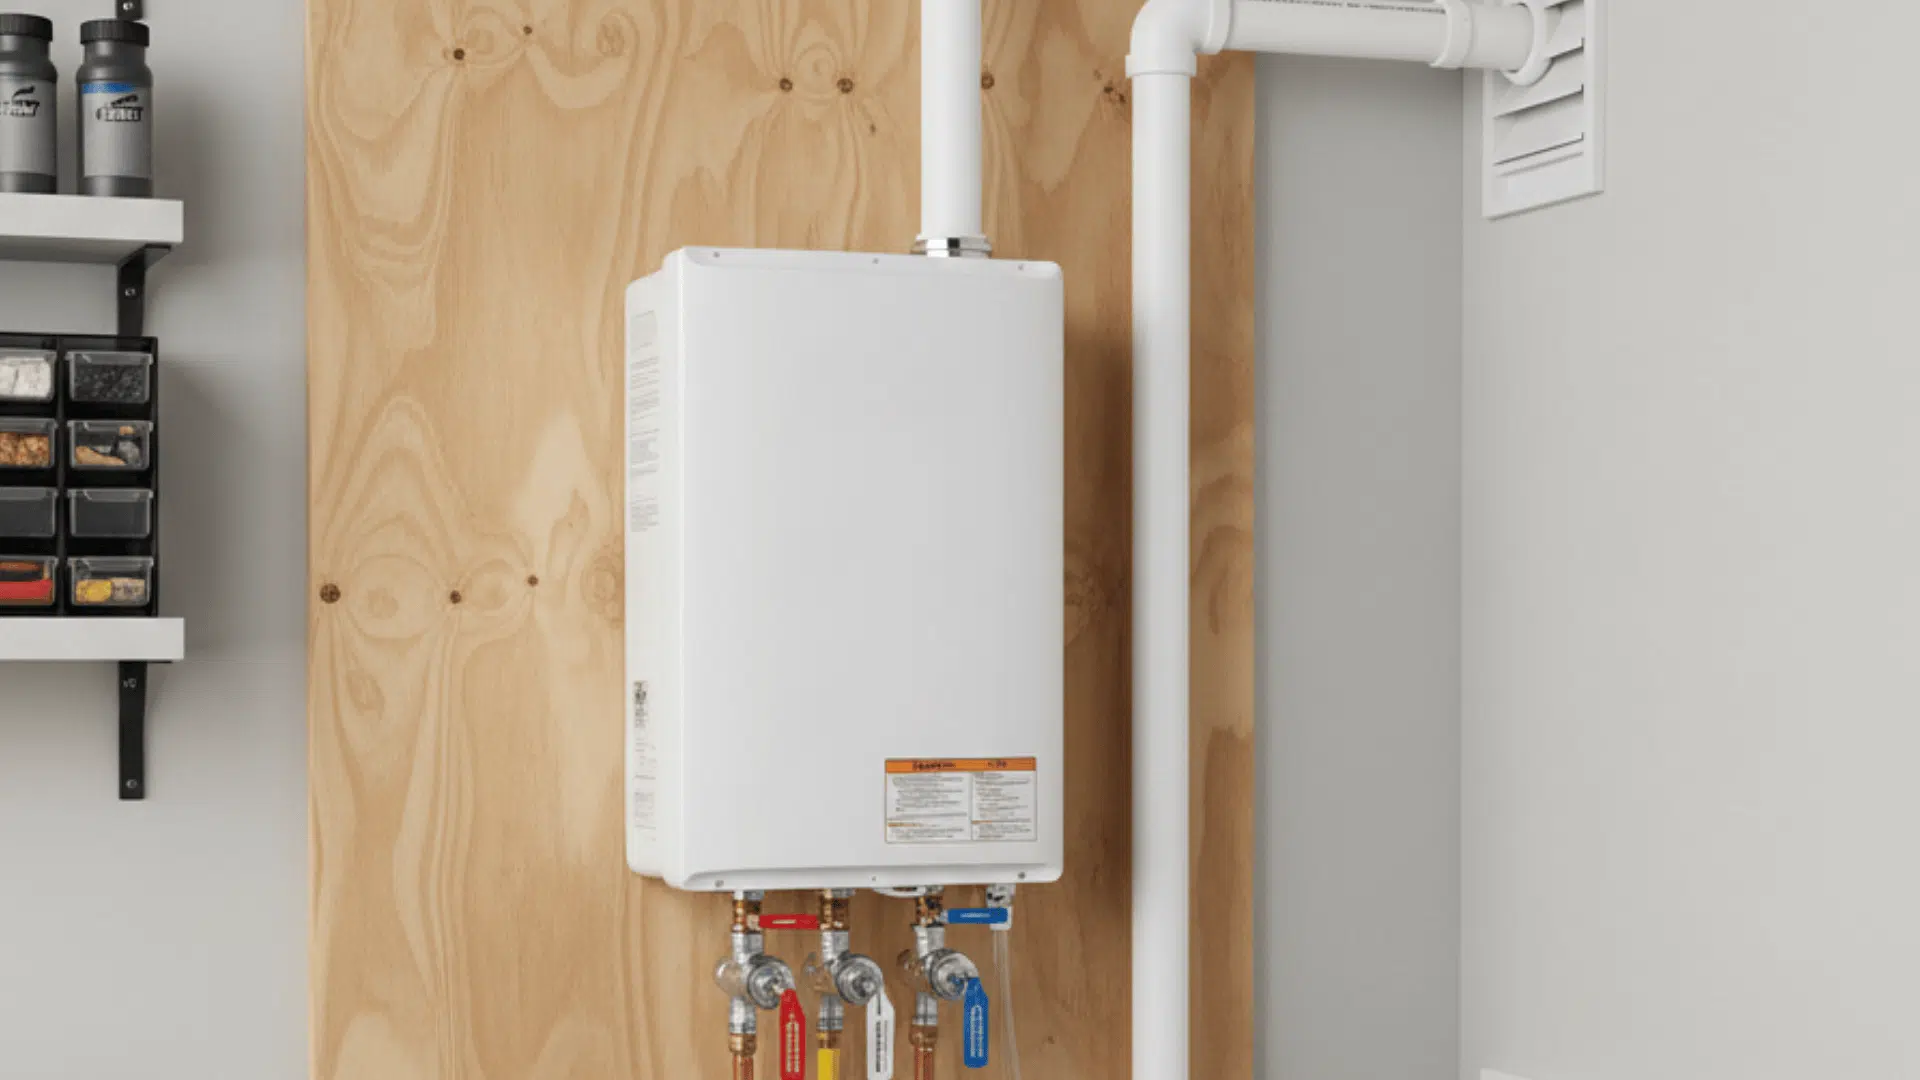
Step 3: Install Isolation Valves and Water Connections
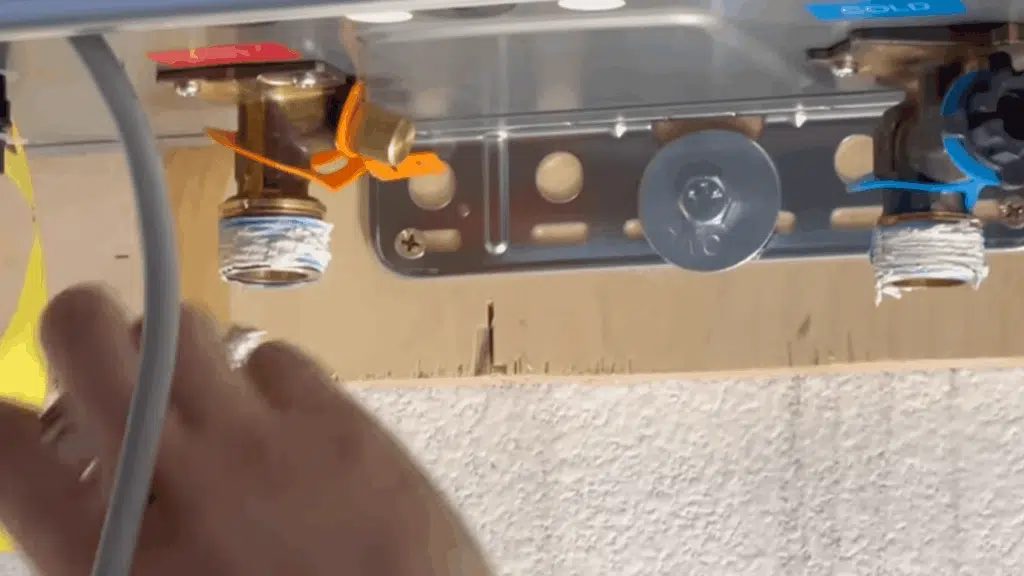
Thread the hot and cold isolation valve kit onto the heater using Teflon tape and pipe dope.
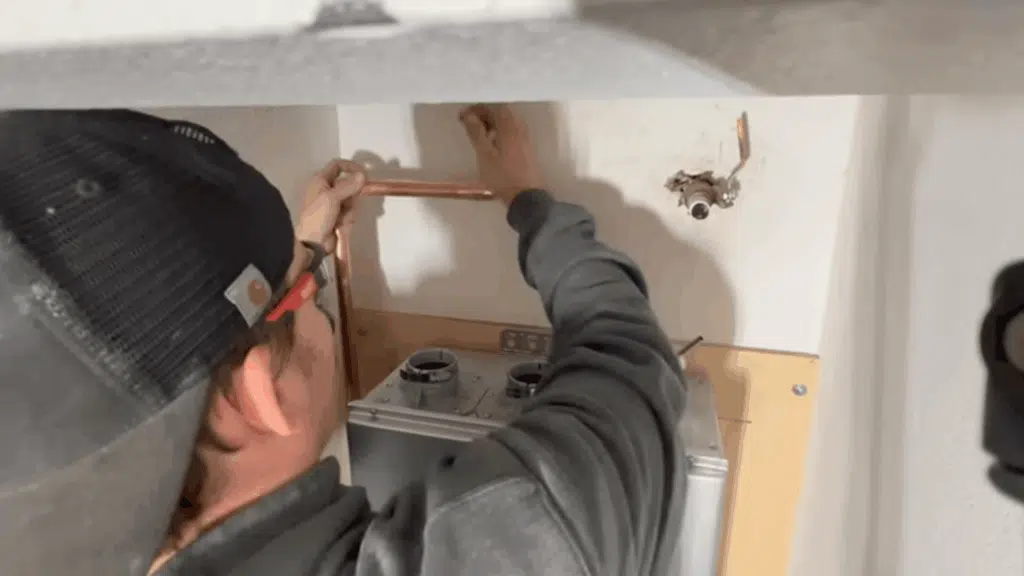
Solder 3/4-inch male adapters to copper pipe, then connect and route water lines from the existing plumbing to the unit using 90-degree fittings where needed.
Step 4: Install the Temperature & Pressure Relief Line
Install the temperature and pressure relief valve on the hot side of the unit. Run the discharge pipe downward to an approved exterior or drain location.
Ensure the line is unobstructed and sloped properly to release pressure safely if needed.
Step 5: Run the Condensate Drain and Neutralizer
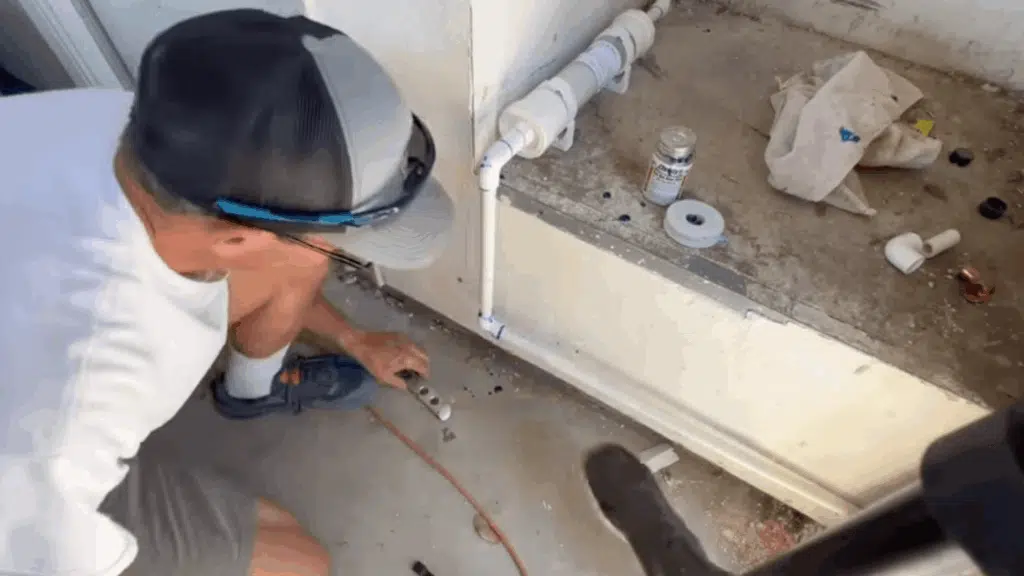
Thread a PVC adapter into the condensate outlet. Install a condensate neutralizer inline to reduce acidity.
Route PVC piping with a continuous downward slope to a suitable drain point, securing all fittings with PVC primer and cement.
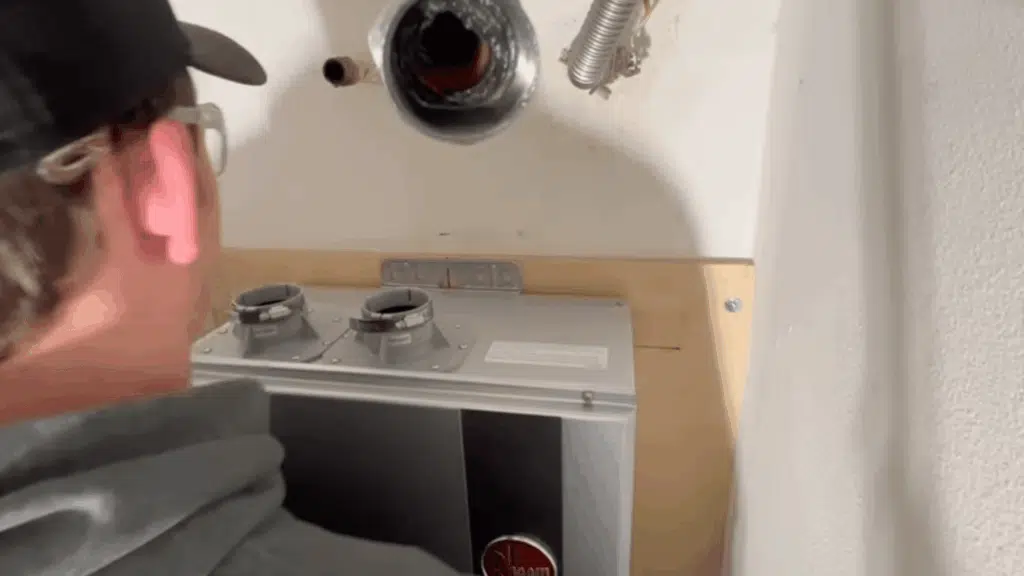
Step 6: Drill and Install Intake and Exhaust Venting
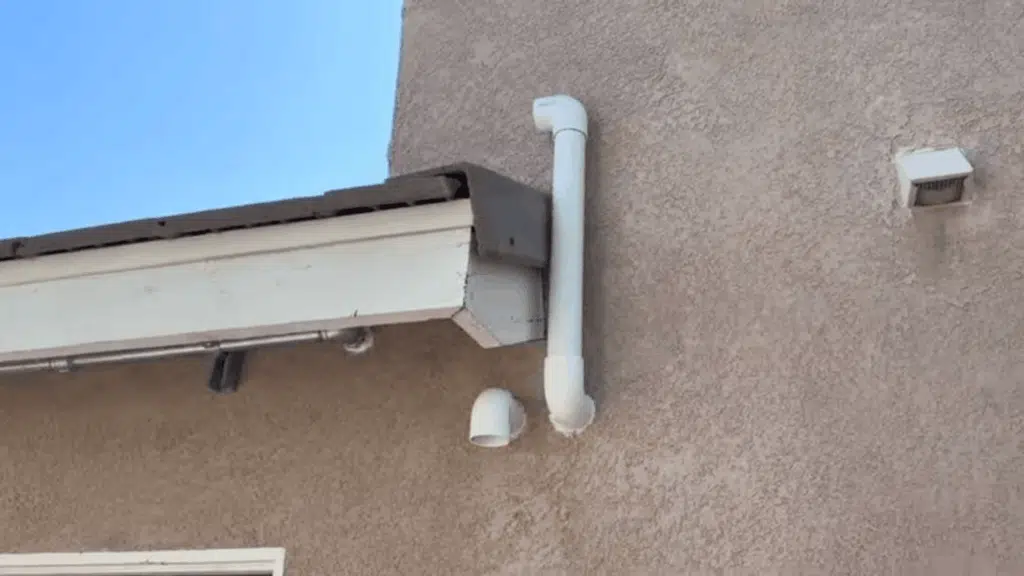
Drill two wall penetrations for intake and exhaust using a masonry hole saw. Install PVC vent pipes according to the manufacturer’s requirements.
Angle the intake downward and exhaust upward or away from the structure. Insert wire mesh screens to prevent pests.
Step 7: Upgrade and Connect the Gas Line
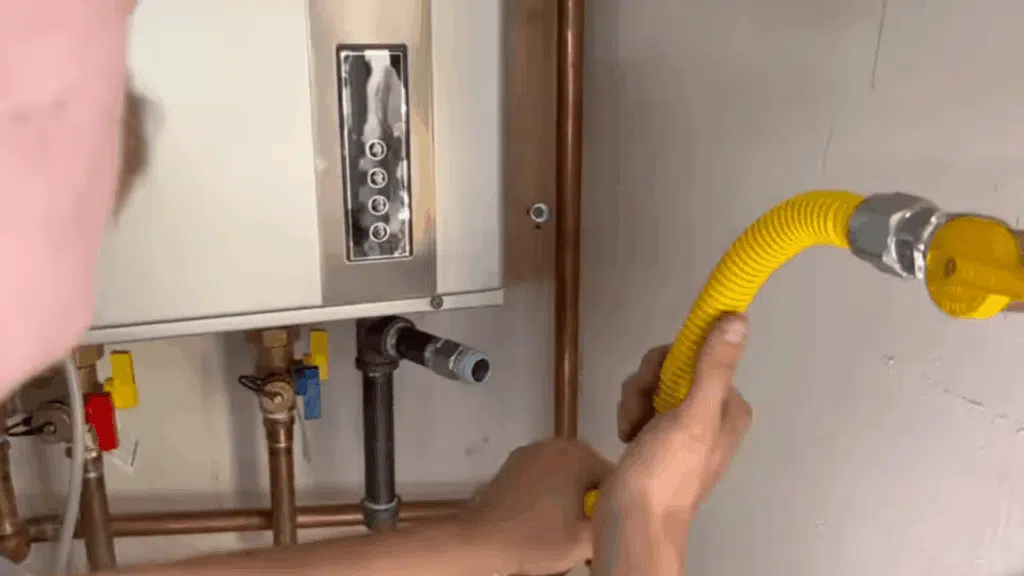
Upsize the gas line to meet tankless flow requirements. Install a tee with a sediment trap and a capped nipple.
Connect the gas line to the heater using approved fittings, sealant, and proper support to prevent strain or vibration.
Step 8: Install the Expansion Tank
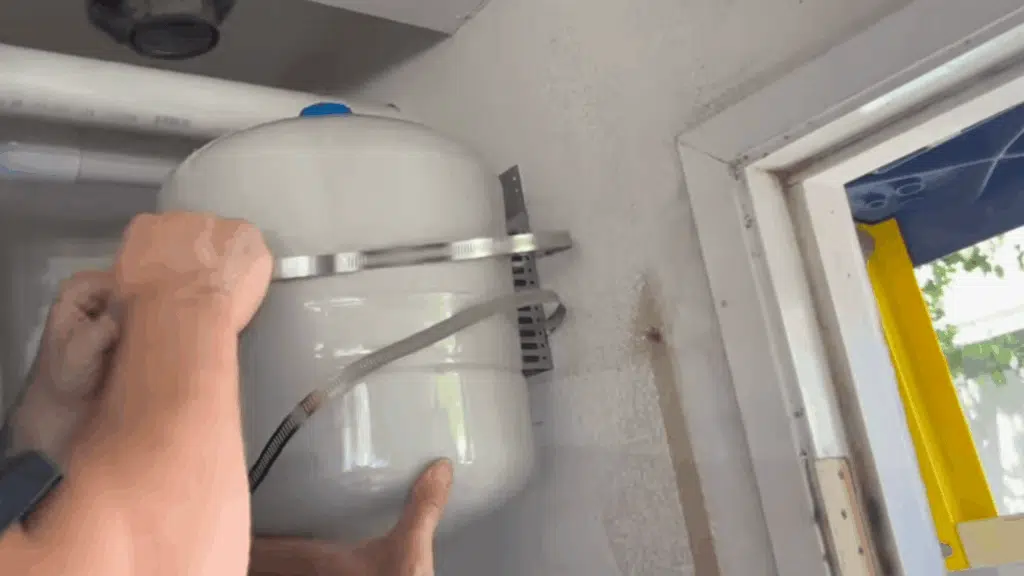
Mount the expansion tank securely near the heater. Tee it into the cold-water supply line and tighten all connections.
This protects the system from thermal expansion, reduces water hammer, and meets plumbing code requirements in many regions.
Step 9: Pressure Test, Start Up, and Verify Operation
Turn on the water supply and inspect all connections for leaks. Restore gas service and check fittings. Power on the unit following the manufacturer’s instructions.
Run hot water at fixtures to confirm stable temperature, proper venting, and normal operation.
Video Tutorial
Special thanks to Father Son DIY Garagefor providing valuable insights in their video, which I referenced while creating this guide.
Tankless Water Heater Installation Cost Breakdown
Understanding the full cost of a tankless water heater install helps you budget accurately and avoid surprises. Costs vary based on fuel type, home layout, and whether upgrades are required for gas, venting, or electrical capacity.
Tankless water heater unit: $1,000–$2,000 – High-efficiency gas models cost more than electric units but deliver higher output.
Installation materials: $400–$1,200 – Includes isolation valves, venting, gas line upgrades, condensate drain, expansion tank, and fittings.
Gas line upgrade (if needed): $300–$1,000 – Required when existing lines cannot supply sufficient BTUs.
Venting and condensate system: $200–$600 – PVC venting and neutralizer kits are required for high-efficiency gas units.
DIY total cost: $2,000–$3,500 – Assumes homeowner provides labor and has basic tools.
Professional installation: $5,000–$10,000+ – Includes labor, permits, inspections, and warranty-backed installation.
Many regions offer utility or state rebates for high-efficiency tankless gas water heaters. Always check local programs before purchasing to reduce upfront cost.
DIY vs Professional Tankless Water Heater Installation
Installing a tankless water heater yourself can save money, but it requires technical skill and strict attention to safety. The table below compares both options to help you decide which is right for your situation.
| Installation Option | Pros | Cons |
|---|---|---|
| DIY Installation | Lower upfront cost, full control over timeline, good option for experienced homeowners | Requires gas, plumbing, and venting knowledge. Permit and code risk labor warranty |
| Professional Installation | Code-compliant installation, permits and inspections handled, labor warranty, and liability coverage | Higher scheduling delays are possible |
| DIY with Inspection | Saves labor cost, adds safety through inspection | Still requires permits, Limited warranty support |
| Professional for Gas Only | Safer gas line installation, reduced risk | Higher hybrid cost |
| Full Professional Install | Maximum safety and warranty protection | Most expensive option |
Conclusion
A properly installed tankless water heater delivers dependable hot water, improved efficiency, and long-term cost savings.
Success depends on correct mounting, secure gas and water connections, proper venting, and adherence to safety and code requirements.
While installing a tankless system independently can significantly reduce installation costs, it also requires technical skill and attention to detail.
Homeowners should carefully evaluate their experience level, local regulations, and system requirements before beginning.
Whether completed independently or with professional support, careful planning and precise installation ensure safe operation, optimal performance, and years of reliable hot water.

James McLaren, with a rich background in architecture from the University of Manchester, has been contributing his expertise to the world of creative construction and home innovation for over 20 years. His journey began as a project manager for a leading construction firm, where he honed his skills in bringing complex designs to life. James joined our platform as a freelancer in 2019, quickly becoming a favorite for his insightful and practical advice. He has been a pivotal force to our wing ever since, bringing our readers a blend of technical know-how and creative flair. Beyond his professional life, James is an avid woodworker and enjoys restoring vintage furniture, a hobby that complements his professional insights beautifully.