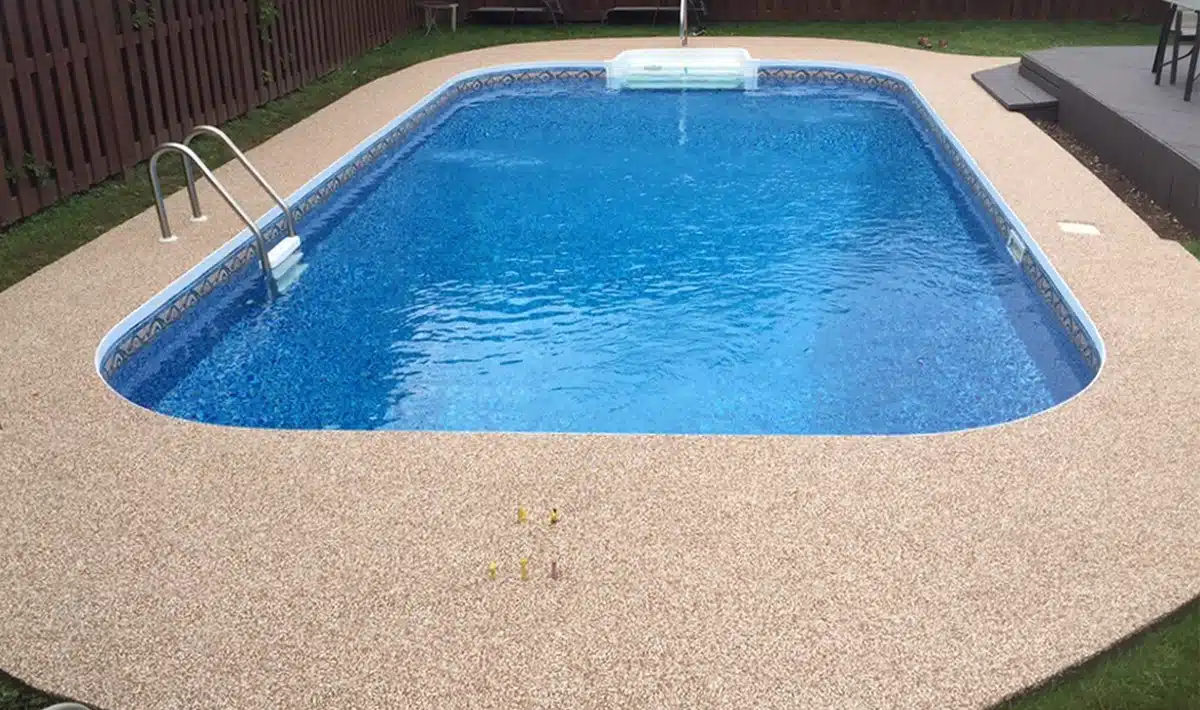
If you’re thinking about upgrading your pool deck, adding a rubber surface might be one of the smartest moves you can make. It’s not just about looks — although it can really elevate the space. More importantly, it adds a layer of safety and comfort that’s hard to beat.
Rubber surfaces are slip-resistant, soft underfoot, and able to handle sun, water, and constant use. It’s no surprise more people are choosing them for both home and commercial pools. If you want something long-lasting and safe, check out this option for durable surfacing by SafeStep, which is designed specifically for pool environments.
Let’s break down how to install a rubber surface — step by step.
Why Go with Rubber?
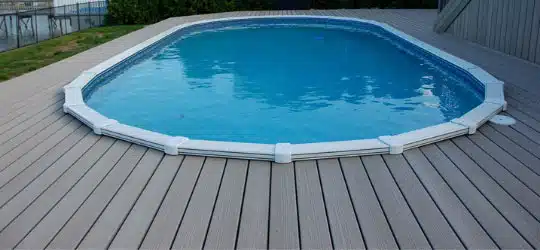
Traditional pool decks — think concrete or tile — tend to get hot and slippery. That’s not ideal when kids are running around barefoot or when someone’s climbing out of the pool. Rubber solves both problems. It stays cooler in the sun and offers solid grip, even when wet.
It also brings a softer landing if anyone trips or slips. That extra cushioning matters, especially for households with kids or older adults.
And style-wise? You’ve got options. There are many colors and patterns of rubber surfaces. Whether you want something natural that blends in with your yard or a bold design that stands out, you’ll find a match.
First Step: Take a Good Look at What You Have
Before you dive in, check out the current state of your pool deck. You don’t need a brand-new surface underneath — but it does need to be stable. Crumbling concrete or uneven tile won’t work. Rubber needs a smooth, solid base to stick to.
Clear off anything loose. That means dirt, leaves, mold, or old paint chips. Power washing usually does the trick, and it helps you spot any damage that needs fixing.
If there are cracks or holes, fill them with patching compound and give it time to dry. The goal is a clean, level foundation.
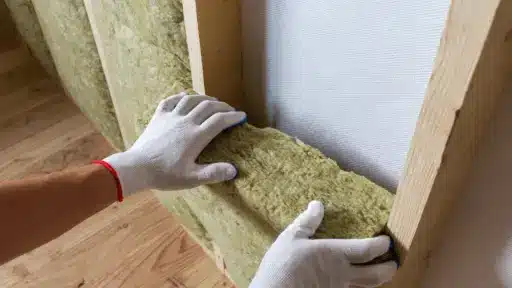
What You’ll Need
Here’s a basic list of what to gather before you start:
- Rubber granules (often EPDM or TPV types)
- Polyurethane binder
- A big bucket or tub for mixing
- A drill with a paddle mixer
- Gloves and protective gear
- A hand float or trowel
- Tape (for outlining edges and patterns)
Don’t forget to measure your space! You’ll want to calculate how much material you’ll need based on square footage. Most suppliers can help with this if you’re unsure.
Mixing the Materials
Rubber surfacing isn’t applied straight out of a bag. You’ll mix the rubber granules with a binder, which acts like glue to hold it all together. Typically, it’s about 5 parts rubber to 1 part binder by weight — but double-check the label or instructions for the product you’re using.
Use a mechanical mixer to get everything evenly coated. The final mix should be sticky and workable, not runny or crumbly.
Once it’s ready, don’t wait too long. You’ve got a limited window before it starts setting.
Set the Edges and Work in Sections
Before spreading the mix, use tape to outline the deck’s borders, steps, or any design shapes you plan to include. This helps keep things clean and precise.
It’s best to work in small areas — around 100 square feet at a time. That way, you can focus on spreading everything evenly without racing against the clock.
Time to Apply the Surface
Scoop some of the mix onto the surface and start spreading it with a trowel or float. Aim for about a quarter-inch thickness. Press firmly as you go — this helps it bond and removes air bubbles.
Keep your strokes smooth and consistent. You’re aiming for a flat, even surface. Around corners and tight spots, use smaller tools for better control.
Try to avoid seams by blending the edges where new batches meet. And remember: don’t rush, but don’t take too long either.
Let It Cure
Once everything’s in place, the surface needs time to set. This usually takes a full day or two. During that time, don’t walk on it, move furniture, or let it get wet.
If the weather is humid or cool, curing might take a little longer. On hot, dry days, it could go faster. Either way, patience pays off — rushing this step can mess up all your hard work.
Caring for Your New Surface
Once it’s cured, your rubber deck is good to go. But like anything outdoors, it needs a little care to stay in top shape.
- Keep it clean: A quick rinse with the hose and a soft broom will remove most dirt or leaves.
- Check it occasionally: Look for any spots that might wear faster and touch them up if needed.
- Don’t drag sharp things: Heavy chairs or sharp edges can damage the surface. Lift furniture when moving it.
- Reseal if needed: Some rubber decks benefit from a clear topcoat every few years to keep the color fresh and add a bit more protection.
A Few Extra Tips
- Pick the right day: Avoid rainy or extremely hot days when installing.
- Get help if it’s a big job: While it’s doable as a DIY project, a second pair of hands (or hiring a pro) makes it easier — especially for large or oddly shaped decks.
- Plan your layout: If you’re doing patterns or color changes, sketch it out first. It saves a lot of second-guessing later.
Wrapping Up
Installing a rubber surface around your pool deck isn’t just a home improvement — it’s a safety upgrade, a style boost, and a comfort enhancer all rolled into one. It takes some prep and effort, but the end result is worth it.
If you want peace of mind knowing your pool area is safe, slip-resistant, and built to last, consider working with folks who specialize in it. The SafeStep company offers custom surfacing systems tailored for pool decks — designed to handle water, sun, and everything in between.

With a Master in Architectural Studies from University of Pennysylvania, Marwa Haydar has pioneered living spaces since 2005. Her expertise, initially honed in a prestigious architectural firm, is evident in her approach to creating environments. Marwa became part of our team in 2019 and has since been a driving force in our home improvement section, known for her practical yet stylish solutions. She’s been spearheading our design workshops since then, infusing her passion for teaching into her work. In her leisure time, Marwa enjoys exploring historic architecture and is an enthusiastic pottery hobbyist, further enriching her understanding of form and texture.