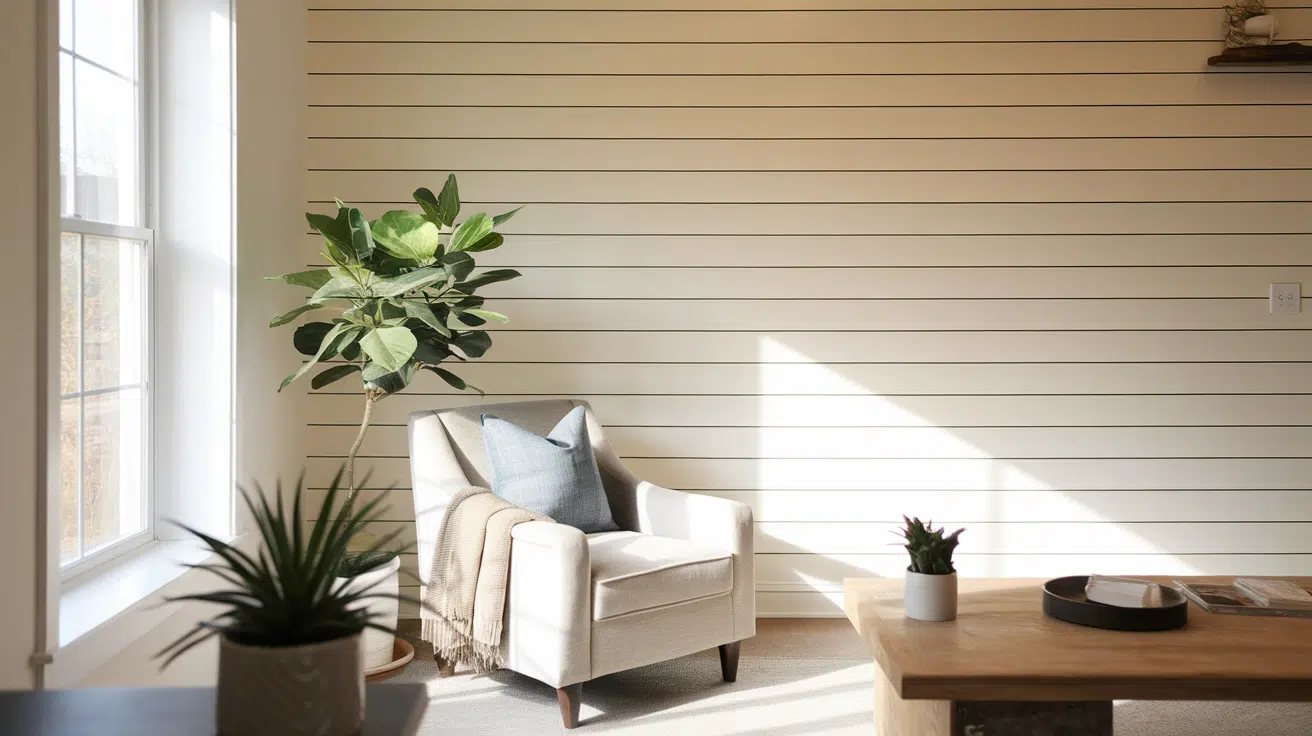
Adding a wood panel wall is one of the easiest ways to make your home feel warmer and more inviting.
I recently installed a DIY wood panel wall in my bedroom, and the transformation was incredible.
The process was straightforward, budget-friendly, and actually enjoyable. That’s why I’ve put together this step-by-step guide to walk you through exactly how I did it.
If you prefer a rustic charm or a sleek modern finish, this method can be adapted to fit your style.
You’ll also find a comprehensive list of materials and tools, as well as practical tips from online communities.
What Is Wood Panelling?
Wood paneling is a decorative method of covering a wall using wooden boards or strips. It can be used to add style, texture, and warmth to any room.
People often use it in bedrooms, living rooms, or hallways to give the walls a cozy or classic look.
You can create your own DIY wood panel wall using simple tools, adhesive, and paint or stain.
It’s a great project if you want to change the look of a room without a full remodel. Best of all, it works in both modern and traditional homes.
There are many styles to choose from, including shiplap, board and batten, slat walls, and decorative trims.
You can leave the wood natural for a rustic look or paint it for a clean, fresh feel.
No matter your home style, wood paneling adds character, charm, and a finished touch that’s both timeless and trendy.
Diy Wood Panel Wall: Step-by-Step Guide
This step-by-step guide walks you through measuring, cutting, installing, and finishing the panels, as well as adding shelves and utilizing leftover pieces creatively.
Materials and Tools Needed
Before you begin, gather all the essential tools and materials. Having everything ready will make the installation smoother and help avoid interruptions during your project.
- Acoustic wood slat panels (typically 12.6″ wide)
- 1.5″ screws
- Drill and drill bits
- Stanley knife (with extra blades)
- Tape measure
- Pencil
- Painter’s tape
- Set a square or ruler
- Hand saw
- Fine sandpaper
- Fabric roller and cloth (for applying stain)
- Wood stain or finishing oil
- Floating shelves with mounting brackets
- Stud finder (for shelf installation, optional but helpful)
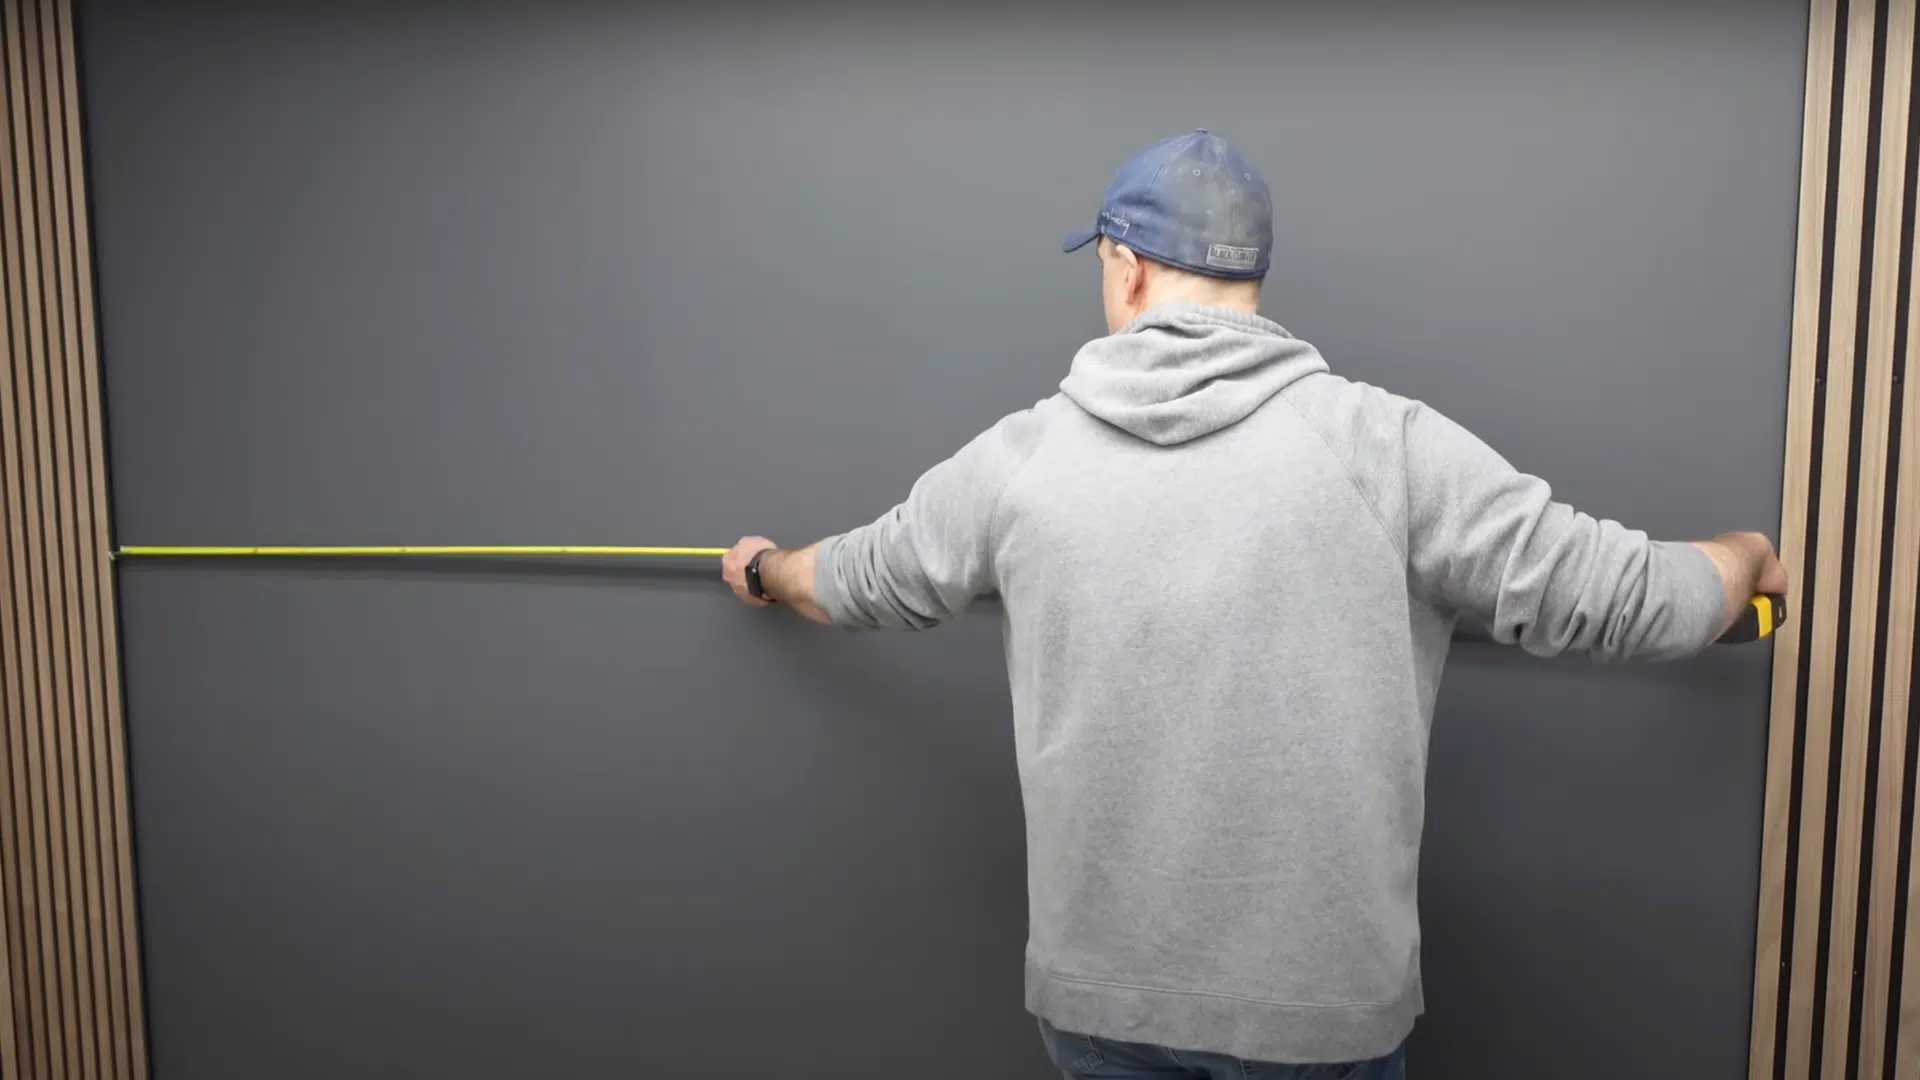
Step 1: Measure and Plan Panel Placement
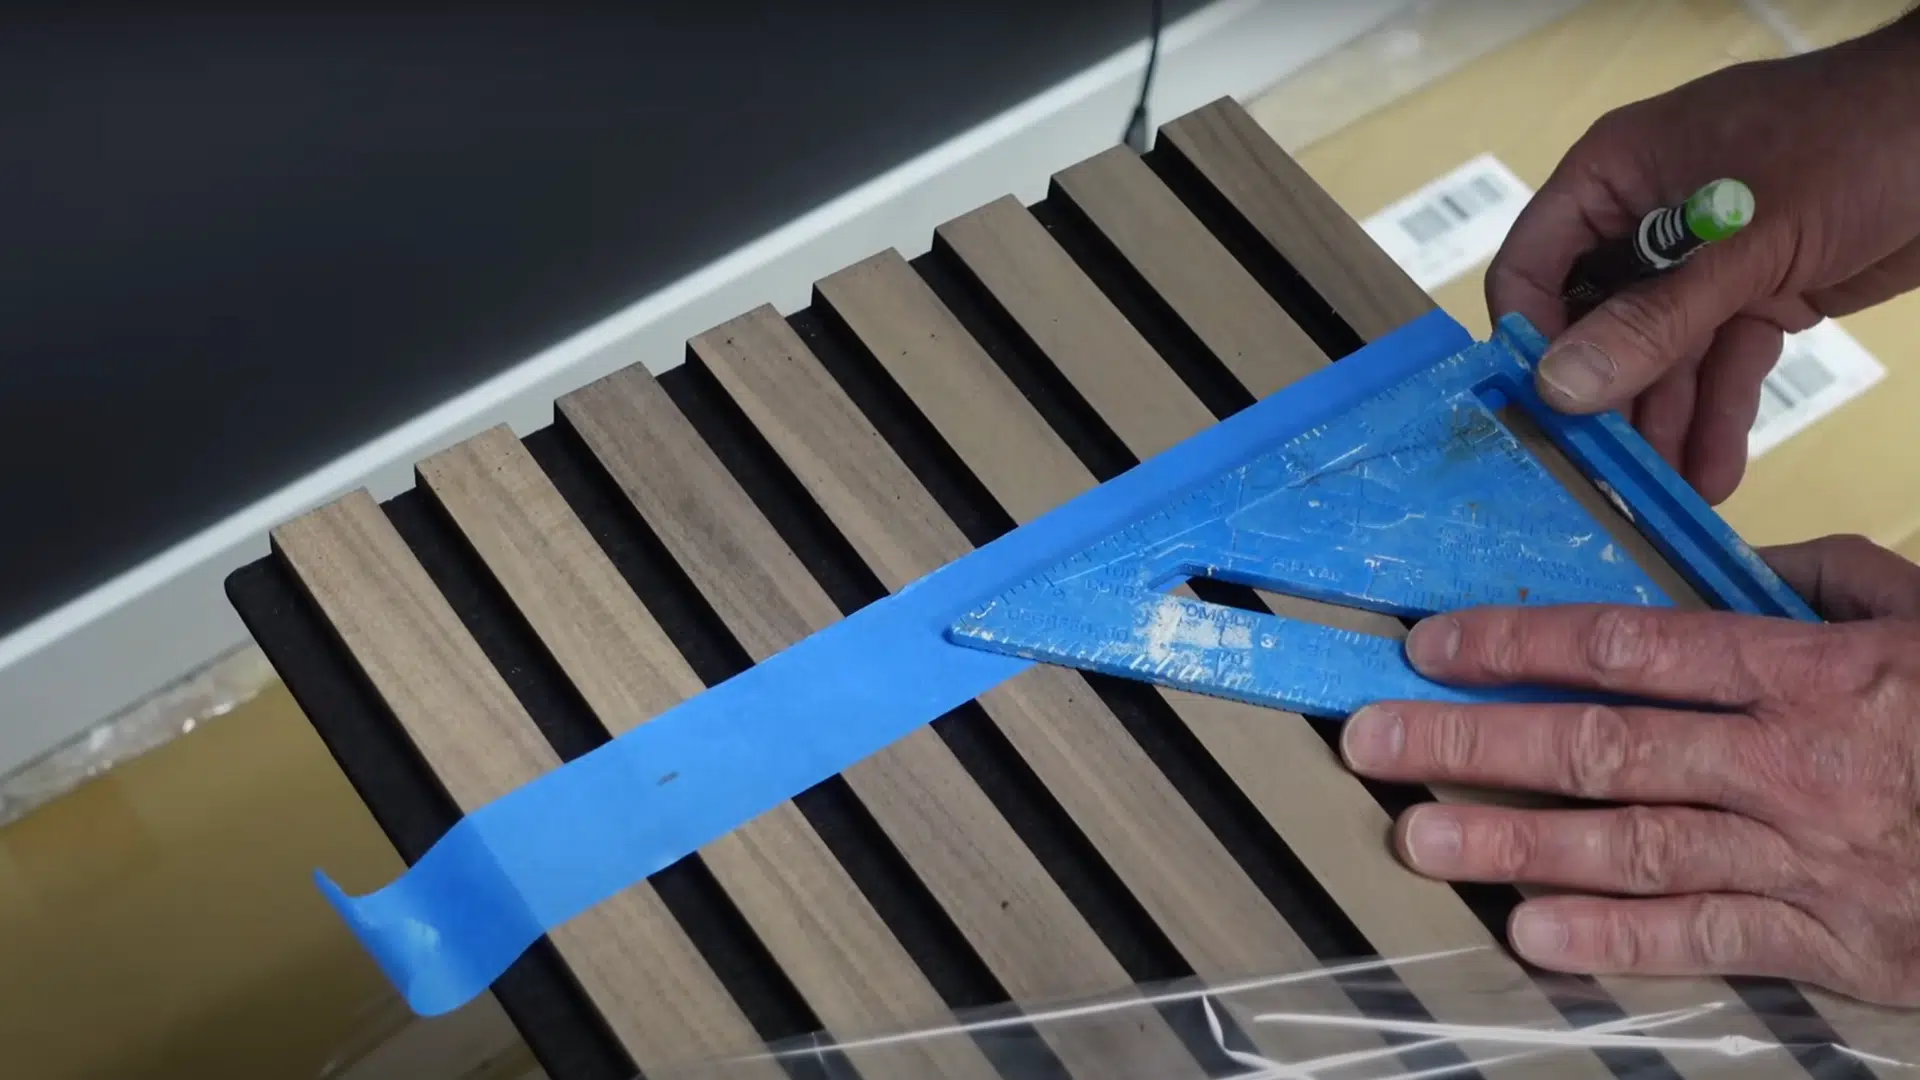
Start by measuring the height of your wall and planning where the panels will go. Use a tape measure, pencil, and painters’ tape to mark guidelines.
A set square can help ensure your lines are straight, but a regular ruler will also work. Planning helps you avoid costly mistakes, especially with premium materials.
Step 2: Cut the Panels to Size
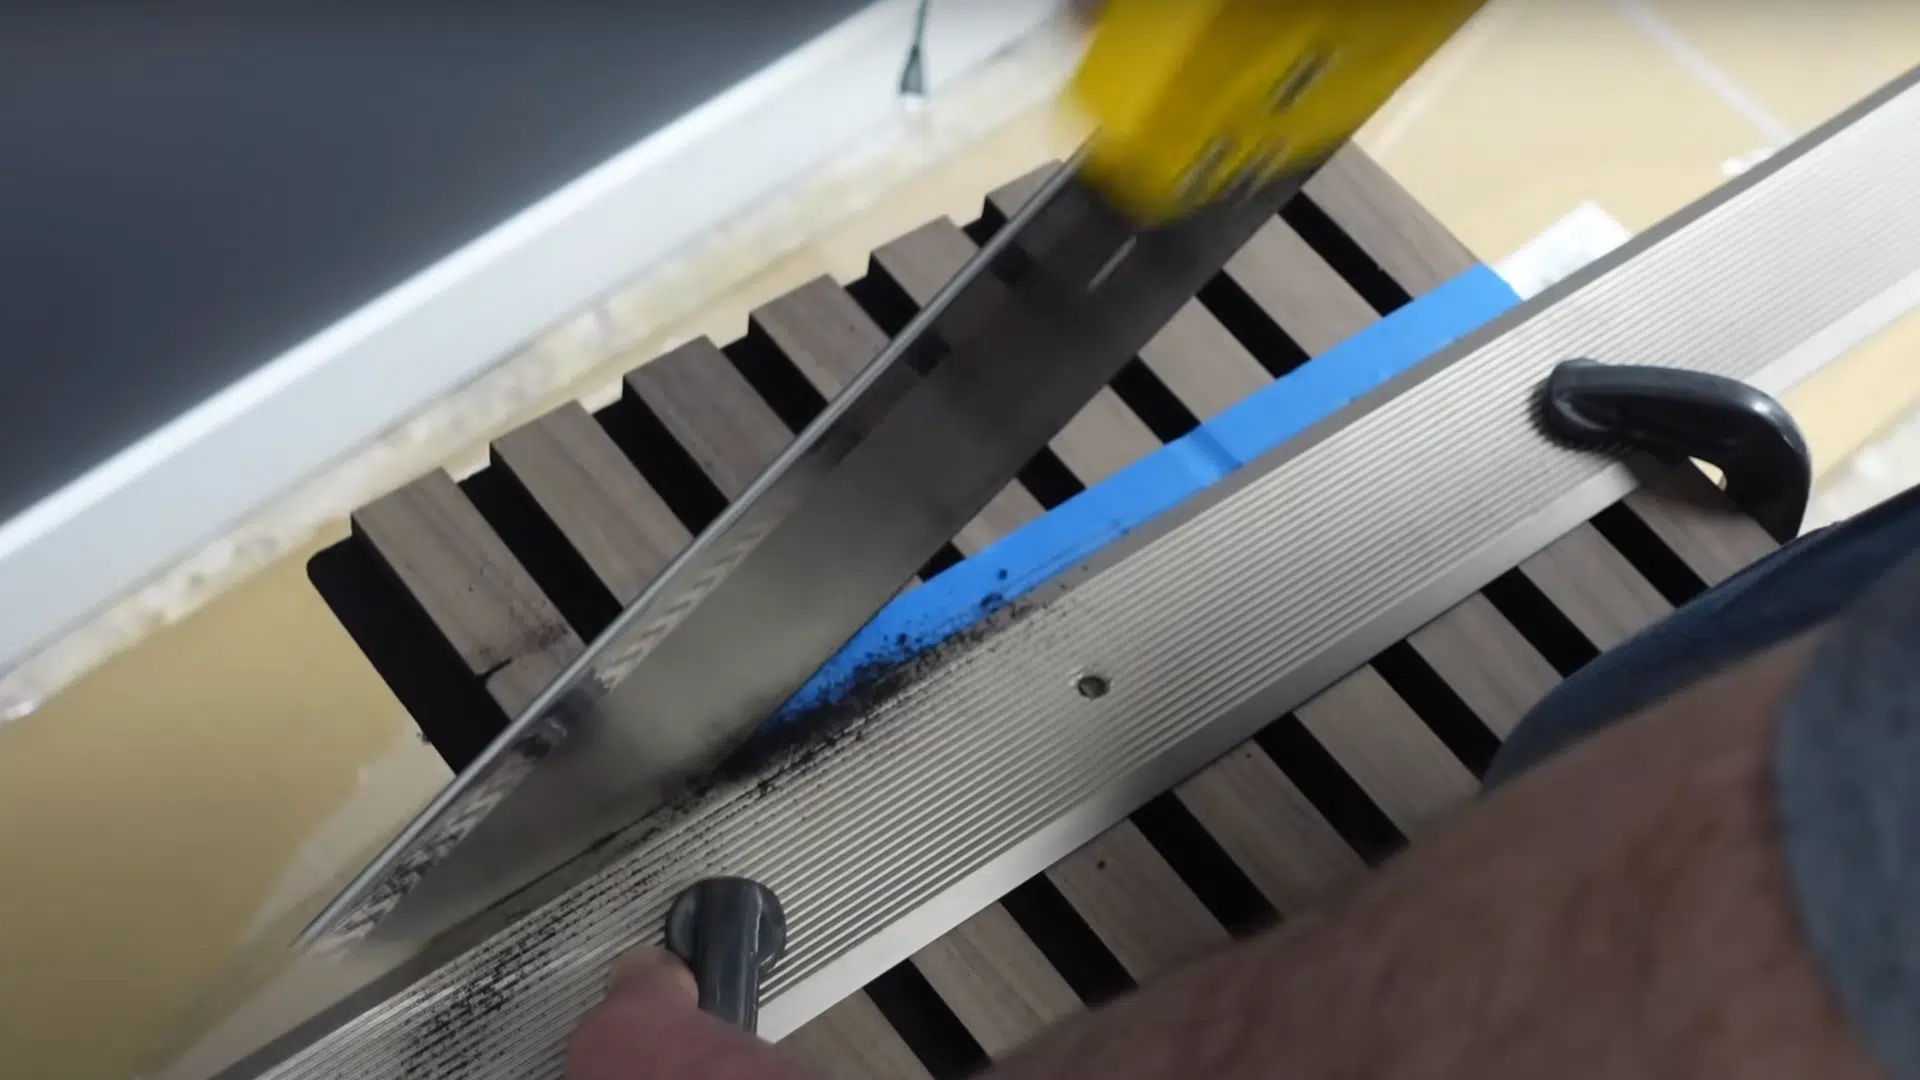
Use a Stanley knife and a hard ruler as a guide to cut the panels. Keep the painter’s tape on while cutting to protect the wood.
Sand the edges lightly with fine sandpaper for a clean finish. This step ensures the panels fit neatly and look polished.
Step 3: Pre-Drill Screws into Panels
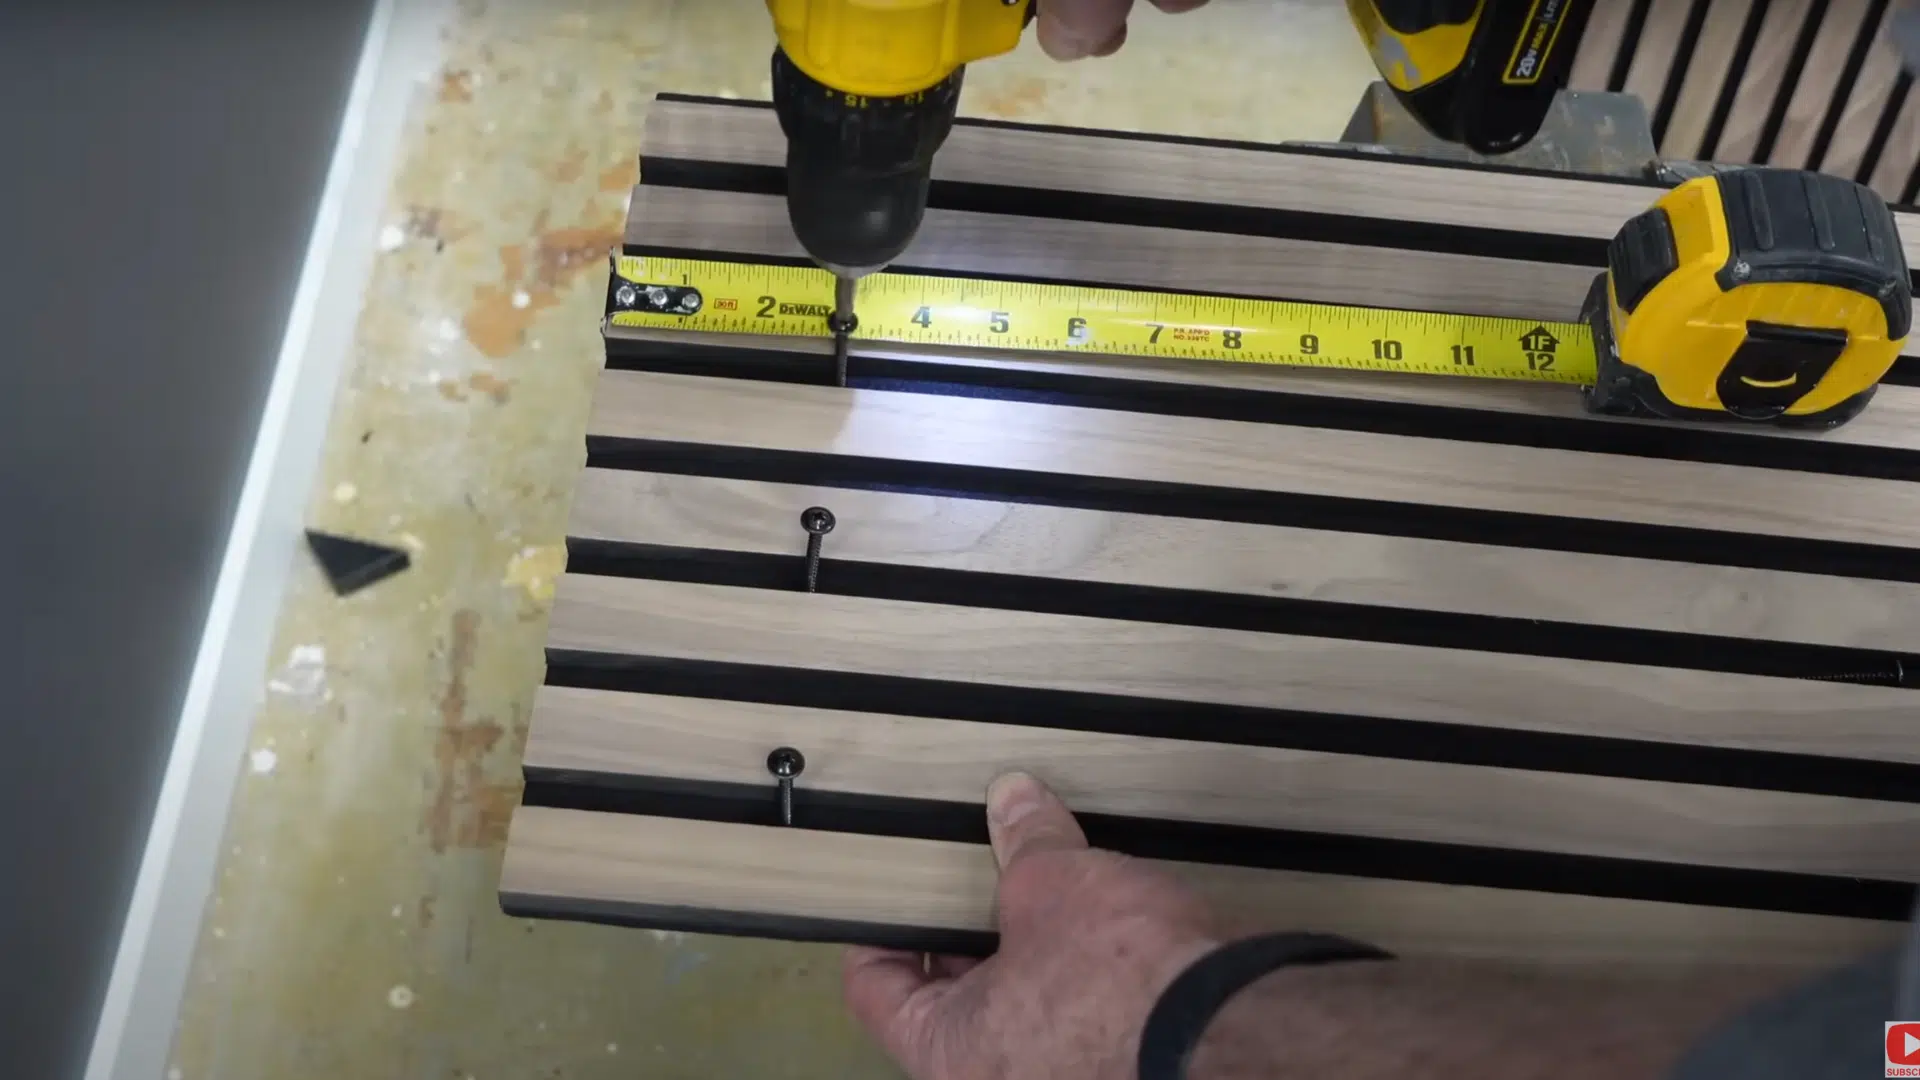
Even though glue is often the preferred method, pre-drilling screws allows you to remove the panels later. Use 1.5-inch screws and a drill.
Be careful not to drive the screws through the fabric backing. Pre-inserting screws speeds up installation and keeps everything aligned.
Step 4: Install the First Panels
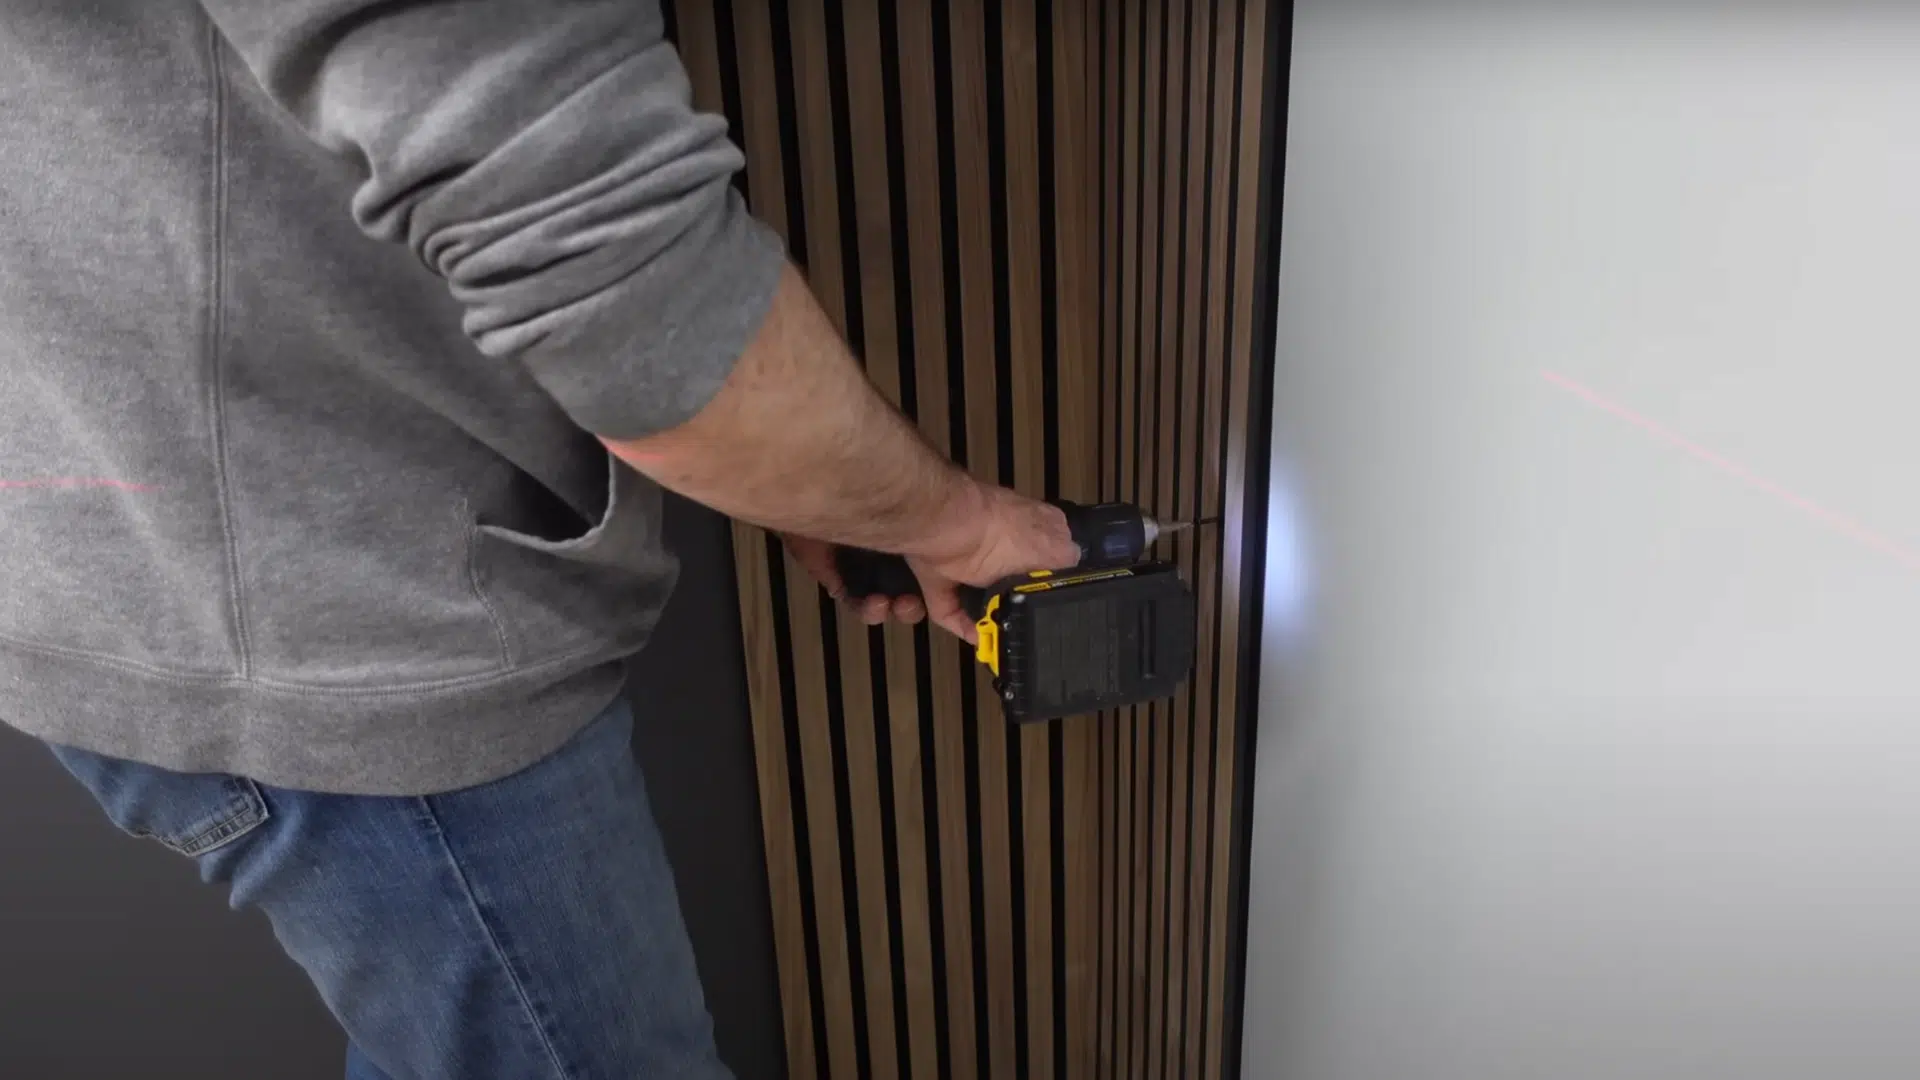
Begin with the side panels. Position the first one carefully and use a drill to secure it, making sure not to push through the fabric.
Then install the panel on the opposite side. This creates a visual frame for the rest of the wall.
Step 5: Continue Measuring and Installing
Repeat the process: measure, cut, test fit, and screw. When placing panels in the middle, you may need to trim the fabric backing so they butt together seamlessly.
Consistent measuring and visual checks help maintain the wall’s symmetry and cleanliness.
Step 6: Add Shelves to Elevate the Look
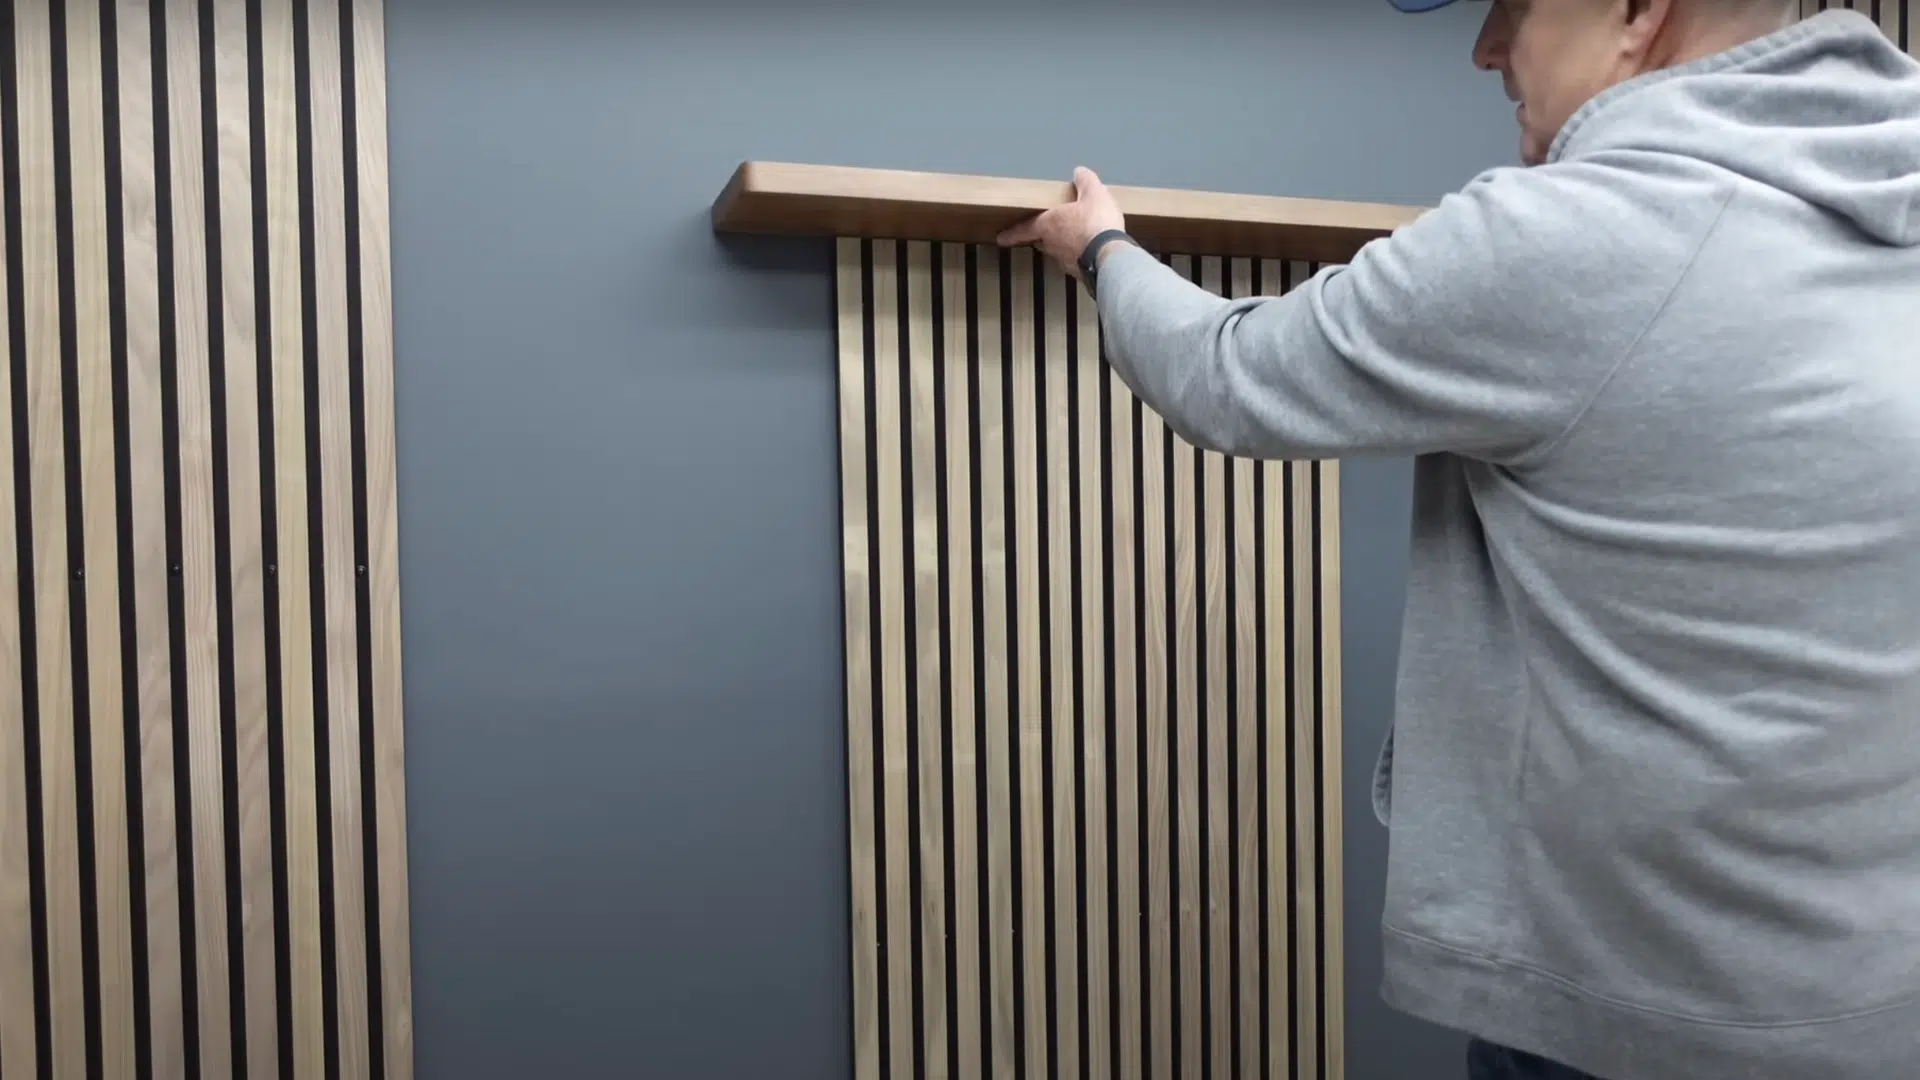
Floating wood shelves add dimension. Use painters’ tape to visualize the shelf layout. Be sure to screw shelf brackets into studs for stability.
Solid wood shelves, such as those made from walnut, bring warmth and richness to the feature wall.
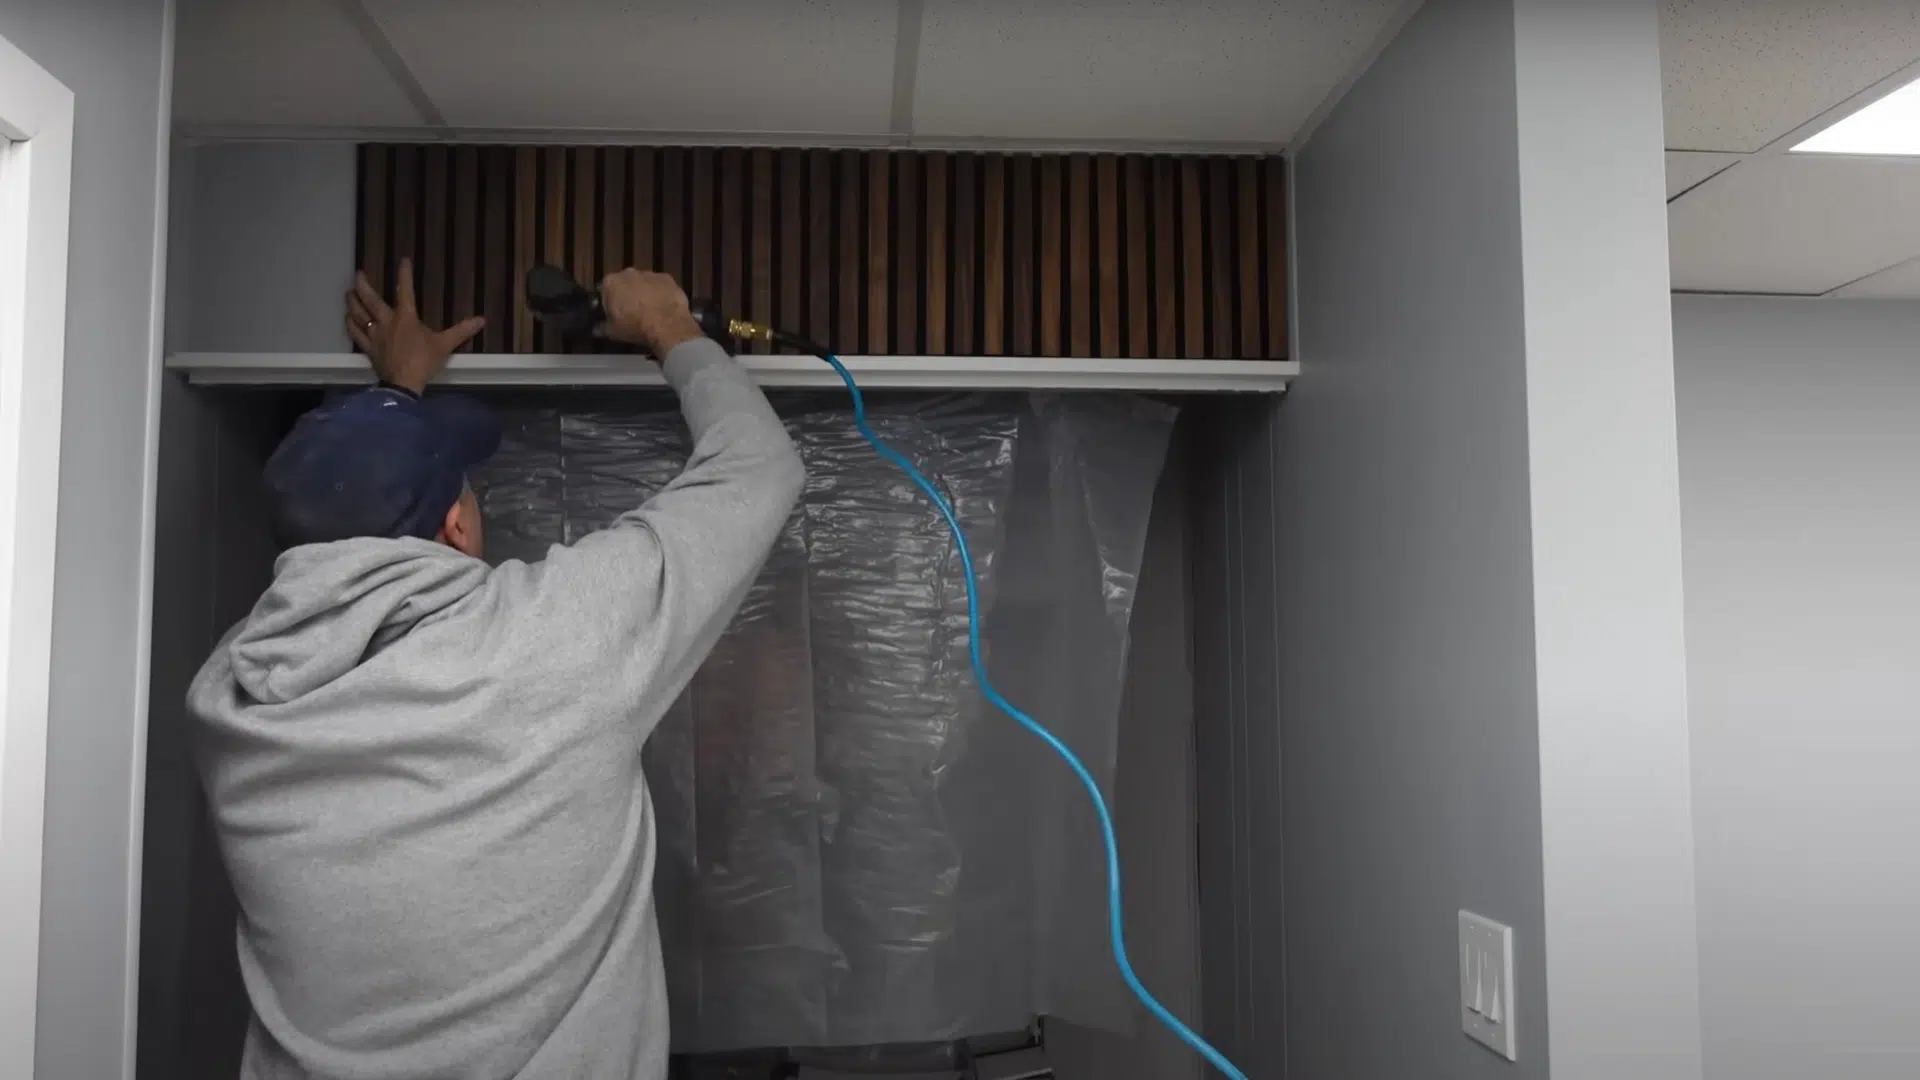
Step 7: Apply Stain to Finish the Panels
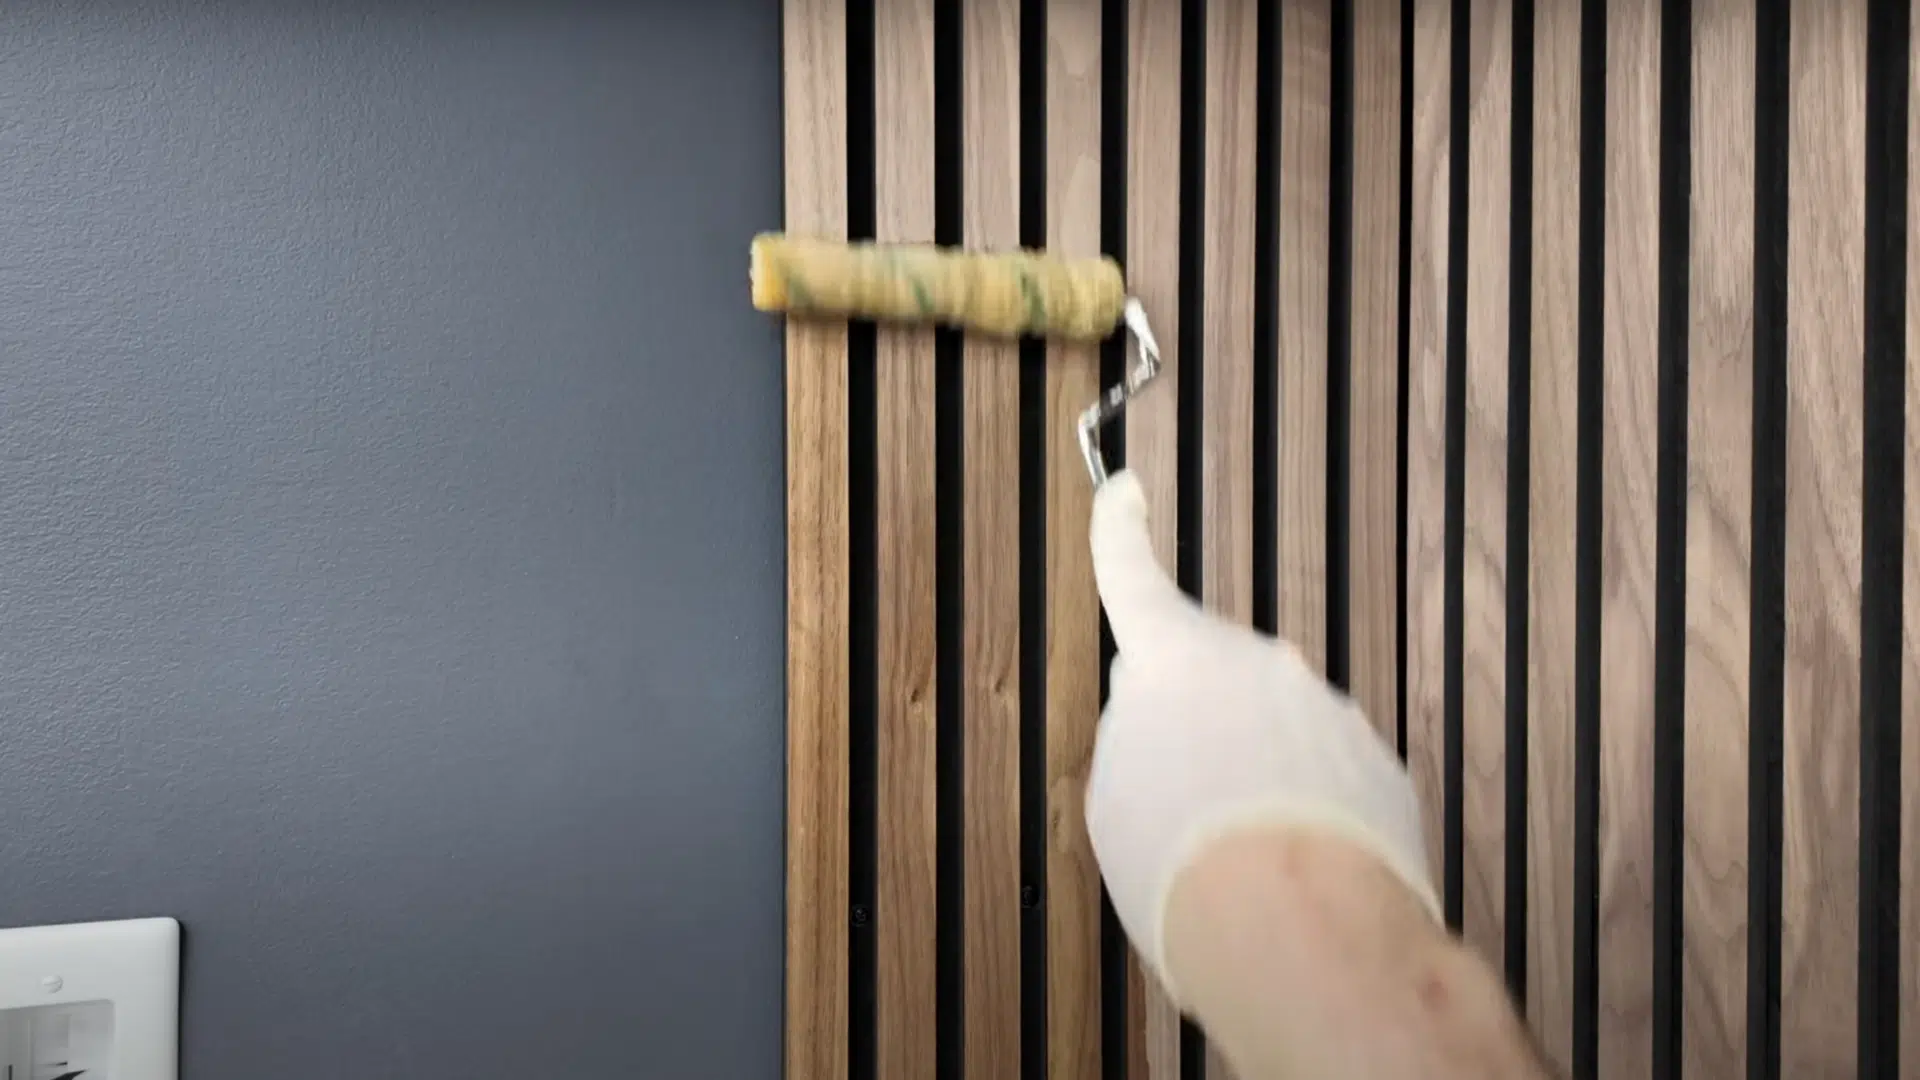
Most wood panels come unfinished. Use a fabric roller to apply a wood stain, wait a few minutes, then wipe off excess with a cloth.
This brings out the grain and gives a finished, high-quality appearance. It also helps protect the panels over time.
Step 8: Use Off-Cuts for Creative Touches
Don’t throw out the leftover slats. Instead, cut, stain, and reuse them in other areas of your space.
Attach them with nails or brads for a consistent, stylish look. Repurposing scraps adds value and reduces waste.
For a visual guide, you can refer to this video by @StevenLanham on YouTube.
Community Discussions
Subreddits like r/HomeImprovement, r/DIY, and r/InteriorDesign frequently feature posts about wood panel walls.
Users share before-and-after photos, product recommendations, and challenges they faced, like dealing with uneven walls or finding the best stain.
One common tip: always check for wall studs before drilling, and don’t rush the planning phase.
DIYers on Quora often focus on the “why” behind wood paneling. Many recommend it for improving room acoustics or covering up damaged walls.
Some also mention the value-add for resale, especially when done with modern, clean designs.
A repeated point of advice: choose your wood and finish based on room lighting and existing decor.
Key Themes Across Platforms:
- Mistakes are part of the process: Most users openly share what went wrong so others can avoid it.
- Budget alternatives matter: Many DIYers use MDF slats or plywood strips to mimic high-end panels.
- Finishing techniques differ: Some swear by staining before installation; others find it easier afterward.
- Support is real-time: Posting a picture of a problem (like crooked lines or outlet gaps) often gets you helpful responses within minutes.
These community discussions provide more than just technical guidance; they offer encouragement, perspective, and sometimes, a healthy dose of humor to keep you motivated through your project.
Tips to Consider
Before you grab your tools, a little planning can make your DIY wood panel wall look even better. These simple tips will help you avoid common mistakes, save time, and get the best results.
- Measure your space first to avoid wasted cuts and materials.
- Use a level to help keep everything straight, especially with slats or grid designs.
- Painting or staining before attaching is easier than doing it after installation.
- Use construction adhesive and nails for a strong and lasting hold.
- Seal wood in humid areas, especially in bathrooms or kitchens.
- Sand rough edges to avoid splinters and give a polished finish.
- Plan your pattern and sketch it out before cutting or installing.
- Starting from the center helps keep designs balanced on the wall.
- Work slowly and carefully. It’s not a race; enjoy the process.
Conclusion
Adding a DIY wood panel wall was one of the most rewarding home projects I’ve done. It gave my room character and made it feel more finished without spending too much.
You don’t need fancy tools or skills, just a good plan and a free weekend. These ideas show how simple wood can turn into something special.
Whether you want a cozy cabin style or something sleek and modern, wood paneling has a place in your home.
I hope these ideas inspired you to try it for yourself. Go ahead and pick your favorite design, and start building a space you truly love. If you do try one, I’d love to hear how it went.

Stephanie Grace, a graduate with a degree in Fine Arts from the Savannah College of Art and Design, has been inspiring DIY enthusiasts with her creative and practical guidance for over 14 years. Her career in design and crafting began in a small artisan workshop, where she developed a passion for transforming everyday materials into beautiful and functional items. Stephanie joined our website in 2018, rapidly gaining popularity for her easy-to-follow DIY tutorials and innovative project ideas. Since then, she has been the creative mind behind our DIY section, helping readers bring their artistic visions to life. Outside her professional pursuits, Stephanie enjoys pottery and urban gardening, hobbies that showcase her love for hands-on creativity and nature.