Mixing tile and wood floors might seem tricky at first. I used to think the same. But honestly, it’s one of the best design choices I’ve made in my home.
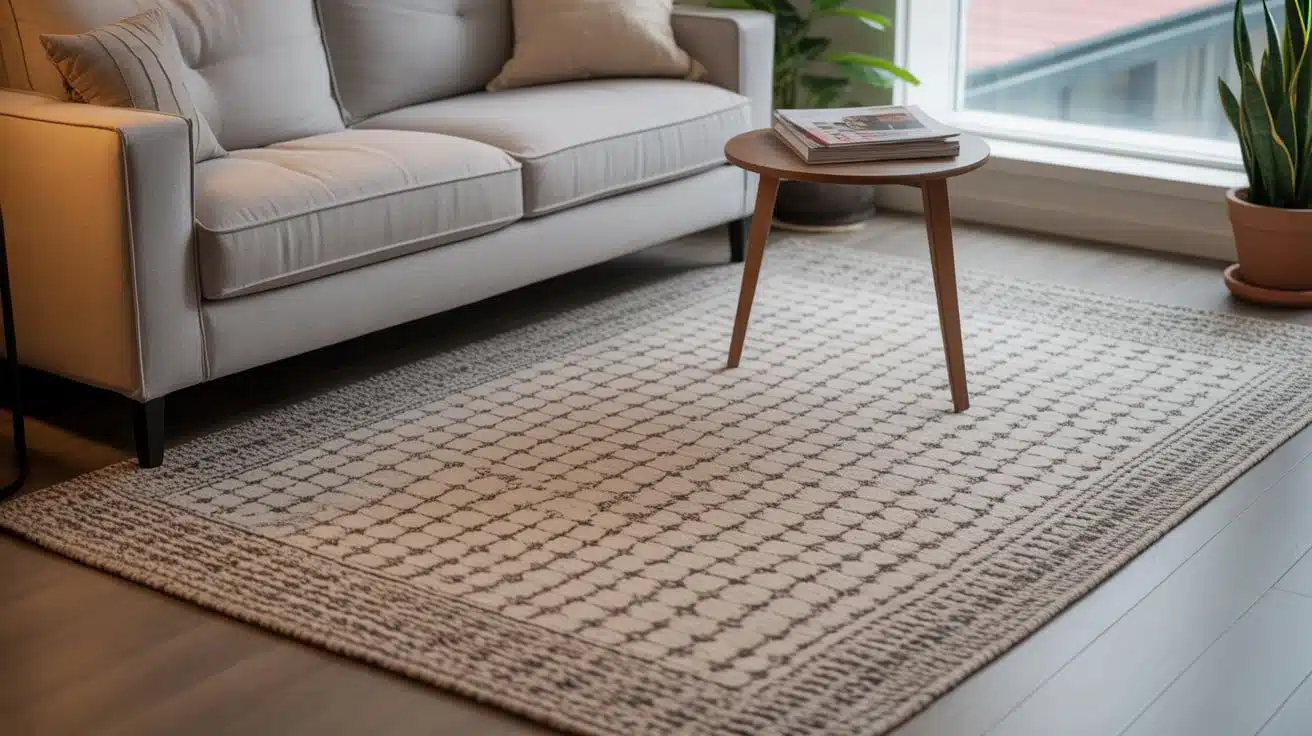
I love having the cozy feel of wood in my living spaces. And I count on the strength of tile in high-traffic areas like the kitchen or entryway.
Whenever someone visits, they’re always surprised, in the best way, by how well the two work together. The secret? Careful planning.
In this guide, I’ll walk you through exactly how I made tile and wood meet without weird gaps or clashing colors. Just clean, stylish floors that flow beautifully from one room to the next.
I’ll show you where to place transitions, how to install them the right way, and what I do to keep everything looking great.
By the end, you’ll feel confident about what to do next. So let’s get started and make your home feel just right.
Benefits of Mixing Tile and Wood Flooring
Combining wood and tile gives you the best of both worlds. Wood adds natural warmth and a soft feel underfoot. Tile brings strength, water resistance, and easy cleaning where you need it most.
You also save money. You don’t have to use hardwood everywhere. Install tile in kitchens and bathrooms, where spills and messes are often common.
The design options are amazing. You can divide big rooms into zones. The textures make your space more interesting. A smart layout can even make rooms feel larger.
Plus, your floors last longer. Tile handles water well, and wood stays safe in dry spots. When used right, both materials remain strong for years.
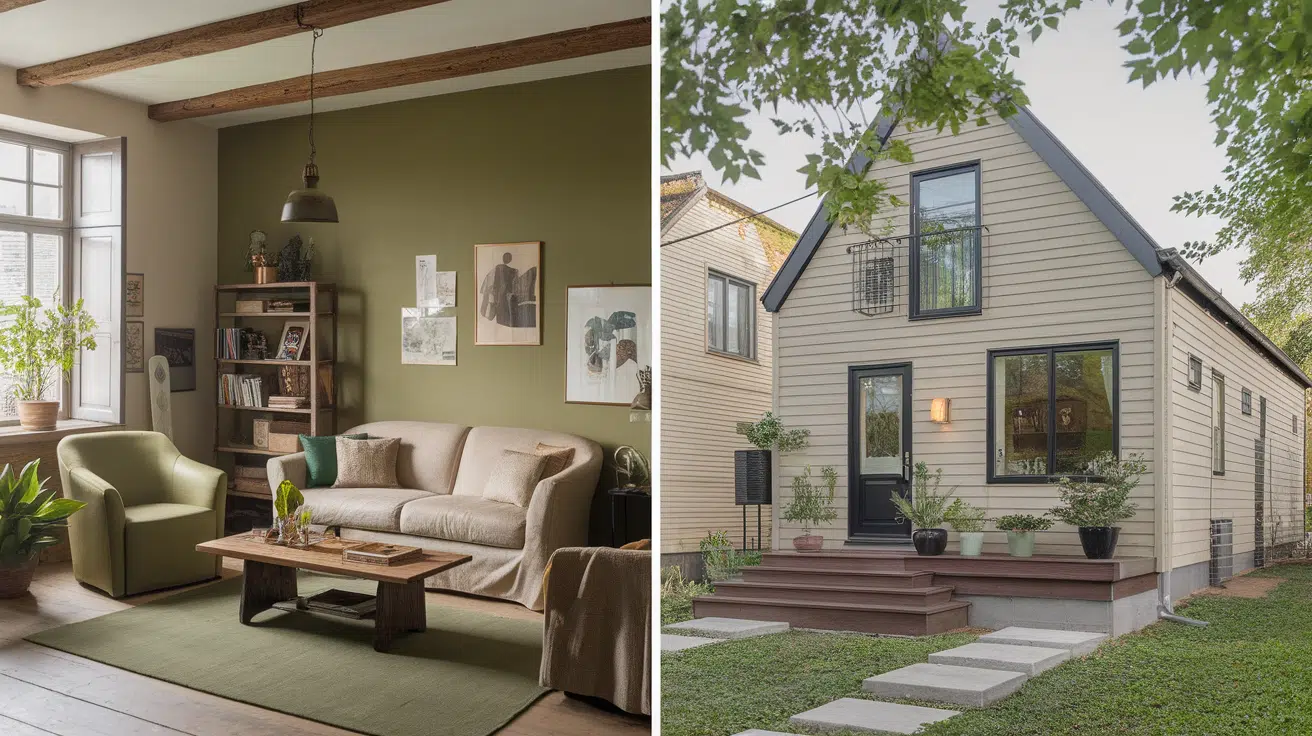
Buyers notice this kind of upgrade. It shows you thought ahead. It adds significant value to your home.
Best Places to Mix Tile and Wood Flooring
Mixing wood and tile is most effective when used in the right places. Choosing smart locations helps the floors look natural and feel practical.
- Entryways – Use tile right by the door to catch dirt and moisture. Switch to wood as you move into the home.
- Kitchens – Keep tile near stoves and sinks for easy cleaning. Let wood take over in eating spaces or breakfast nooks.
- Hallways – Tile holds up better in high-traffic paths. Let the wood branch off into bedrooms and quieter rooms.
- Bathroom thresholds – Tile stays in the bathroom to handle moisture. Wood belongs in the nearby bedroom or hallway.
- Open-concept areas – Use different flooring types to create visual divisions within spaces. It helps define areas like kitchens, dining rooms, and living rooms without the need for walls.
Choosing the Right Wood for a Tile Combination
When I first started mixing tile and wood floors in my home, I thought any hardwood would suffice. However, after some trial and error, I realized that the manufacturer you choose makes a significant difference. Not all engineered hardwood holds up equally well when paired with tile, especially in high-traffic areas like kitchens and entryways, where moisture, heat, and foot traffic put the floors to the test.
For me, engineered hardwood became the more intelligent choice because it’s more stable than solid wood and less prone to warping.
Here are a few things worth keeping in mind when selecting engineered hardwood to pair with tile:
- Look for brands with strong layered construction to reduce warping. Check out this guide by David Santiago on choosing the top engineered hardwood flooring brand.
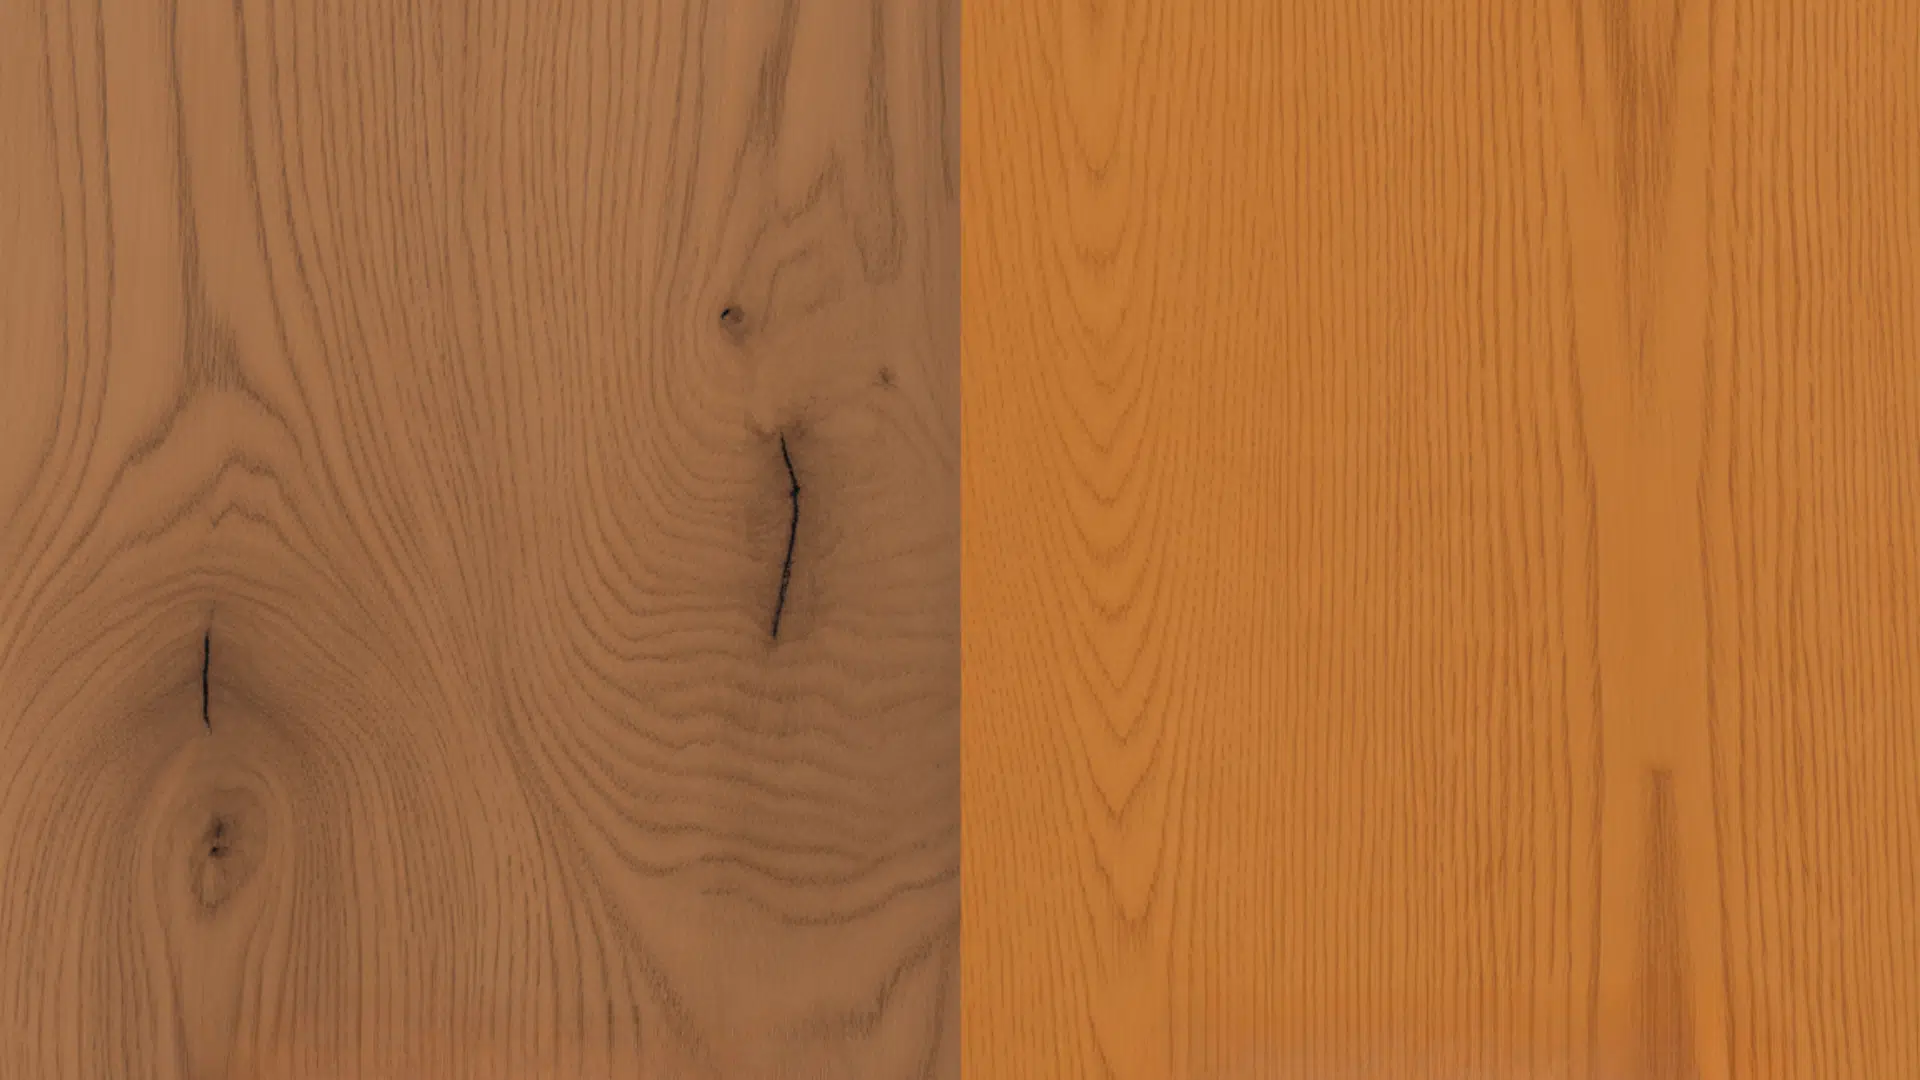
- Choose wood colors that complement your tile rather than compete with it.
- Matte or textured finishes hide wear better when placed next to tile.
- A solid manufacturer’s warranty often signals better quality and peace of mind.
- Some engineered woods refinish better than others, which matters if you’re planning to stay in your home for years.
How to Combine Tile and Wood Flooring
Creating smooth transitions between tile and wood requires careful planning and precise execution. The key is making the change feel intentional rather than accidental.
1. Marking the Transition Area
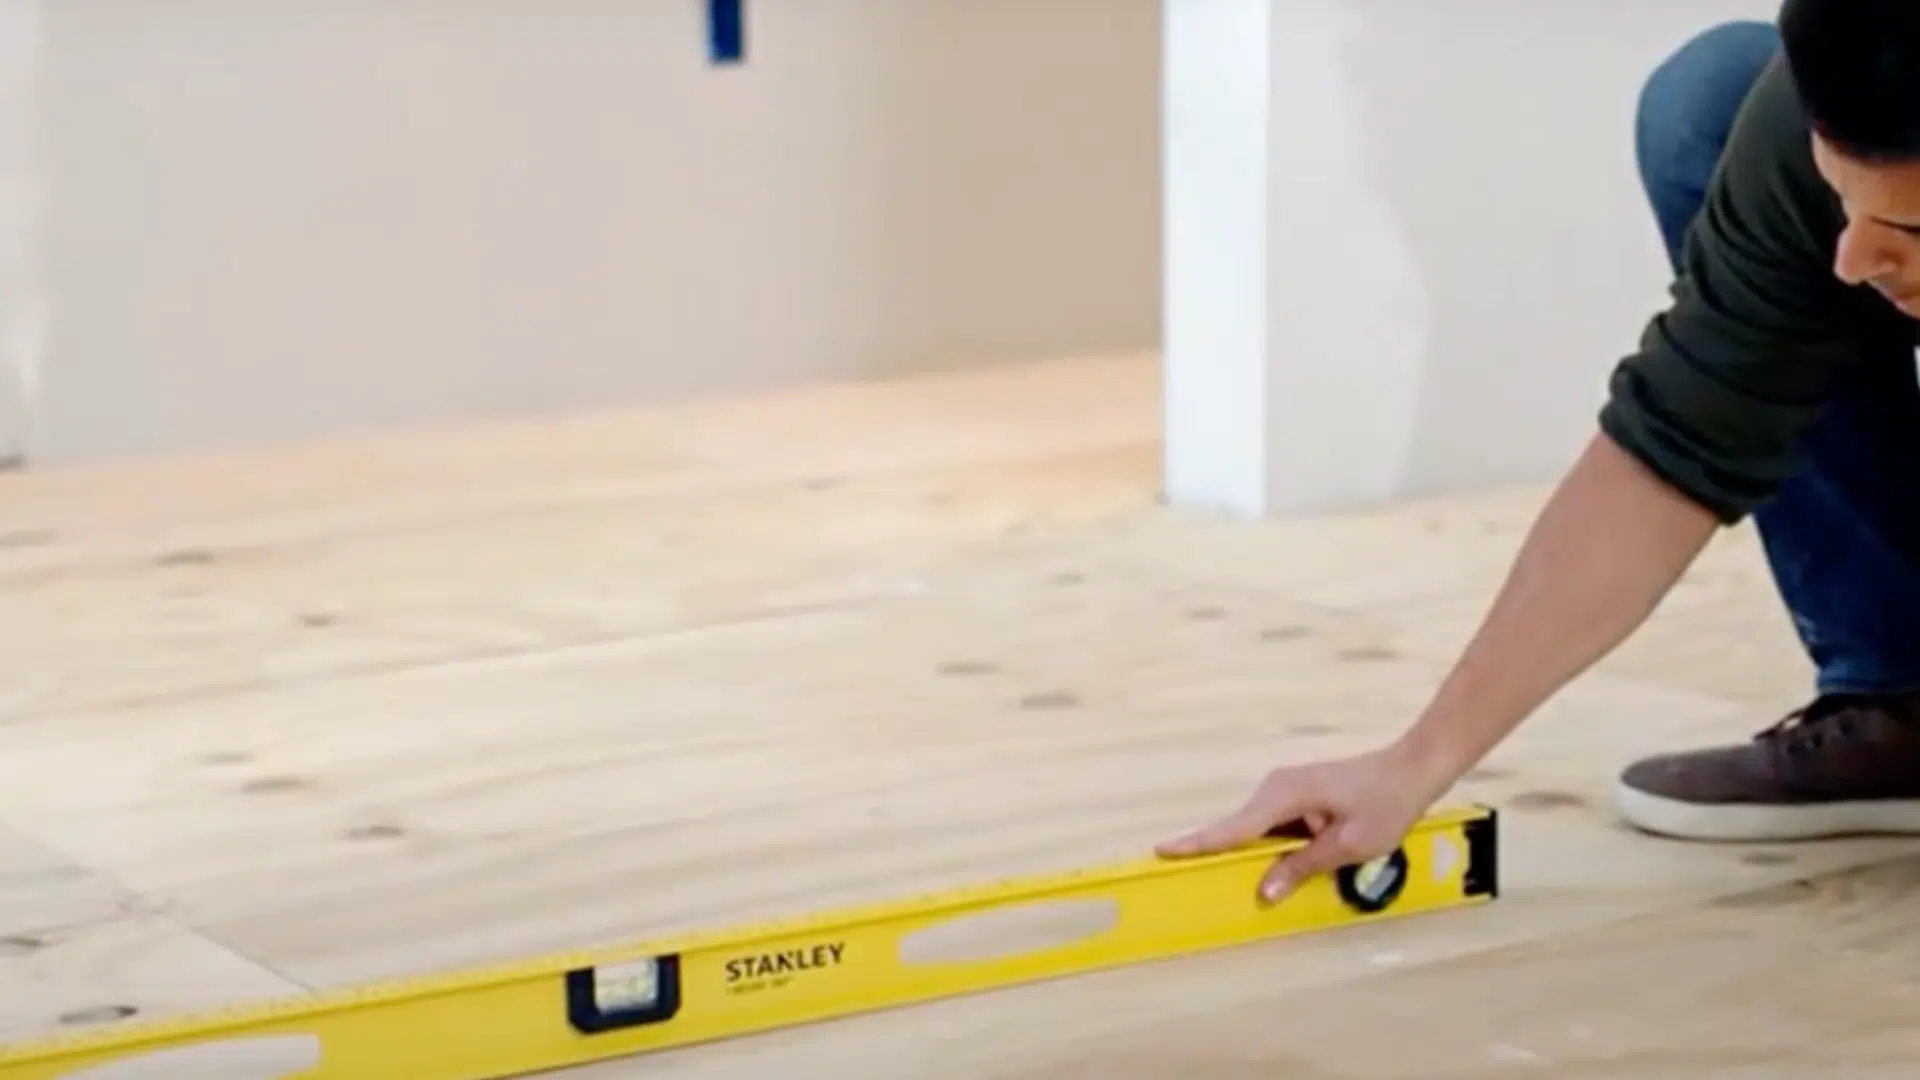
Start by measuring where the tile will stop and the wood will begin. Use chalk lines to keep everything straight and easy to follow.
If your layout has curves, use flexible markers. Always leave a small gap for the wood to expand or contract with temperature changes. Check that the floor is level in both areas.
Address any low or high spots before proceeding. If you skip this step, your flooring may appear uneven.
Double-check all your marks before making any cuts. This step sets the stage for a clean and smooth transition between materials.
2. Laying Out the Tile
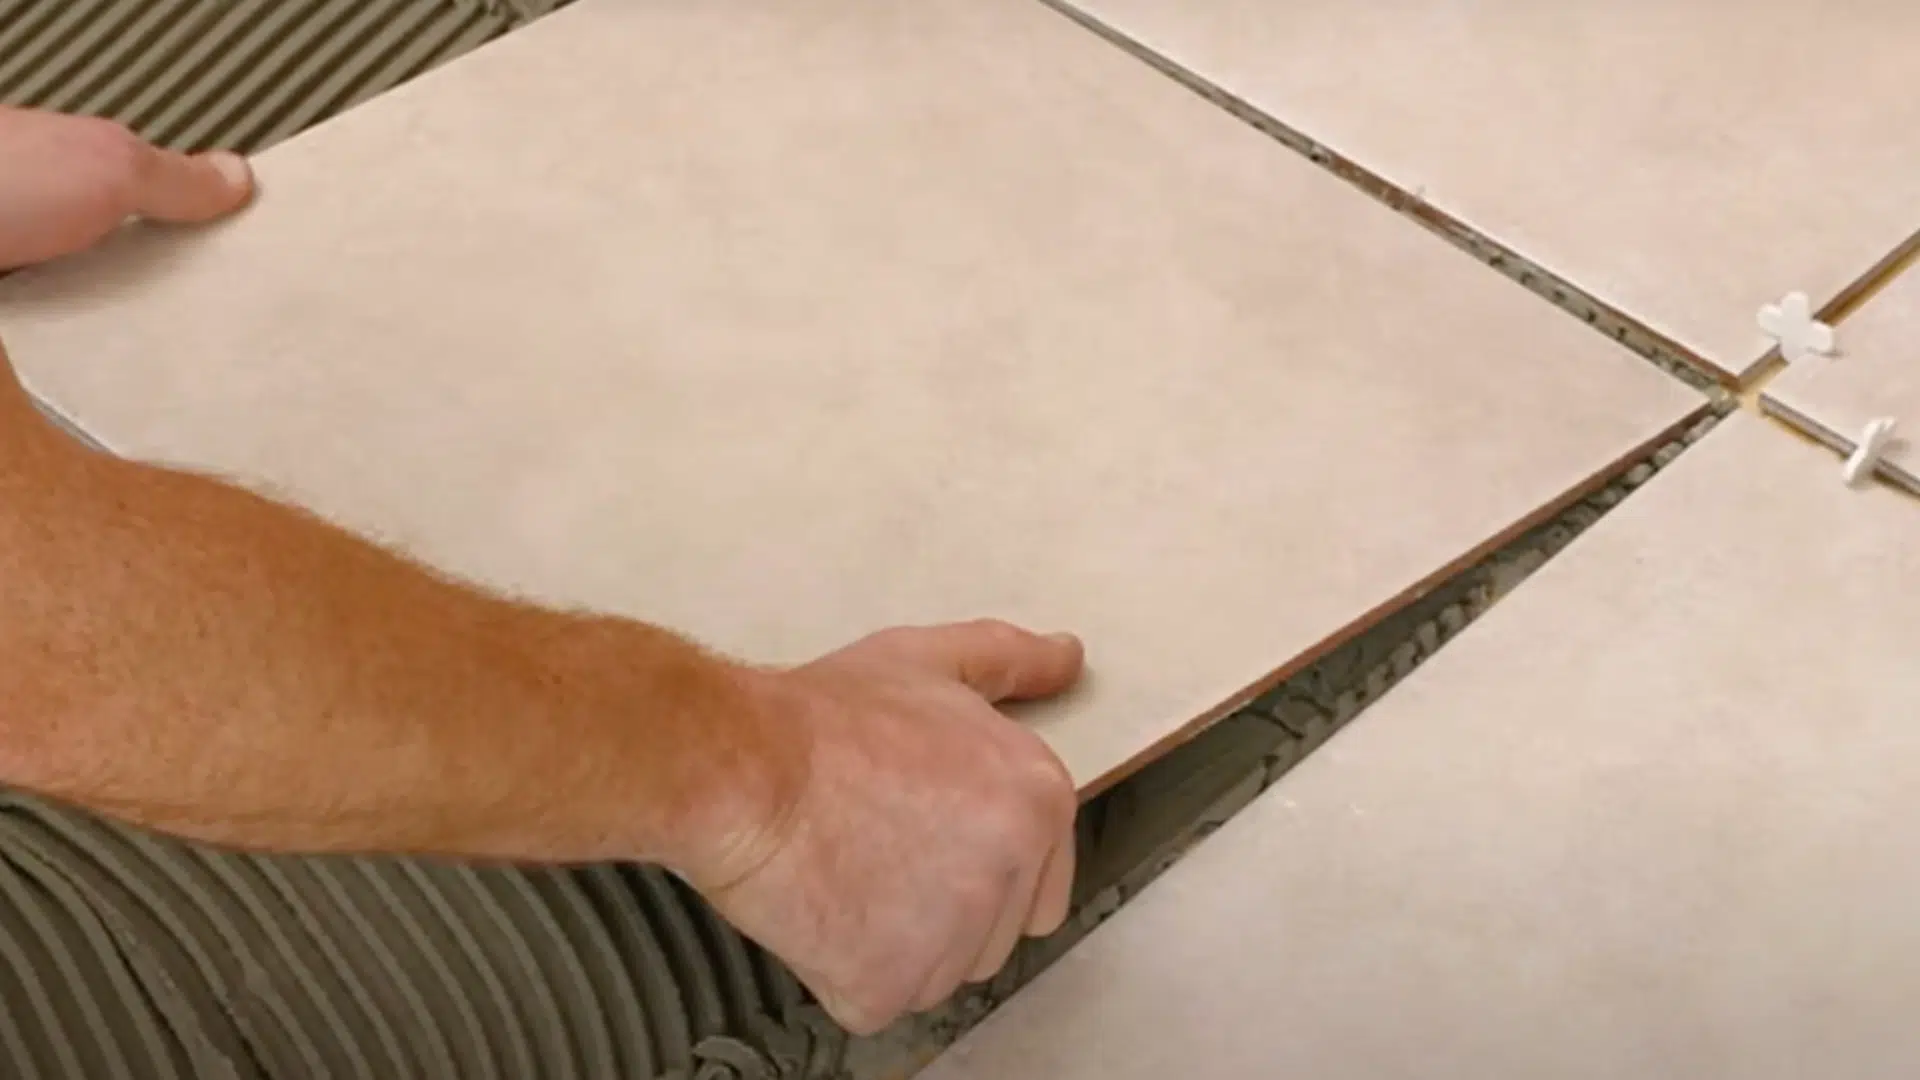
Begin tiling in the spot people will see first. You want full tiles in the visible areas. Place cut tiles near walls or behind furniture.
Lay a few tiles dry first to test your layout. This helps you determine if the pattern appears correct and is properly aligned. Use spacers to maintain even and consistent gaps between tiles.
Don’t rush; this is what makes the job look professional. Only apply adhesive in small areas. Most tile glue dries fast, so work in small sections.
Check frequently to ensure your tiles stay lined up as you proceed.
3. Applying Grout for a Seamless Transition
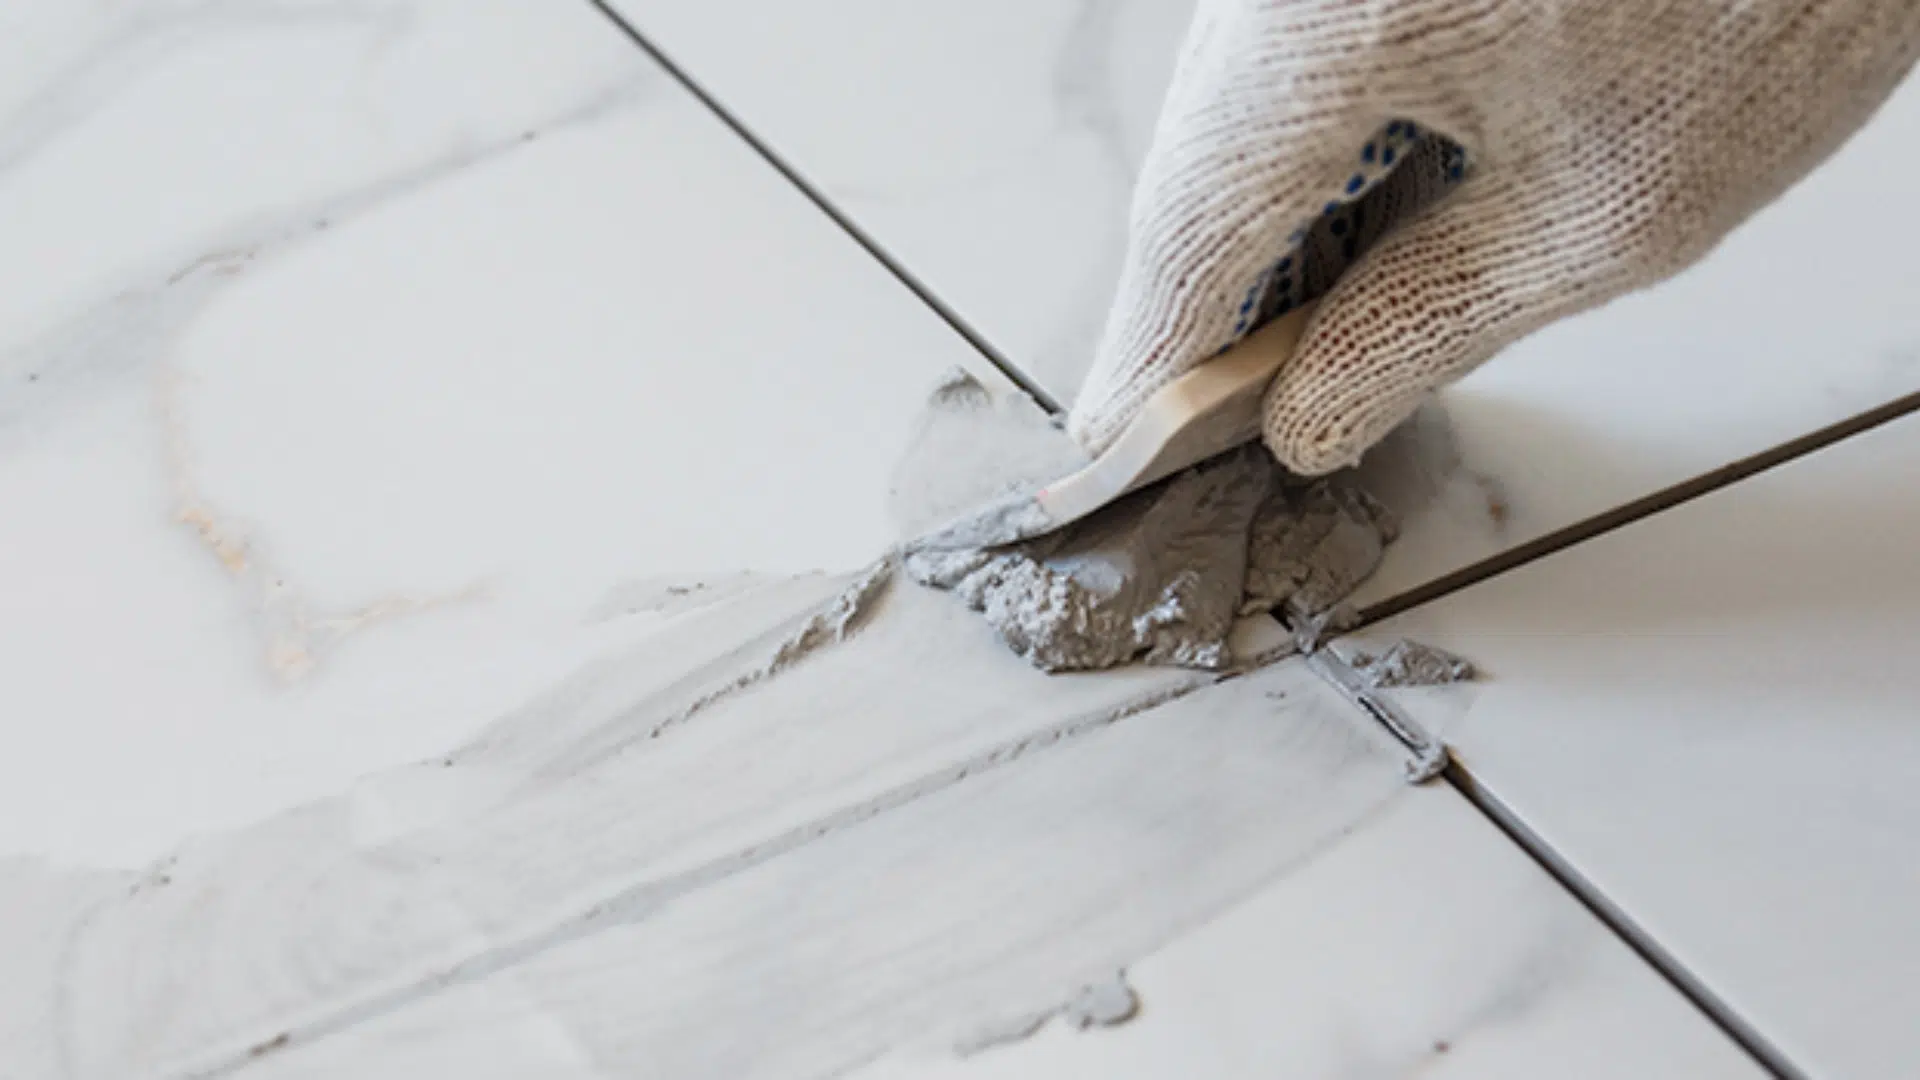
Grout fills the spaces between your tiles. Pick a grout color that either blends in or stands out, depending on the style you want.
Apply it with a grout float, and wipe off any excess grout from the surface quickly. Go slowly at the edge where tile meets wood.
That spot gets the most attention. Use your finger or a special tool to shape a smooth line. Allow the Grout to dry completely before walking on it.
Most Grout needs at least a full day to cure. If you step on it too soon, you’ll ruin it.
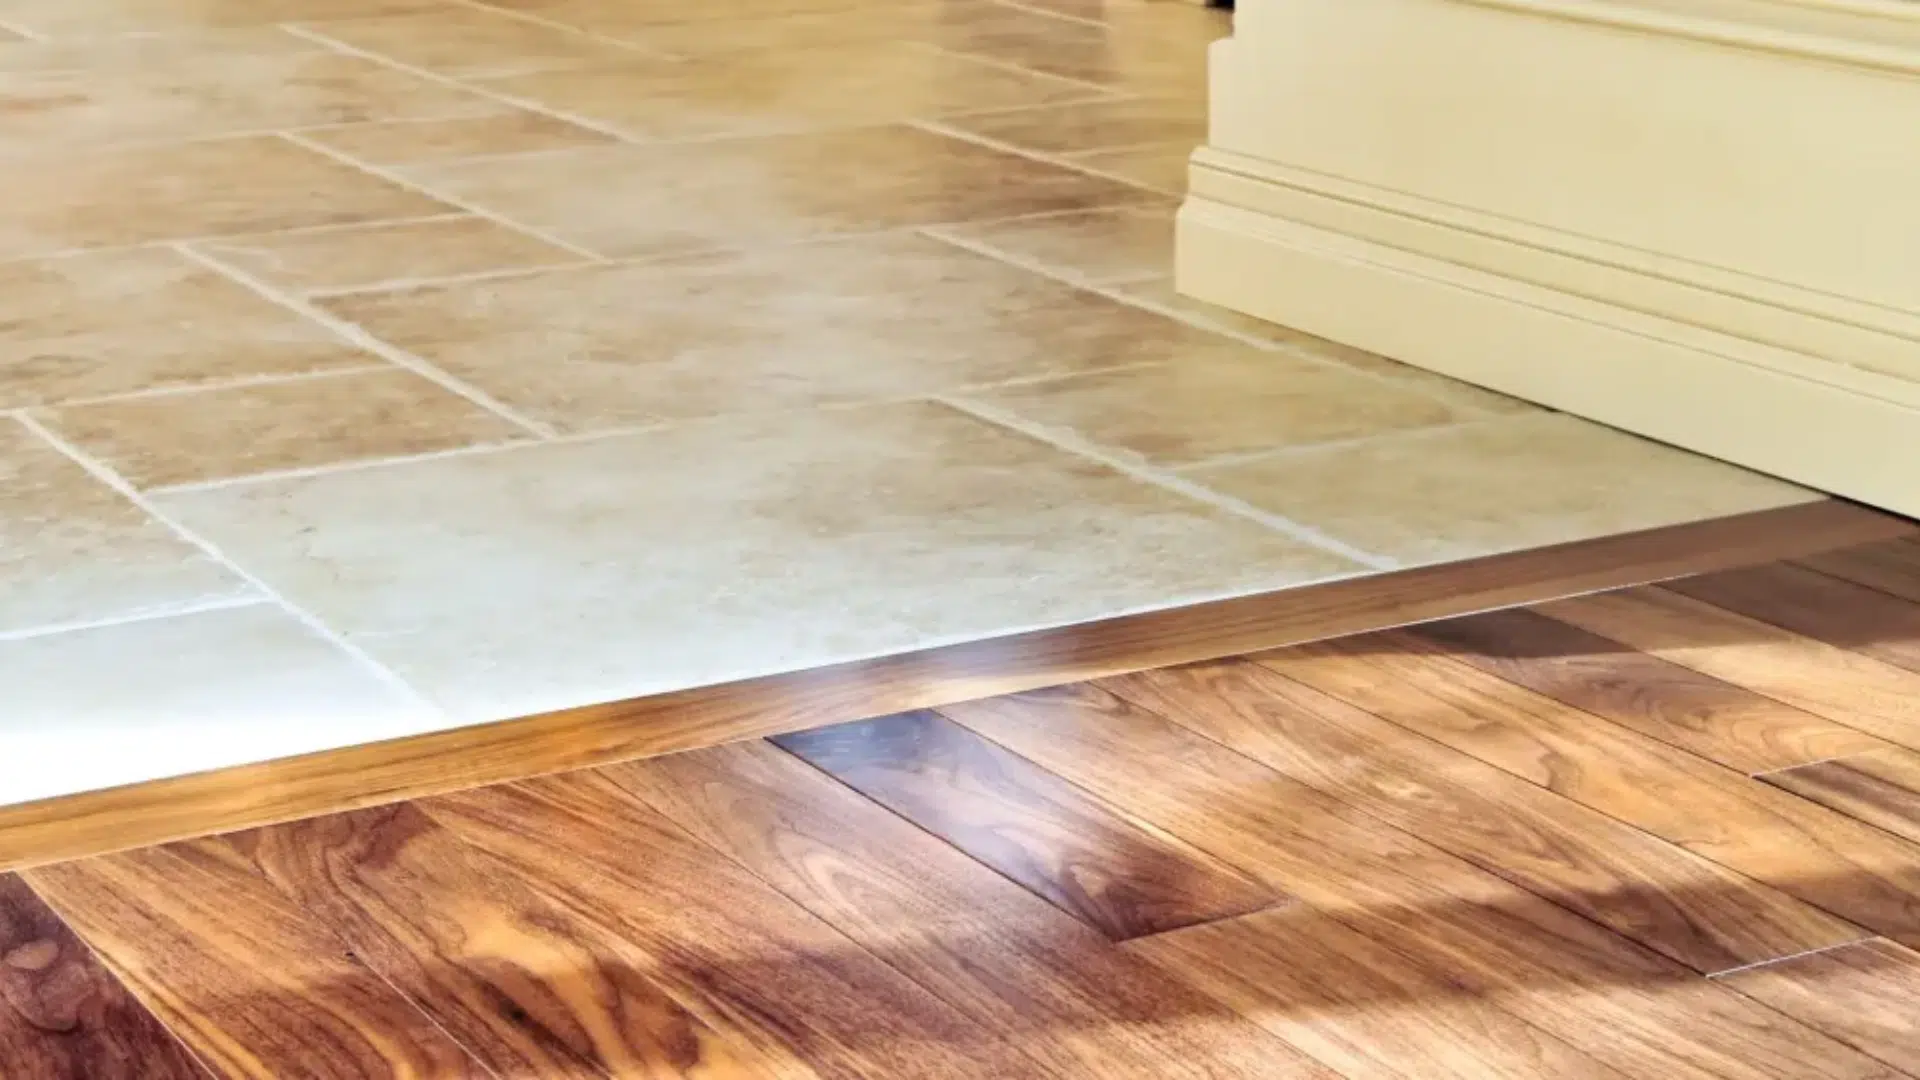
4. Finishing Touches for a Cohesive Look
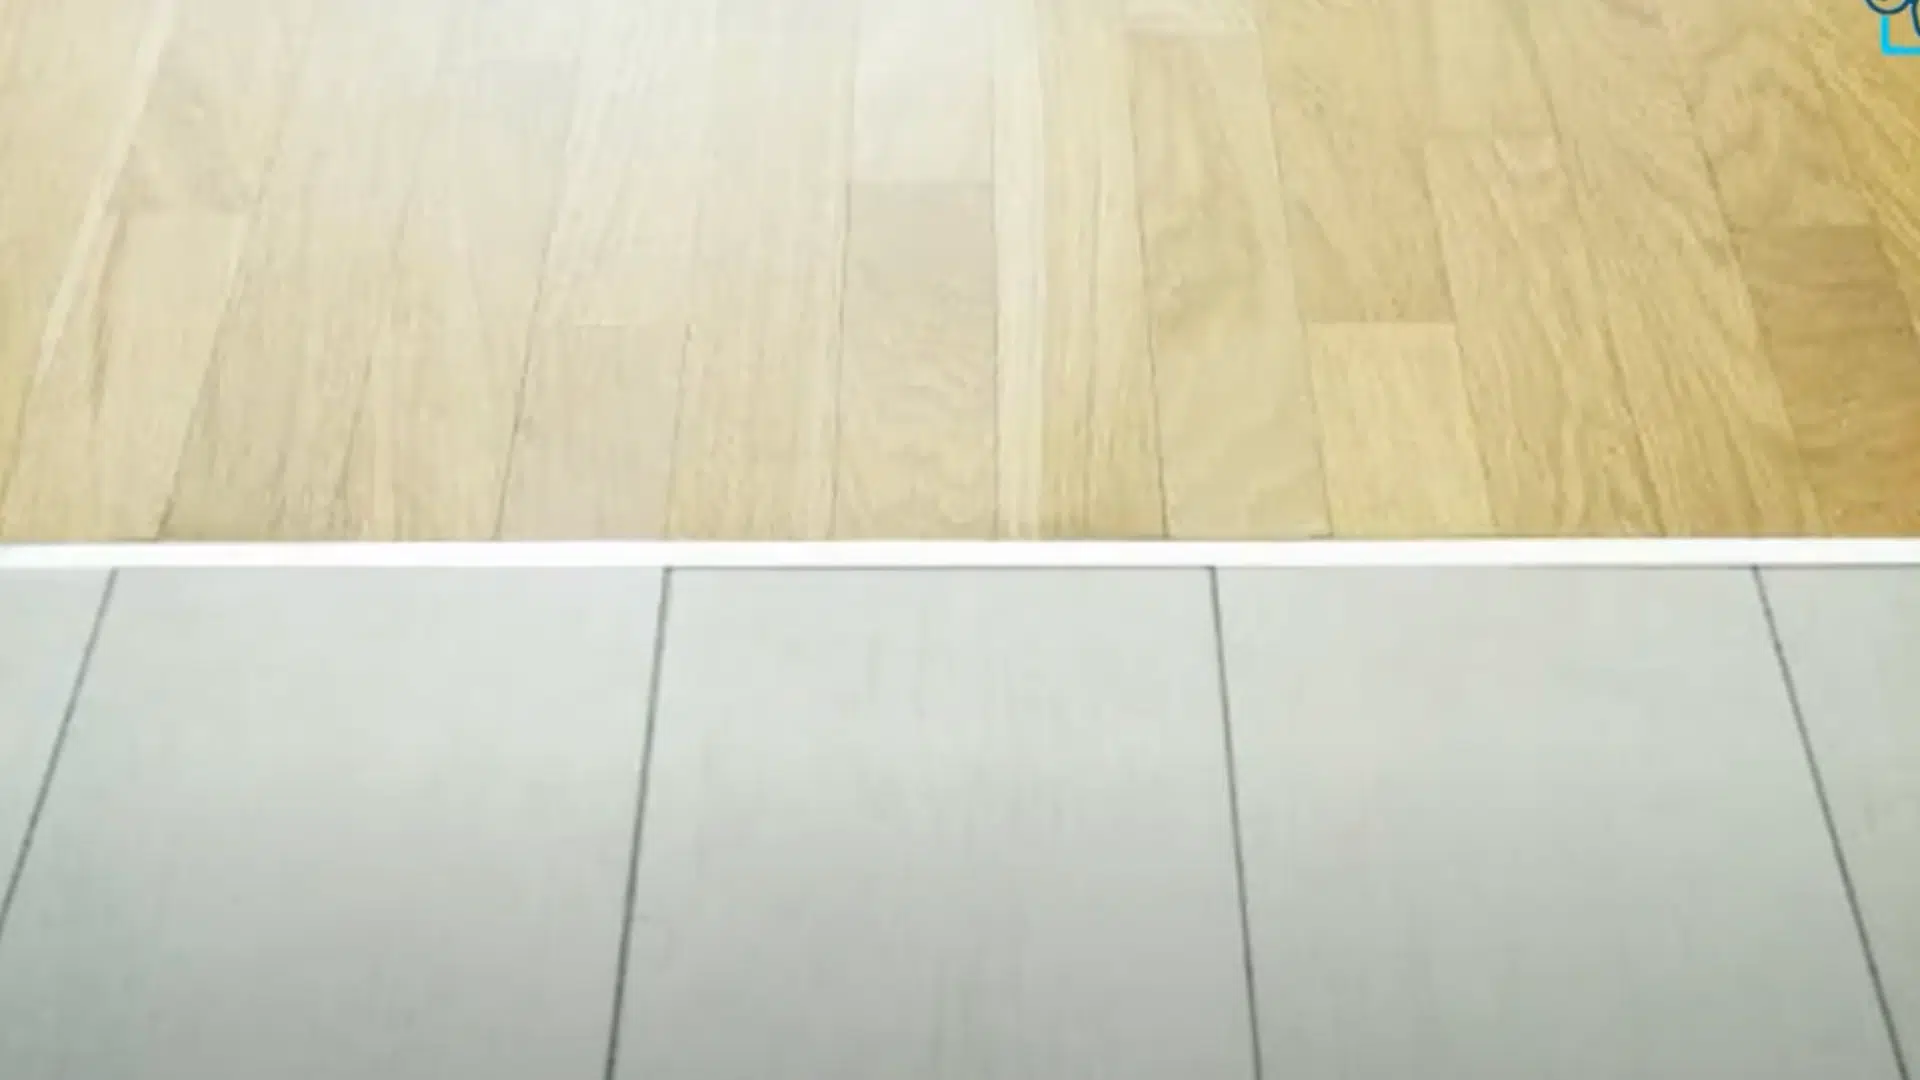
If there’s a height difference between wood and tile, use a transition strip. Choose one that matches your floor materials.
Install it tightly so it doesn’t move. Seal the edge between tile and wood with caulk. This prevents water from entering and causing damage. Clean both floors well when you’re done.
Wipe off glue, dust, or fingerprints. Once clean, the whole space will look polished. Add some matching trim or wall paint if needed.
Small touches like this make everything feel tied together. If you’re aiming for a transition that looks intentional and holds up over time, it helps to follow a pro’s checklist for height differences, transition strips, and edge sealing. Four Point Flooring shares practical guidance on planning clean tile-to-wood transitions and avoiding common flooring finishing mistakes. The better your finish, the more professional it will look.
To better understand the steps, watch this helpful YouTube video by @fixingexpertofficial.
Mixing Tile and Wood Flooring: Installation Tips
Before I mixed tile and wood flooring in my home, I learned that planning makes all the difference. From picking the right transition pieces to double-checking measurements, a little prep goes a long way.
- Plan your timeline carefully. Allow curing time between tile and wood installations.
- Rent pro tools like a tile saw and floor sander. They make the job easier and faster.
- Acclimate wood flooring in the room for 48 hours before installing.
- Check your local building codes. Some projects may need permits.
- Start with the hardest area first. Tackle tricky cuts before you get tired.
Maintenance Considerations for Tile and Wood Flooring
Caring for tile and wood floors takes different tools, cleaners, and routines. Understanding how each surface reacts helps keep your flooring looking great for years to come.
- Use the right cleaner for each surface: Wood needs gentle, pH-balanced formulas. Tile can handle stronger cleaners.
- Refinish wood floors regularly: Plan to refinish every few years to keep them looking their best.
- Clean and seal tile grout: Regular maintenance prevents staining and keeps grout strong.
- Keep indoor humidity stable: It helps prevent wood from warping and tile from cracking.
- Rotate furniture often: This spreads out wear and avoids deep grooves or grout erosion.
- Schedule touch-ups early: Refinish or repair high-traffic areas before visible damage sets in.
Conclusion
Mixing tile and wood flooring gave my home both a nice look and practical strength. When I planned each step carefully, things turned out the way I hoped.
I double-checked my measurements and made sure the materials worked well together before getting started. I also thought about how the space would feel once everything was done.
When something feels a bit tricky, like figuring out the transition, don’t hesitate to ask a pro for help.
From sealing the edges to picking the right trim, the small details really do matter.
If you’re thinking about doing this too, I hope my experience helps. Feel free to share your own project in the comments below.
Frequently Asked Questions
What Type of Transition Strip Works Best Between Tile and Wood?
T-molding works best for even floors. Reducer strips are ideal when there is a height change. Select a style and finish that complements both floor types for a seamless appearance.
Can I Install Mixed Flooring Over Concrete Subfloors?
Yes, but you must install a moisture barrier under the wood. Tile can be laid directly on concrete. Always test the slab’s moisture first to avoid long-term damage.
How Much Does Professional Installation Cost for Mixed Flooring?
Expect to pay $8–15 per square foot. Costs rise with complex patterns or transitions. Always get at least three estimates to compare quality, timelines, and pricing.
Which Rooms Should Never Have Mixed Flooring?
Avoid using mixed flooring in tiny bathrooms or closets. It can feel cramped or chaotic. Stick to open spaces where natural transitions make sense and add a touch of style.

Millie Anderson, a graduate of Textile Design from the Fashion Institute of Technology, has carved her name in fabric and material finishes for over 16 years. Her career took flight in a renowned textile manufacturing company, where she mastered combining textures and patterns. Millie joined our team in 2018, becoming a cornerstone for readers interested in the latest trends in textiles. Since then, she has been the lead editor for our home decor fabrics section, blending her deep knowledge of materials with a flair for contemporary design. Beyond her professional achievements, Millie is an enthusiastic quilter and often participates in community arts and crafts workshops, further nurturing her passion for fabrics and design.