Is your basement floor dull and uninviting? A fresh coat of paint can make a world of difference. Many homeowners struggle with this task, unsure where to start or what steps to take.
But don’t worry – painting your basement floor isn’t as hard as you think. In this guide, we’ll show you how to turn that gray slab into a stunning feature of your home.
You’ll learn the right techniques, tools, and tips to achieve a professional-looking finish. By the end of this post, you’ll be ready to tackle your basement floor project with confidence.
Let’s get started on transforming your space from dreary to dazzling!
Tools Checklist For Painting Basement Floor
| Tool | Usage |
|---|---|
| Trowel | For applying concrete patching compound to fill cracks. |
| Grinder or Power Sander | To smooth the patched areas and any raised surfaces. |
| Vacuum Cleaner | To thoroughly clean the floor by removing debris and dust. |
| Mop | Wash the floor with detergent and rinse it clean. |
| Paint Rollers | Applying primer and paint evenly over the large floor area. |
| Painter’s Tape | To protect the walls and edges from unwanted paint. |
| Paint Tray | To hold and distribute the paint while applying it. |
| Paintbrushes | For cutting in edges near walls and tight areas. |
| Roller Covers | To ensure smooth and consistent paint application. |
| Dehumidifier or Fan | Drying the floor and maintaining a low moisture environment are also necessary. |
Step-By-Step Guide to Paint a Basement Floor
Step 1: Control the Moisture
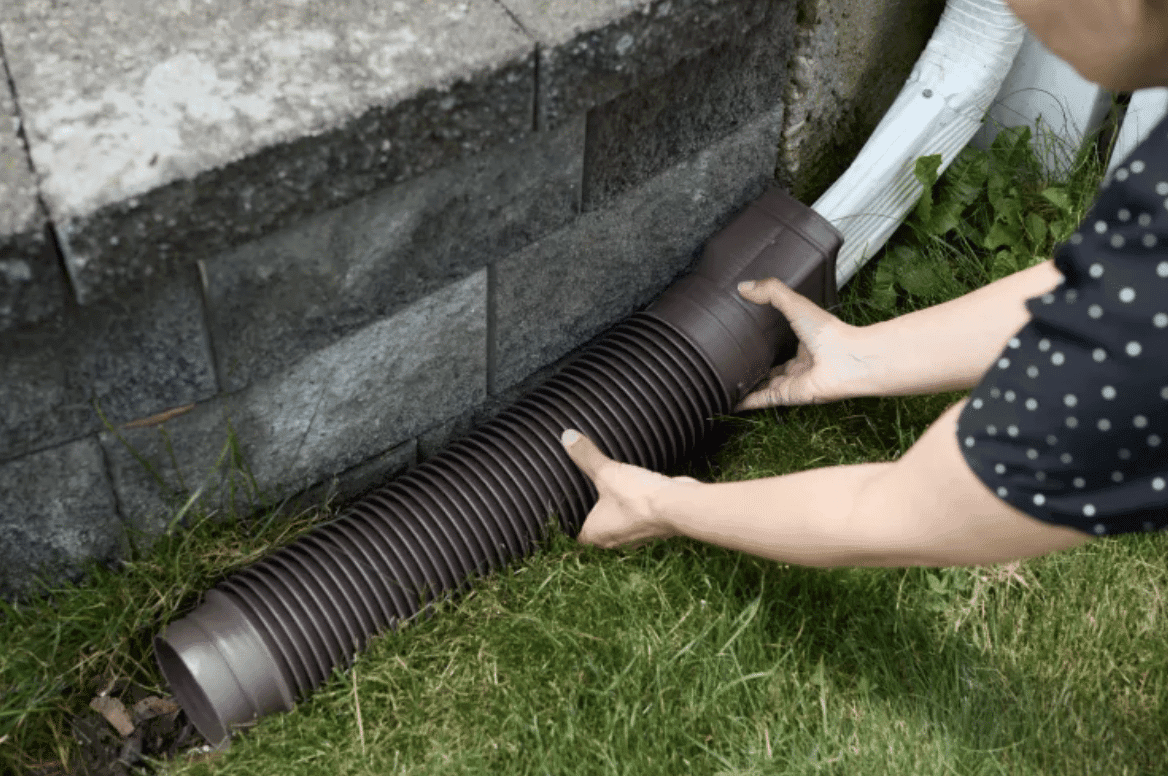
Before painting your basement floor, it’s crucial to manage moisture. Check the foundation for any water issues. Make sure your gutters are clear and working well. If you have a sump pump, verify it’s in good condition.
Using a dehumidifier is key. It helps dry the area and keeps moisture levels low. This step is vital for the paint to stick and last longer.
Step 2: Fill the Cracks
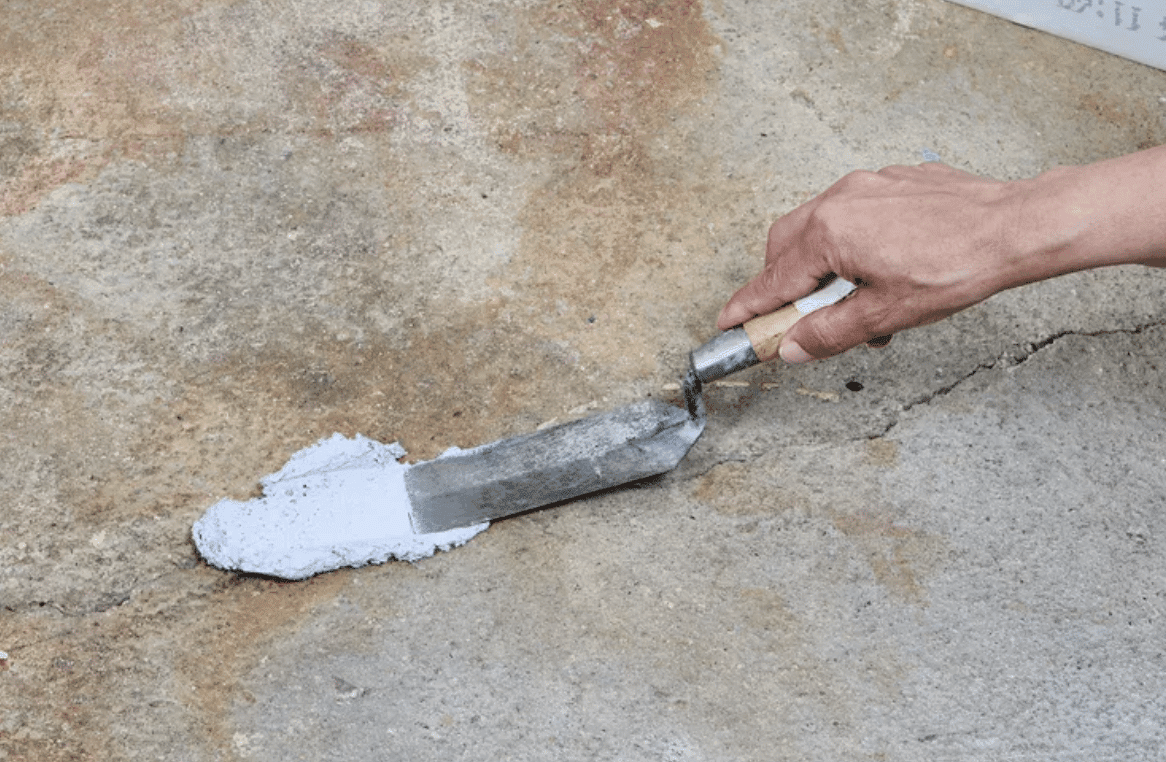
Look for any cracks in your concrete floor. Use a concrete repair compound to fill these gaps. Apply the compound with care, making sure to cover all cracks fully.
Let the compound dry completely. Depending on the product and conditions, this may take several hours or even a day.
Step 3: Prepare a Smooth Painting Surface
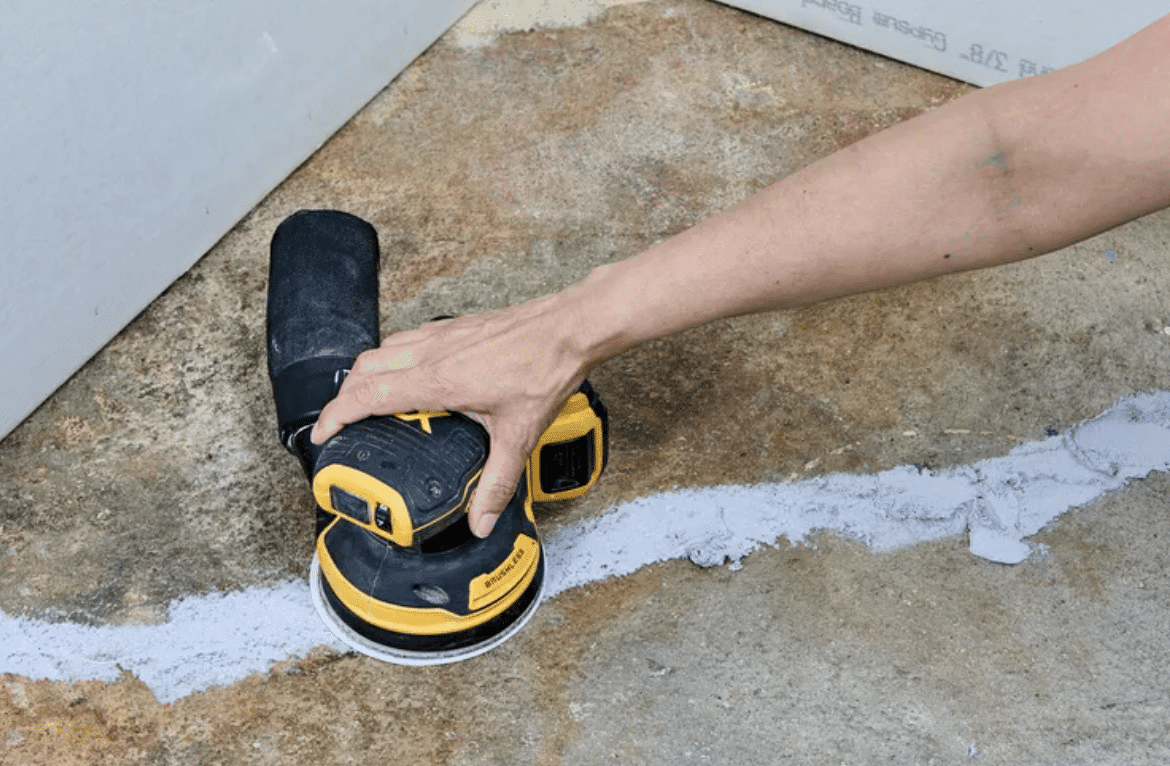
Once the repair compound is dry, it’s time to smooth things out. Use sandpaper to level any patched areas or raised spots on the floor. This step is important for two reasons:
- Safety: A smooth floor reduces tripping hazards.
- Look: An even surface leads to a better-looking paint job.
Take your time with this step. A smooth base is key to a great result.
Step 4: Clean the Floor
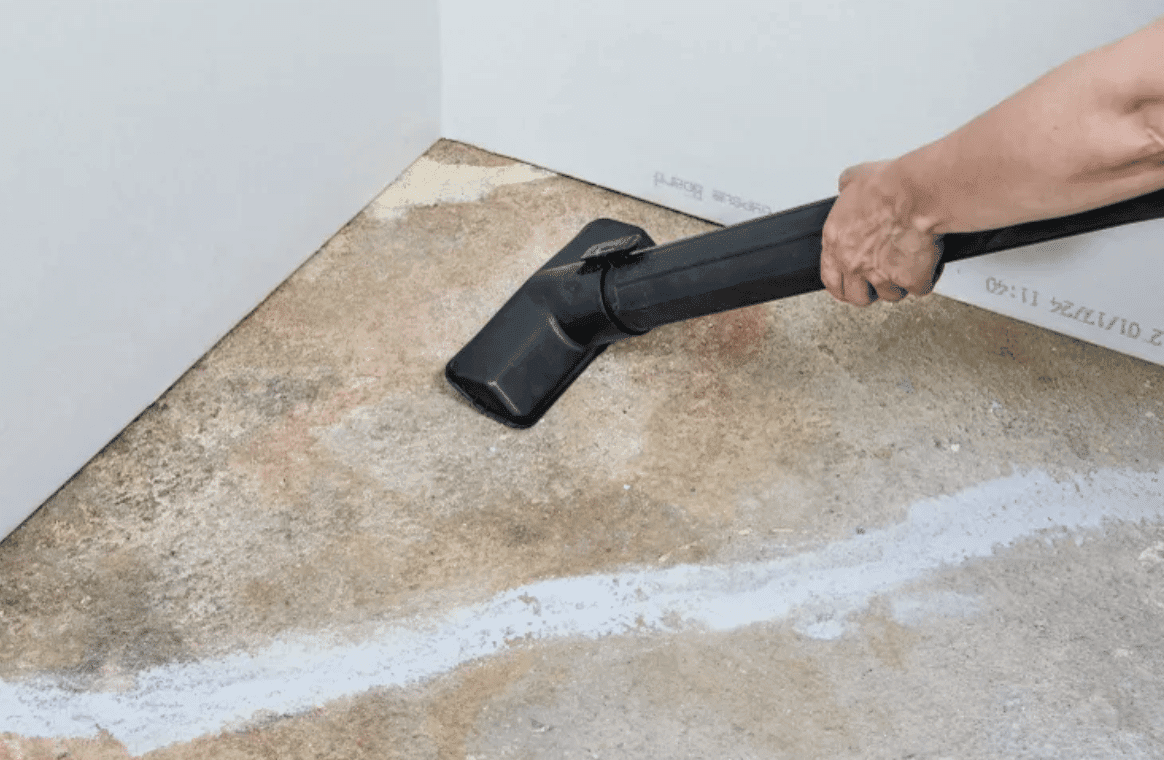
Now, it’s time to clean. Start by sweeping or vacuuming the entire floor to remove all loose debris. Next, mop the floor using a mild detergent and water. Rinse well to remove any soap residue or fine dust.
A clean floor ensures the paint will stick properly and last longer.
Step 5: Dry the Floor
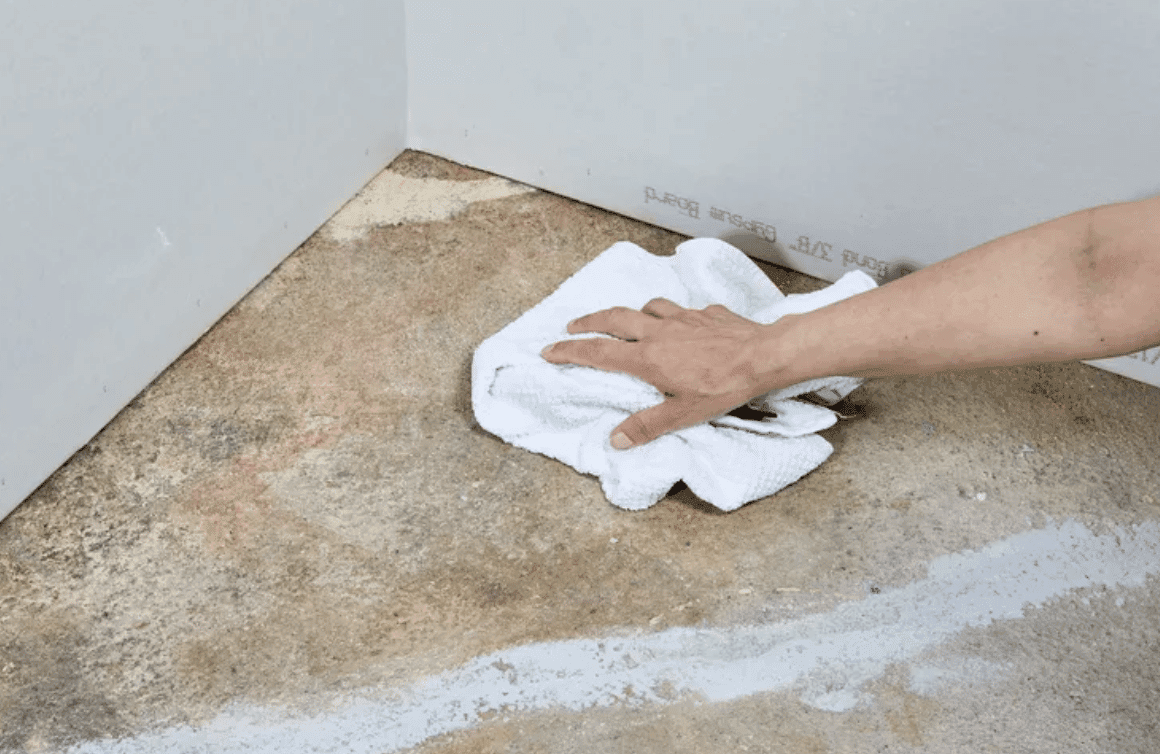
After cleaning, use old towels to soak up any visible water. Then, run a dehumidifier or fan for 24 hours to ensure the floor is completely dry.
Painting on a damp floor can lead to poor results, so don’t skip this step.
Step 6: Apply Painter’s Tape
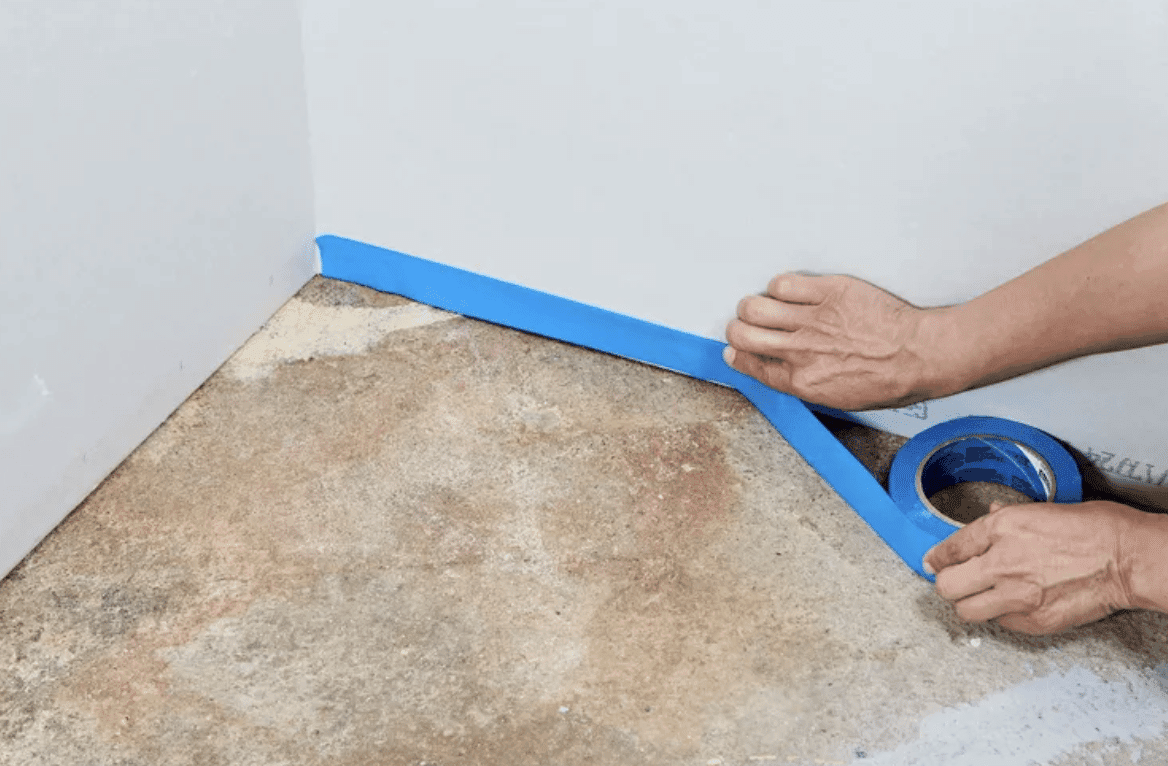
Protect your walls by applying painter’s tape along the edges where they meet the floor. This step helps create clean lines and prevents paint from getting where it shouldn’t.
Take your time to apply the tape straight and press it down firmly.
Step 7: Prime the Floor
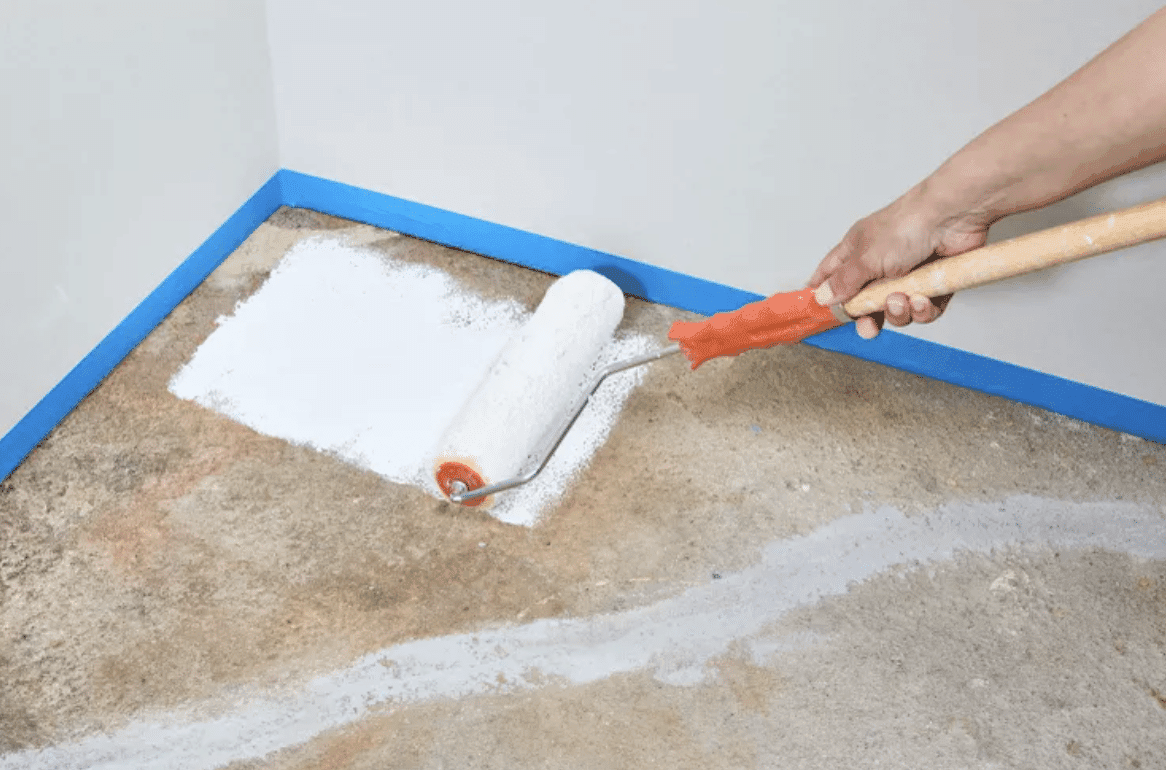
Start applying primer from the wall farthest from the door, working your way towards the exit. Use long, even strokes for the best coverage. If you notice any bubbles or puddles, roll over them with a mostly dry roller to smooth them out.
Allow the primer to dry for 24 hours before moving on to painting.
Step 8: Mix the Paint
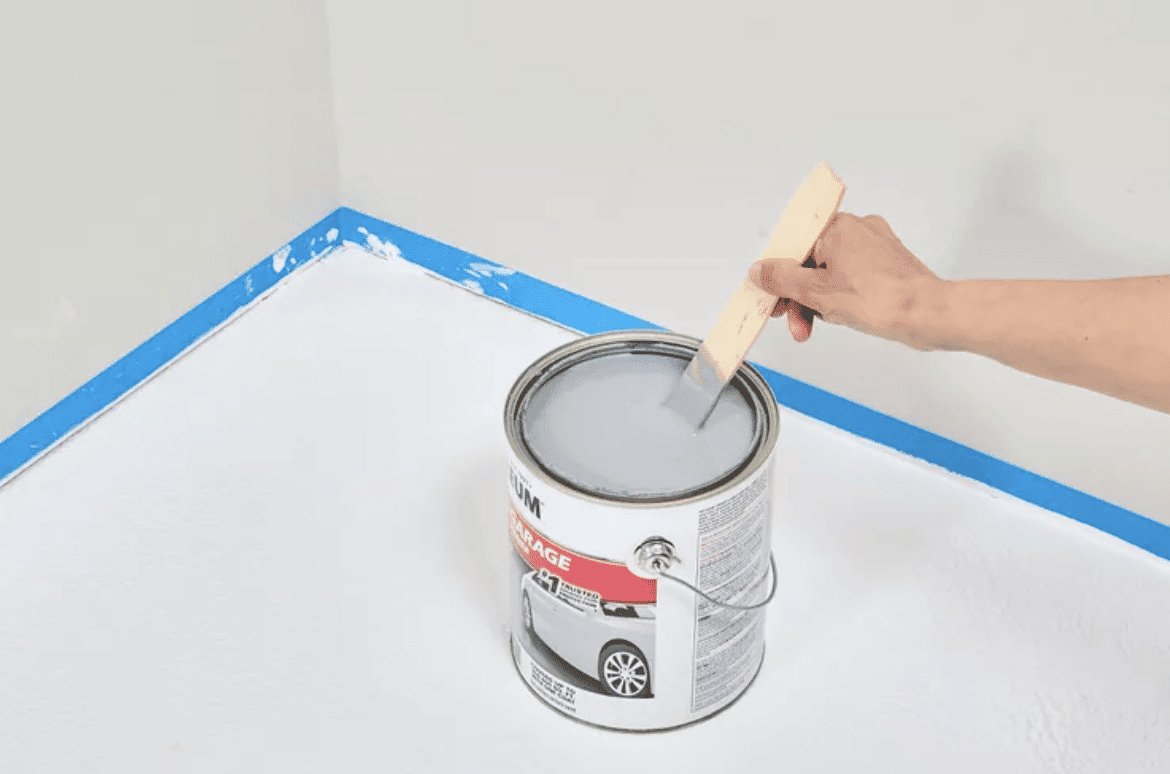
Follow the instructions on your paint can carefully. If you’re using a two-part epoxy paint, mix only what you can use quickly. These paints start to harden soon after mixing.
For one-part floor paints, stir or shake well to mix the pigments evenly.
Step 9: Cut in the Edges
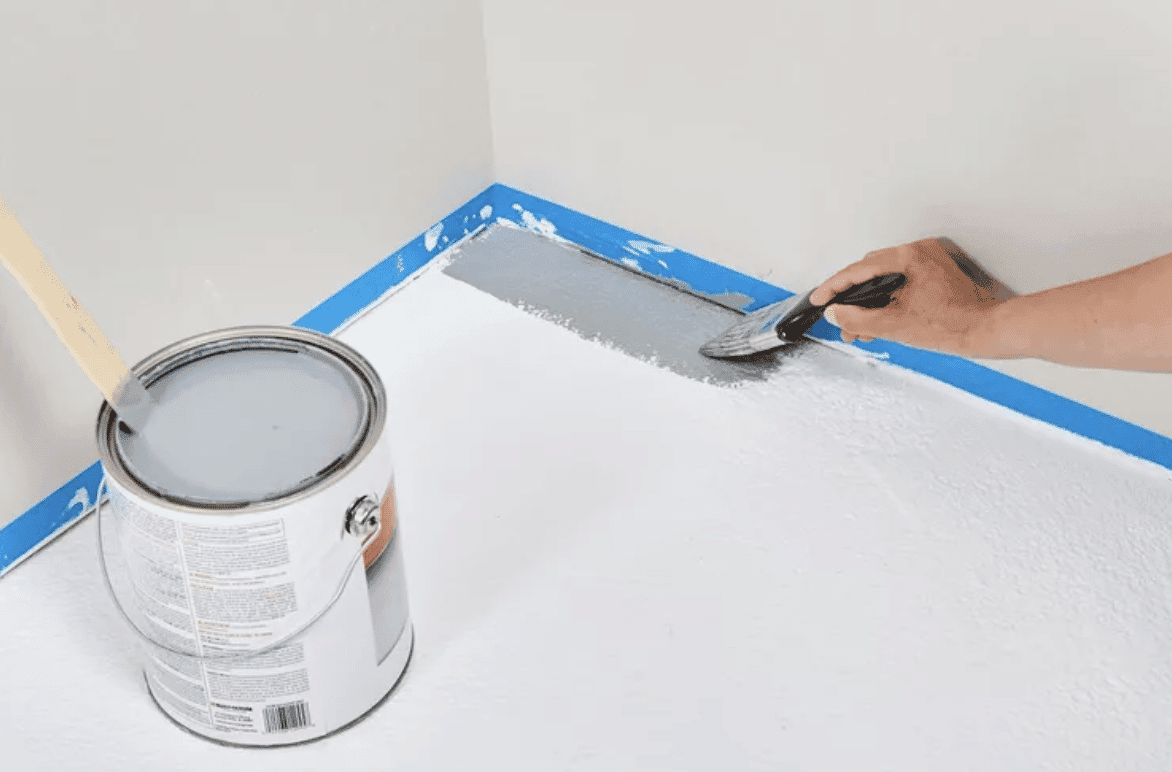
Use a paintbrush to paint the edges of the floor next to the walls. Start at the far end of the room and work towards the door. This technique, called “cutting in,” helps ensure a neat finish.
Step 10: Paint the Floor
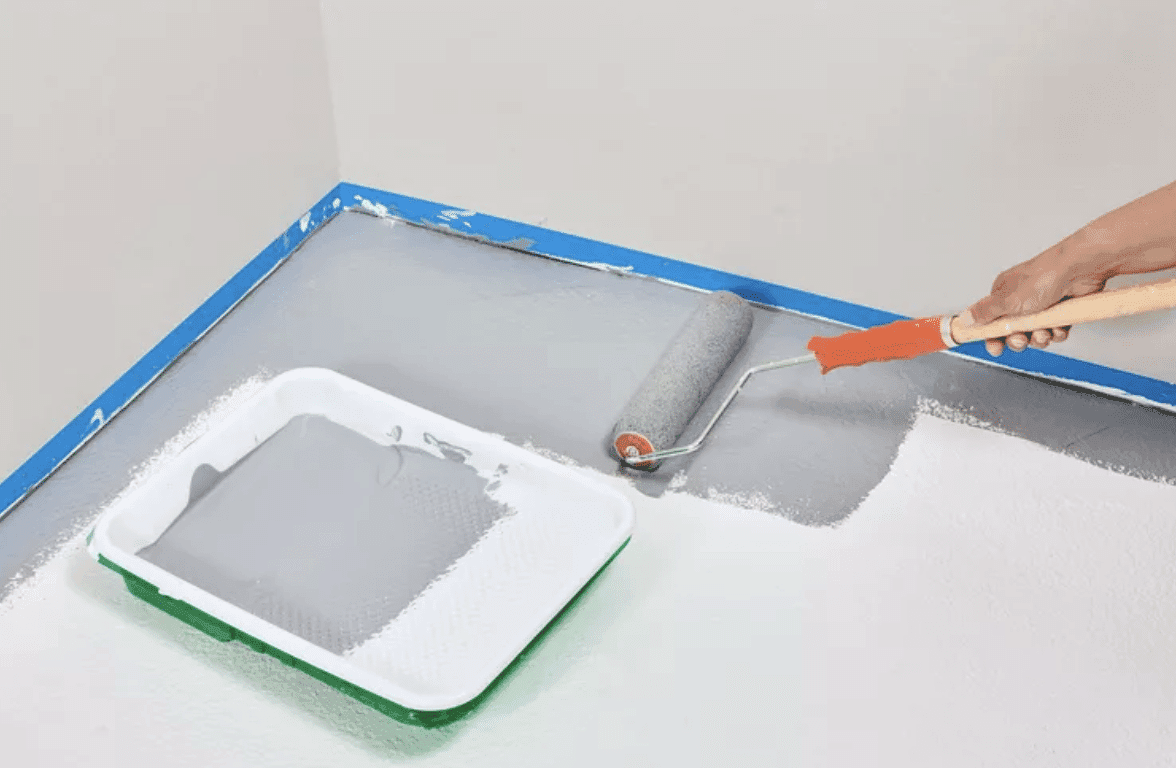
Now for the main event. Use a paint roller to cover the large areas of the floor. Start at the furthest point from the door and work your way out. Apply the paint evenly to avoid streaks or patches.
Ensure your coat is as flat and seamless as possible for the best look.
Step 11: Apply a Second Coat of Paint
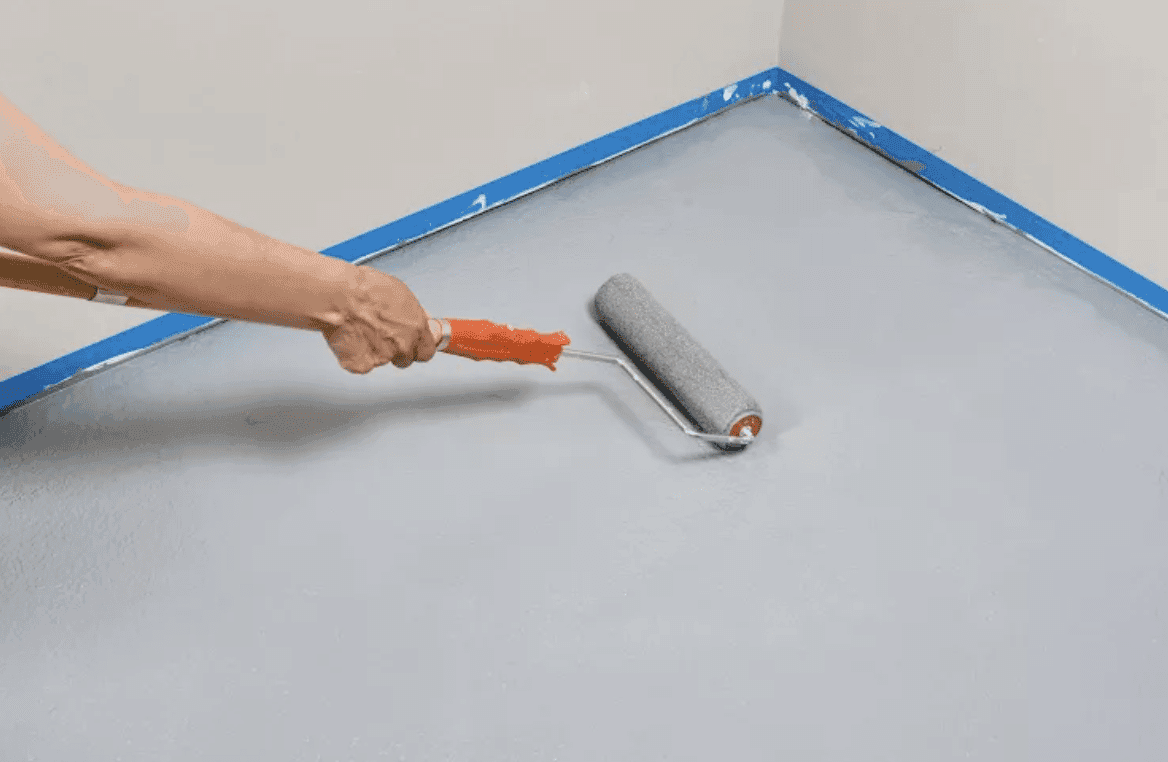
Let the first coat dry fully. This usually takes 12 to 24 hours but may be longer if humid. Once dry, apply a second coat following the same method.
This second coat adds durability and a more even color.
Safety Considerations
Ventilation is crucial when painting basement floors. Use an N95 respirator, open windows, and set up fans to create airflow.
Keep the room temperature between 50 and 90 degrees Fahrenheit for the best drying conditions.
Do not use space heaters while painting, as many floor paints are flammable. Also, it’s wise to turn off gas water heaters or furnaces during the painting process.
When to Call a Professional
If you notice severe moisture problems or many large cracks in your floor, it might be best to call in an expert. Basement waterproofing pros or general contractors can help solve these issues before you paint.
Also, a professional painting team can be a good choice if you’re short on time. They have industrial-grade equipment to speed up the drying process and can often complete the job more quickly.
How Often to Repaint Basement Floors
A well-applied coat of two-part epoxy paint can last 10 to 20 years. The lifespan depends on how much foot traffic your basement gets. Less use means the paint will last longer.
To keep your painted floor looking good:
- Clean spills promptly.
- Sweep or vacuum regularly.
- Use felt pads under furniture legs.
- Avoid dragging heavy items across the floor.
With proper care, your painted basement floor can look great for many years.
Conclusion
Painting your basement floor can transform a dull space into a lively area. We’ve walked you through the process, from prepping the surface to applying the final coat. Remember, proper preparation and patience are the keys to a successful paint job.
Following these steps, you can create a durable, attractive floor that lasts years. Remember that while this project requires time and effort, the results are worth it.
Your newly painted basement floor will look better and be easier to clean and maintain. Whether you’re creating a new living space, a home gym, or want to refresh your basement, a well-executed paint job can make all the difference.
Happy painting!

