

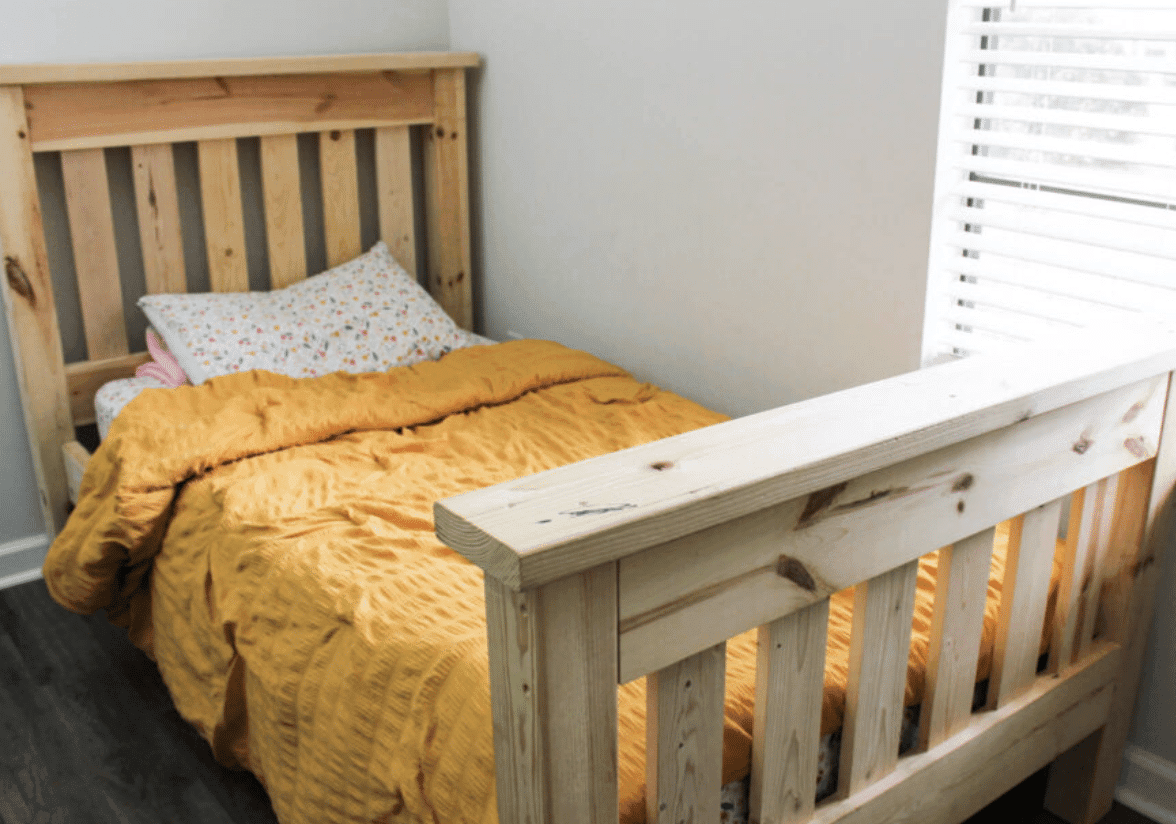
Are you looking at your bed frame and wishing it had a fresh look? We get it. Painting a bed frame can seem like a big task, but it doesn’t have to be.
You can give your bedroom a makeover without breaking the bank with the right steps. We’re here to help you turn that plain wooden frame into a showstopper.
In this guide, we’ll walk you through the process of painting a bed frame, from prep work to the final coat.
You’ll learn which tools you need, how to choose the right paint, and tips for a smooth finish.
By the end, you’ll have the know-how to transform your bed frame and breathe new life into your bedroom.
Understanding the Basics of Bed Frame Painting
Bed frames come in all shapes and sizes. The most common ones are made of wood or metal. Each type needs a little different care when painting.
Wood frames soak up paint, so they often need more coats. Metal frames can be slick, so they might need a special primer to help the paint stick.
Picking the right paint is key to a great-looking bed frame. For wood frames, use paint made for wood – it bends and moves with the wood as it changes with heat and cold.
Metal frames do well with paint that fights rust. If your frame is a mix of materials, look for all-purpose paint that works on both. The finish matters, too.
A glossy paint makes cleaning easier but shows more flaws. Matte paint hides flaws but can be harder to clean.
Think about how you’ll use the bed and pick a paint that fits your needs.
Preparing the Bed Frame
Step 1: Clean the Bed Frame
A clean frame helps the paint stick better. Dirt or old paint can easily make your new coat look bumpy or chip.
For wood frames, use mild soap and water. Metal frames might need a degreaser. Wipe down every part with a damp cloth, then dry clean.
Let the frame dry fully before moving on. Give it a once-over to catch any missed spots or tough stains that need extra scrubbing.
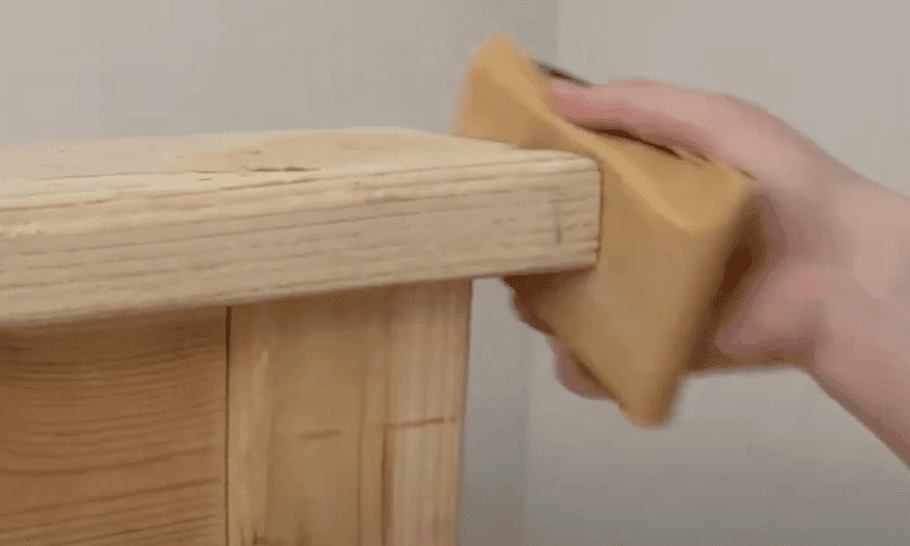
Step 2: Sanding the Surface
Sanding makes the surface smooth, so paint can stick well. It also helps remove old paint or finish for a more even look.
Choose your sandpaper based on your frame’s condition. For rough spots or old paint, use coarse grit. For smoother areas, use fine grit.
Sand in the direction of the wood grain to avoid scratches. Use the same pressure all over to prevent dips. When you’re done, wipe off all the dust with a clean cloth.
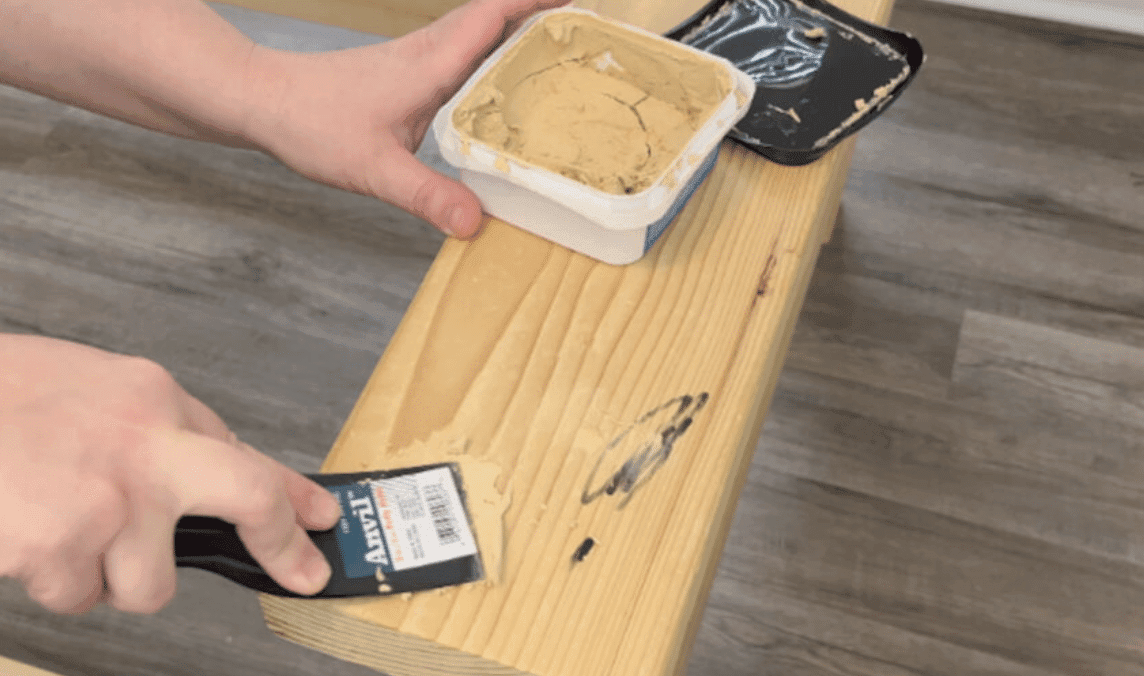
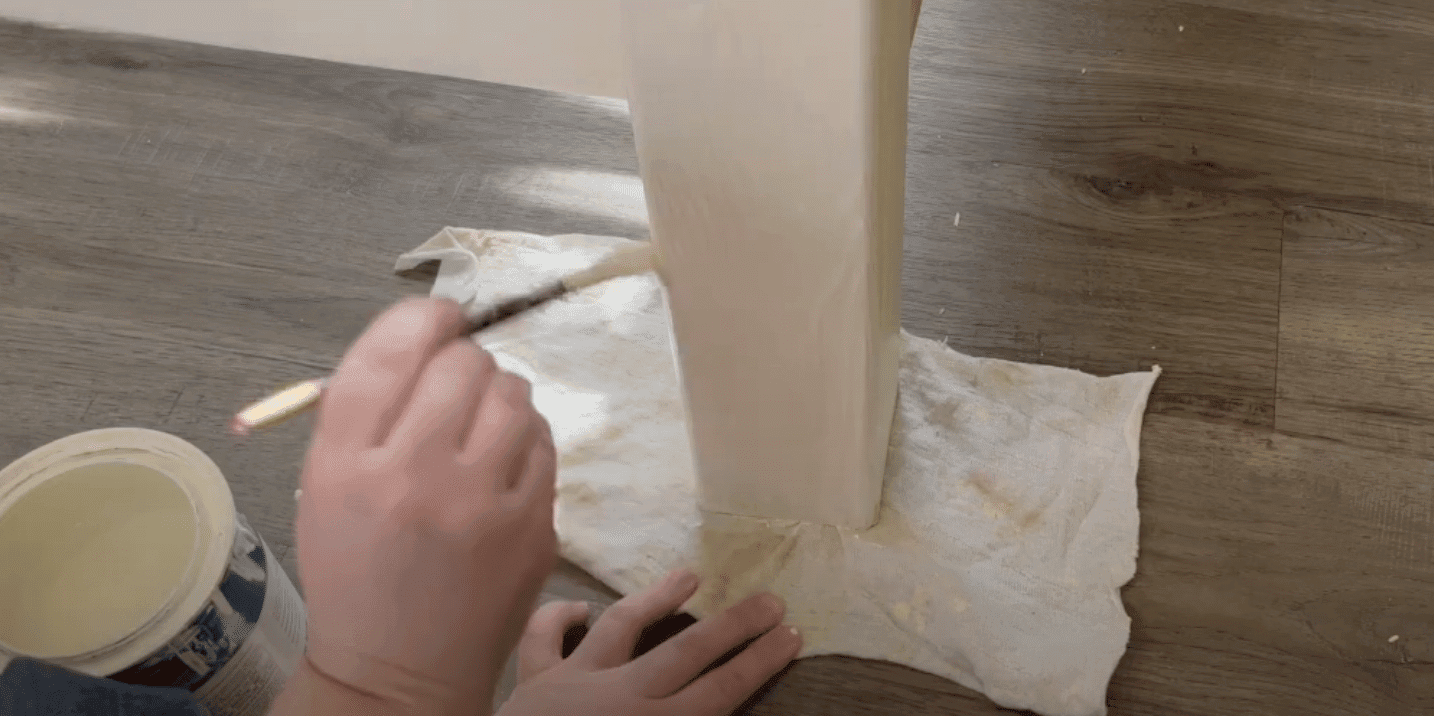
Step 3: Apply Primer
Primer helps paint stick better and last longer. It also makes the color look even, especially if your frame had old finishes.
Choose a primer that fits your frame. Wood frames need wood primer, metal frames need metal primer, and if your wood has knots, you might need a special sealing primer.
Apply the primer in even strokes, covering everything—even small gaps. Let it dry completely before painting, which might take a few hours. If needed, add a second coat for better coverage.
Tools and Material Required to Paint a Bedframe
| Tools and Materials | Purpose |
|---|---|
| Screwdrivers/Wrenches | Disassembling the bed frame. |
| Cleaning Cloths/Rags | Cleaning the bed frame before painting. |
| Mild Soap/Detergent | Removing dust, grease, and dirt from the bed frame. |
| Sandpaper (Various Grits) | Smoothing the surface and removing old paint or varnish. |
| Tack Cloth or Vacuum | Removing sanding dust before painting. |
| Primer (Wood/Metal Specific) | Preparing the surface for paint adhesion. |
| Paint Brushes (Various Sizes) | Applying paint to edges, corners, and detailed areas. |
| Paint Roller | Covering large, flat surfaces with paint. |
| Drop Cloths/Tarp | Protecting the floor and surrounding area from paint splatters. |
| Painter’s Tape | Masking off areas you don’t want to paint. |
| High-Quality Paint (Wood/Metal) | Painting the bed frame for a new finish. |
| Paint Tray | Holding paint for easy access while painting. |
| Fine-Grit Sandpaper (220 Grit) | Sanding between coats for a smooth finish. |
| Sealant (Optional) | Protecting the final paint job and enhancing durability. |
| Protective Gloves | Keeping hands clean and free from paint. |
| Safety Glasses | Protecting eyes during sanding and painting. |
| Ventilation Mask | Protecting against inhalation of dust and paint fumes. |
How to Paint a Bed Frame
Step 1: Apply the First Coat of Paint
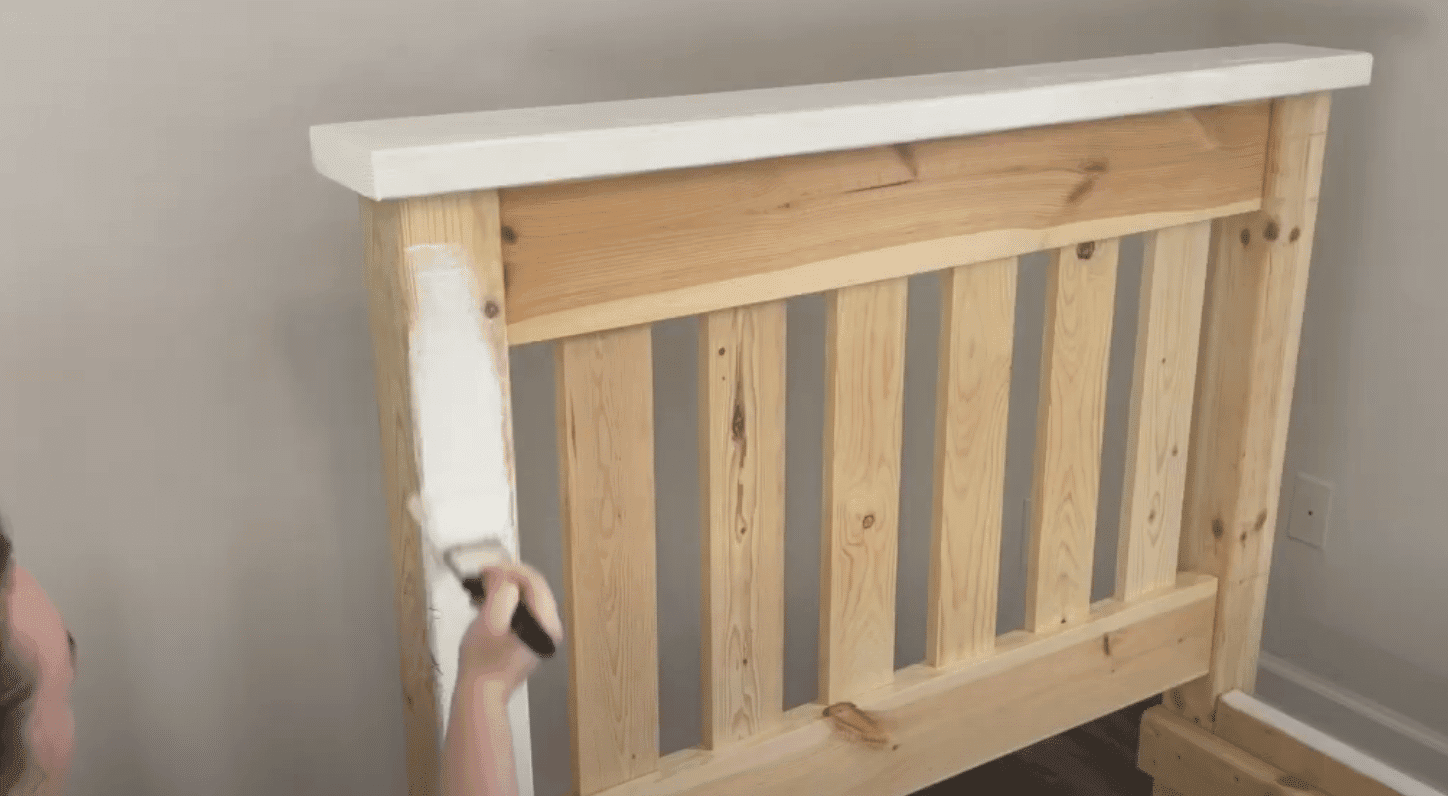
The first coat of paint is super important. It sets the base for your final look and helps the other coats stick better.
Pick tools that match your paint and bed frame. Good brushes or rollers make a big difference. Think about what finish you want—shiny, matte, or in between.
Start with the edges using a small brush. Then, use a roller or bigger brush for large areas. Use long, smooth strokes to avoid brush marks. Keep the paint thin to stop drips. Check for spots you missed and touch them up.
Step 2: Let it Dry
Letting the paint dry fully is essential. If you rush, you might end up with smudges or an uneven appearance.
Find a spot with good airflow and no dust for drying. Remember, how hot or damp it is can change how fast the paint dries.
Wait times can vary. Some paints need a few hours, others a whole night. To check, lightly touch a hidden spot. If it feels sticky, it needs more time.
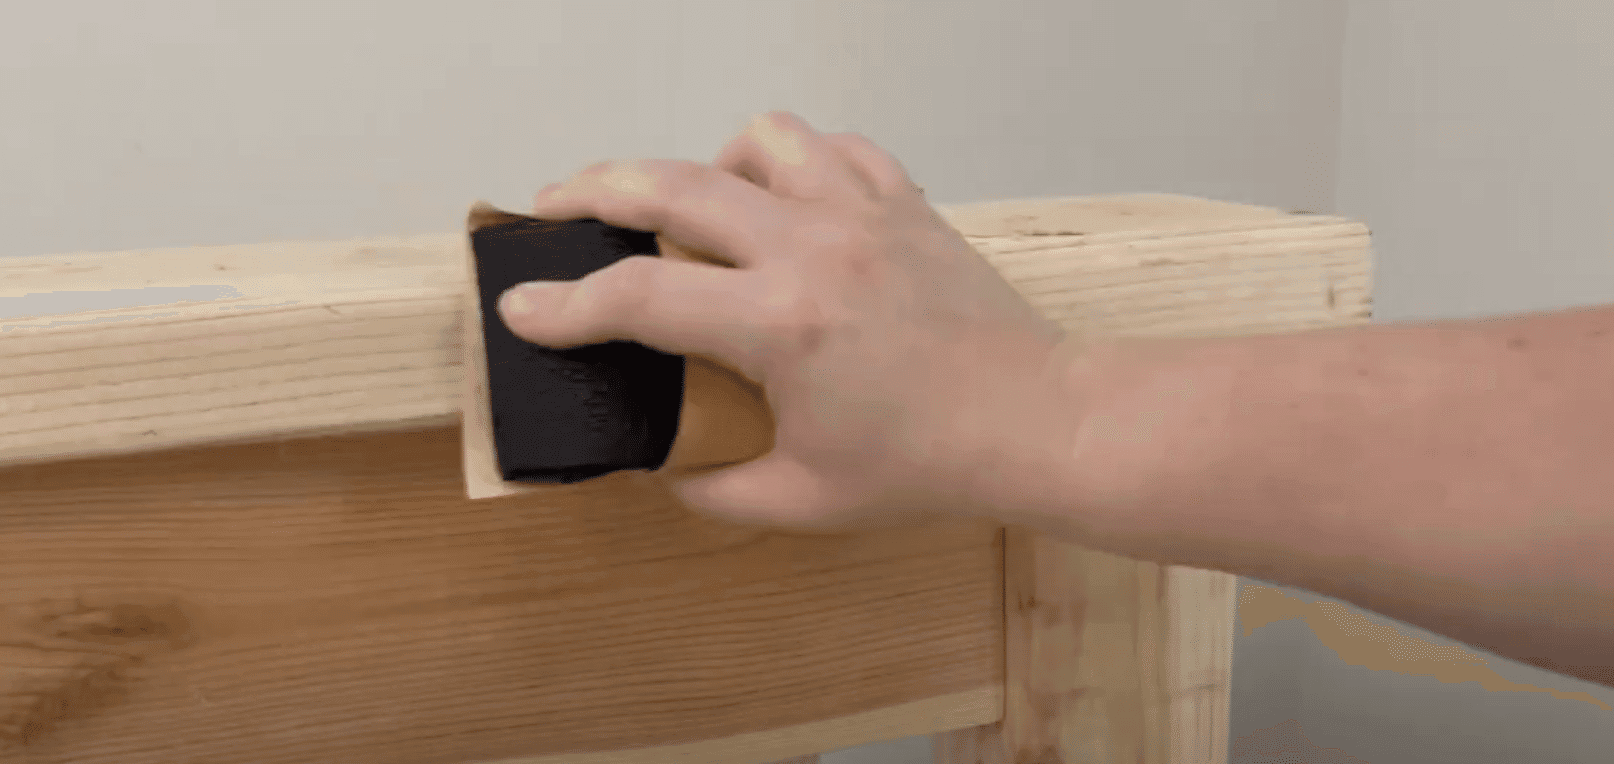
Step 3: Sand Between Coats
A light sanding between coats helps make your bed frame super smooth. It gets rid of little bumps or brush marks from the first coat.
Use fine sandpaper, like 220-grit. It’s just right for smoothing without taking off too much paint.
Sand gently and evenly. Don’t press too hard. Focus on rough spots or places where paint pooled. When you’re done, clean off all the dust with a sticky cloth or vacuum before the next coat.
Step 4: Apply the Final Coat
The last coat is what everyone will see, so take your time with it. This is your chance to make your bed frame look great.
Use the same tools and method as before. Work from one end to the other to avoid missing spots. Keep the paint thin for a smooth finish.
After it’s dry, look closely at the whole frame. If you see any missed spots or uneven areas, touch them up. If you want extra protection, add a clear coat after everything dries.
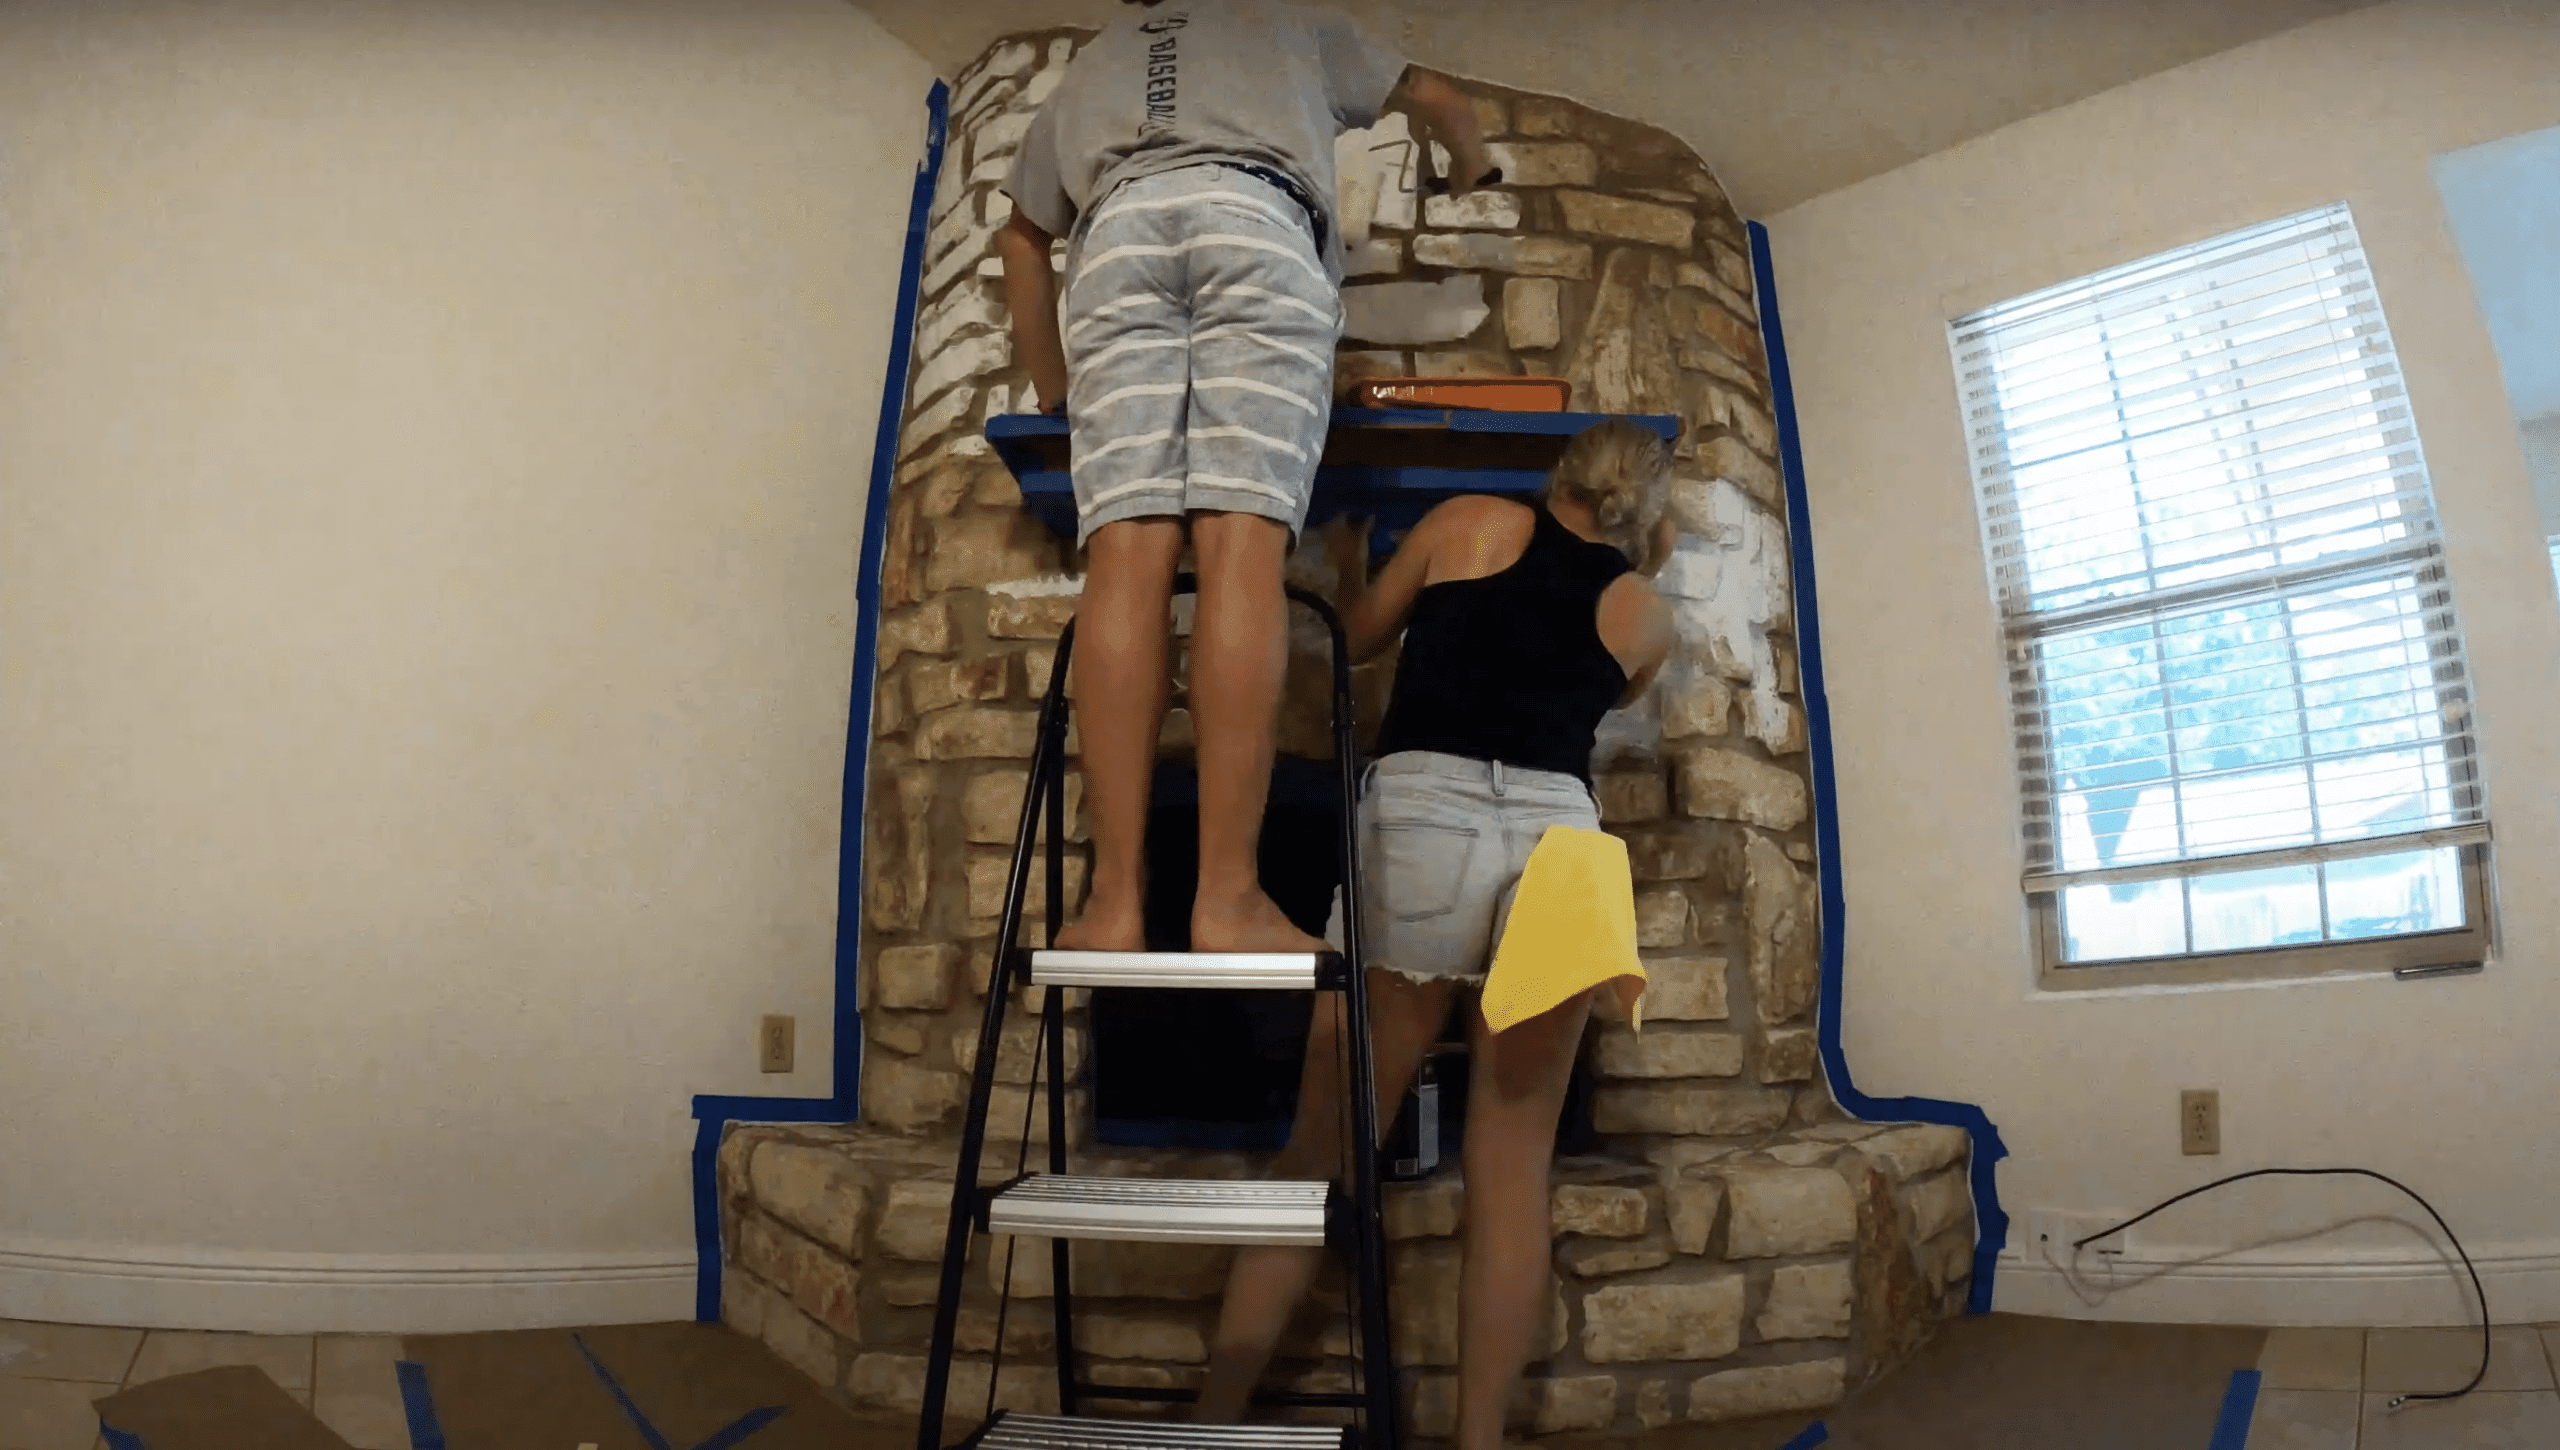
For a more detailed tutorial, check out the whole video on:
Wrapping It Up
Now that you’ve learned how to paint a bed frame, it’s time to start. Remember, the key steps are prep work, priming, painting, and letting each coat dry properly.
Take your time and enjoy the process. Your newly painted bed frame will give your bedroom a fresh look without breaking the bank.
What’s next? Why not share your before-and-after photos with friends or on social media? You might inspire others to try this project, too.
If you enjoyed this DIY, consider other furniture pieces you could update with paint. A matching nightstand or dresser could complete your bedroom makeover.
Have questions about painting your bed frame? Leave a comment below, and we’ll be happy to help.
Happy painting!

James McLaren, with a rich background in architecture from the University of Manchester, has been contributing his expertise to the world of creative construction and home innovation for over 20 years. His journey began as a project manager for a leading construction firm, where he honed his skills in bringing complex designs to life. James joined our platform as a freelancer in 2019, quickly becoming a favorite for his insightful and practical advice. He has been a pivotal force to our wing ever since, bringing our readers a blend of technical know-how and creative flair. Beyond his professional life, James is an avid woodworker and enjoys restoring vintage furniture, a hobby that complements his professional insights beautifully.