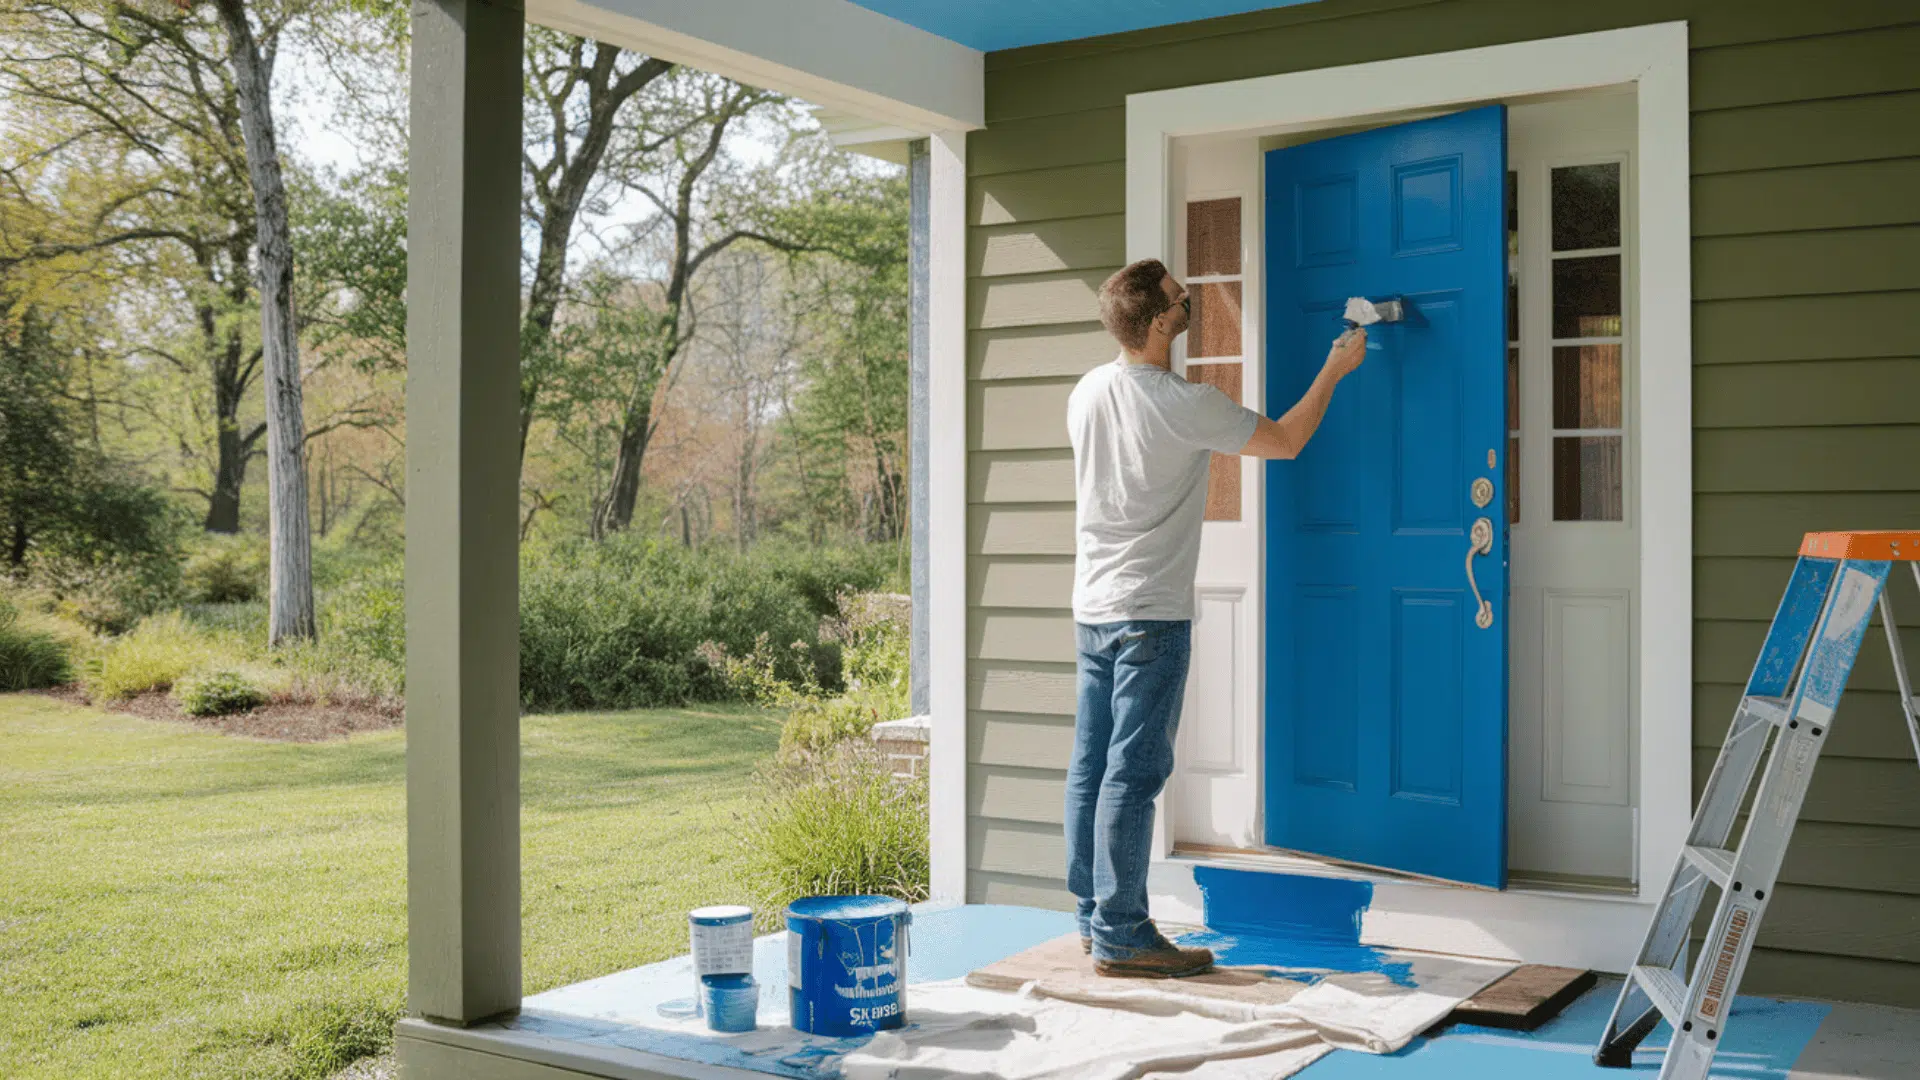
Your front door is one of the first things people notice; it reflects your style and how you care for your space.
If it looks faded or worn, a fresh coat of paint can instantly boost curb appeal without spending much.
This simple DIY project is easy to complete with the right tools and a little patience.
Learn to choose a color that complements your home and protects your door from sun, rain, and wear.
Let’s get started with a step-by-step guide to painting your front door like a pro.
Why Painting Your Front Door Matters?
Giving your front door a splash of color has so many wonderful benefits, from practical uses to enhancing your home’s beauty, and even sharing special meanings!
1. Enhanced Curb Appeal and Home Value
- A freshly painted front door can significantly boost your home’s curb appeal, making it stand out and appear more inviting to visitors and potential buyers.
- Research shows that certain front door colors, such as slate blue or black, can increase a home’s perceived value and may even lead to higher sale prices, sometimes by thousands of dollars.
2. First Impressions and Self-Expression
- The front door is often the first thing people notice about your home. Its color sets the tone for the entire house and offers a chance to express your personality and style.
- Homeowners are increasingly using bold or expressive colors to make a statement and reflect their identity, rather than just matching the existing exterior.
3. Maintenance and Protection
- Painting your front door with high-quality exterior paint helps protect it from weather, moisture, and wear, ensuring it remains in good condition over time.
- Darker colors, such as black, are often easier to maintain and keep clean, which can be especially important for a frequently used entryway.
4. Symbolism and Tradition
- Different cultures and traditions assign symbolic meanings to door colors. For example, a red door can symbolize welcome and protection, while black suggests complexity and grace.
- In Feng Shui, the color of your front door is believed to influence the flow of positive energy (Chi) into your home. Different hues represent various qualities such as prosperity, harmony, or wisdom.
5. Easy, Cost-Effective Upgrade
- Painting your front door is a simple, low-cost project that delivers a big visual impact—much easier and less expensive than major renovations.
- It’s a low-commitment way to experiment with new looks; if you change your mind, repainting is straightforward.
Did You Know? In many cultures, painting a front door red is thought to bring good luck! In early America, a red door told tired travelers they had found a safe place to rest for the night.
Toolbox Time: What You’ll Need
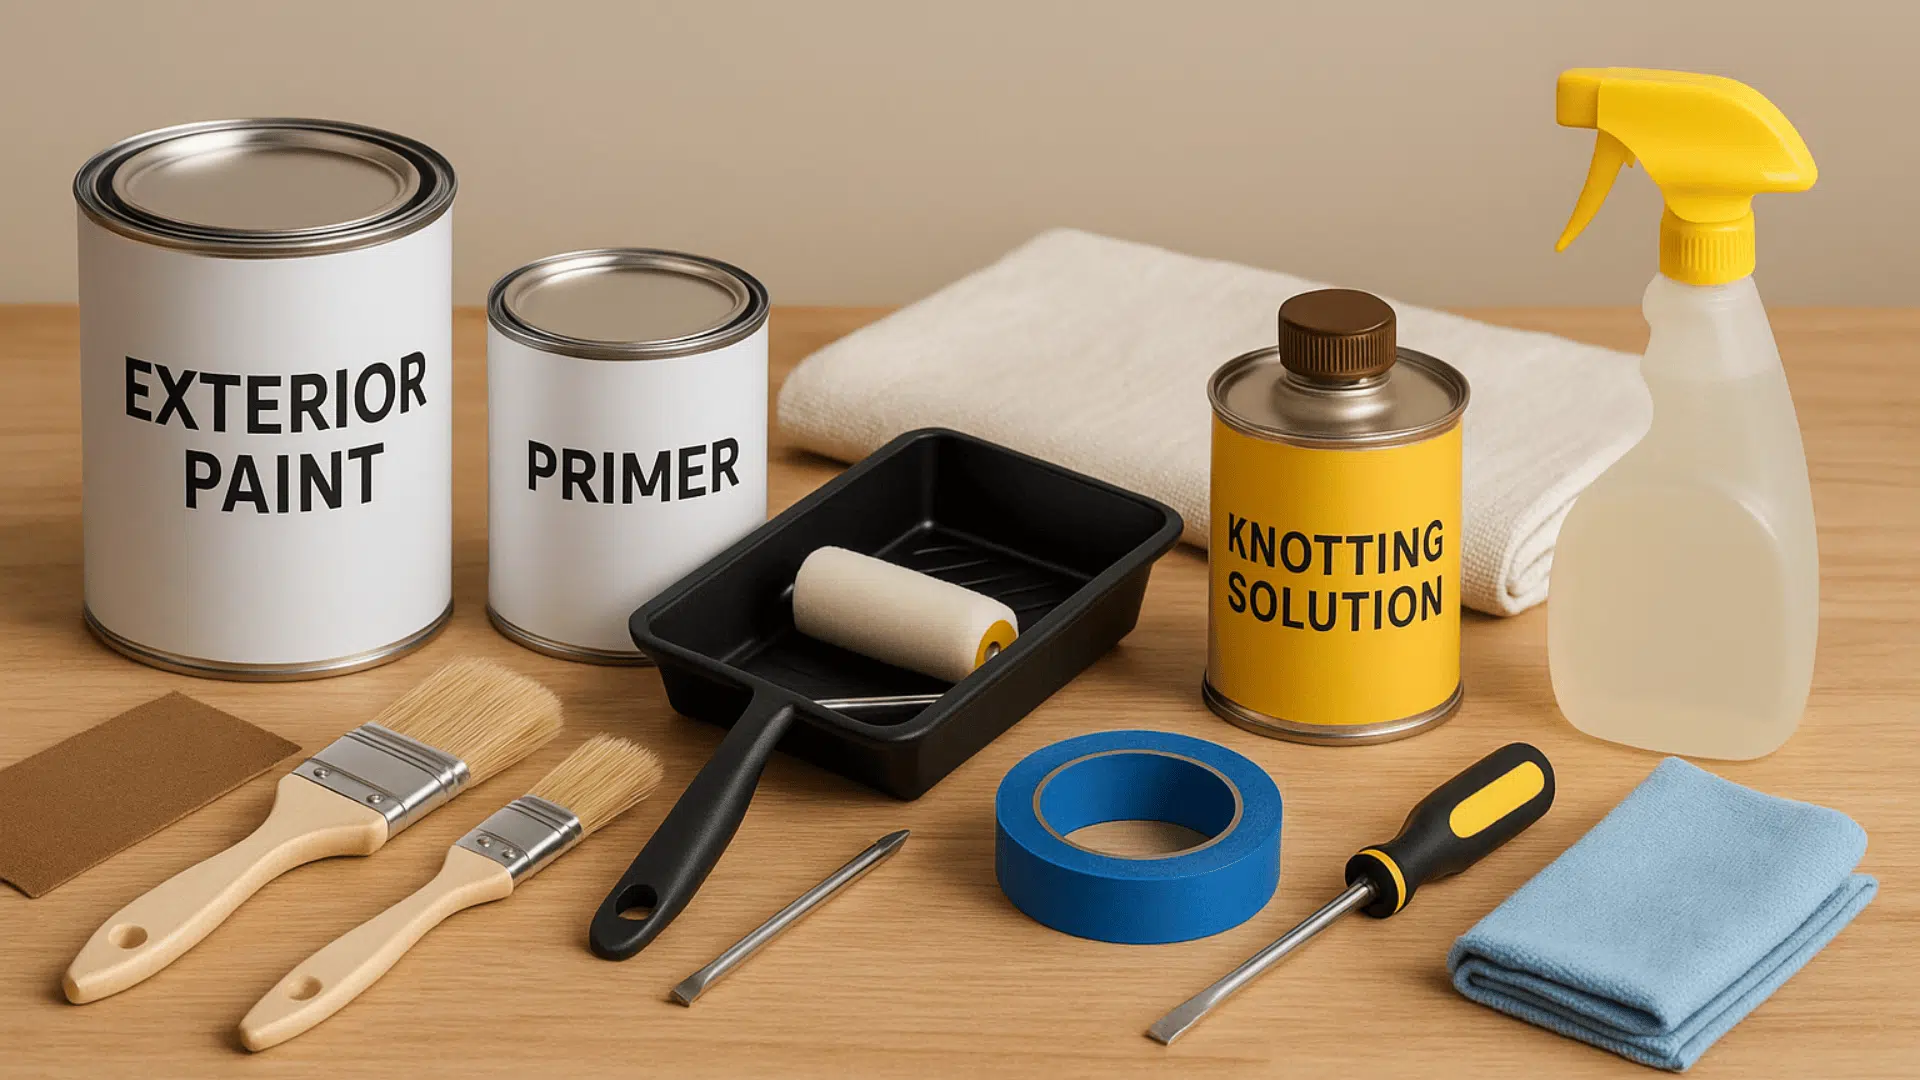
Before you begin with the project, gather all your tools and materials.
Having everything ready at hand will make the process smoother and help you stay focused.
If you are getting ready to paint an exterior surface, the right tools make the job quicker and easier.
Before you begin, gather everything you need to avoid delays or messy mistakes.
Here’s a list of must-have items with prices to help you prep smart.
| TOOL | WHY DO YOU NEED IT? | PRICE |
|---|---|---|
| Exterior paint | Stands up to the weather | $2.40 – $11.94 |
| Primer | Helps paint stick better | $1.68 – $3.24 |
| Paintbrushes (1″ & 2″) | For edges and details | $0.24 – $0.60 |
| Small roller and tray | For flat areas | $0.42 |
| Sandpaper | Smooths the surface | $0.10 – $0.54 |
| Drop cloth | Catches paint drips | $3.60 – $4.80 |
| Painter’s tape | Protects hardware | $0.58 – $3.00 |
| Screwdriver | Removes door hardware | $0.24 – $1.44 |
| Knotting solution | Seals resinous wood knots to stop stains | $1.50 – $4.00 |
| Cleaning supplies | Prep for painting | $0.20 – $0.90 |
Total Estimated Cost: $11 – $31
Investing in these basics helps you get a cleaner, longer-lasting finish without breaking the bank.
Don’t skip the prep—it’s what makes all the difference in the final look.
Now you’re set to get started with confidence.
Did You Know? Quality brushes make a big difference! Natural bristle brushes work best for oil-based paints, while synthetic brushes are better for water-based paints.
How to Paint a Door: Step-by-Step Guide
Painting a door might seem tricky, but it’s totally doable with the right steps.
Taking your time helps you get a clean, smooth finish.
Before picking up a brush, make sure you’ve got the right tools.
Let’s walk through each step to get that fresh, new look.
Lead Paint Warning Signs:
- Chalky residue when rubbed
- “Alligator” cracking pattern
- Thick, uneven layers are visible on the edges
Did You Know? VOC stands for “Volatile Organic Compounds.” These chemicals can cause headaches and breathing problems. Low-VOC paints have fewer of these harmful chemicals!
Better safe than sorry! A little care now prevents problems later.
Step 1: Prep Your Work Area

The best-kept secret of pro painters?
Proper prep work!
Here’s how to get your door ready:
- Remove or Cover Hardware: If possible, remove door handles, knockers, and mail slots. If not, cover them carefully with painter’s tape.
- Clean Thoroughly: Wash your door with soap and water to remove dirt and grease. Rinse well and let it dry completely.
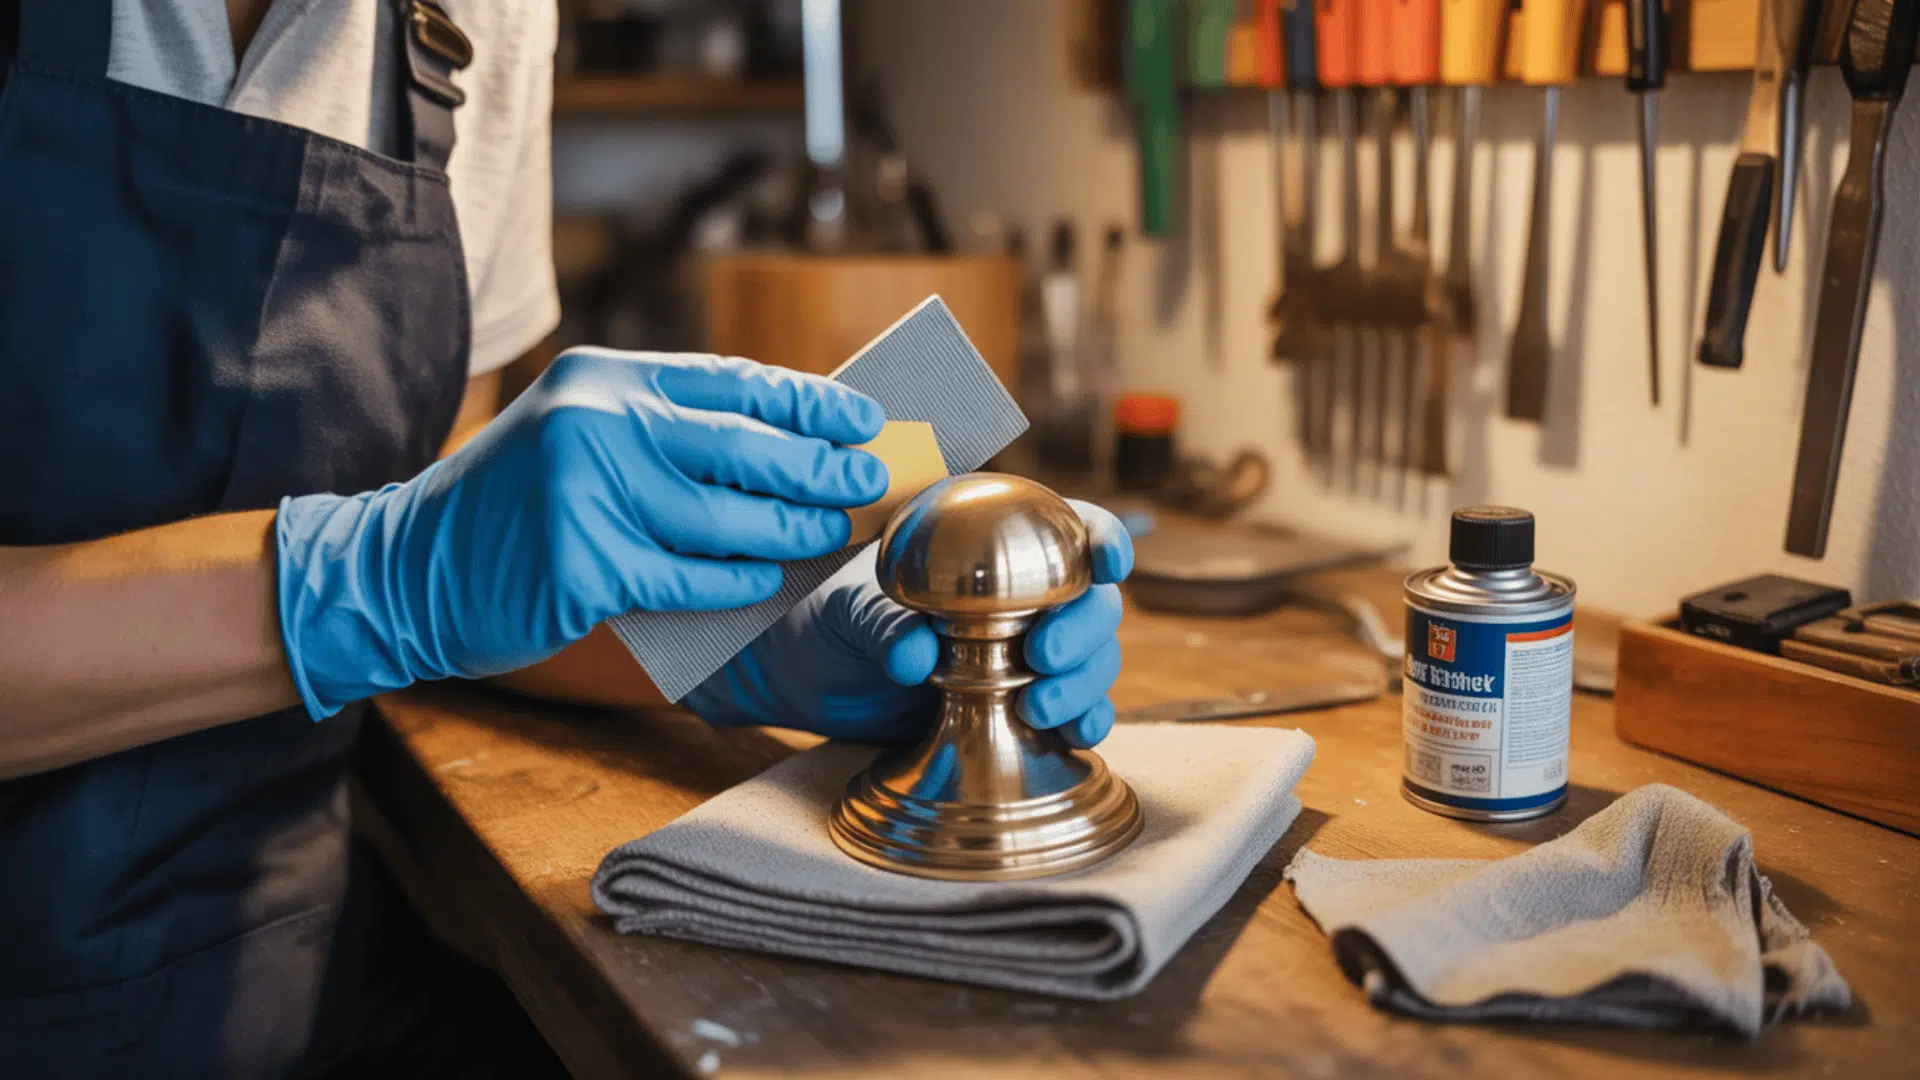
- Sand It Right: For flat doors, use sandpaper in the direction of the wood grain. For doors with panels: Use folded sandpaper to reach corners and details, and wipe away all dust with a damp cloth when done.
- Apply Knotting Solution (If Needed): For softwood doors (like pine), apply knotting solution to seal resinous knots. This prevents sap or resin from bleeding through the paint and causing stains or discoloration on the finished surface.
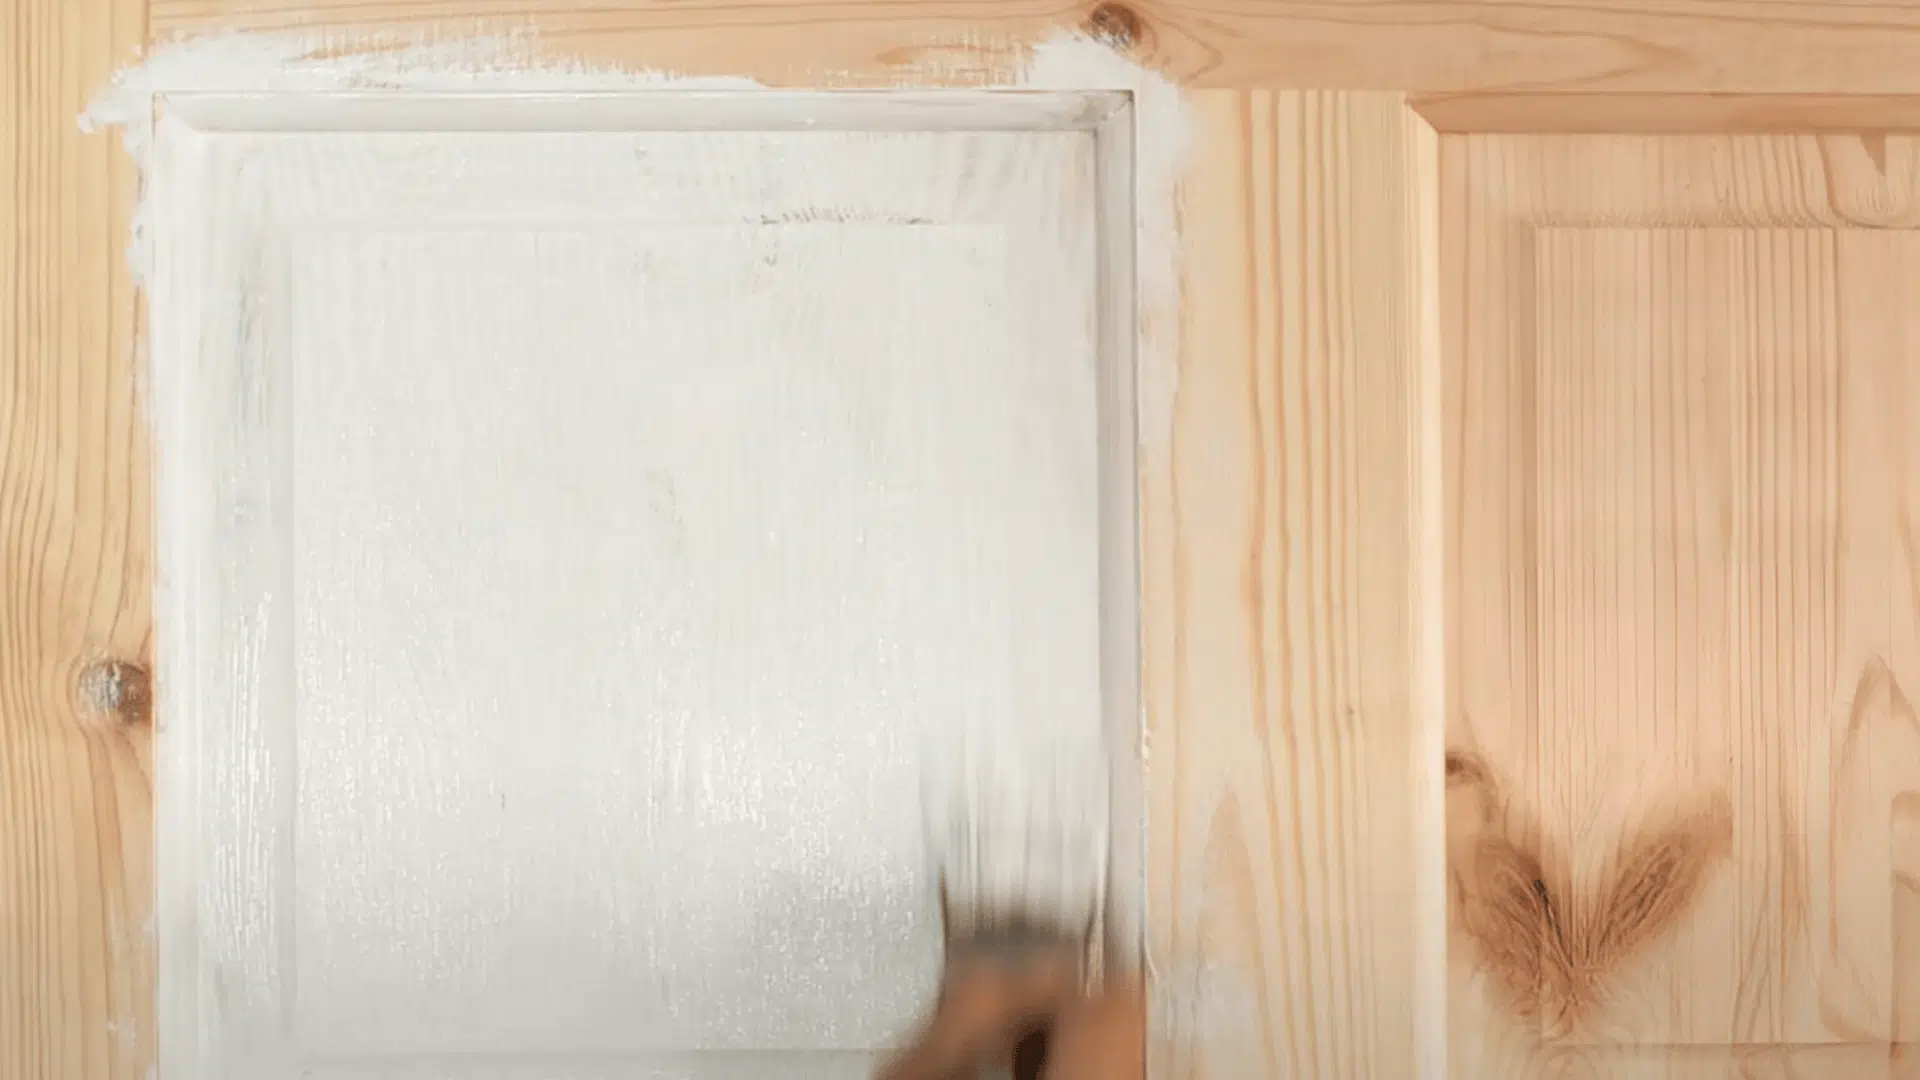
Step 2: Apply Primer
If you are unsure when to use the primer, knowing when to do so will save you time and give you better results.
Use this list to decide what your door needs:
| WHEN YOU MUST PRIME | WHEN YOU CAN SKIP PRIMING |
|---|---|
| Covering dark colors | Same color refresh |
| Bare wood or metal | Recently painted surface |
| Peeling or damaged paint | Well-maintained door |
| Stained surfaces | Already primed surface |
- Use a brush for edges and panels first
- Roll primer onto flat areas
- Let dry completely (usually 2-4 hours)
Good prep equals a better finish that lasts longer!
Did You Know? A properly prepped and painted front door can boost your home’s value by up to $6,000! Buyers often make first impressions based on your entryway.
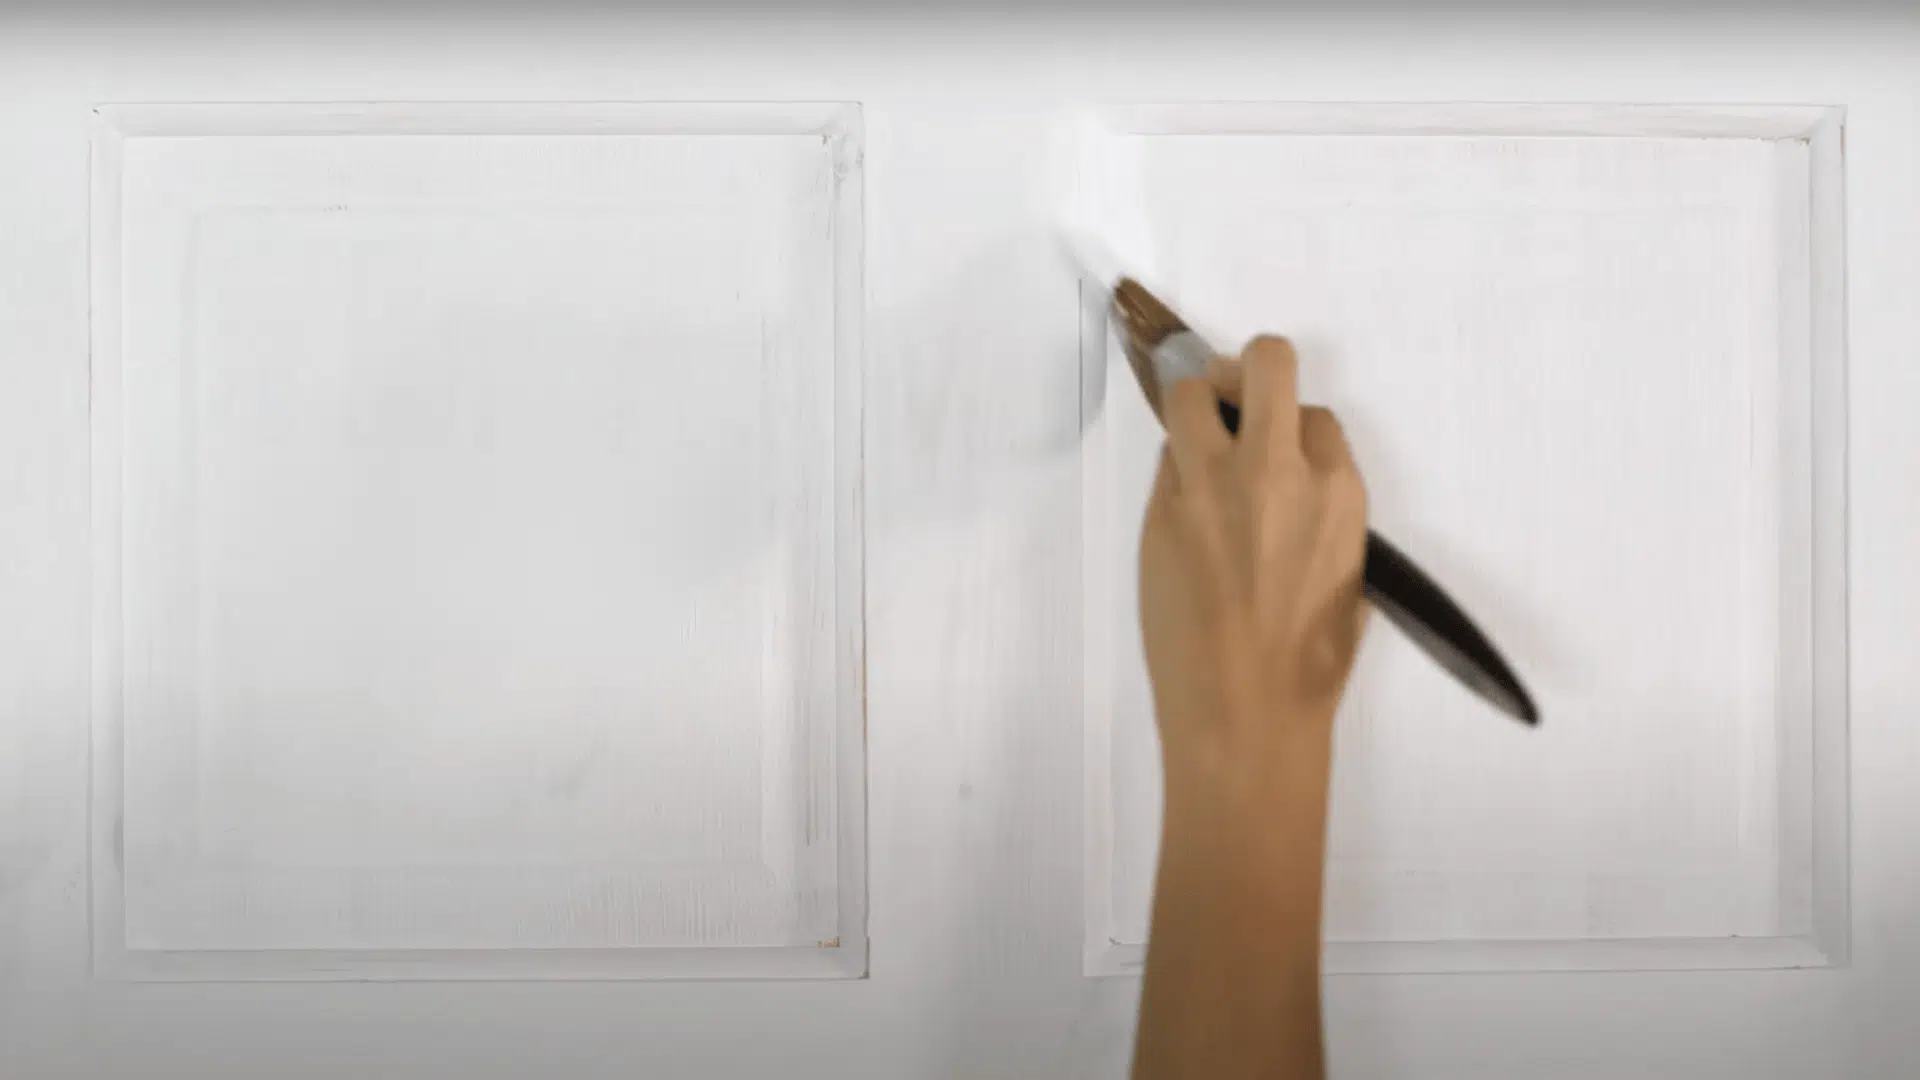
Step 3: Paint in the Right Order
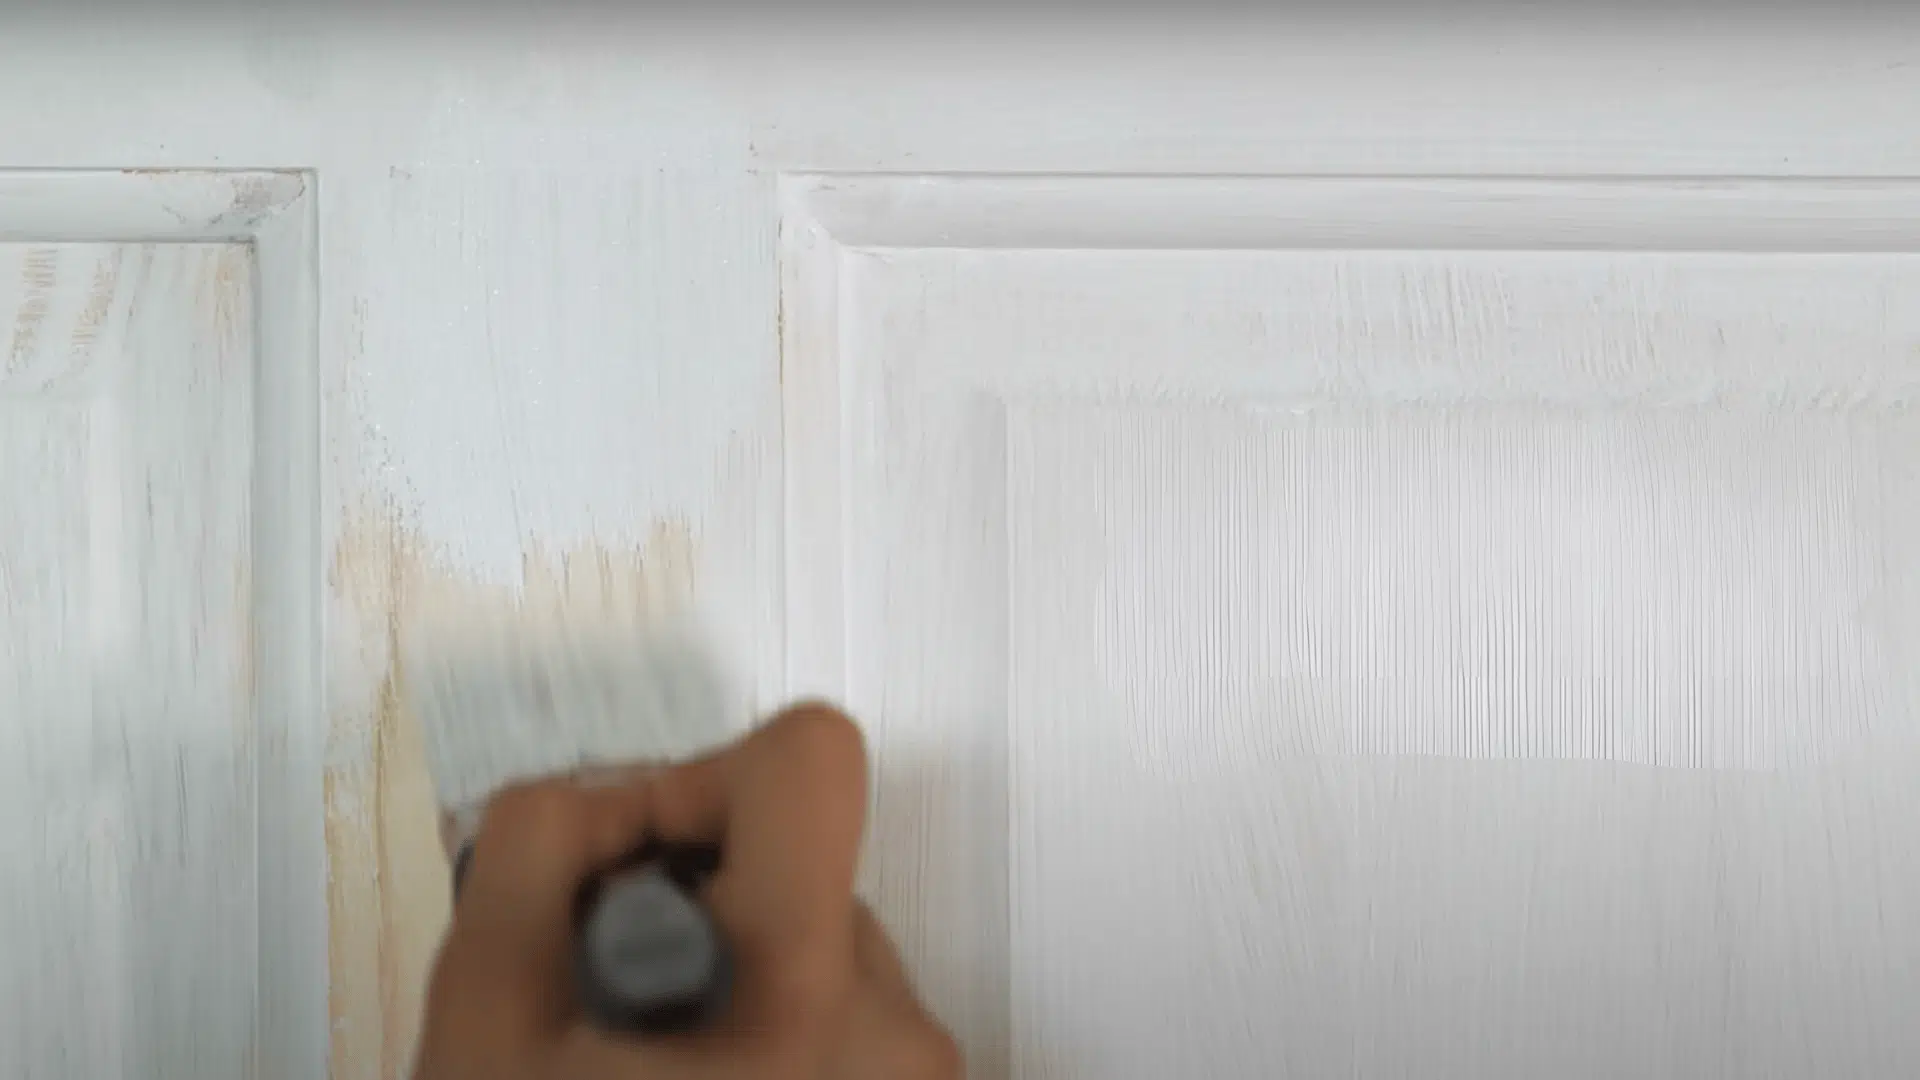
The correct painting order for a panel door is:
- Recessed panels (inside parts)
- Horizontal rails (crosspieces)
- Vertical stiles (up-and-down pieces)
- Outside edges last
Step 4: Apply Second Coat
- Wait until the first coat is dry to the touch
- Follow the same order as the first coat
- Let dry completely before closing the door
Step 5: Finish and Reassemble
- Wait until the final coat is completely dry
- Gently remove painter’s tape at a 45° angle
- Reinstall all hardware you removed earlier
- Let the paint cure for at least 24 hours before normal use
- Take photos of your beautiful work!
Pro Tip: Paint in thin coats rather than one thick one to avoid drips and get a smoother finish.
Did You Know? Professional painters often add a few drops of vanilla extract to paint to reduce odor while it dries!
Watch How It’s Done: DIY Paint a Door Without Removing It
For more information, check out this video tutorial by B&Q
Keep It Fresh: Long-Term Care Tips
A freshly painted door can boost your home’s look, but it needs a little upkeep to stay that way.
Simple care steps go a long way in keeping the finish smooth and bright.
From cleaning routines to knowing when to repaint, these tips help you protect your work.
Let’s keep that door looking like new!
1. Gentle Cleaning Schedule:
- Monthly: Dust with a soft cloth
- Quarterly: Wash with mild soap and water
- Yearly: Deep clean and inspect for damage
2. Touch-Up Kit Essentials:
- Small jar of your door paint (label with color name)
- Tiny brush for precise fixes
- Fine-grit sandpaper for prep
- Quick-reference color info (brand, finish, color code)
3. Signs It’s Time to Repaint:
- Peeling or flaking paint
- Faded color (especially on sun-facing doors)
- Visible scratches or dents
- Bubbling or blistering surface
- Chalky residue when touched
Did You Know? Doors facing south and west get the most sun exposure and may need repainting more often than north or east-facing doors.
DIY vs. Hiring a Pro: Door Painting Comparison
Are you thinking about painting your door but not sure about doing it yourself or hiring an expert?
This comparison will help you decide which option is best for your situation, budget, and skills.
| ASPECT | DIY DOOR PAINTING | HIRING AN EXPERT PAINTER |
|---|---|---|
| Cost | Lower cost—only pay for paint and basic tools. | Higher cost—includes labor, tools, and skill. |
| Quality | Depends on your skill—may show streaks or uneven areas. | Smoother, longer-lasting finish due to experience. |
| Time | Takes more time if you’re not used to painting. | Completed faster with professional methods. |
| Equipment | You’ll need to buy brushes, rollers, and supplies. | The painter provides all the gear. |
| Safety | Requires care with heavy or tricky areas. | Safe handling with the right tools and know-how. |
| Warranty | No fix is included if problems come up later. | Often includes a service guarantee for touch-ups. |
| Stress & Ease | It can be tiring and time-consuming. | Easy—you leave it to the expert and save effort. |
DIY door painting saves money but requires time, some skill, and patience.
Hiring a professional costs more upfront but provides better quality, saves time, and offers peace of mind.
Choose based on your budget, available time, skill level, and how important the final look is to you.
Safety Checklist
Before you grab your paintbrush, let’s talk safety:
- Check for lead paint (homes built before 1978)
- Gather safety gear (gloves, mask, goggles)
- Choose low-VOC paint when possible
- Keep kids and pets away from the work area
- Ensure good air flow
- Have cleanup supplies ready
- Know where your first aid kit is
Painting is more fun when it’s safe and stress-free.
With the right precautions in place, you can focus on getting great results without worry.
Quick Troubleshooting Guide
Door painting can change the look of your home, but sometimes problems arise.
Here are common issues and their solutions to help you achieve a professional finish.
- Peeling Paint: Sand peeling areas, prime bare spots, then repaint
- Dried Drips: Wait until dry, sand smooth, and apply a fresh coat
- Sticking Door: Sand edges lightly where it’s sticking
- Visible Brush Marks: Use paint conditioner or a foam roller next time
- Unexpected Color: Test paint in different lighting before doing the whole door
With these simple fixes, you can troubleshoot most door painting problems and achieve beautiful results.
Remember that any DIY project might encounter obstacles.
Don’t worry—most painting problems have simple fixes!
Did You Know? The average front door gets opened and closed about 4,000 times per year! That’s why using durable exterior paint is so important.
Conclusion
Your front door is the centerpiece of your home’s exterior, a canvas that reflects your personality and enhances your property’s value.
By following this guide, you can change this vital entryway into a statement piece that welcomes guests and protects your home with style.
A well-maintained front door looks beautiful, creates lasting impressions, withstands daily use, and boosts your home’s curb appeal and market value.
The color you’ve chosen speaks volumes about who you are and what visitors can expect inside.
So step back, admire your handiwork, and enjoy the compliments that will surely come your way.
Your front door isn’t just an entrance anymore; it’s the perfect introduction to your home and your style.
Happy painting and welcome home!Looking for more home improvement guides?
Check out our related articles:
- How to Prep Walls for Painting: Prime, Polish, Perfect
- How to Paint Bathroom Cabinets: Cabinet Color Craft
- Painting a Stone Fireplace: A Step-by-Step Guide

Stephanie Grace, a graduate with a degree in Fine Arts from the Savannah College of Art and Design, has been inspiring DIY enthusiasts with her creative and practical guidance for over 14 years. Her career in design and crafting began in a small artisan workshop, where she developed a passion for transforming everyday materials into beautiful and functional items. Stephanie joined our website in 2018, rapidly gaining popularity for her easy-to-follow DIY tutorials and innovative project ideas. Since then, she has been the creative mind behind our DIY section, helping readers bring their artistic visions to life. Outside her professional pursuits, Stephanie enjoys pottery and urban gardening, hobbies that showcase her love for hands-on creativity and nature.