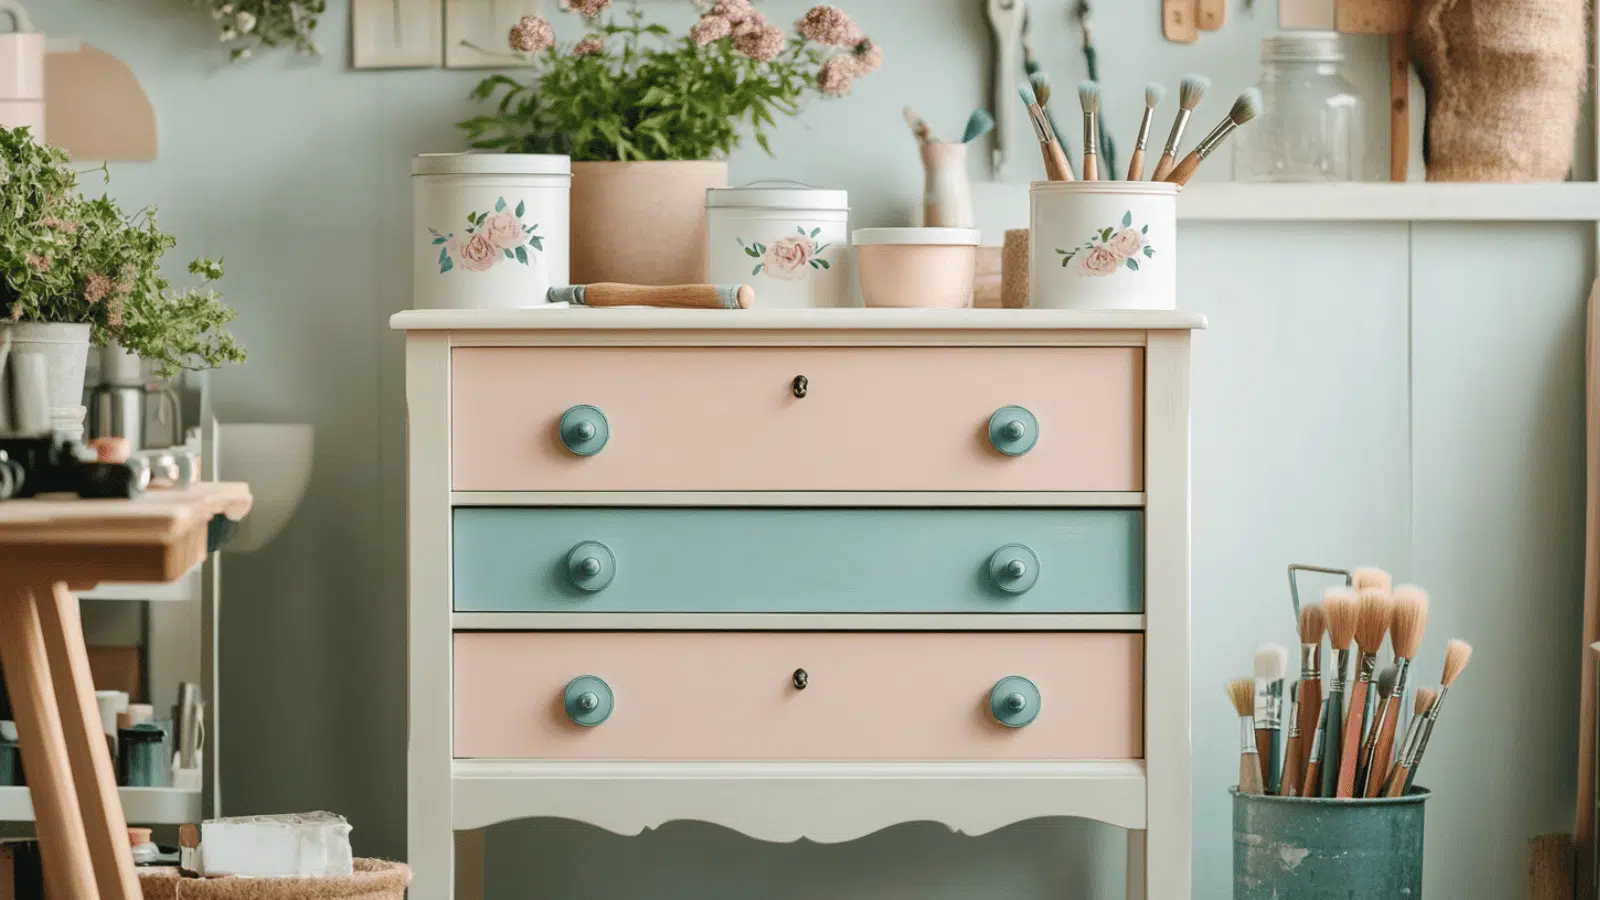
Ever walked past a tired old dresser at a thrift store and thought, “I could make that beautiful”?
You absolutely can!
That beat-up dresser with the ugly finish is just waiting for your creative touch.
Painting a dresser is one of the easiest ways to change your space without breaking the bank.
In just a weekend, you can turn a $30 thrift store find into a stunning piece that looks custom-made.
The best part?
You don’t need fancy skills or expensive tools to get professional results.
This guide will walk you through every step, from choosing the perfect piece to sanding, priming, painting, and sealing it for lasting beauty.
We’ve included answers to all the most common dresser-painting questions in our FAQ section at the end.
Ready to breathe new life into an old dresser?
Let’s get started!
Finding Your Perfect Dresser
Looking for a perfect dresser starts with knowing where to hunt.
Thrift stores are full of budget-friendly gems waiting for a makeover.
Facebook Marketplace lets you see options without leaving home.
Don’t overlook yard sales where desperate sellers offer amazing deals.
Solid wood is worth searching for, it lasts much longer than particleboard.
Check that drawers open smoothly and the structure feels sturdy.
Small scratches?
Dated finish?
No problem at all!
That’s why you have paint.
Remember, the “perfect” dresser isn’t perfect yet—that’s your job!
Picking the Best Paint
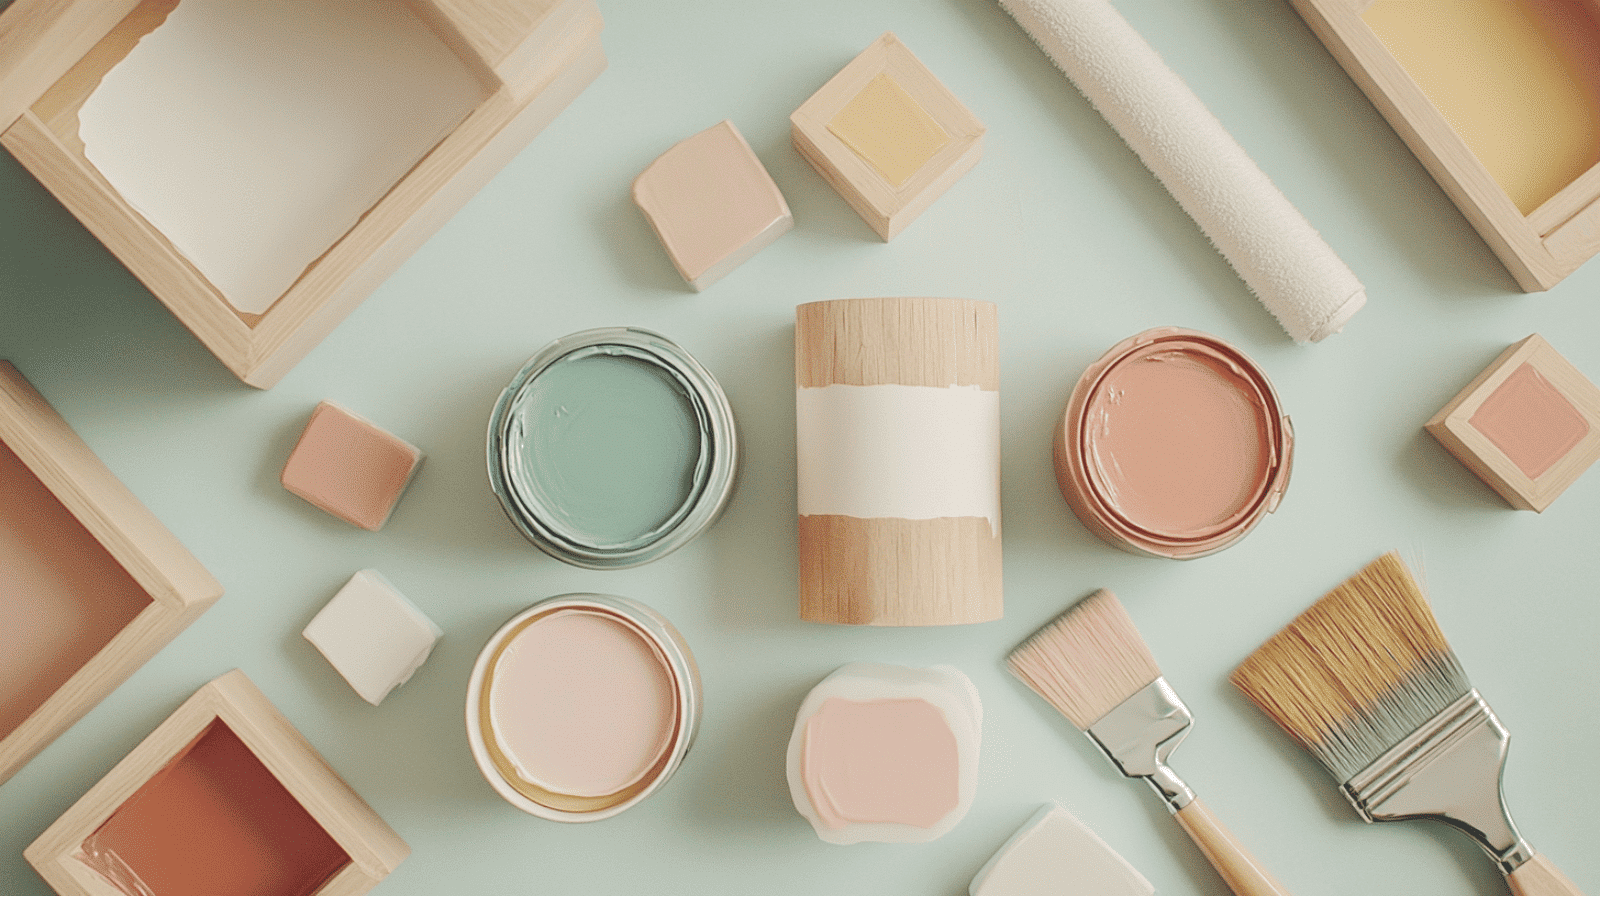
Choosing the right paint makes all the difference for your dresser makeover.
Latex paint is easy to clean up and dries quickly.
Oil-based paints are super durable but smell strong and need special cleanup.
Chalk paint is perfect for beginners since it needs minimal prep work.
Milk paint gives a lovely vintage look when lightly distressed.
For kids’ rooms, look for low-VOC paints that don’t release harmful fumes.
Satin or semi-gloss finishes work best for dressers since they’re easy to wipe clean.
Don’t skimp on quality—better paint means fewer coats and longer-lasting results.
Can You Skip the Sanding Step?
Most painting guides insist on sanding, but you can sometimes skip this dusty step.
Liquid deglosser works like “liquid sandpaper” to prep glossy surfaces without the mess.
Special bonding primers grip onto slick surfaces when sanding isn’t possible.
Chalk paint sticks to most surfaces with zero sanding required.
For laminate or very shiny surfaces, a quick scuff with fine sandpaper is still best.
Modern paint products have come a long way!
Just remember—if your dresser has peeling paint or damage, there’s no getting around some sanding.
Always test a small area first to see what works.
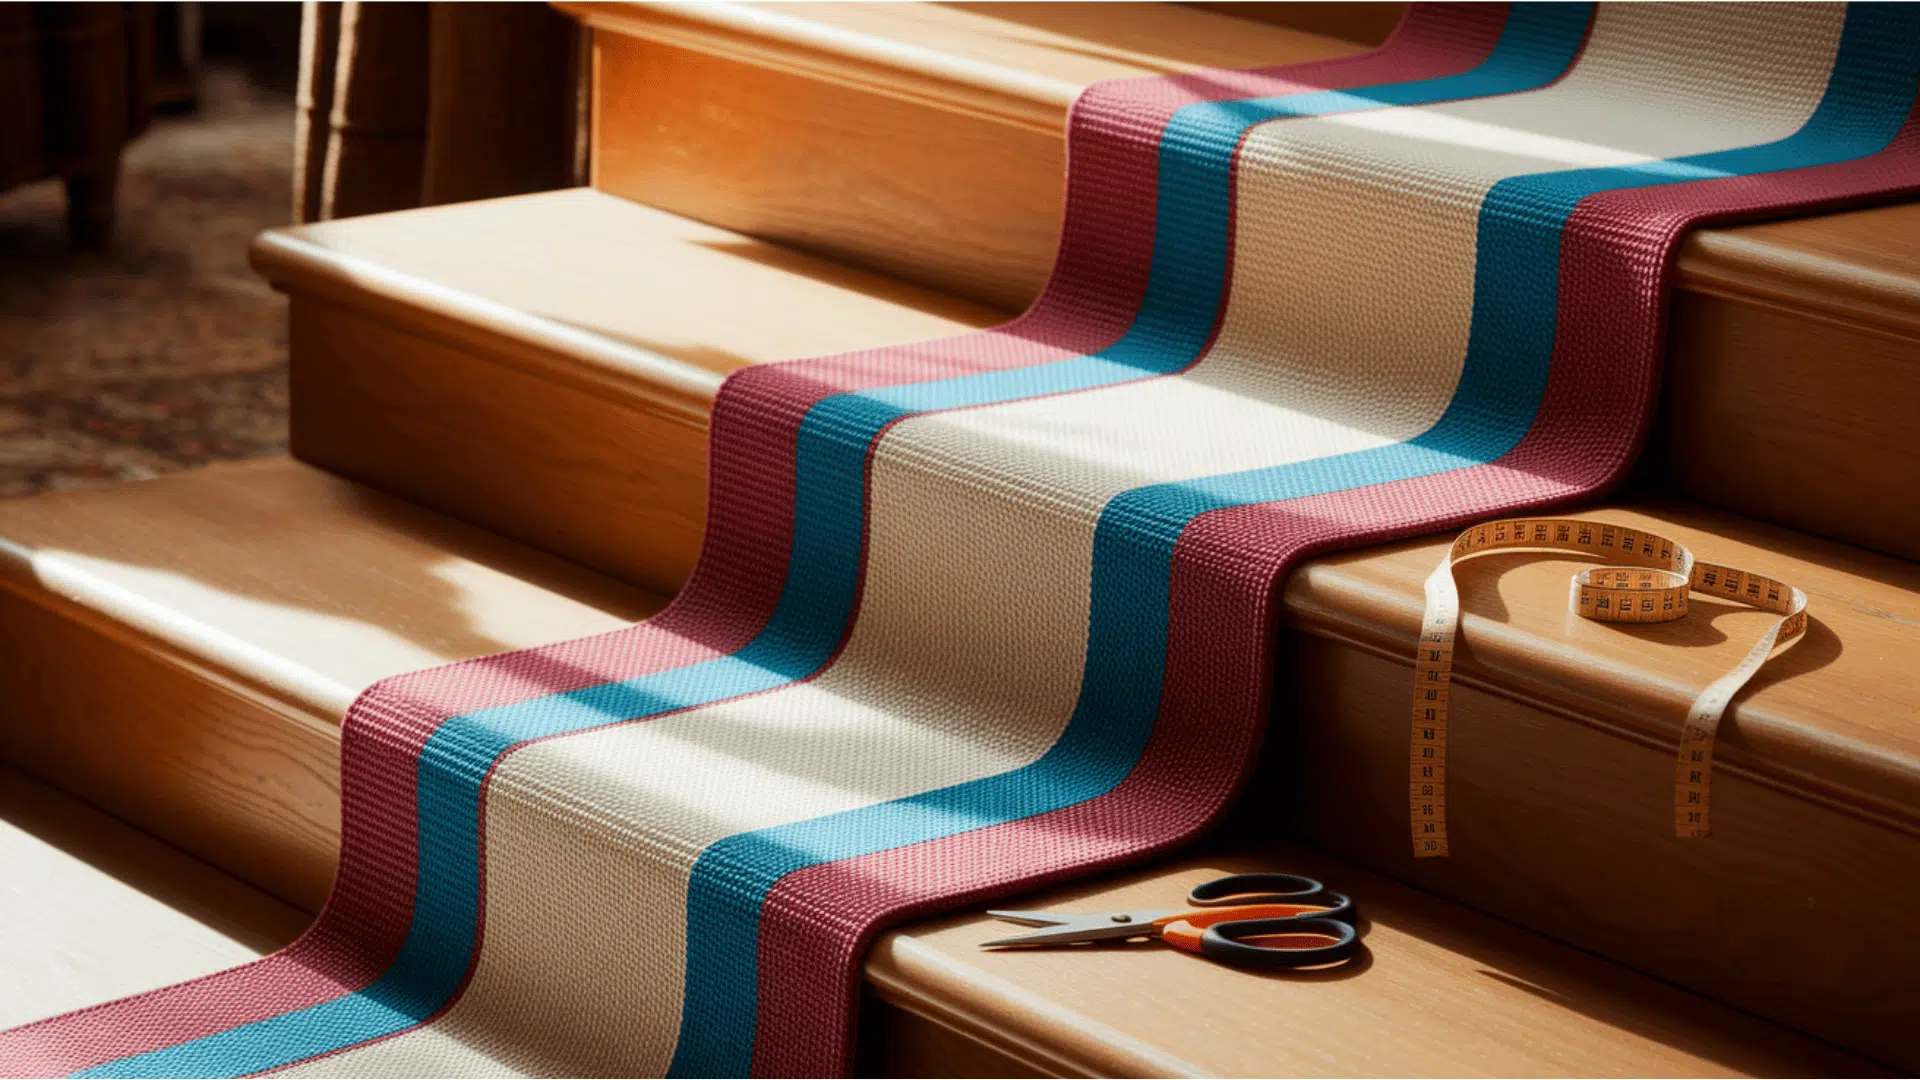
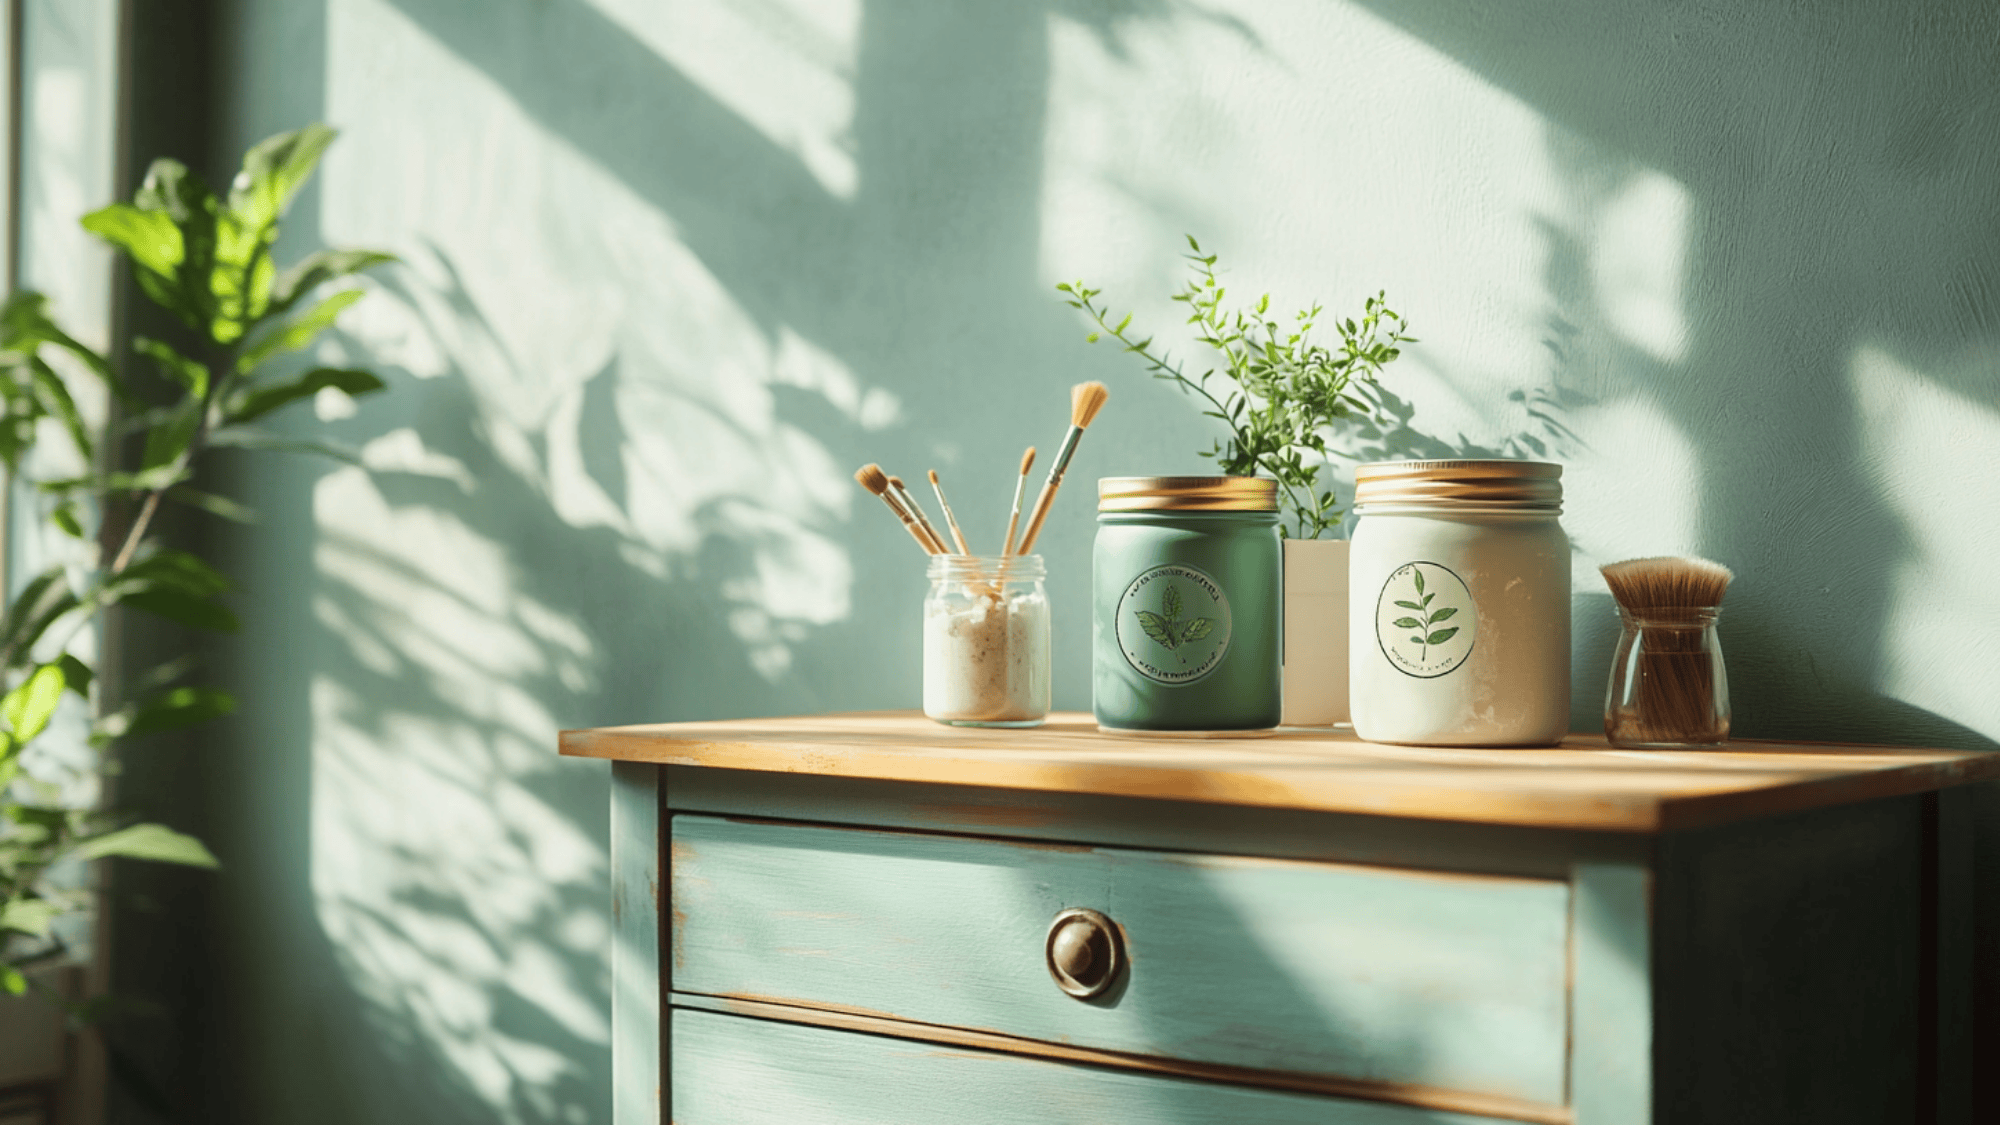
Everything You’ll Need
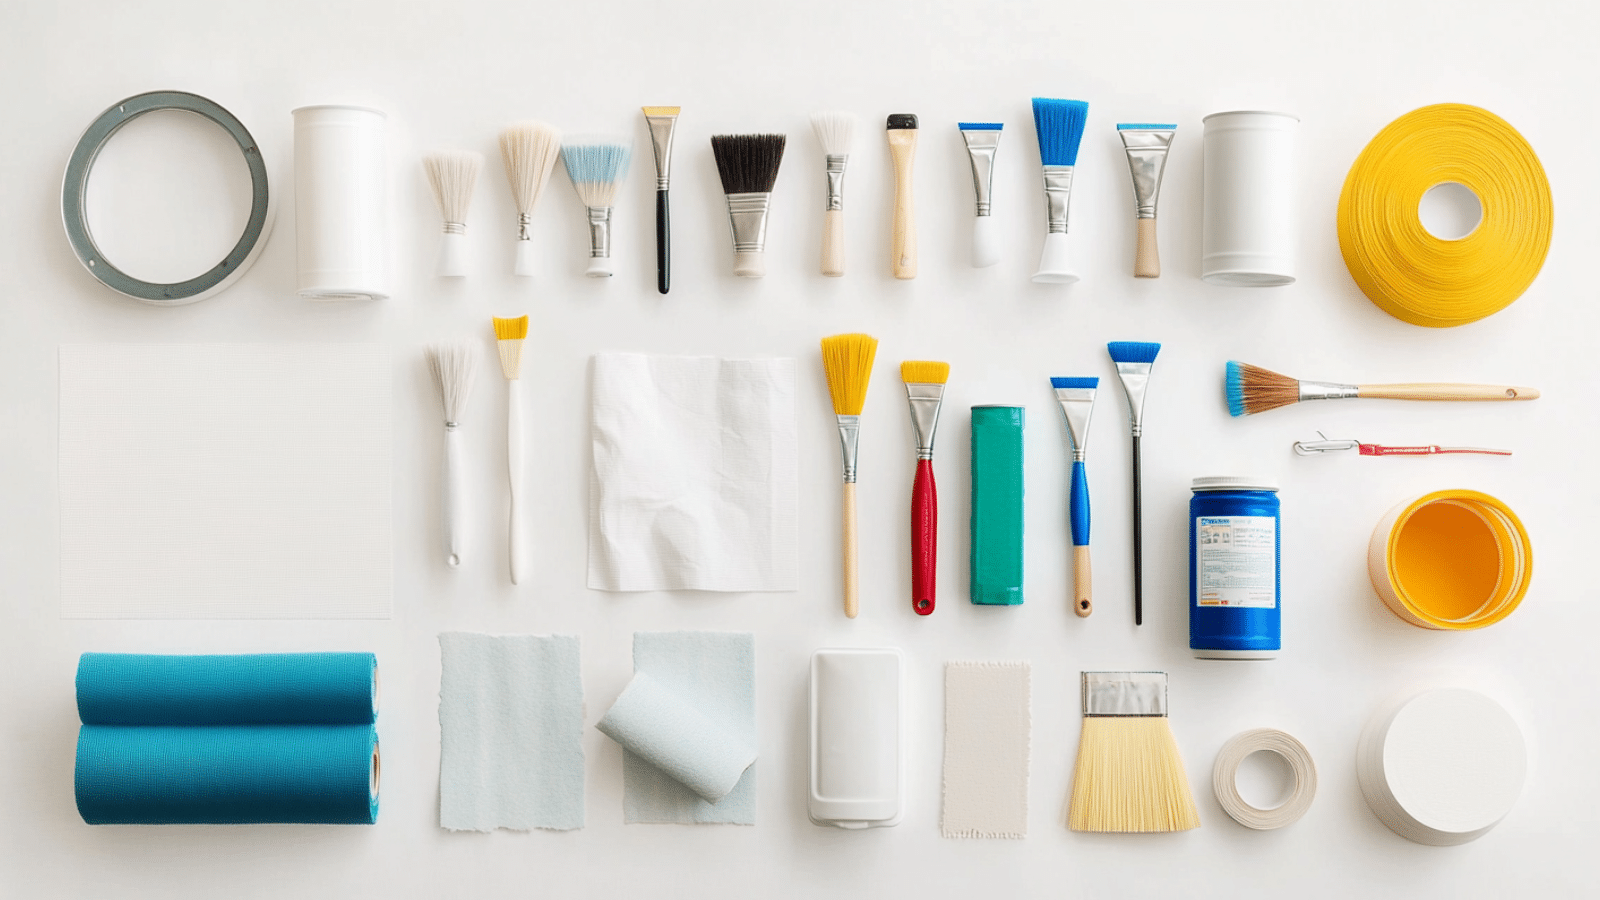
Before starting your dresser makeover, gathering the right supplies will make your project smoother and more enjoyable.
Here’s everything you’ll need to change that old dresser into a showstopper.
| TOOLS & MATERIALS | PURPOSE | COST (USD) |
|---|---|---|
| Canvas drop cloths | Protect floors | $15–30 |
| Plastic sheeting (optional) | Extra surface protection | $10–20 |
| Painter’s tape (2-inch) | Clean paint edges | $7–10 |
| Degreaser or detergent | Clean countertops | $6–10 |
| Sandpaper (80 & 220 grit) | Smooth surface | $5–8 |
| Primer | Base coat | $15–25 |
| Countertop paint | Color & durability | $20–40 |
| Rollers & brushes | Paint application | $10–20 |
| Topcoat sealer or epoxy | Protect finish | $15–50 |
| Clean rags | Wipe surfaces | $5–10 |
| Dust mask & eye protection | Safety | $6–13 |
Total estimated cost: $92–$166
The Actual Painting: A Step-by-Step Guide to Painting a Dresser
This is where your dresser finally gets its makeover!
Your prep work is done, and now comes the fun part.
Follow these simple steps to turn that tired old piece into something beautiful.
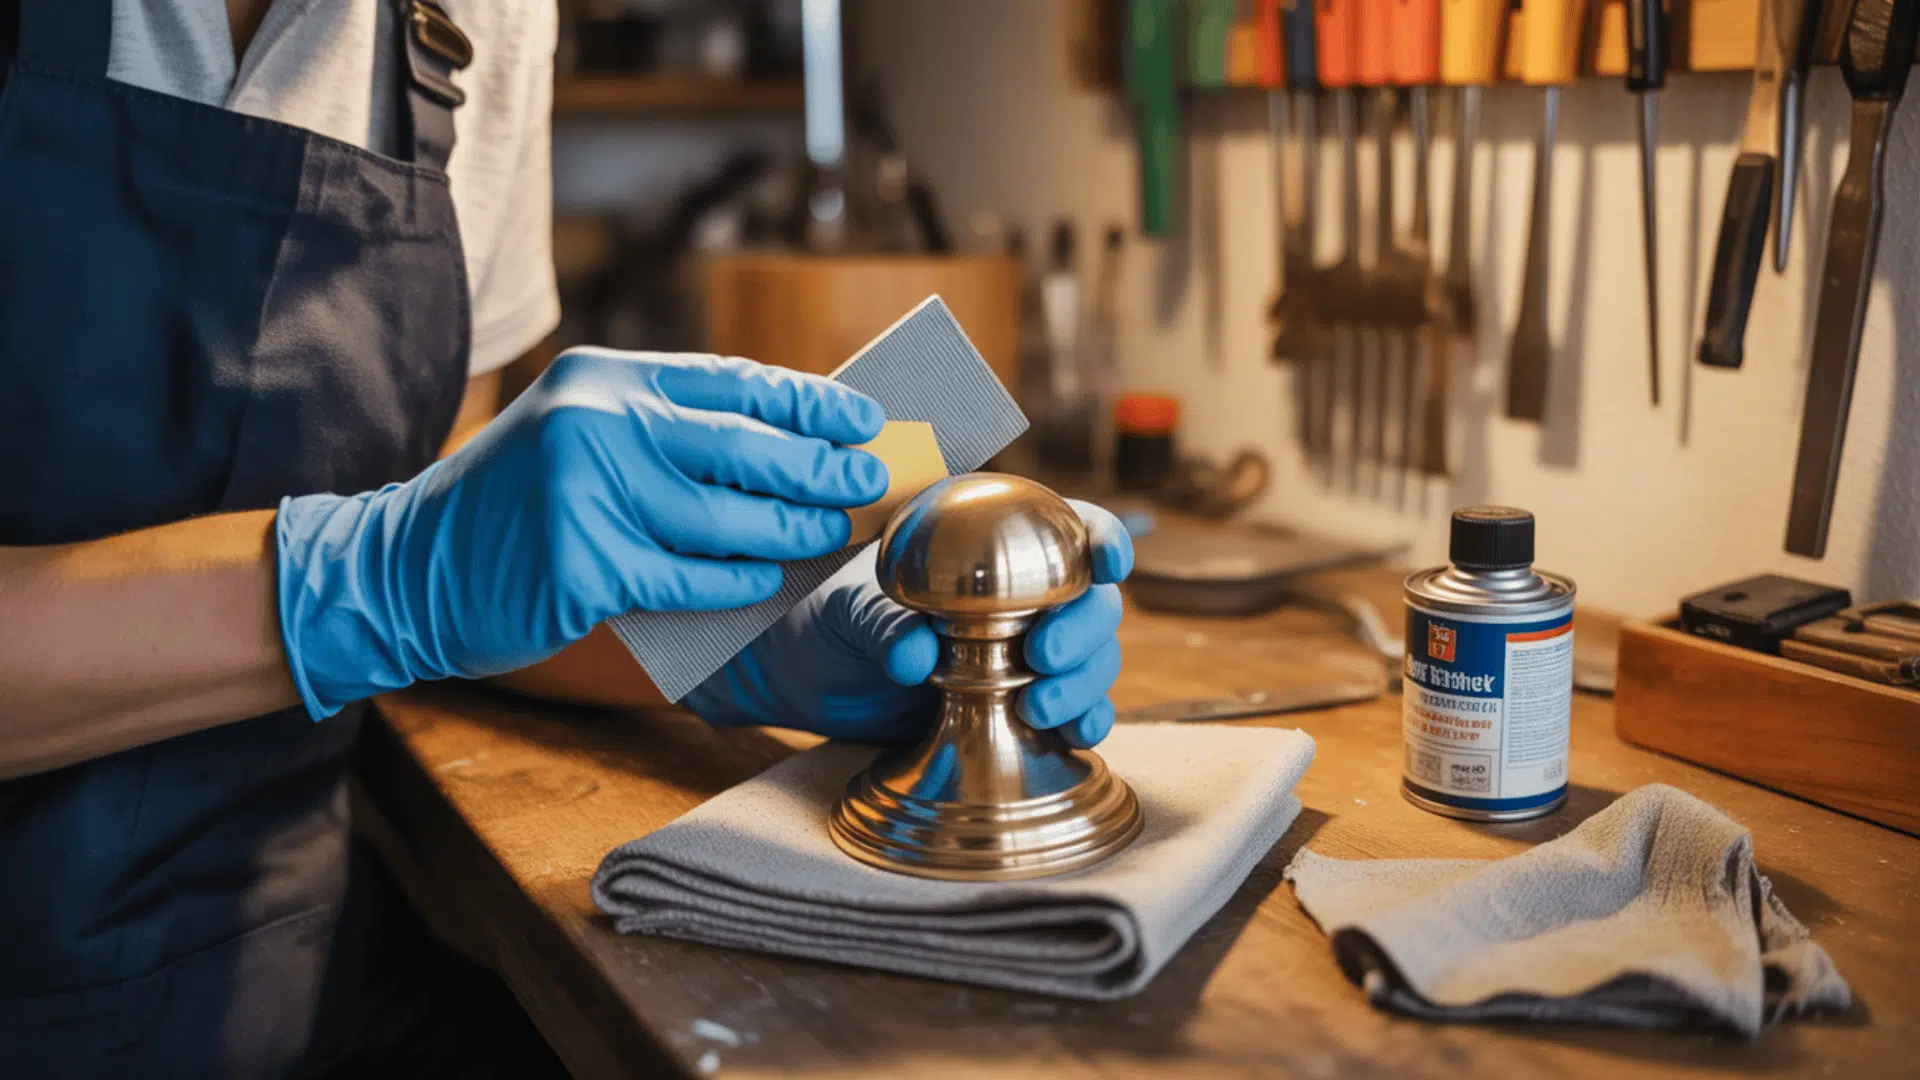
STEP 1: Prepare and Clean the Dresser
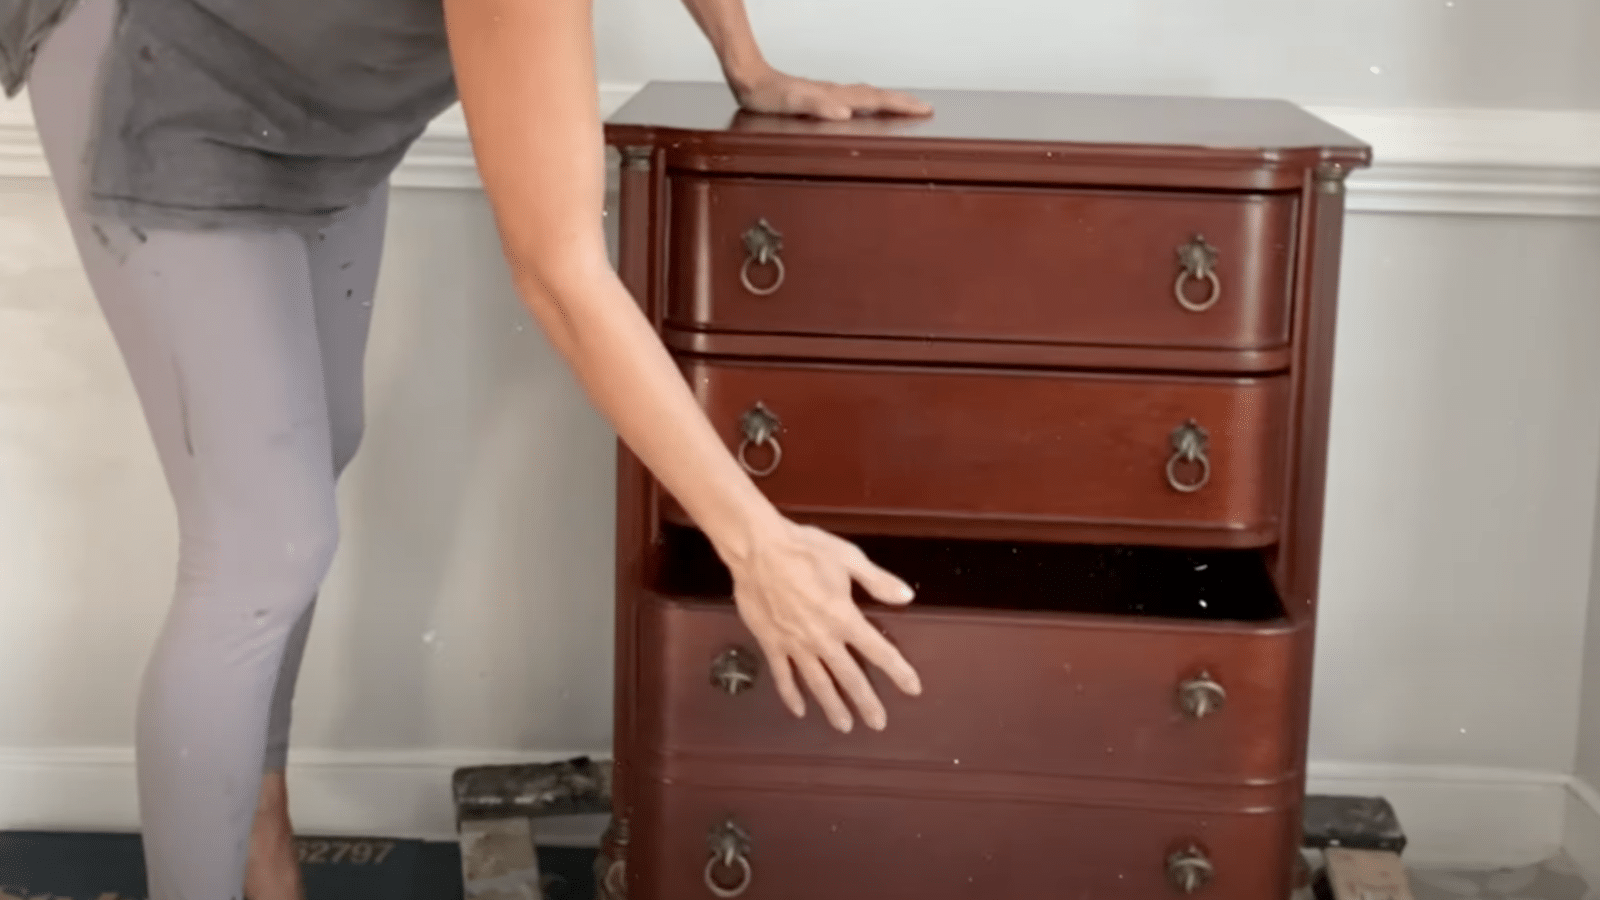
Begin by removing all hardware from the dresser and setting it aside.
Thoroughly clean the entire surface using a strong cleaner like White Lightning, then rinse with water.
This step ensures that dirt and oils are removed, creating a clean base for painting.
Pro Tip:
- Take photos of hardware placement before removing it to remember the original arrangement.
- Use a screwdriver with the correct bit size to avoid stripping screws.
- Place all hardware and screws in labeled sandwich bags to keep everything organized.
STEP 2: Prime the Surface
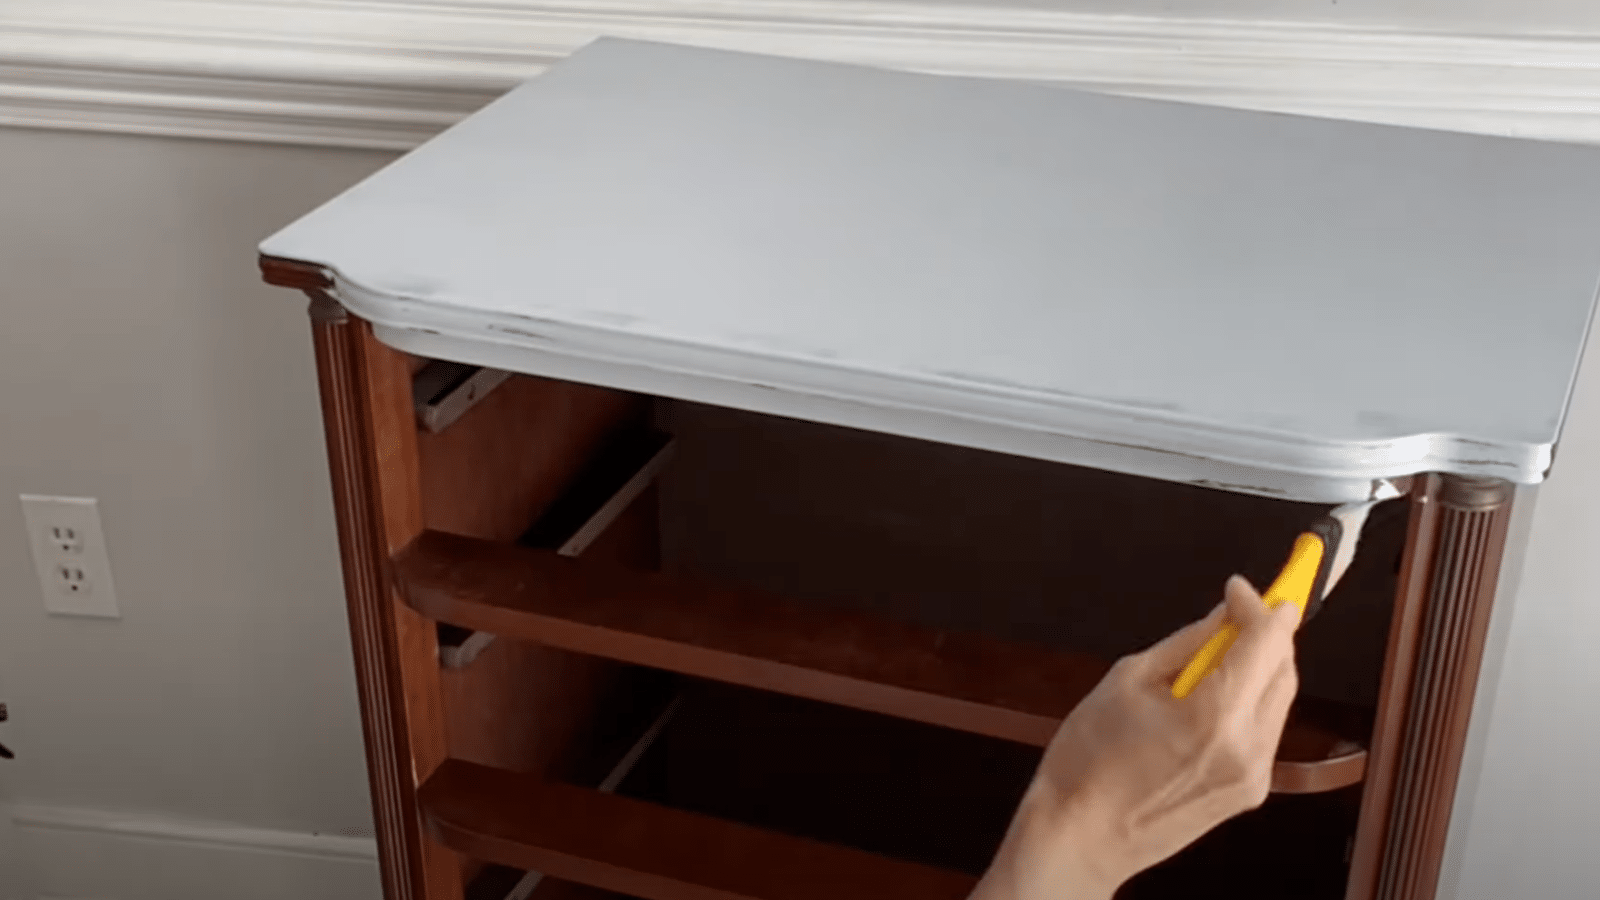
Apply two even coats of a bonding primer, such as Bonding Boss in Gray, using a foam roller for flat areas and a chip brush for corners.
Allow the primer to dry for 24 hours.
This step is crucial for helping paint adhere to laminate or shiny surfaces.
Pro Tips:
- Lightly sand between primer coats with 220-grit for an ultra-smooth base.
- Tint your primer closer to your final color to reduce the number of paint coats needed.
- Prime in a well-ventilated area and consider a respirator mask for better protection.
STEP 3: Apply Base Coat and Blend Colors
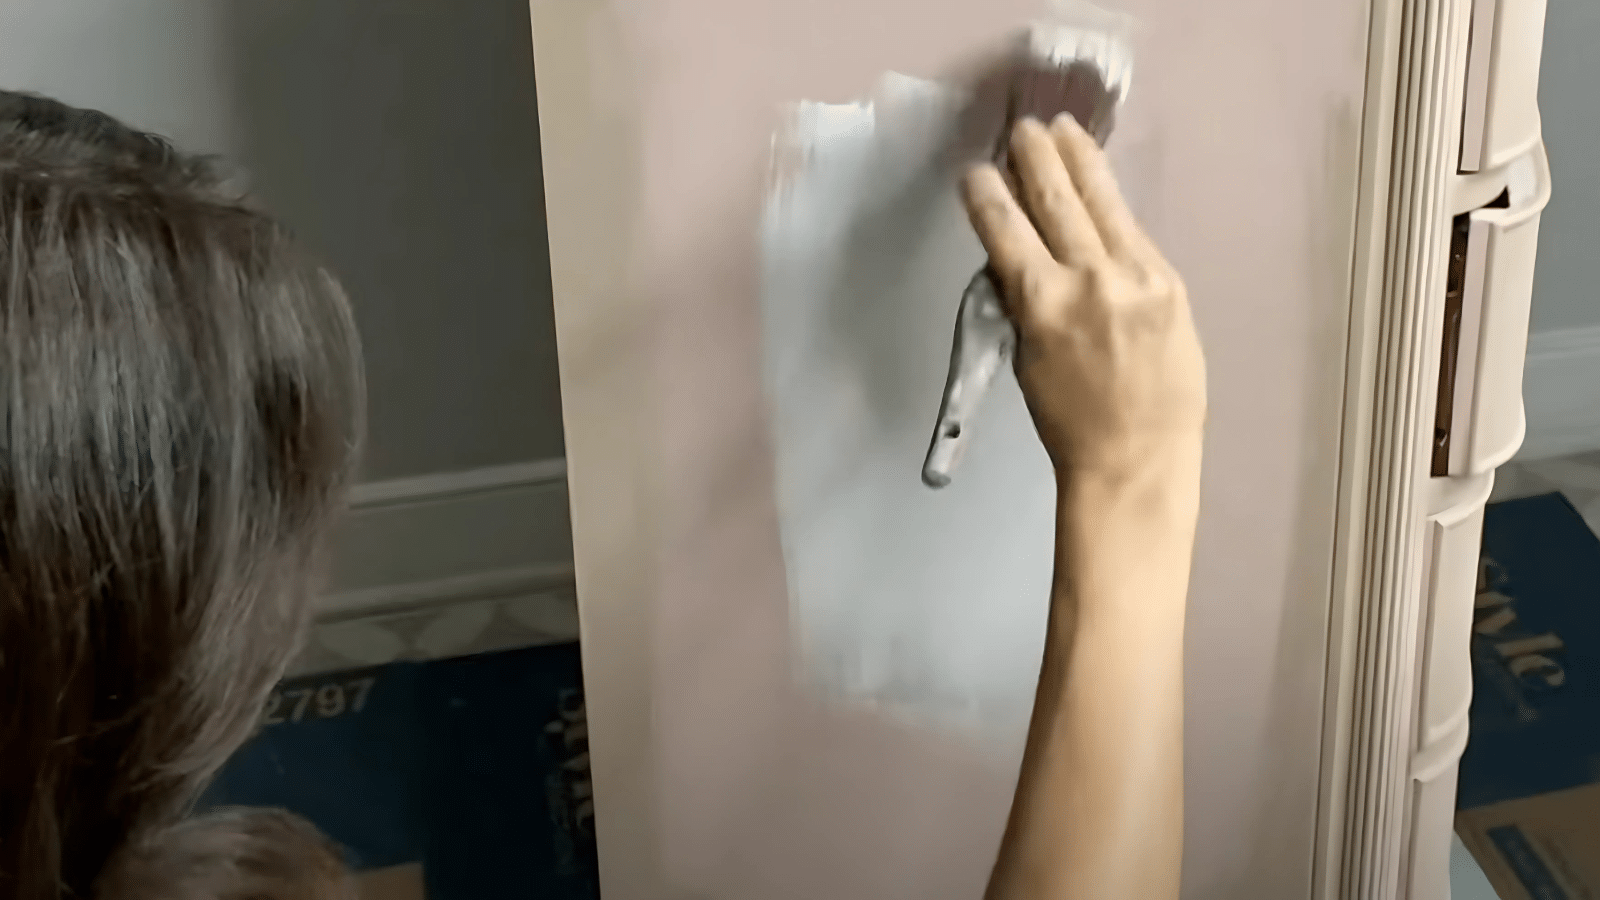
Once the primer is dry, paint the dresser with a base coat (like T-Rose).
Use separate brushes for each color if creating an ombre effect, blending shades such as Cobblestone and Fluff.
A misting bottle helps keep brushes damp for smooth transitions between colors.
Pro Tips:
- Work quickly in small sections when blending colors to prevent drying lines.
- Paint in the same direction as the wood grain for a more professional finish.
- Keep a wet edge by not letting painted areas dry before blending into them.
STEP 4: Add Decorative Transfers
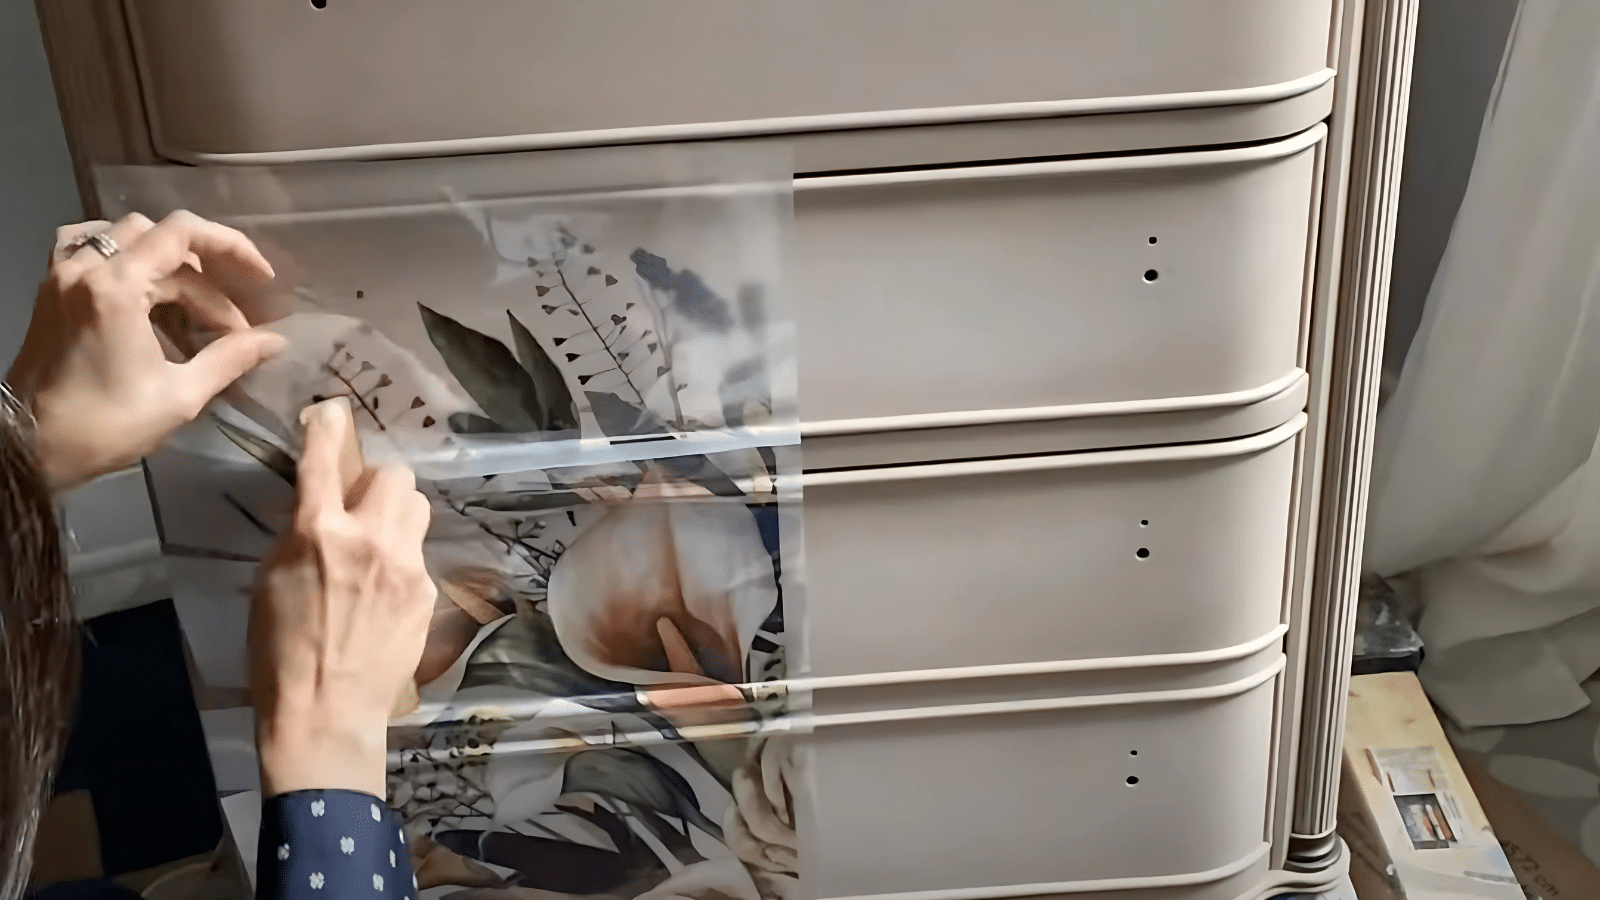
Carefully apply large floral transfers to the dresser’s surfaces.
Align and trim the transfer sheets as needed, using a burnishing tool or your fingers to press the design firmly onto the surface.
This step adds a unique, eye-catching detail to your piece.
Pro Tips:
- Use painter’s tape to position transfers perfectly before final application.
- Warm transfers slightly with a hairdryer to make them more pliable and easier to apply.
- Seal transfers immediately after application to prevent them from lifting or bubbling.
STEP 5: Seal and Finish the Dresser
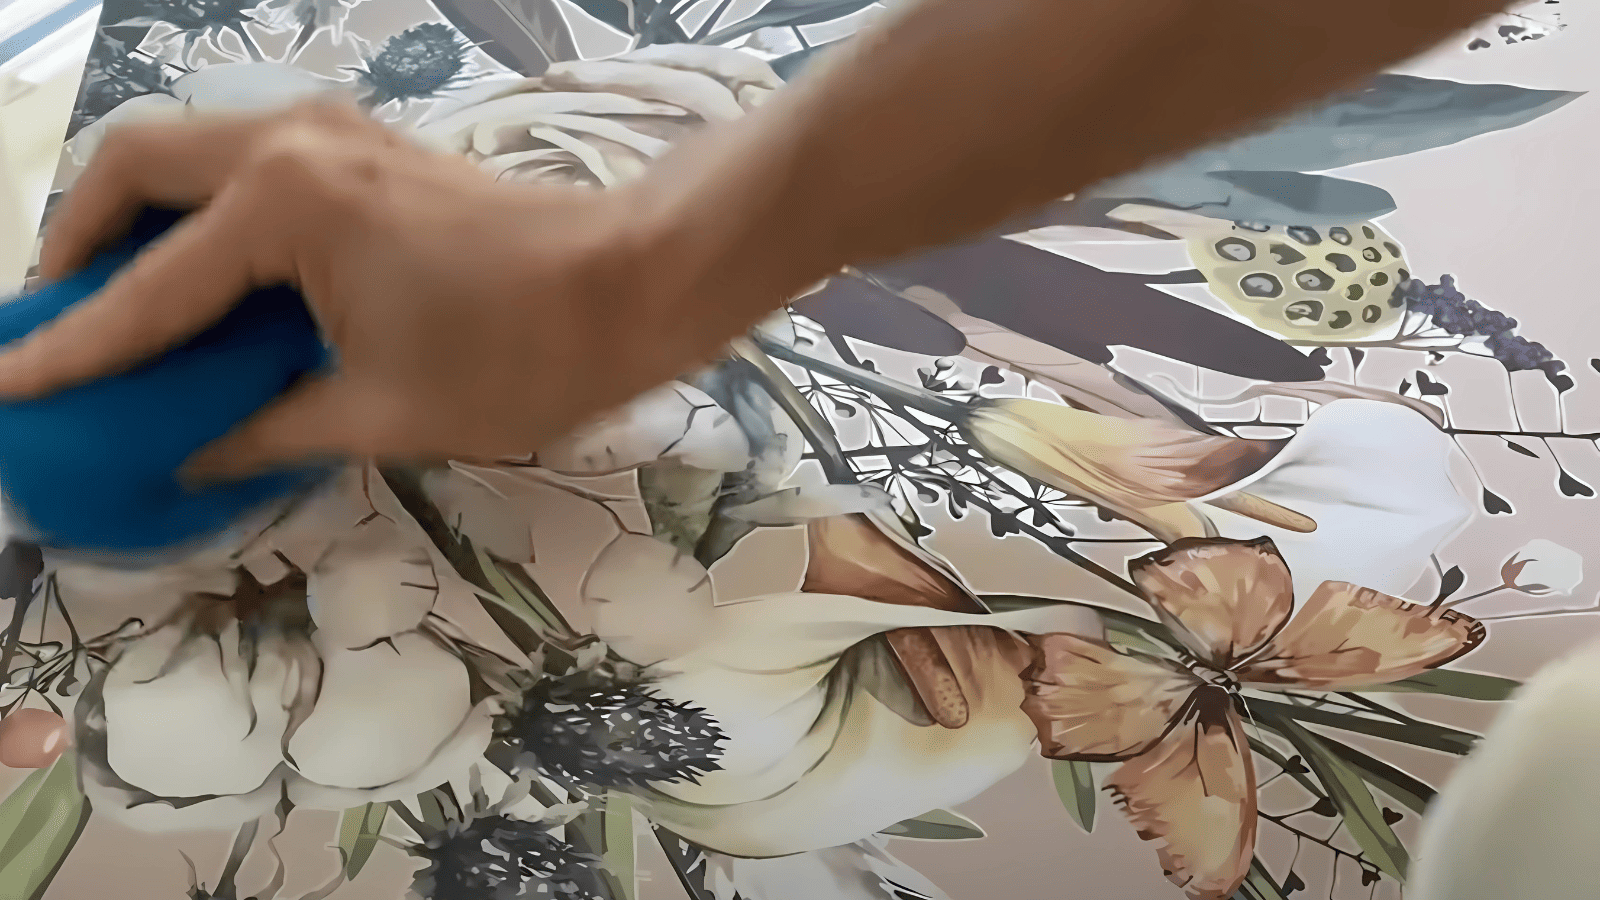
Protect your work by applying a clear water-based topcoat with a damp sponge for a streak-free finish.
Add a second coat for extra durability, and consider using wax or gilding accents on corners and edges for added depth and character.
Allow everything to cure before use.
Pro Tips:
- Apply topcoat in thin layers – multiple thin coats are better than one thick coat.
- Wait 72 hours before placing items on freshly sealed surfaces to allow full curing.
- Buff waxed surfaces with a clean, lint-free cloth for a professional sheen.
Video Tutorial
For step-by-step guidance, check out the video by The Top Drawer RVA
Eco-Friendly Painting Options
Want to makeover your dresser while being kind to the planet?
Good news!
You’ve got green options.
Look for water-based paints labeled “zero VOC” or “low VOC” to avoid nasty fumes.
Brands like ECOS and Earthborn offer beautiful colors without the chemicals.
Don’t toss those paint containers!
Many hardware stores recycle them.
And that old t-shirt?
Perfect for applying natural waxes instead of buying disposable brushes.
Try milk paint made from simple ingredients, or make your own chalk paint using baking soda and regular paint.
Your lungs (and Mother Earth) will thank you.
Caring for Your Newly Painted Dresser
Your beautiful dresser needs proper care to keep it looking fresh for years.
- Wait at least a week before placing heavy items on top.
- Use coasters under anything that might leave moisture rings.
- Clean with a soft, slightly damp cloth—never harsh chemicals.
- Avoid sliding objects across the surface to prevent scratches.
- Touch up any chips promptly with leftover paint kept in a small jar.
- Keep your dresser away from direct sunlight to prevent fading.
For extra protection, apply a fresh coat of wax or polyurethane once a year.
Felt pads under decor items prevent surface scratches.
Final Words
Congratulations on giving your old dresser a beautiful new life!
With a little patience and the right techniques, you’ve created something special.
Remember that practice makes perfect; each furniture piece you paint will turn out better than the last.
Don’t worry if your first project isn’t flawless.
The small imperfections often add character and charm.
Keep your leftover paint for touch-ups down the road.
The best part about DIY furniture painting is the pride you’ll feel every time you see your changed dresser.
Now that you know the basics, consider tackling other secondhand pieces around your home.
Happy painting, and enjoy your “new” dresser for years to come!
If you’re interested in more DIY projects for your home, feel free to click here and see our other furniture painting guides and easy weekend makeovers!
Frequently Asked Questions (FAQs)
Do I Need to Prime My Dresser Before Painting?
Yes, unless you’re using chalk paint. Primer blocks stains, covers dark colors, and helps your paint stick much better.
What Kind of Paint Do You Use on A Dresser?
Chalk paint is beginner-friendly and requires minimal prep. Latex is durable and easy to clean. Oil-based chalk paint gives the smoothest finish.
Can You Paint a Dresser with Spray Paint?
Absolutely! Spray paint creates a factory-like finish without brush marks, but requires careful masking and multiple thin coats.

Stephanie Grace, a graduate with a degree in Fine Arts from the Savannah College of Art and Design, has been inspiring DIY enthusiasts with her creative and practical guidance for over 14 years. Her career in design and crafting began in a small artisan workshop, where she developed a passion for transforming everyday materials into beautiful and functional items. Stephanie joined our website in 2018, rapidly gaining popularity for her easy-to-follow DIY tutorials and innovative project ideas. Since then, she has been the creative mind behind our DIY section, helping readers bring their artistic visions to life. Outside her professional pursuits, Stephanie enjoys pottery and urban gardening, hobbies that showcase her love for hands-on creativity and nature.