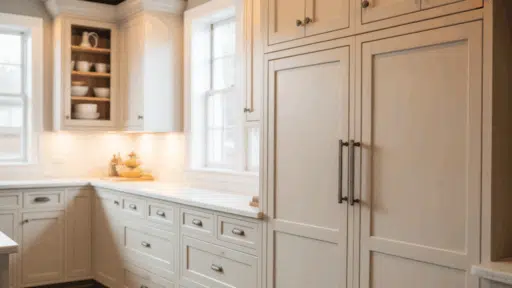
Shaker cabinets are renowned for their clean lines and timeless design, but that simplicity also means hardware placement must be precise.
If you’re updating a kitchen or building from scratch, getting the knobs and pulls right is what takes your cabinets from “nice” to “nailed it.”
The good news? Shaker doors make it easier than most styles, thanks to their five-piece frame and flat panel layout. But easier doesn’t mean error-free.
You still need to follow proper placement rules, size guidelines, and consistency checks to get a polished, professional finish.
In this, we’ll walk you through everything, including where to place cabinet hardware, how to choose between knobs and pulls, the best sizes to use, and common mistakes to avoid.
So grab your measuring tape, we’re about to make your Shaker cabinets look sharp, stylish, and easy to use.
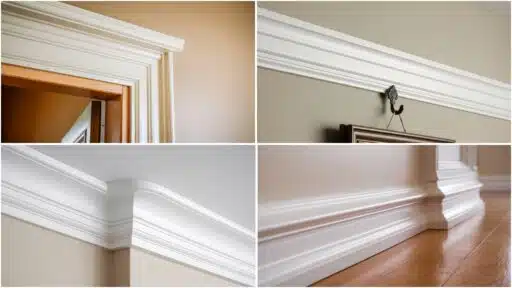
What Makes Shaker Cabinets Different from Other Styles?
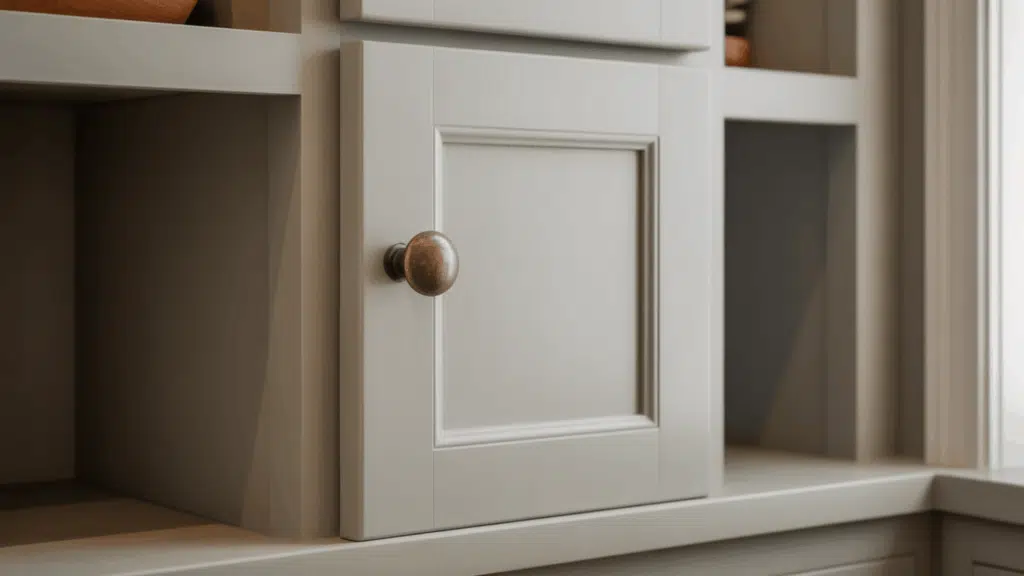
Shaker cabinets stand out with their clean, five-piece construction, which creates perfect opportunities for hardware placement.
Each door features four frame pieces surrounding a recessed center panel, giving you natural reference points for positioning handles and knobs.
The frame consists of rails that run horizontally and stiles that run vertically. The center panel sits slightly behind these frame pieces, creating depth and visual interest.
This traditional design offers two main placement options: aligning hardware with the frame edges or centering on the panel itself.
The simple geometry of Shaker doors makes measuring them easier than that of ornate cabinet styles. The straight lines and consistent proportions ensure that your hardware placement appears balanced and intentional.
Knobs vs Pulls: Which One Works Best for Shaker Cabinet Doors?
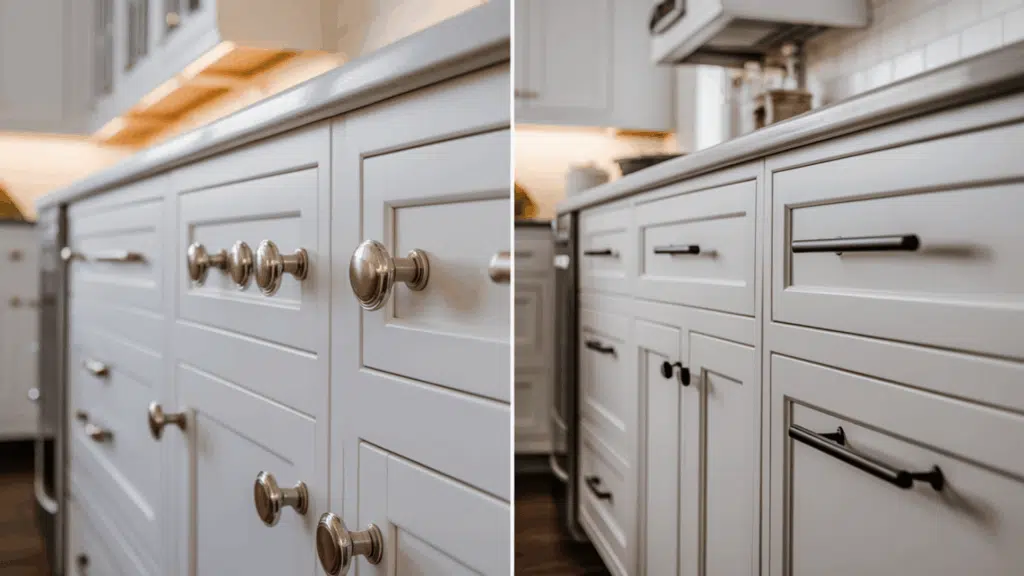
The hardware you choose affects both function and style in your kitchen. Knobs and pulls each have unique benefits that work better in different situations.
Understanding these differences enables you to make informed decisions tailored to your specific needs.
| KNOBS | PULLS |
|---|---|
| Best for upper cabinet doors | Ideal for lower cabinet doors |
| Perfect for smaller doors | Better for heavy doors |
| Traditional kitchen style | Modern kitchen designs |
| Subtle, minimal appearance | Statement hardware piece |
| Easy to grip and turn | Comfortable full-hand grip |
| Space-efficient installation | Requires more mounting space |
| Less expensive option | Higher cost due to size |
| Works well with narrow doors | Essential for wide drawers |
Most kitchens use a mix of both. The most popular combination puts knobs on upper cabinets and pulls on lower cabinets and drawers.
Standard Rules for Cabinet Handle Placement
Follow these standard guidelines to ensure your cabinet hardware looks balanced, functions well, and stays consistent throughout the kitchen:
- Upper cabinets: Place knobs or pulls 2–3 inches from the bottom corner, on the side opposite the hinges.
- Lower cabinets: Position hardware 2–3 inches from the top corner, again opposite the hinges for ergonomic access.
- Pulls on doors: Always install vertically on cabinet doors; horizontal pulls are best reserved for drawers.
- Pulls on drawers: Center them horizontally and align them height-wise for a uniform appearance.
- Wide drawers: Use one long pull instead of two knobs; it’s more functional and modern.
- Consistent spacing: Maintain even measurements and placement across all rows to avoid visual clutter.
- Avoid countertop edges: Place handles at least 1 inch away from the edge of the counter to prevent fingers from getting caught.
Step-by-Step Guide to Installing Hardware on Shaker Cabinets
Accurate measuring prevents costly mistakes. Here’s how to mark your placement:
1. Measure from the Edges
Start by measuring 2 to 3 inches in from the cabinet edge or corner where the door opens. This gives a functional and symmetrical look. Use consistent spacing on all doors and drawers for a clean finish.
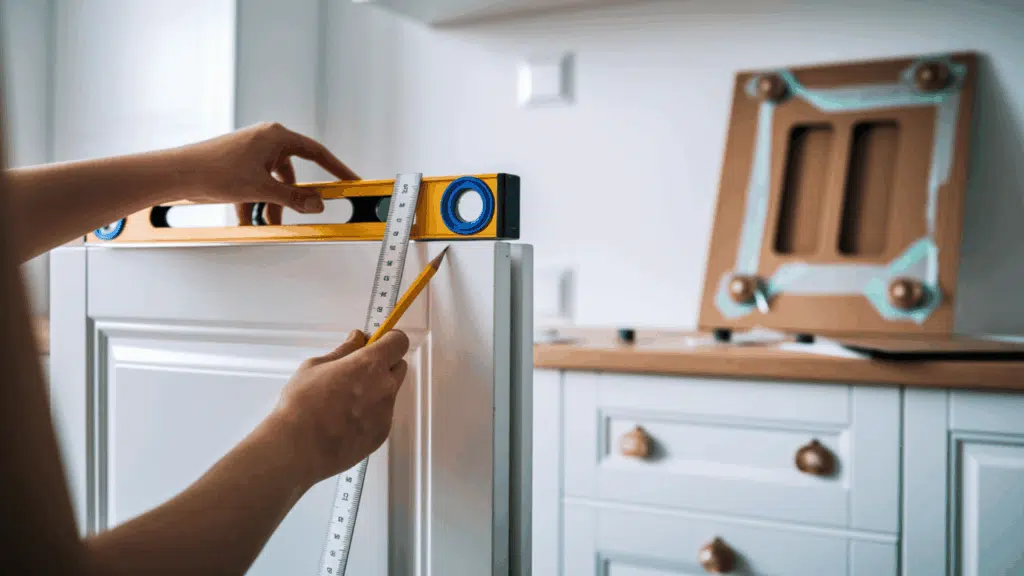
2. Use a Level
Align each mark using a small level to ensure your hardware won’t tilt or appear uneven. Even a slight slant can be noticeable, especially across multiple doors.
3. Create a Template
Cut a piece of cardboard or buy a plastic hardware jig. Drill guide holes based on your ideal knob or pull placement. This speeds up marking and ensures repeatable accuracy for each cabinet.
4. Test with Tape
Before drilling, stick the knobs or pulls in place with painter’s tape. Step back and check the overall look. This lets you catch any visual misalignments and make adjustments before committing.
What Size Knobs and Pulls Work Best for Shaker Cabinets?
Size matters, both for comfort and overall appearance. Below are the recommended knob and pull sizes based on cabinet dimensions:
Knobs
- Standard size: 1-1/4 inches
- For large cabinet doors: 1-1/2 inches
- For small cabinet doors or drawers: 1 inch
Pulls
- For standard cabinet doors: 4–6 inches long
- For wide drawers (≥30 inches): 8–12 inches long
- For narrow drawers (≤12 inches): 3–4 inches long
Rule of thumb: The pull length should be approximately 1/3 the width of the drawer front.
Where to Place Cabinet Hardware on Different Door?
Not all cabinets are created equal, and your hardware placement needs to adapt to different door sizes and configurations.
The key is maintaining consistent visual principles while adjusting for each cabinet’s unique proportions and function.
1. Standard Doors (12-24 inches wide)
Standard cabinet doors work with both knobs and pulls. Measure 2-3 inches from the top or bottom edge and 2-3 inches from the side edge. This dual measurement creates a consistent visual anchor point across your entire kitchen.
For upper cabinets, place hardware near the bottom corner for easy reach. For lower cabinets, position hardware near the top corner to avoid hitting your legs or the countertop.
This standard placement works for most door sizes and maintains professional alignment.
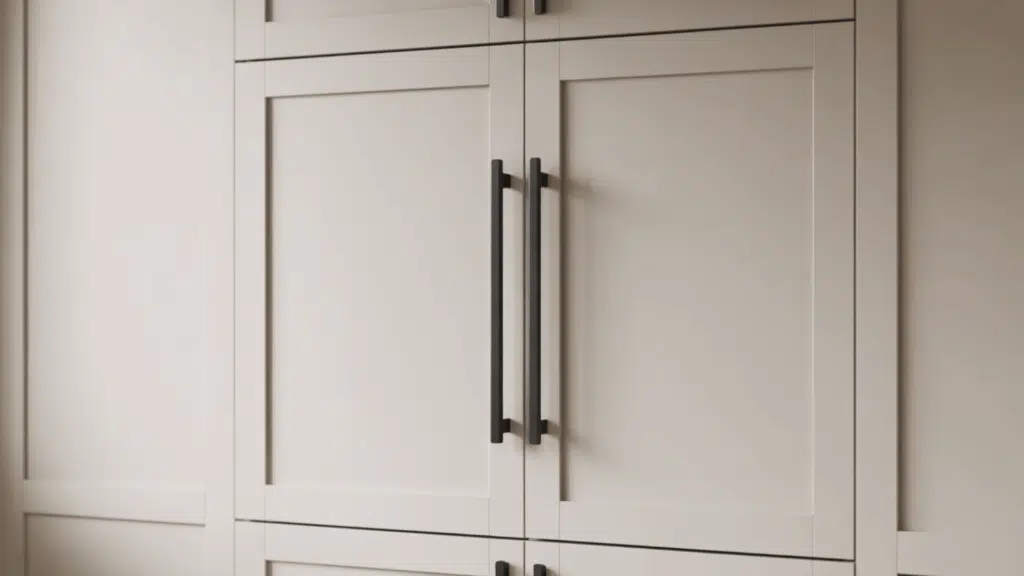
2. Wide Doors (24+ inches wide)
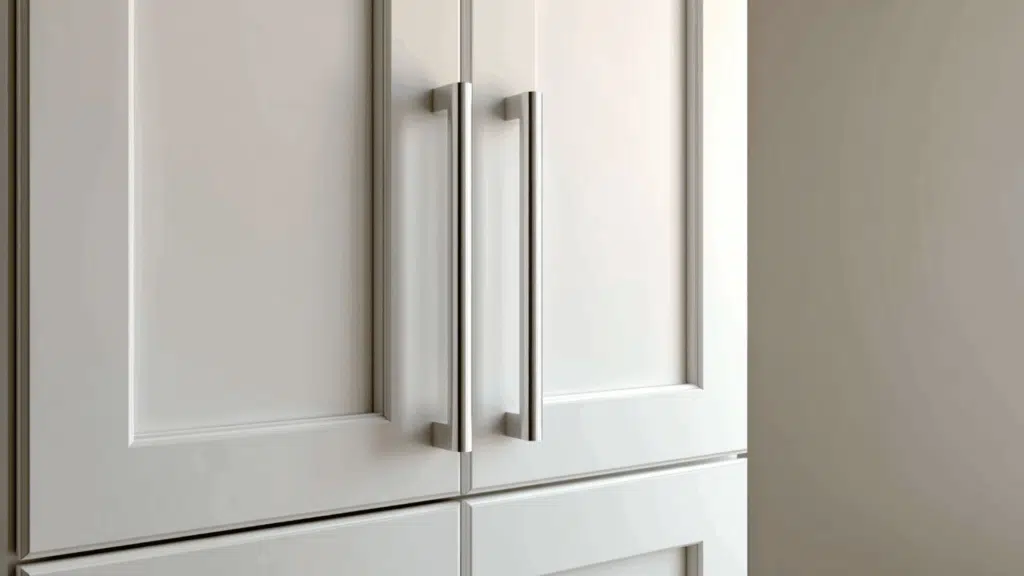
Large pantry doors, tall cabinets, and oversized doors require special consideration. Use longer pulls measuring 8-12 inches to match the door’s scale.
Short hardware looks out of place on large doors and becomes difficult to grip. Place these longer pulls using the same 2-3 inch edge measurements as standard doors.
The pull length should be roughly 1/3 the door width for proper proportion. Position pulls vertically on wide doors to maintain the clean Shaker be auty and provide comfortable grip angles.
3. Narrow Doors (under 12 inches wide)
Small doors like those found on wine racks, spice cabinets, or narrow storage units work best with knobs rather than pulls. Pulls often look oversized on narrow doors and may extend beyond the door edges.
Center knobs both horizontally and vertically on the door frame, or position them 2-3 inches from one corner, following standard placement rules.
Use smaller knobs (1-inch diameter) on very narrow doors to maintain proper proportions. This approach maintains the hardware’s functionality while preserving the door’s clean lines.
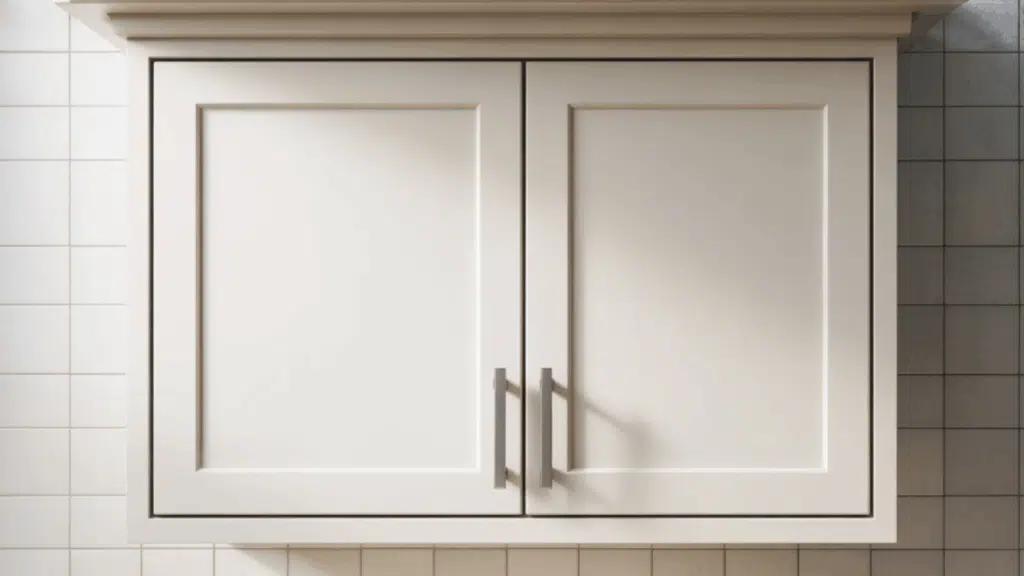
4. Double Doors (side-by-side pairs)
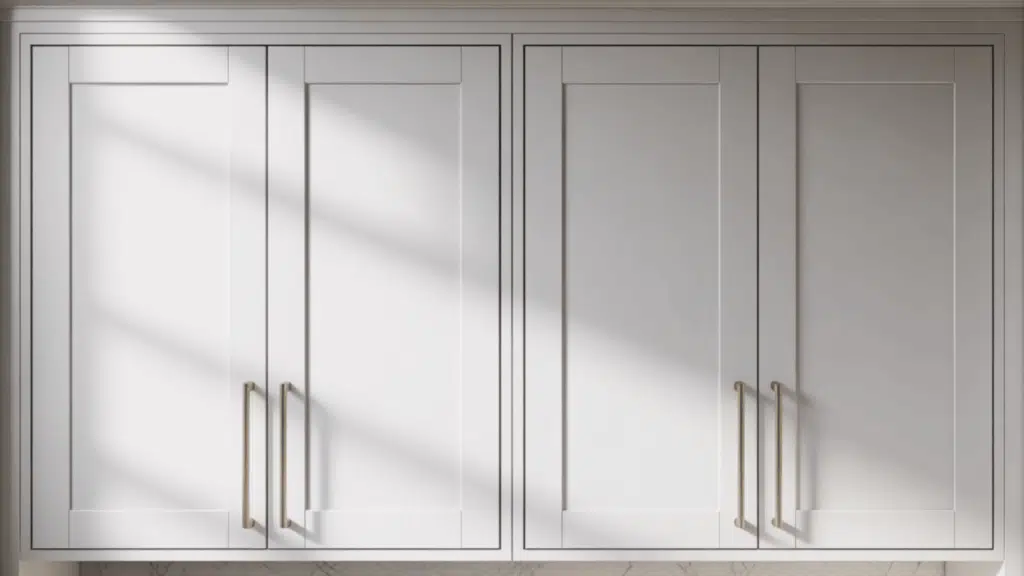
Cabinet pairs like those over sinks or on large base units need coordinated hardware placement. Place hardware on the outer edges of each door, keeping the same 2-3 inch measurements from the edges as single doors.
This creates symmetry and prevents hardware from interfering when both doors open. Never place hardware on the meeting edges where doors come together, as this creates awkward operation and visual imbalance.
The outer placement also provides better leverage for opening heavy double doors and maintains the clean center line between doors.
Installing Hardware on Special Cabinet Types
Some cabinets need different approaches than standard placement rules. These unique situations require adjustments to ensure both function and appearance work properly.
Corner Cabinets

- Place the hardware on the door that opens first.
- Keep hardware positioned away from the inside corner edge to avoid interference.
- Consider using knobs instead of pulls for easier grip and smoother access.
Glass-Front Cabinets
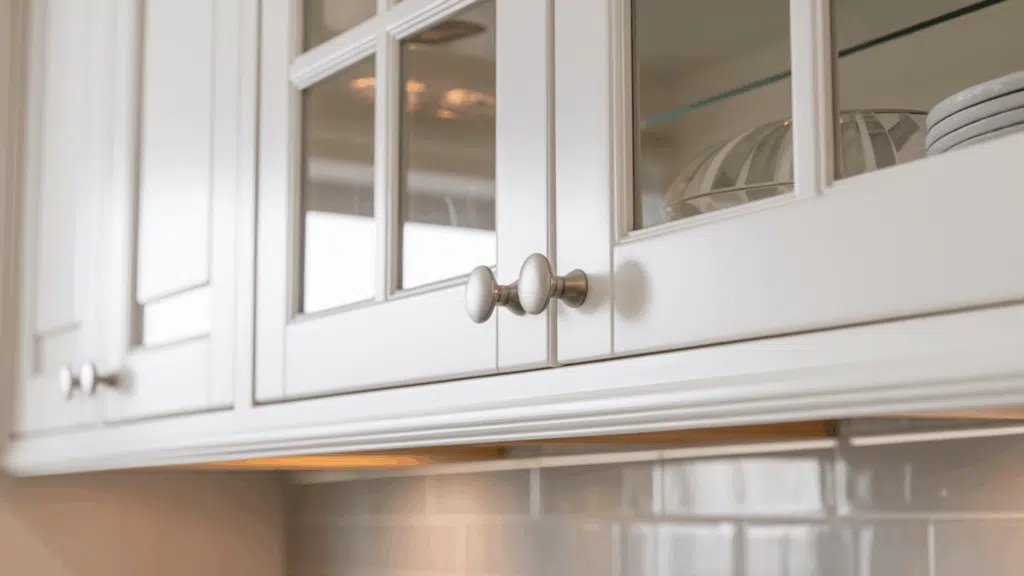
- Choose smaller, more discrete hardware to complement the delicate design.
- Position knobs slightly lower on the frame for better alignment and visibility.
- Match the style and finish of the hardware to other upper cabinets for consistency.
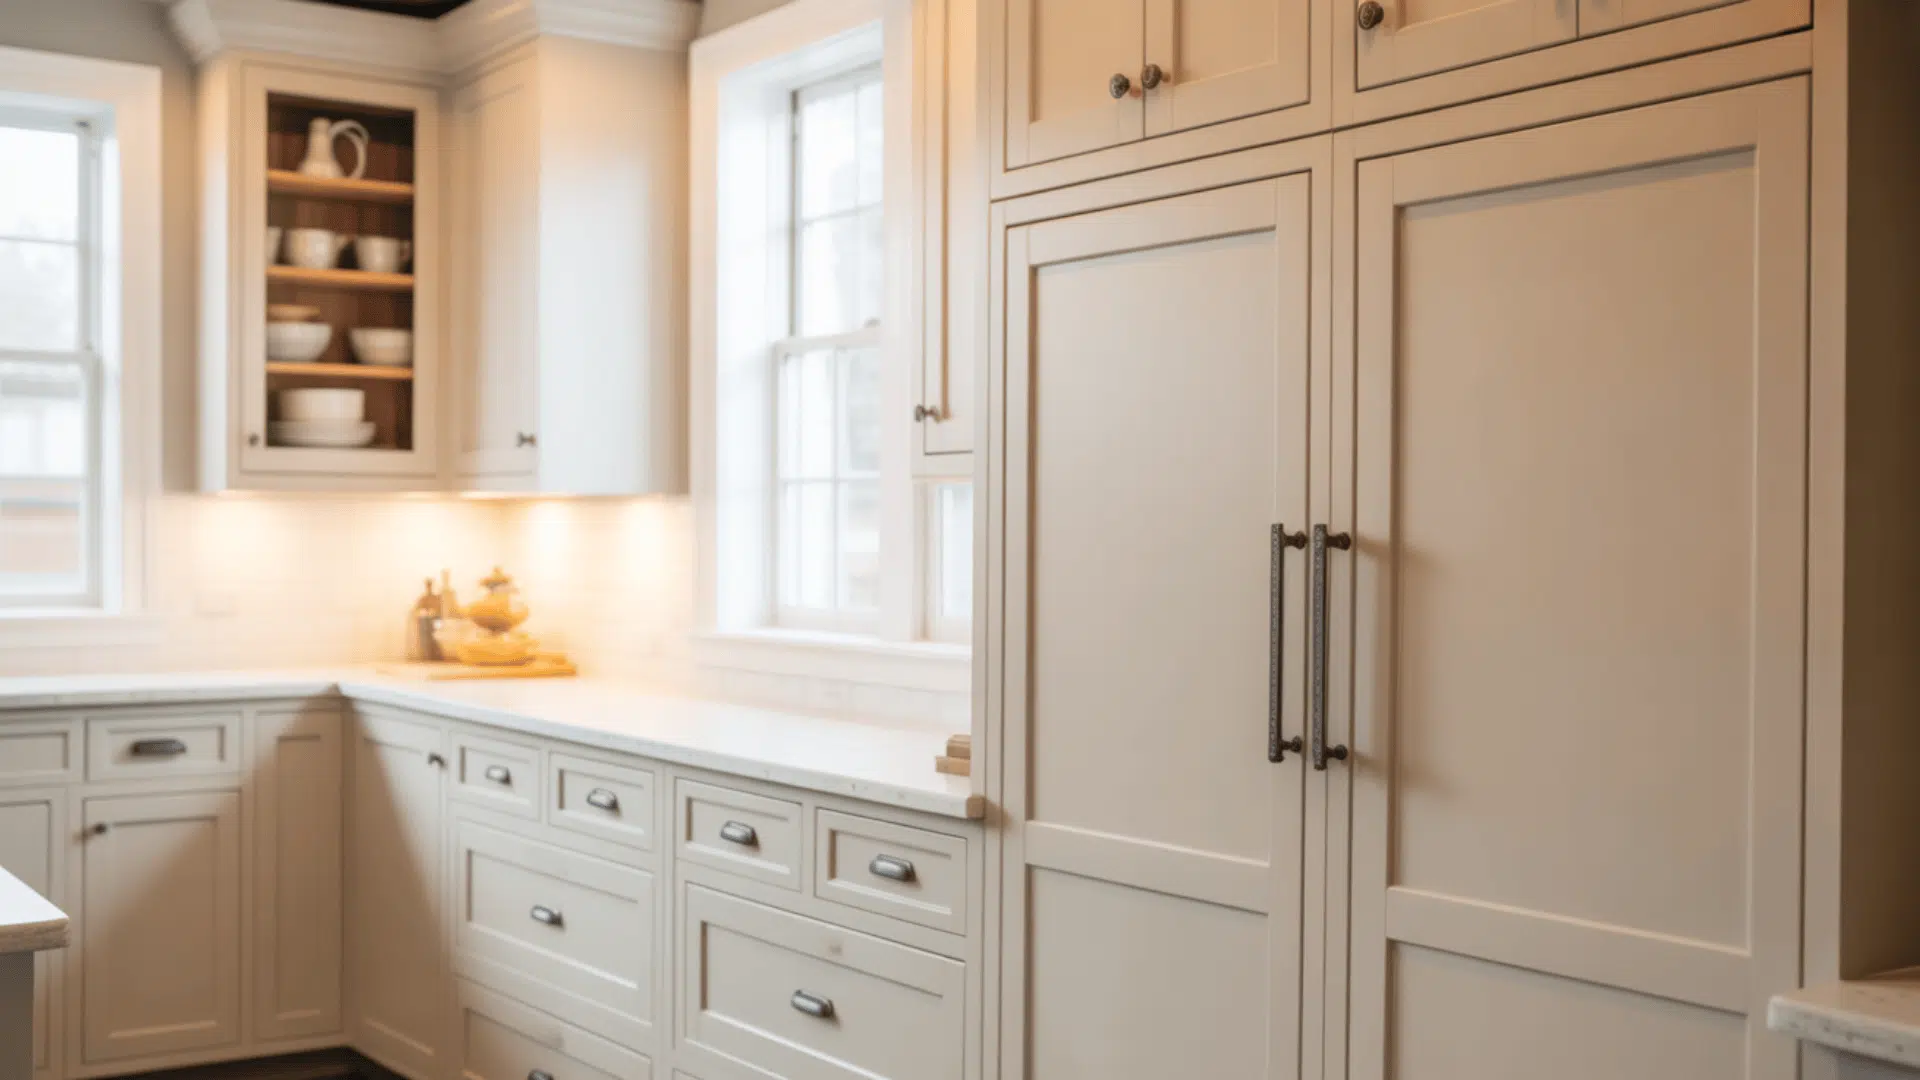
Appliance Panels
- Install appliance-specific pulls designed for built-in panels.
- These pulls are larger and sturdier than standard cabinet hardware.
- Always follow the appliance manufacturer’s hardware placement guidelines for proper function and warranty compliance.
Common Mistakes to Avoid When Installing Shaker Cabinet
Even with a simple Shaker design, hardware installation can go wrong if you’re not careful. Here are the most common mistakes people make and how to avoid them:
Skipping a Template: Guessing placement leads to crooked or mismatched handles. Always use a jig or cardboard template to ensure consistency.
Inconsistent Measurements: Measuring distances between edges or drawer heights manually can result in a messy, uneven look. Use a ruler to mark the area clearly before drilling.
Wrong Hardware Size: Using knobs that are too small or pulls that are too short, especially on large doors, makes them harder to grip and throws off proportions. Use the 1/3 width rule as a guide.
Drilling Without Testing First: Once you drill, there’s no going back. Use painter’s tape to mock up the hardware first and step back to double-check the alignment.
Installing Pulls Horizontally on Doors: Horizontal pulls on cabinet doors feel awkward and break the clean Shaker look. Save horizontal orientation for drawers only.
Placing Hardware Too Close to the Edge: Handles that are too close to countertop edges can pinch fingers and damage finishes. Always leave at least 1 inch of clearance.
Avoiding these simple errors helps your kitchen look professionally designed and function comfortably every day.
Conclusion
Shaker cabinets might be simple in design, but your hardware placement decisions can make or break the final look.
From standard doors to corner cabinets and drawers, using the right knobs, pulls, and measurements creates a clean, cohesive style that feels right.
Follow the tips in this guide, and you’ll avoid the usual guesswork and regrets. Make your kitchen look great and function even better, one handle at a time.
Want a quick start? Bookmark this page for your next DIY project.
Do you have questions or a tricky cabinet setup? Drop a comment below, we’re happy to help.
Make your kitchen look great and function even better, one handle at a time.

Holding a Master’s in Construction Management from Purdue University, William Ray has dedicated more than two decades to studying and applying construction principles. His professional journey includes a tenure with a prominent construction firm, where he specialized in project management and building technologies. William brought his knowledge to our team, providing in-depth insights into practical construction techniques. As the leader of our beginner’s guide to building since 2019, he has a knack for breaking down intricate processes into easily digestible content. When not involved in writing or onsite consultations, William enjoys woodworking and volunteering in community building projects, which aligns with his passion for hands-on construction and community service.