
Preparing to install a heat pump at home marks a thrilling move toward better energy savings and year-long comfort. Whether upgrading an outdated system or starting fresh, a heat pump can cut energy costs while warming and cooling your space through winter and summer.
But here’s the thing: a smooth heat pump installation doesn’t just happen. Ensuring everything runs smoothly requires some preparation and planning on your part. From determining where the unit will go to ensuring your electrical system is capable of handling the work, I’ll take you through the essential procedures to prepare your house in this post. Now let’s get your home heat pump setup going!
Assessing Your Space: Where Will the Heat Pump Go?
First things first, where’s this heat pump going to live? Selecting the appropriate location is crucial since it influences both your comfort level and the system’s functionality. An interior unit plus an outdoor unit make up the majority of heat pumps. Because the outdoor unit requires a well-ventilated area, choose a space that is open and free of obstructions like walls or plants. If at all possible, keep it out of direct sunlight since too much heat can cause it to work more than it has to.
Inside, the setup depends on the type of heat pump you’re getting. Some folks go for a wall-mounted unit in a living space, while others tuck it away in an attic or basement. Wherever it goes, think about noise. Even though today’s heat pumps are pretty quiet, you probably don’t want the outdoor unit right outside your bedroom window. And don’t forget about access — installers and future repair folks will need to get to it easily. Take a walk around your place and picture where it’ll fit best.
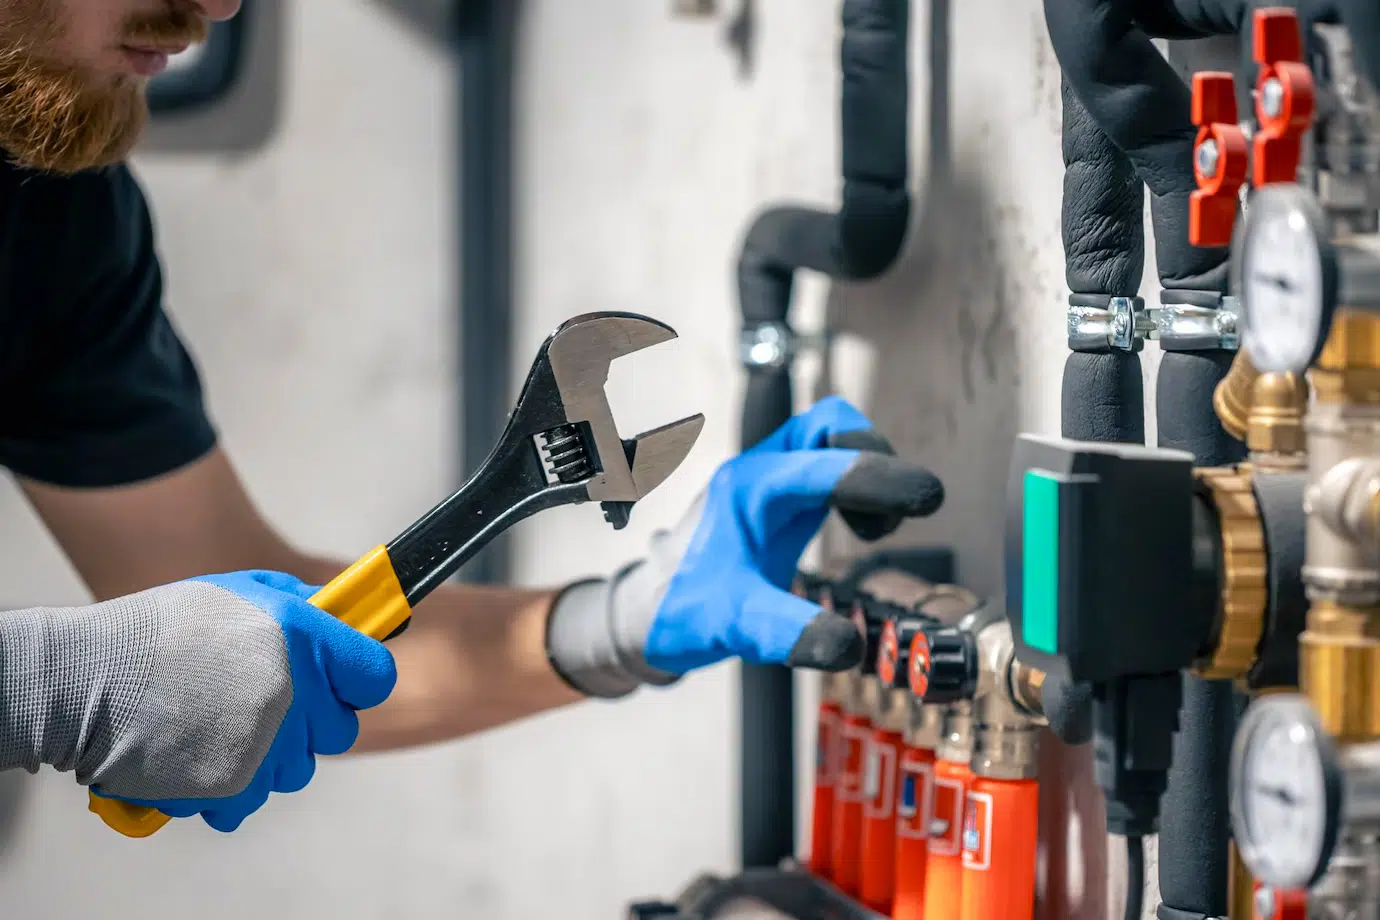
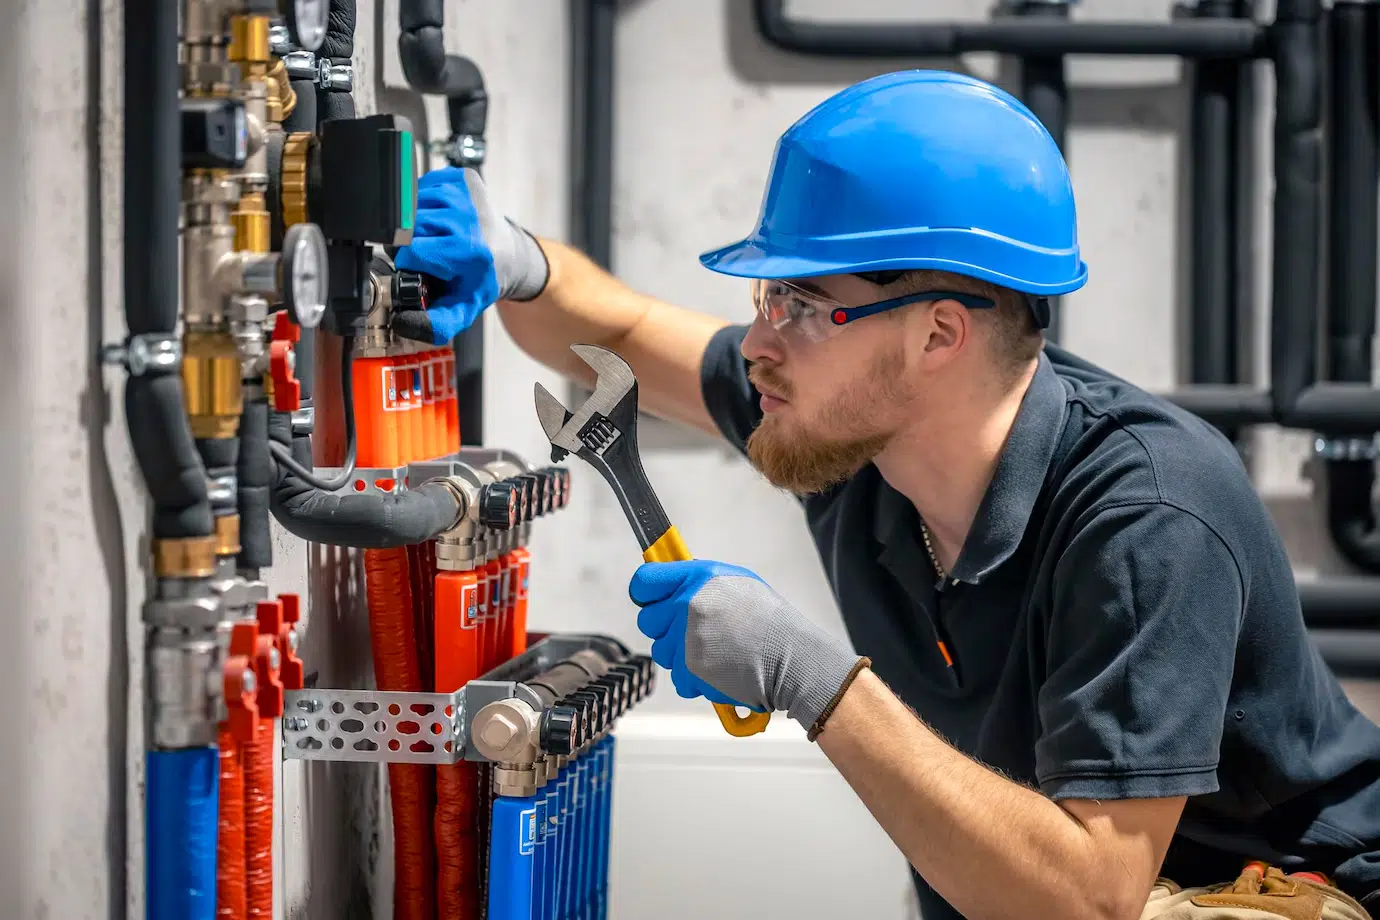
Checking Your Electrical System: Is It Heat Pump-Ready?
Next up, let’s talk power. A heat pump has significant electrical requirements; it’s not like plugging in a lamp. A 240-volt configuration may be required for the majority of models, which require a dedicated circuit. You must determine whether your home’s electrical system can withstand it before you even consider the day of installation.
Start by checking your electrical panel. Is it modern, or is it something from the 1970s that’s seen better days? An upgrade may be necessary if it is outdated or already maxed out. I would suggest getting an electrician to check it out; they can determine whether the wiring and amperage are enough. I promise you that neglecting this step could result in blown circuits or delays when the installers arrive. Getting your electrical system heat-pump-ready is a must for a safe and smooth home heat pump setup.
Clearing the Path: Prepping Your Home for Installation Day
When the big day arrives, you don’t want the installers tripping over your kid’s bike or squeezing past a cluttered garage. Making their job easier starts with clearing the way. For the outdoor unit, trim back any plants or move stuff like patio furniture that’s in the spot you picked. Inside, if they’re working in the attic or a utility room, shift anything that might block access — boxes, old holiday decorations, you name it.
If your heat pump ties into ductwork, make sure there’s a clear path to where the ducts are, like the crawlspace or ceiling. I’ve heard of folks laying down old sheets or tarps to keep dust and dirt from spreading — smart move if you ask me. Got pets? Keep them out of the way so nobody’s barking or scampering underfoot. A little prep like this can make the heat pump installation go a whole lot faster.
Planning for Efficiency: Enhancing Your Home’s Compatibility
Here’s where you can really set your heat pump up for success. These systems work best in homes that don’t let heat or cool air slip away. Begin by inspecting insulation: examine your attic, walls, and floors. If it’s sparse or absent in areas, adding more will make your home snug and reduce the effort your heat pump needs to stay efficient.
Air leaks are another sneaky culprit. Grab some caulk or weatherstripping and seal up gaps around windows and doors. If you’ve got ducts, have them checked for leaks too — leaky ducts can waste a ton of energy. Fixing these things isn’t just about the installation; it’s about making sure your heat pump runs efficiently for years. A little effort now pays off big time in comfort and lower bills.
Final Steps: What to Do After Scheduling the Installation
Once you’ve booked your heat pump installation, you’re almost there. Double-check the details with the installer—when they’re coming, what model you’re getting, and anything else they need from you. If you’re working with a pro like Fuse Service, they’ll probably walk you through it, but it’s good to confirm anyway.
Plan to be home that day, or have someone there to let the crew in and answer questions. Think about what might get disrupted, will they need to turn off the power for a bit? It’s also worth asking about the next steps: how to use the system, what maintenance it’ll need, and what’s covered under warranty. Knowing this stuff upfront keeps you in control and ready to enjoy your new setup.
In Conclusion
It takes some effort to get your house ready for a heat pump installation, but the effort is worthwhile. Every step brings you one step closer to having a system that will keep your house in top condition throughout the year, from choosing the ideal location and organizing your electrical system to making room and increasing efficiency. Planning ahead is crucial for HVAC installations, including heat pump installations, whether you’re doing it yourself or hiring professionals. Your future self will appreciate it if you take a big breath, get started, and roll up your sleeves!

Tommy Hardy, an alumnus of the Georgia Institute of Technology with a degree in Mechanical Engineering, has been a go-to figure in residential upkeep and innovation for over 18 years. His career commenced in a leading home appliance manufacturing company, where he mastered the intricacies of household systems. Joining our platform in 2020, Tommy quickly became a reader favorite for his practical and easy-to-follow guides. He took the helm of our DIY section in 2019, consistently delivering content that empowers homeowners. Beyond his professional pursuits, Tommy is a passionate gardener and enjoys woodworking, skills enhancing his hands-on approach to home care.