Concrete Staining: Change Your Plain Floors Into Something Incredible. That dull, gray concrete floor and patio don’t have to stay boring forever.
Staining a concrete patio is like a complete makeover without breaking the bank. It’s incredible how a simple stain can change plain concrete into something that resembles expensive stone or rich wood.
The best part? It’s not as complicated as you might think.
Many homeowners walk past their concrete floors every day, wishing they looked better. Maybe it’s a basement, garage, or patio that feels cold and uninviting. The good news is that concrete staining can change all that.
The result is a permanent, beautiful finish that won’t peel or chip like paint. Ready to learn how to make your concrete floors the star of the room?
Why Stain Concrete Floors and Patios?
Staining concrete offers numerous benefits that make it one of the most intelligent home improvement choices you can make.
Instead of covering up your concrete with expensive materials, staining works with what you already have to create something beautiful and long-lasting.
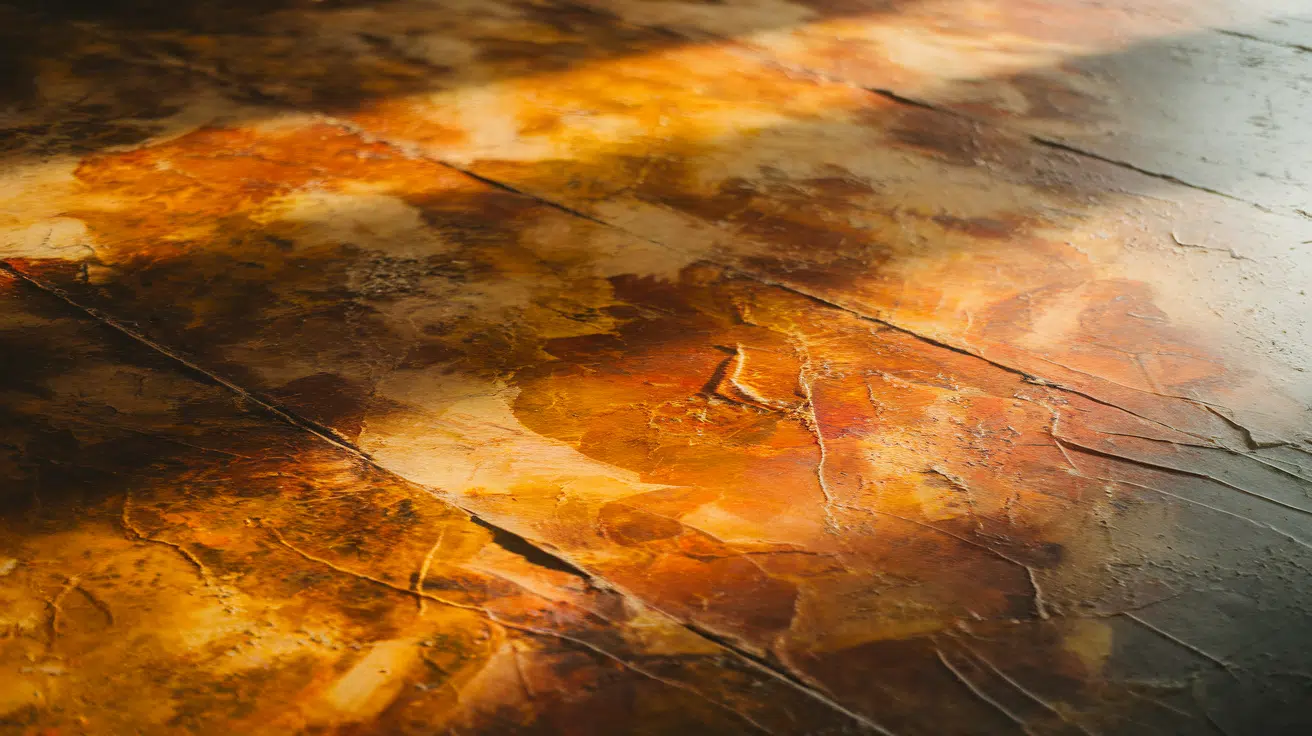
The most obvious benefit is the dramatic improvement in appearance, changing plain concrete from dull and industrial-looking to rich surfaces that can mimic natural stone, leather, or wood.
Cost-effectiveness makes concrete staining an attractive option for budget-conscious homeowners, costing hundreds instead of thousands, while achieving results that rival those of expensive flooring options.
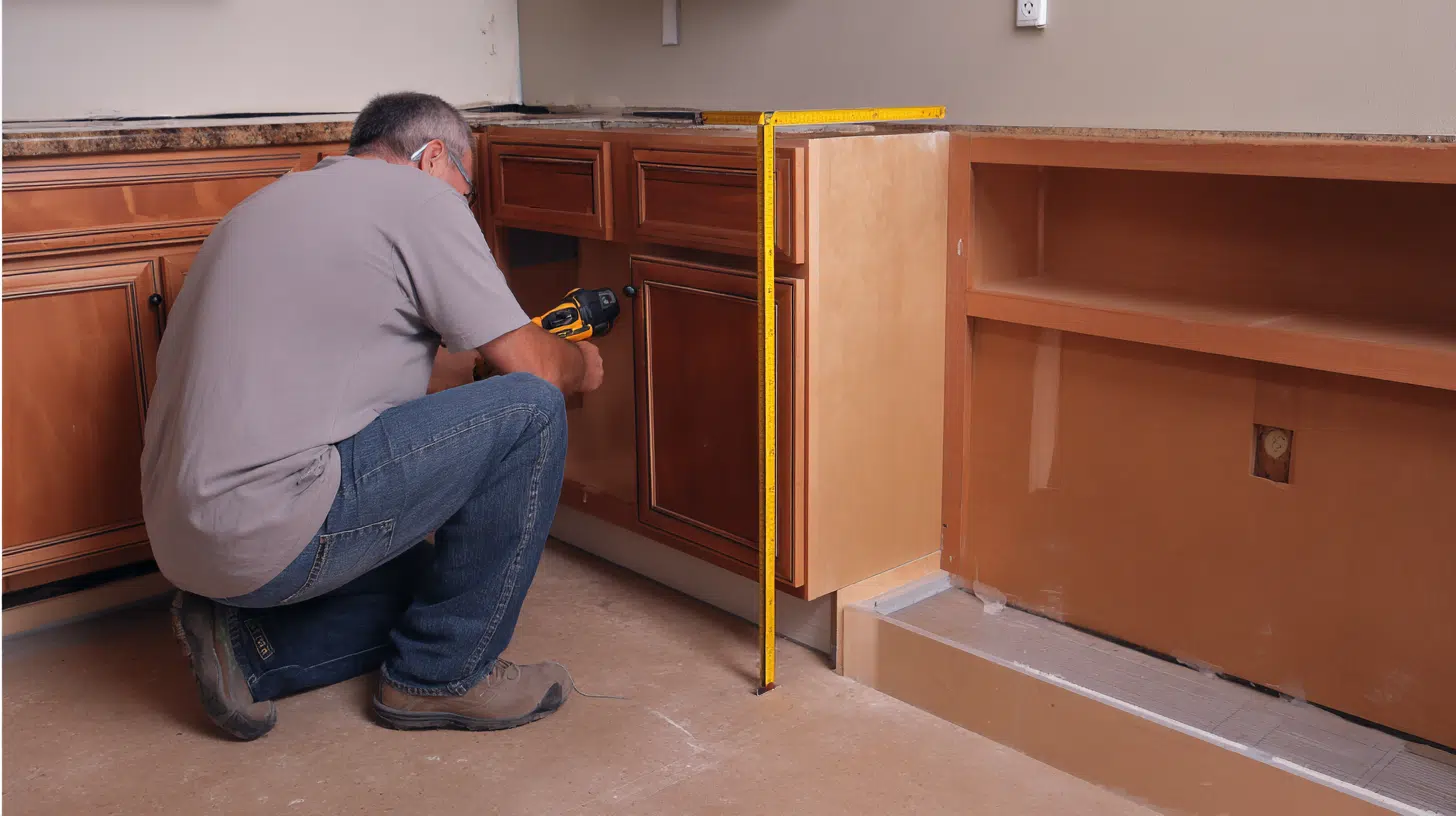
Tools and Materials You’ll Need for Concrete Staining
Getting the right tools and materials before you start will make your concrete staining project much smoother and more successful. Having everything ready means you won’t have to stop halfway through to run to the store.
A well-prepared workspace leads to better results and saves time.
| Material/Tool | Purpose |
|---|---|
| Concrete stain (acid-based or water-based) | Adds color to the concrete surface |
| Pressure washer | Cleans stubborn dirt and marks from the concrete |
| Crack sealant | Repair cracks in the concrete for a smooth, even surface |
| Painter’s tape | Masks off areas to protect from overspray |
| Water-resistant construction paper | Protects surrounding areas from stain and overspray |
| Degreaser and neutralizer | Removes oil spots and stains from the concrete |
| Concrete etch and cleaner | Prepares the surface by cleaning and opening pores for staining |
| Airless paint sprayer (acid-resistant) | Evenly applies stain to the concrete |
| Safety gear (gloves, face protection, etc.) | Protects skin, eyes, and lungs from harmful chemicals |
| Acid brush | Used to apply the degreaser and neutralizer solution |
| Concrete sealer (with gloss and durability) | Protects the stained surface and enhances the finish |
| White cloth (for testing) | Tests for residue on the surface after cleaning and rinsing |
With these tools and materials ready, you’ll be set up for success from start to finish. Double-check your list before beginning to avoid any surprises during the staining process.
Essential Steps for a Perfect Concrete Staining
Achieving beautiful, long-lasting concrete staining results requires careful preparation and attention to detail throughout the entire process.
Following these essential steps ensures that your concrete staining project delivers professional-quality results, enhancing your space for years to come.
Step 1: Prepare the Surface

Start by thoroughly sweeping and mopping the concrete surface to eliminate all dust, dirt, and debris that could interfere with the staining process.
Follow this with a pressure wash to remove any stubborn marks, stains, or discoloration that regular cleaning couldn’t handle.
If you notice any cracks in the concrete, apply a crack sealant to repair them and create a smooth, even surface for optimal stain absorption.
Finally, protect surrounding areas by applying painter’s tape and water-resistant construction paper around the work zone to prevent overspray damage.
Step 2: Clean the Concrete

Begin the deep cleaning process by treating any oil stains with a specialized degreaser and neutralizer to ensure complete removal.
Once oil spots are addressed, wet the entire surface with water and apply concrete etch and cleaner using a sprayer for even coverage.
Scrub the surface thoroughly with a stiff brush, then rinse it completely with water. Repeat this process as needed to remove all grime and residue. This cleaning step is crucial for proper stain penetration and uniform color results.
Step 3: Safety Precautions

Before beginning the staining process, equip yourself with essential safety gear, including chemical-resistant gloves, a face mask, and protective eyewear to shield against exposure to acid-based stains.
Ensure your work area is well-ventilated by opening doors, windows, or using fans to prevent the accumulation of harmful fumes.
Never skip these safety measures, as acid stains can cause serious injury to the skin, eyes, and respiratory system. Take the time to review the Material Safety Data Sheet for your specific stain product to understand all potential hazards associated with it.
Step 4: Apply the Stain

Lightly dampen the concrete surface with water, being careful not to create puddles that could dilute the stain or cause uneven application.
Using an acid-resistant airless paint sprayer, apply the stain evenly across the concrete in manageable sections to maintain control and consistency.
To determine if a second coat is necessary, wet a small test area to preview how the final sealed result will appear, and apply additional coats if the color appears uneven or too light.
Allow the acid stain to react with the concrete for a minimum of six hours, during which the chemical reaction will develop the desired color.
Step 5: Clean Up Residue

After the staining reaction is complete, apply a degreaser and neutralizer solution across the entire surface and scrub with an acid brush to remove all stain residue.
Rinse the concrete thoroughly with water, continuing this process multiple times until the rinse water runs completely clear and free of any color traces.
Test the cleanliness by wiping a section with a white cloth. If any residue transfers to the fabric, continue rinsing until no color transfer occurs.
This thorough cleaning step is essential to prevent the sealer from bonding to residue rather than the concrete itself.
Step 6: Seal the Concrete

Select a suitable concrete sealer that matches your desired level of gloss and durability requirements, considering factors such as traffic levels and weather exposure.
Apply the sealer evenly across the clean, dry surface following the manufacturer’s instructions for coverage rates and application methods. Ensure proper ventilation during application and avoid walking on the surface during the curing process.
Allow the sealed concrete to cure for at least two days before regular use, though full cure strength may take up to a week, depending on environmental conditions.
Staining Concrete: Video Tutorial
Check out the video below by @Home Depot for a step-by-step guide on how to stain your concrete.
Common Mistakes to Avoid When Staining Concrete
Even experienced DIYers can encounter trouble with concrete staining if they’re not meticulous about the details.
These common mistakes can turn a beautiful project into a frustrating mess that requires starting over from scratch. Learning what to avoid will save you time, money, and a lot of headaches.
| Mistake | Why Avoid It | How to Prevent It |
|---|---|---|
| Not preparing the surface properly | Results in uneven stain absorption and poor adhesion | Clean, repair, and etch the surface thoroughly before staining |
| Applying the stain too heavily or too lightly | Leads to uneven color or blotchy finish | Apply stain in thin, even layers, and test on a small area first |
| Skipping the sealing process | Exposes the stain to damage, fading, and wear | Always apply a concrete sealer to protect the stained surface |
Avoiding these mistakes will help ensure your concrete staining project turns out exactly as you hoped. Take your time with each step and avoid rushing the process for optimal results.
Best Concrete Staining Kits for DIY Projects
Finding the right concrete staining kit can make the difference between a professional-looking finish and a disappointing mess.
The best kits include everything you need in one package, saving you time and ensuring all components work well together. Here are the top-rated options that deliver excellent results for DIY enthusiasts.
1. Direct Colors DIY Concrete Stain and Sealer Kits
Direct Colors offers comprehensive, all-in-one solutions that include high-quality stain and sealer products with easy-to-follow instructions.
Their acid stain kits provide professional results with a unique marbled look, perfect for patios, floors, and countertops—price range: $80-$150, depending on the coverage area.
2. Eagle Concrete Stain Products
Eagle offers acid-based chemical stains for interior or exterior use, providing permanent results. Available at Home Depot for around $73 per gallon. While not a complete kit, Eagle products are widely available and well-reviewed.
While not a complete kit, Eagle products are widely available and well-reviewed by DIY enthusiasts who appreciate their consistent quality and reliable performance.
You’ll need to purchase additional items, such as neutralizer and sealer, separately.
3. Concrete Camouflage Acid Stain Kits
Concrete Camouflage offers concrete staining kits based on their industry-leading concrete stains, providing the best products needed to achieve better results while acid staining concrete floors and exterior projects.
Each kit includes acid stain, and interior kits include acid stain and concrete wax. Price range: $75-175.
While not a complete kit, Eagle products are widely available and well-reviewed by DIY enthusiasts who appreciate their consistent quality and reliable performance.
Conclusion
Concrete staining is one of the most rewarding DIY projects you can tackle. It changes boring gray floors into stunning surfaces that rival expensive flooring options at a fraction of the cost.
With the proper preparation, quality materials, and patience, you can achieve professional-looking results that will last for years.
Take time to properly clean and prepare your concrete, choose the right stain for your specific needs, and never rush the process.
The extra effort you put into surface preparation and following safety rules will pay off with beautiful, durable results that add value to your home.
Drop a comment below and tell us what problems you faced during your project, which staining kit worked best for you, what tips you’d share with other DIYers, and how your finished project turned out.

With a Master in Architectural Studies from University of Pennysylvania, Marwa Haydar has pioneered living spaces since 2005. Her expertise, initially honed in a prestigious architectural firm, is evident in her approach to creating environments. Marwa became part of our team in 2019 and has since been a driving force in our home improvement section, known for her practical yet stylish solutions. She’s been spearheading our design workshops since then, infusing her passion for teaching into her work. In her leisure time, Marwa enjoys exploring historic architecture and is an enthusiastic pottery hobbyist, further enriching her understanding of form and texture.