Tarnishing, patina, and artificial aging aren’t the same.
Tarnishing is a light oxidation layer that naturally builds on brass, giving it a soft, used look.
Patina is deeper, often brown or green, developing over time or with chemicals.
Artificial aging forces a dramatic “old” look that can seem fake.
When brass (copper and zinc) reacts with oxygen and moisture, it creates copper oxide, which protects the metal while beautifully aging it.
Tarnishing is most natural, offering subtle aging without overdoing it.
It’s perfect for DIYers, renters, or anyone wanting brass with authentic character instead of a mass-produced look.
History Note: Brass has been valued since Roman times. Victorians polished it obsessively, but by the Arts & Crafts movement (1880-1920), natural aging became celebrated as part of an object’s character.
Know Your Brass – Solid, Plated, or Faux?
Before starting, test your brass. Use a magnet—real brass won’t stick.
Try a scratch in a hidden spot; if it’s yellow throughout, it’s solid brass.
If there’s Silver underneath, it’s plated.
Solid brass is heavy and rings when tapped.
Plated brass is lighter and may reveal another metal if scrubbed hard.
Faux brass won’t tarnish at all—it’s often painted resin.
Standard brass contains roughly 67% copper and 33% zinc, though proportions vary.
Architectural brass has a higher copper content (85%), which gives warmer tones when tarnished.
Modern “brass-look” items often have thin plating over other metals.
These checks are crucial—many blogs skip this part, leading to wasted effort. For valuable antiques, consult an expert first.
Quick Brass Identification Table
Not all brass is the same—some is solid, some is just a thin layer.
Use these simple tests to avoid surprises and choose the best method for your piece.
This table makes it easy to spot the difference.
| TEST | SOLID BRASS | PLATED BRASS | FAUX BRASS |
|---|---|---|---|
| Magnet test | Doesn’t stick | May stick | Usually sticks |
| Weight | Heavy | Medium | Light |
| Sound when tapped | Clear ring | Dull sound | Hollow sound |
| Hidden scratch | Uniform yellow | Silver underneath | Different color |
| Reaction to tarnish | Even oxidation | Spotty | No reaction |
These quick tests can save you time and effort. Knowing your brass type ensures the right results and prevents damage.
If you’re still unsure, test on a hidden spot first or get a second opinion.
Choose Your Tarnish Style – Warm, Cool, or Verdigris
Not all tarnish looks the same.
Before beginning, decide on your desired color.
Your choice should complement your home’s aesthetic and the item’s purpose.
1. Warm Tones
For golden-brown, wipe brass with mild vinegar and air dry.
It works beautifully with wood, terracotta, or earthy schemes and deepens over time.
2. Cool Tones
For gray tones, try ammonia fumes or wrap in saltwater-soaked cloth overnight.
This slate-like finish pairs well with blue, green, or cool neutrals and remains more stable.
3. Verdigris
For classic green, mix salt, vinegar, and heat.
Repeat layers for depth.
This dramatic finish mimics historic copper roofs and requires patience as it builds slowly.
4. Mottled Effect
Apply salt paste to specific areas before vinegar for an uneven, naturally aged look with visual interest.
Always test on a hidden area first—each brass item reacts differently based on composition.
Tarnish Color Compatibility Table
Each tarnish style creates a different mood and pairs better with certain spaces.
Before you start, think about the overall look you want.
This quick guide helps match your chosen finish with your home’s style, care level, and time commitment.
| TARNISH STYLE | WORKS WELL WITH | MAINTENANCE | TIME NEEDED |
|---|---|---|---|
| Warm Tones | Wood, leather, and earth colors | Low | 1-3 days |
| Cool Tones | Modern spaces, cool colors | Medium | 2-5 days |
| Verdigris | Mediterranean, coastal | High | 5-14 days |
| Mottled | Rustic, industrial | Low | 1-7 days |
Picking the right tone not only affects appearance but also how much upkeep you’ll need.
Use this chart to plan and get the look that fits your space and schedule.
Always test first—brass can react in unique ways.
How to Tarnish Brass with Household Hacks?
This slow, vapor-based method is safe, easy, and great for small items like buckles or knobs.
Materials Needed

- Brass item (solid, uncoated)
- Household vinegar (white, apple cider, or malt)
- Table salt
- Small mixing bowl (non-metal)
- Paintbrush or cotton pad
- Sealable plastic or glass container
- Fine-grit sandpaper or paint stripper (optional, for coated brass)
- Soft cloth or towel
- Clean water for rinsing
Step-by-Step Guide to Tarnish Brass
Aging brass at home is easy and uses items you likely already have.
If you want an older, worn look, this method gets the job done without using strong cleaners.
Follow the steps below to darken your brass using just vinegar and salt.
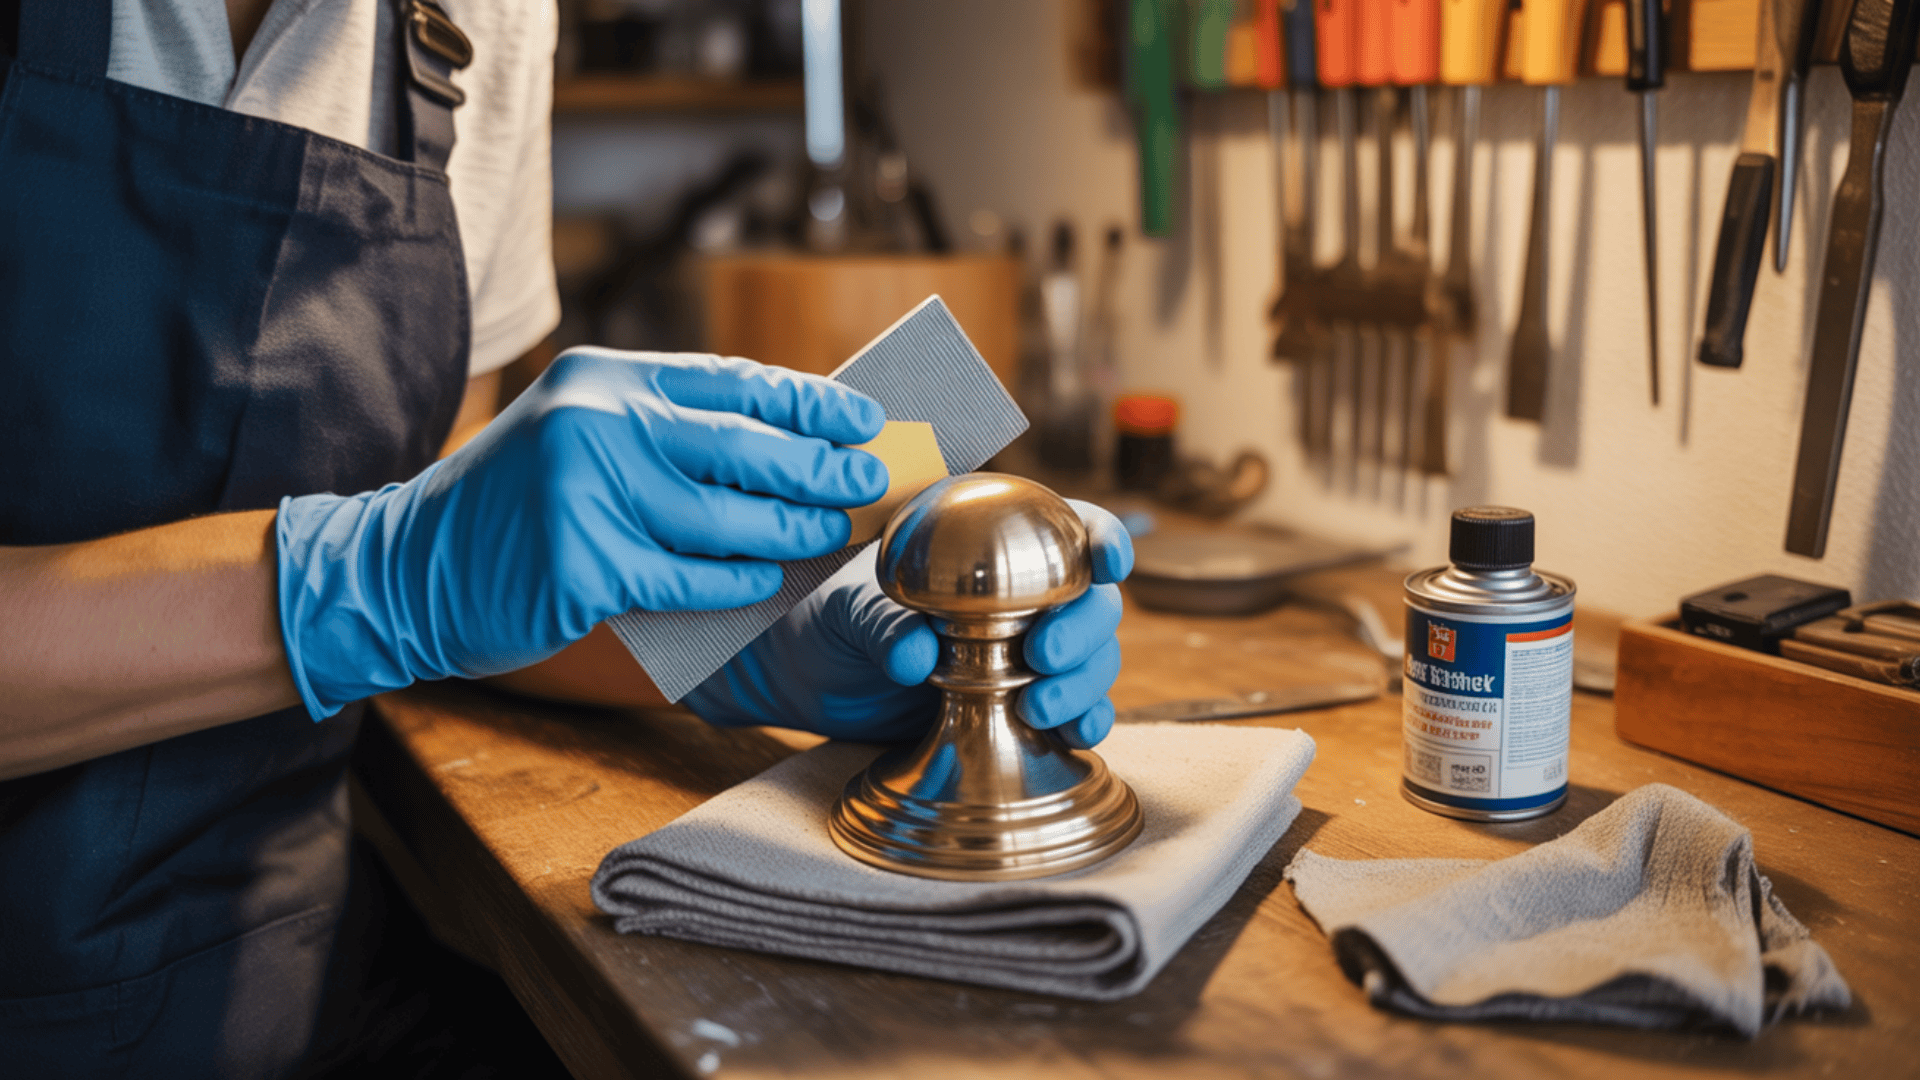
STEP 1: Prepare the Brass Surface

Start by examining your brass item. If it has a clear lacquer or glossy finish, this coating must be removed for the aging process to work.
Use fine-grit sandpaper to gently sand the surface or apply a paint stripper following the label instructions.
Clean the item thoroughly with water and dry it fully to remove oils and residue.
A clean, raw surface ensures the vinegar and salt can react properly with the brass.
STEP 2: Make a Tarnishing Solution

Pour just enough vinegar into a non-metal bowl to cover the bottom—usually 1/4 to 1/2 inch deep is enough.
Add a few generous pinches of table salt and stir well until the salt dissolves.
This solution forms a natural tarnishing agent.
The vinegar’s acidity and the salt’s reaction with the metal work together to slowly create an aged look, mimicking the natural oxidation that occurs over time.
STEP 3: Apply the Solution

Dip a paintbrush or cotton pad into the vinegar-salt mix and coat your brass item thoroughly.
Make sure every corner, edge, and surface is covered for an even result.
For small items like knobs or coins, you can submerge them directly into the solution.
Let the excess solution drip off before moving on.
This coating is the first step in encouraging patina to form evenly across the metal’s surface.
STEP 4: Let the Tarnish Develop

Place the wet brass item inside a sealed container, such as a glass jar or plastic box with a tight lid.
You don’t need to submerge it again—the fumes from the vinegar and salt mixture will do the job.
Leave the container closed and check it every hour.
Rotate or flip the brass to allow even exposure on all sides.
Lighter aging may appear in 1–2 hours, while deeper tarnish may take up to 6 hours or overnight.
The longer it sits, the richer the finish becomes.
STEP 5: Rinse and Dry

Once you’ve reached the look you want, remove the brass item from the container.
Rinse it under cool, running water to stop the chemical reaction and wash away any leftover salt or residue.
Use a soft towel to pat the item dry gently, then let it air dry completely.
This final drying phase helps the finish set and prevents unwanted streaking or spotting.
At this point, your brass should have a warm, timeworn look with character and depth.
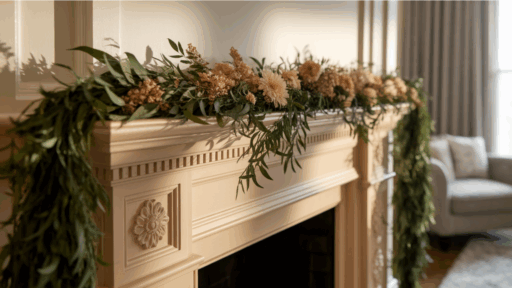
Creative Applications – Where Tarnished Brass Belongs
Tarnished brass can transition between different design styles.
Understanding where to use these pieces can change your space with minimal effort.
- Modern Spaces Tarnished brass creates contrast against white walls or light wood.
Mix with concrete, marble, or glass for textural interest. - Vintage or Rustic Settings Combine with leather, clay, or other timeworn items.
Integrate into gallery walls with vintage photographs or use as hardware on restored furniture.
Tarnished brass mixes beautifully with other aged metals like copper and iron. - Event or Short-Term Uses: Create unique centerpieces or table settings with timeless appeal.
Use for holiday displays, photography props, or personalized gifts.
Consider temporary installations where tarnished brass adds instant character. - Small Space Solution: Update cabinet hardware, switch plates, or outlet covers.
Try brass hooks, shelving brackets, lamp bases, or picture frames for maximum impact with minimal investment.
Key Takeaway: Tarnished brass adds authentic character unlike mass-produced finishes. Each piece develops unique patina based on its environment and handling.
Renter- & Apartment-Friendly Tarnishing Methods
Rental living doesn’t mean giving up the warmth of tarnished brass.
These methods minimize mess, odor, and permanent changes while delivering beautiful results.
| METHOD | DETAILS |
|---|---|
| Brush-on Liquid Patina | Available at craft stores, it has a low odor and precise application. It can be diluted for subtle effects and requires minimal ventilation. It is ideal for knobs and pulls. |
| Contained Ammonia Method | Seal brass in a zip-top bag with lightly moistened paper towels and ammonia. Inflate slightly, seal, and place away from food. Check every 2–3 hours near a window. |
| Temporary Solutions | Use dark furniture wax, thinned acrylic paint (mostly wiped off), metallic glazes, or reactive paints. All are removable, making them great for rental spaces. |
| Pre-Tarnished Items | Buy “aged brass” finish hardware from retailers. It is ideal for permanent fixtures where chemical changes aren’t an option. |
| Controlled Sun Exposure | Clean brass with vinegar and place in direct sunlight, rotating regularly for even patina development. |
It will age slowly but completely odor-free, perfect for sensitive environments.
Troubleshooting Tarnish – What to Do If It Goes Wrong
Even experienced DIYers encounter unexpected results when tarnishing brass.
However, if you understand the underlying chemistry, most problems have simple solutions.
Common Problems and Solutions
Working with brass can be rewarding, but it’s not without its challenges.
If you’re trying to achieve a consistent patina or struggling with uneven tarnishing, small issues can disrupt your final look.
Fortunately, most problems have simple fixes if you know what to watch for.
Below are common problems and effective solutions to help you get the best results from your brass-aging project.
| PROBLEM | CAUSE | SOLUTION | PREVENTION |
|---|---|---|---|
| Pink spots | High copper content | Normal; polish if desired, or leave for character | Use slower methods for high-copper brass |
| Too dark | Over-exposure | Wipe with diluted lemon juice (1:3 with water) | Check progress more frequently |
| Uneven spots | Inconsistent exposure or fingerprints | Buff lightly with “0000” steel wool in a circular motion | Clean with denatured alcohol first |
| Dislike result | Not your style | Use brass polish to restore shine | Test on a similar but less important piece |
| No change | Item coated or not, brass | Remove lacquer with acetone; confirm material | Verify the brass’s identity first |
For stubborn issues, try baking soda paste with a soft toothbrush.
For an unwanted blackish tinge, neutralize with 1 tablespoon baking soda to 1 cup water.
Allow 24-48 hours before making adjustments—sometimes the best effects emerge as reactions stabilize.
How to Seal or Let It Age Naturally?
After tarnishing, you can seal the finish or allow it to continue evolving.
This decision affects appearance, maintenance requirements, and the item’s future adaptability.
1. When to Seal:
- High-touch items (doorknobs, handles, drawer pulls)
- Outdoor fixtures exposed to the weather
- Bathroom or kitchen pieces with constant moisture
- Items you want to preserve at the current tarnish level
2. How to Seal:
- Clear wax: Apply thinly, let dry 15 minutes, and buff. This soft protection needs to be reapplied every 6-12 months.
- Matte lacquer: Apply two thin coats in a well-ventilated area—stronger, more permanent protection.
- Renaissance wax: Museum-quality protection with minimal visual impact, though more expensive.
- Acrylic clear coat: Choose matte or satin finish, never glossy, which looks unnatural on tarnished brass.
3. When to Let Age Naturally:
- Display items rarely touched
- Indoor decorative pieces
- When you enjoy watching the aging process
- For authentic historical reproductions
Unsealed brass will continue changing, depending on the environment. This evolution can be beautiful but unpredictable.
Summing It Up
No two pieces of brass will tarnish the same way.
That’s what makes this process so interesting.
Tarnishing is a mix of trial and error, care and chance.
The change in color and the marks from age reflect time and use.
These signs show life and memory.
By letting brass tarnish, you’re letting the item speak.
It becomes part of your story, shaped by your space, your time, and your hand.
If you handle them frequently, they’ll carry subtle evidence of your climate, the chemistry of your home’s air, and even the oils from your skin.
This is slow design at its best, allowing natural processes to create beauty that cannot be rushed or perfectly replicated.
For a full step-by-step tutorial on how to age brass from new to vintage, check out our detailed guide: How to Age Brass from New to Vintage: A DIY Guide

Stephanie Grace, a graduate with a degree in Fine Arts from the Savannah College of Art and Design, has been inspiring DIY enthusiasts with her creative and practical guidance for over 14 years. Her career in design and crafting began in a small artisan workshop, where she developed a passion for transforming everyday materials into beautiful and functional items. Stephanie joined our website in 2018, rapidly gaining popularity for her easy-to-follow DIY tutorials and innovative project ideas. Since then, she has been the creative mind behind our DIY section, helping readers bring their artistic visions to life. Outside her professional pursuits, Stephanie enjoys pottery and urban gardening, hobbies that showcase her love for hands-on creativity and nature.