That sudden puddle beneath your cabinets isn’t just annoying-it’s a warning sign.
A kitchen sink leak can escalate quickly from a minor nuisance to a serious plumbing problem. Whether it’s a steady drip or an unexpected stream, a leaking sink is not something you can afford to ignore.
Most commonly, it turns out to be a leak under the kitchen sink, hidden out of sight until damage starts spreading. Understanding the cause, whether it’s a loose connection, worn-out seal, or cracked pipe, is essential.
This guide will help you pinpoint the issue and explore your repair options before it gets worse.
Why Your Kitchen Sink is Leaking
A kitchen sink leak can be a frustrating and potentially costly problem for homeowners. Multiple factors can contribute to this common household issue, from worn-out seals and damaged pipes to loose connections and corroded components.
Water pooling under your sink or persistent dripping are clear signs that something isn’t right. The good news is that many kitchen sink leaks are repairable with some basic troubleshooting and potentially minor repairs.
Whether it’s a small drip from the faucet, a leak around the base, or water seeping from pipe connections, identifying the source quickly can prevent water damage, mold growth, and more extensive plumbing repairs.
Understanding the potential causes of a kitchen sink leak is the first step to resolving the problem.
Common Causes of a Kitchen Sink Leak
A leaking kitchen sink can quickly change from a minor annoyance to a potential home disaster.
Water damage, mold growth, and costly repairs are just a few consequences of ignoring those persistent drips and puddles beneath your sink.
Common reasons for a kitchen sink leaking include:
- Deteriorated Seals and Gaskets: Over time, rubber seals around connections can crack and fail, causing water to escape
- Loose Pipe Connections: Vibrations and regular use can gradually loosen pipe fittings, creating small but persistent leaks
- Corroded Pipes: Metal pipes can develop rust and weak spots that allow water to seep through
- Damaged Drain Assemblies: The sink’s drain mechanism can wear out, leading to water leakage around the sink base
- High Water Pressure: Excessive water pressure can stress pipe connections and cause unexpected leaks
Understanding these potential issues is the first step in diagnosing and resolving your sink leak. Early detection and prompt repair can save you significant time, money, and home damage.
Common Signs of a Leak Under the Kitchen Sink
Detecting a leak under your kitchen sink early can prevent extensive water damage and costly repairs. Watch for these telltale signs of a sink leaking.
Musty odors or visible mold growth around the cabinet base are red flags that indicate moisture problems. Warped or discolored cabinet bottoms suggest prolonged water exposure from a kitchen sink leaking.
Soft or rotting wood underneath the sink can signal a persistent leak under the kitchen sink. Look for water stains, puddles, or dampness on the cabinet floor, even if they appear intermittently. Unusual sounds like dripping or a constant hissing can also point to hidden plumbing issues.
If you notice peeling paint, rust on pipes, or unexplained increases in your water bill, it’s time to investigate potential sink leaks.
Tools and Materials You’ll Need for the Repair
Before starting your kitchen sink leak repair, gather the following tools and materials to ensure the process goes smoothly. These items were either used or mentioned in the video and are essential for a successful DIY fix:
Plumber’s Putty – Used to seal the sink strainer flange to prevent leaks around the drain.
Sink Strainer Washer Kit – Includes a rubber washer and a friction washer for sealing the underside of the drain.
Channel Locks (Adjustable Pliers) – Necessary for tightening and loosening large nuts under the sink.
Flathead Screwdriver – Used to loosen hose clamps.
Tupperware or Catch Basin – To catch water and debris when disconnecting the drain pipes.
Paper Towels – For cleaning around the sink flange and drain opening.
SOS Pad or Scrub Pad – Helps clean off any residue or buildup from the old washer or putty.
Kitchen or Table Knife – Used to scrape off excess plumber’s putty.
Tripod or Hands-Free Camera Mount (optional) – Useful if recording or needing both hands during the repair.
Step-by-Step Guide to Fixing a Leaky Kitchen Sink
Dealing with a leaking kitchen sink can be intimidating, but many repairs are manageable with the right tools and guidance.
This wide guide will walk you through the process of diagnosing and repairing common sink leaks, helping you save money and prevent potential water damage to your home.
Step 1: Identify the Leak and Shut Off the Water Supply
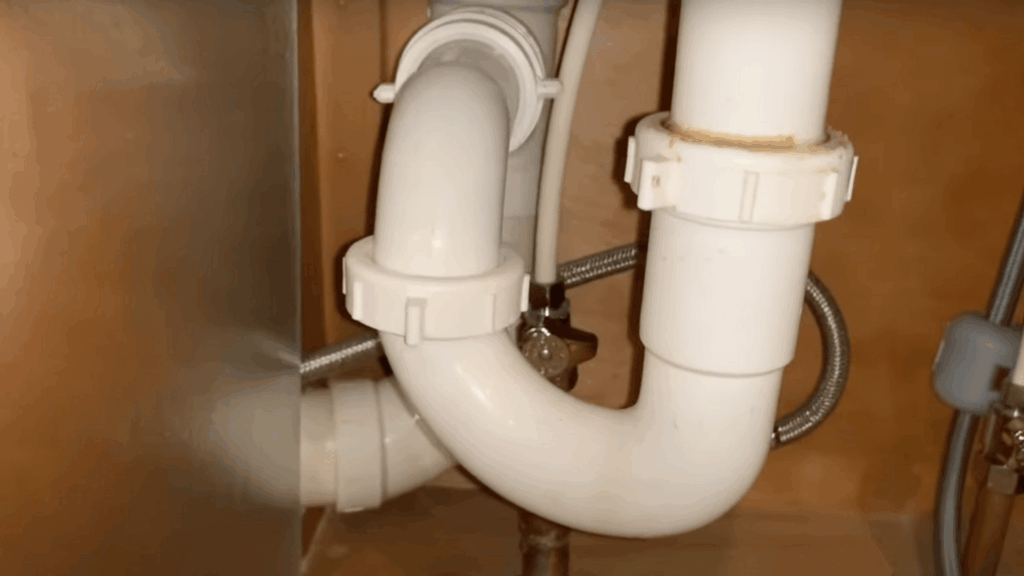
Begin by examining around the sink drain and base cabinet for signs of water or long-term damage. If moisture is present, locate the cold and hot water shut-off valves under the sink and turn them off using the “righty-tighty” method.
Leave dishwasher lines on if not involved. This isolates the area for safe repair work.
Step 2: Disassemble the Drain and P-Trap
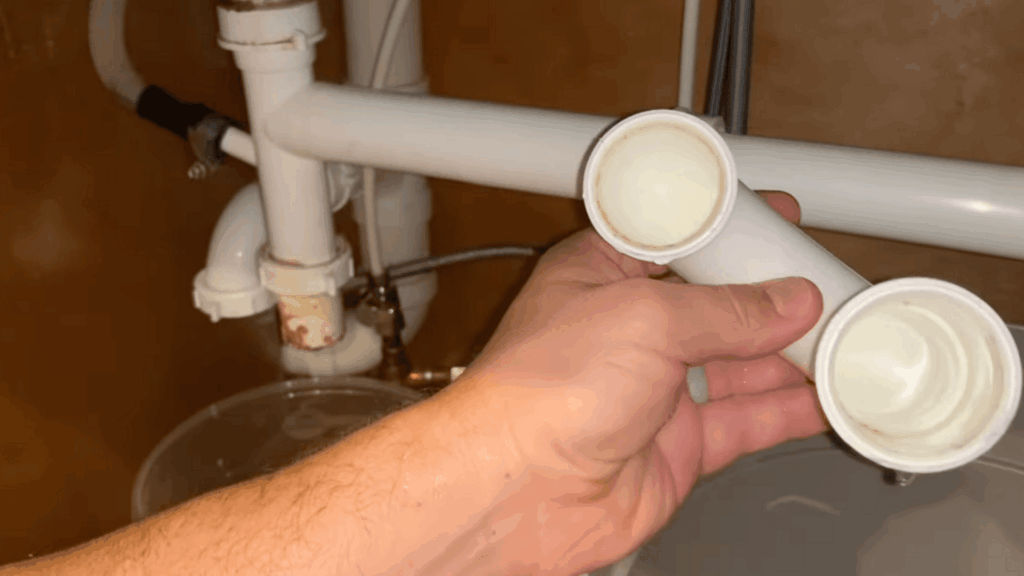
Place a container like a Tupperware under the drain to catch residual water. Carefully unscrew the drain connections and the P-trap using your hands-they’re usually hand-tight. Expect dirty water and some gunk as these parts trap debris. Set the parts aside in the container.
Step 3: Remove and Inspect the Drain Assembly
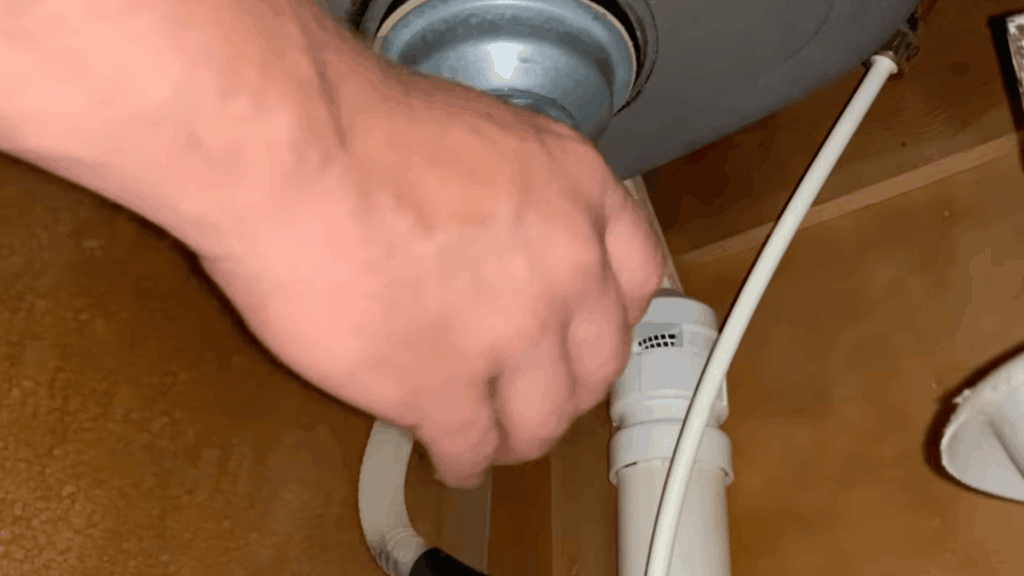
Loosen the hose clamp and nut to detach the rest of the drain system. Once removed, inspect the sink strainer and surrounding putty. Cracked or old plumber’s putty and poorly seated washers are common leak sources. Use channel locks to loosen and remove the metal nut securing the drain from above.
Step 4: Clean and Prep for Reassembly
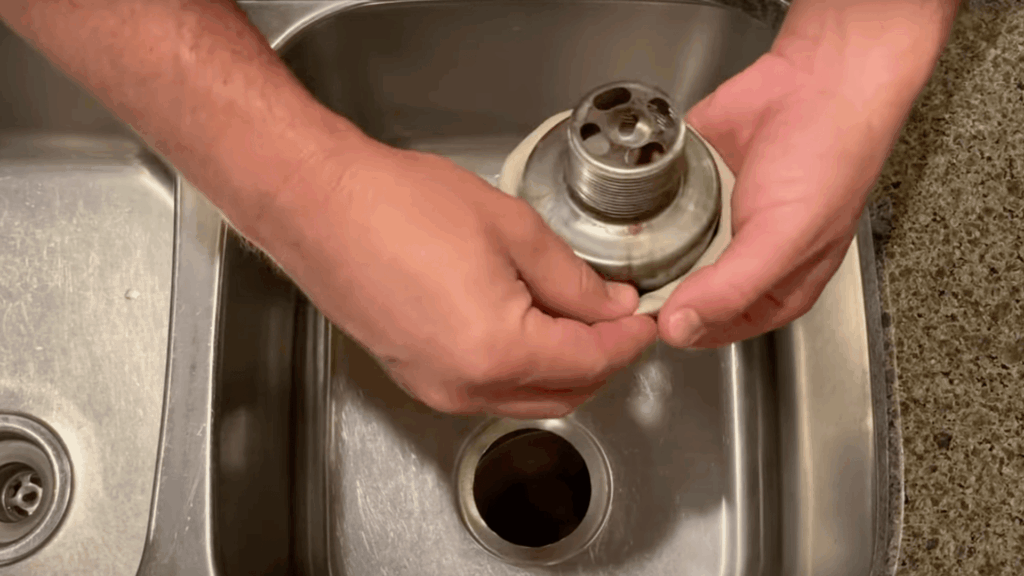
Thoroughly clean the drain opening and underside with paper towels or scrub pads. Roll fresh plumber’s putty into a snake and apply it evenly under the drain flange. Press the flange firmly into place from the top to create a tight seal.
Step 5: Install New Washers and Reassemble Drain
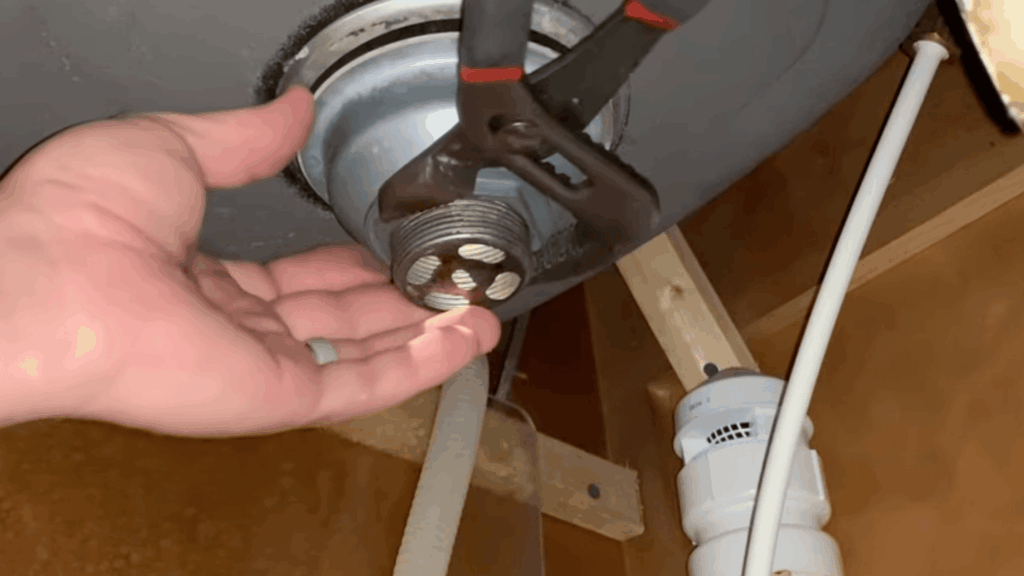
Stack the friction washer and rubber washer on the bottom side, then screw on the nut. Ensure the washers are evenly placed before tightening with channel locks. Reassemble the P-trap and drain pipes in reverse order, ensuring everything aligns before tightening snugly-no need to overtighten.
Step 6: Test for Leaks and Clean Up
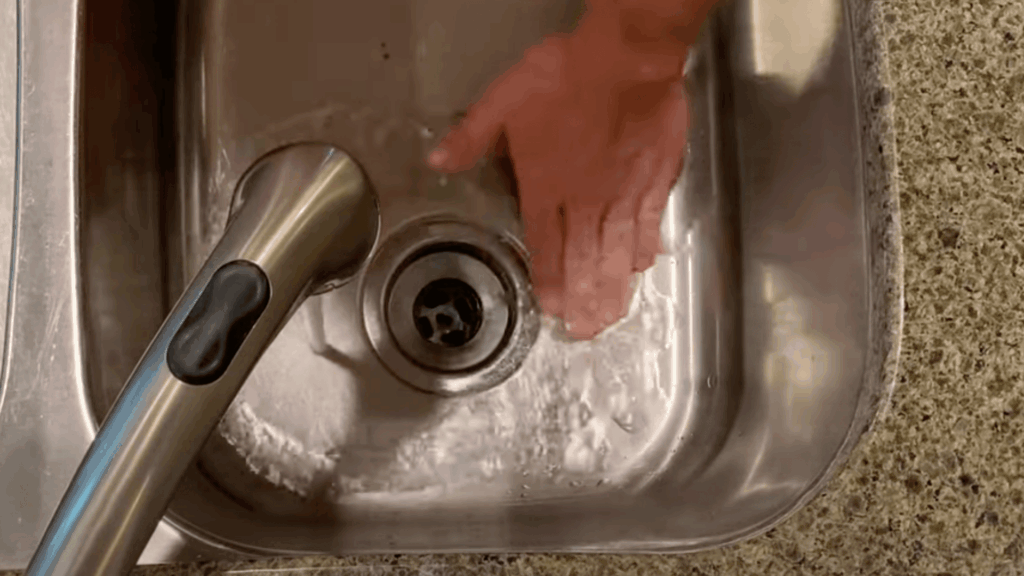
Turn on both shut-off valves and run water from the faucet. Wipe away any extra plumber’s putty from the sink. Check under the sink for drips. Leave a dry catch basin underneath for a week to monitor for future leaks. If all stays dry, the repair is successful.
Preventing Future Leaks Under the Kitchen Sink
Proactive maintenance is key to avoiding recurring issues with kitchen sink leaking and preventing costly water damage.
By implementing these strategic preventive measures, you can significantly reduce the risk of a leak under the kitchen sink.
Key prevention strategies include:
- Regularly inspect pipes and connections for early signs of wear or potential sink leaking
- Apply plumber’s tape to pipe threads to create a tighter, more secure seal
- Use high-quality pipe joints and washers to minimize potential leak points
- Avoid harsh chemical drain cleaners that can corrode pipes and cause future leaks
- Maintain proper drainage by keeping pipes clear of debris and buildup
- Check under the sink monthly for any moisture, water stains, or early warning signs
Consistent vigilance and routine maintenance are your best defense against unexpected leaks, protecting your kitchen’s infrastructure and preventing expensive water damage repairs.
To Conclude
A leak under the kitchen sink can lead to mold, warped cabinets, and even floor damage if left untreated.
Whether your kitchen sink is leaking due to a faulty drain or a broken seal, quick action is key.
Knowing how to identify the cause of a sink leak saves time, money, and frustration. Don’t wait until the drip becomes a flood-regular checks and timely repairs can prevent serious issues.
If you’re unsure, calling a professional plumber is a smart move. Addressing the leak now means protecting your home and your peace of mind for the long run.

