Ever noticed how your stairs make too much noise, or worry about someone slipping on them?
Installing a stair runner might be the perfect solution!
Learning how to install stair runners yourself is not only budget-friendly but also pretty simple once you know the steps.
This DIY project can save you hundreds of dollars compared to professional installation while giving your staircase an instant style upgrade.
Plus, runners add safety by reducing slips and sounds when people walk up and down.
Don’t worry if you’ve never done this before; if you can use a staple gun and measure carefully, you’ve got this!
We’ll walk you through everything from choosing the right materials to dealing with tricky situations like curved stairs.
Ready to alter your staircase?
Why Take on a DIY Stair Runner Project?
Putting in a stair runner yourself can save you hundreds of dollars.
Professional installation often costs more than the runner itself!
Besides saving money, doing it yourself lets you take your time and get everything just right.
You’ll feel proud every time you walk up those stairs, knowing you did it.
It’s not as hard as it looks – if you can use a staple gun and measure carefully, you can handle this project.
Plus, you can fix any small mistakes as you go without feeling rushed.
The best part?
You can tell guests who compliment your stairs that you installed them yourself!
Types of Stair Runners
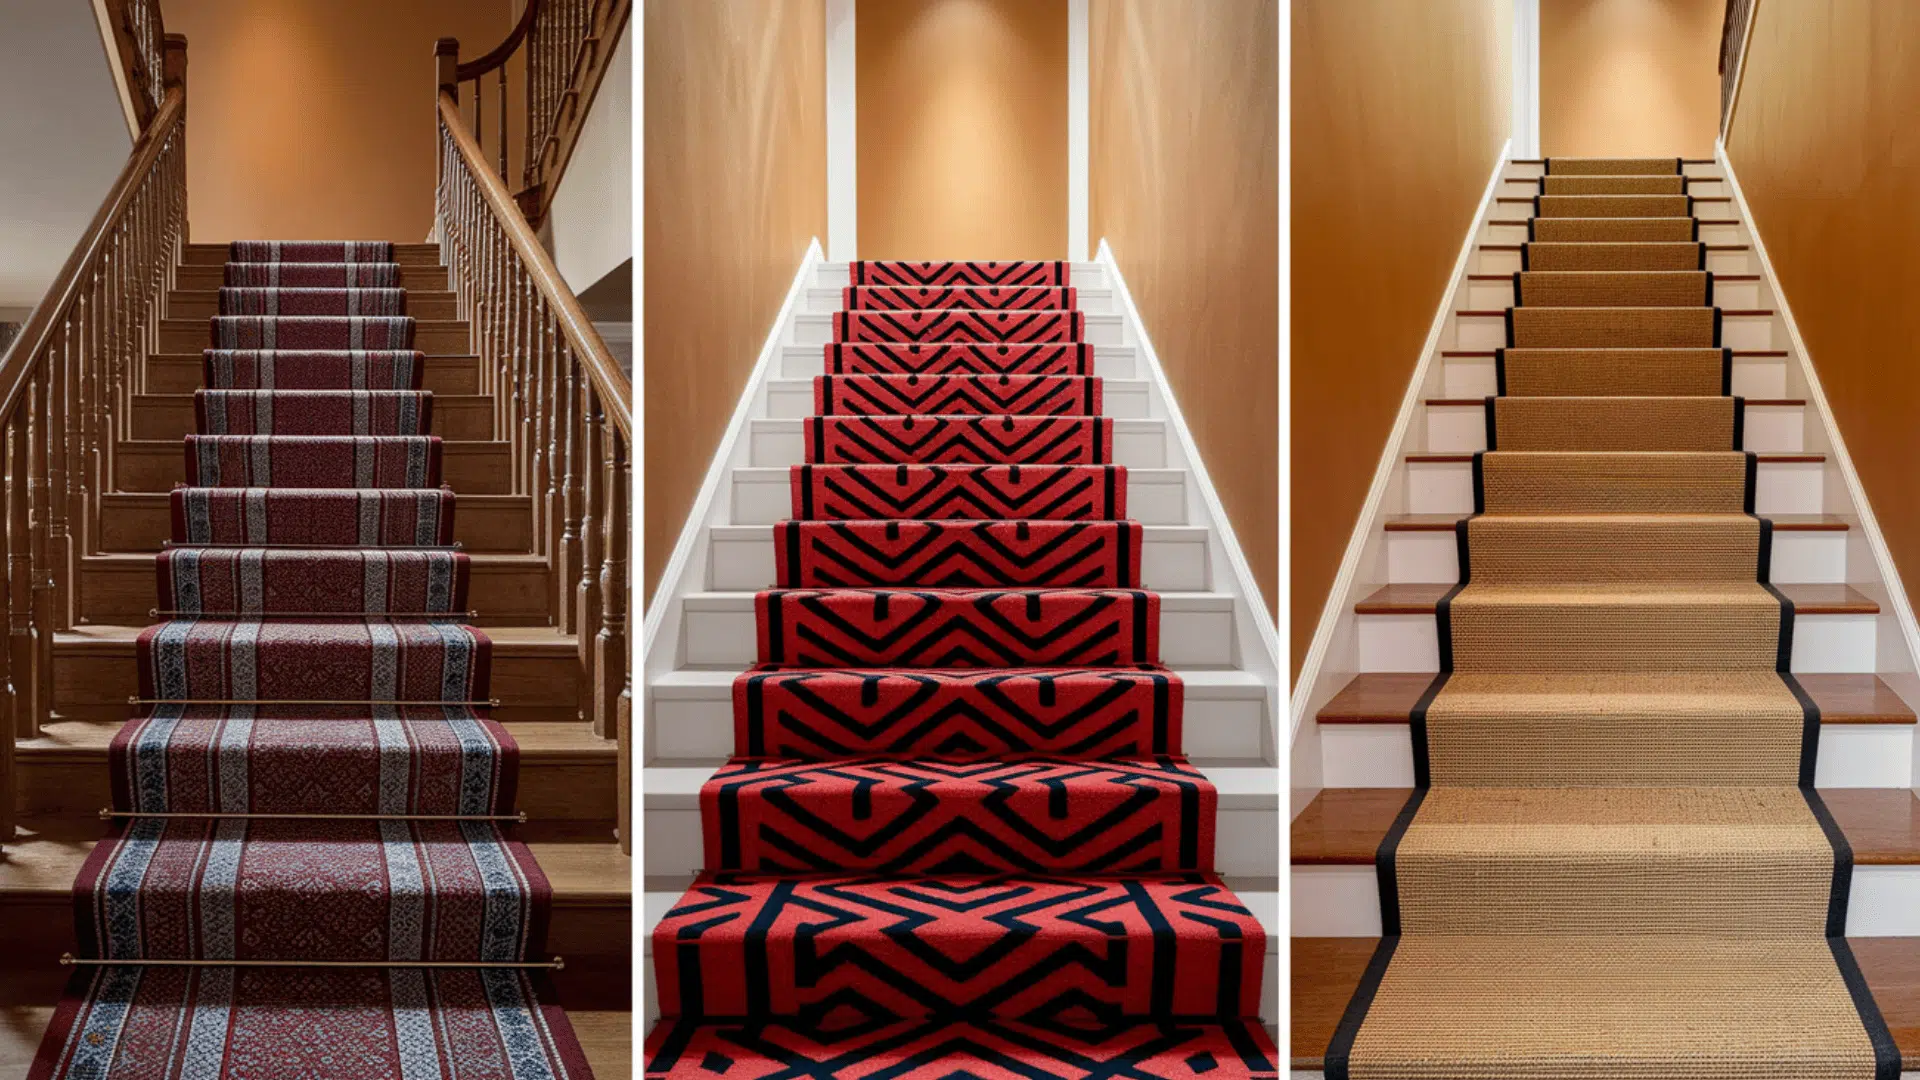
Picking the right stair runner affects both the look and function of your staircase.
Here are the main things to consider when shopping for one.
- Wool runners: They last the longest and feel soft, but cost more than other materials.
- Synthetic runners: They resist stains better and come in bright colors that won’t fade quickly.
- Natural fiber runners: Like sisal, they look earthy and stylish but can feel rough on bare feet.
When choosing a runner, seek one that combines style, durability, and comfort while meeting your financial constraints and household requirements.
Style Considerations
Select stair runners that balance aesthetic appeal with practical function to remake your staircase into a stunning focal point.
Pattern Options:
Classic designs enhance heritage homes while bold geometrics suit modern spaces. Solid colors effectively hide dirt and blend with existing decor.
Width Choices:
Full coverage options conceal stairs completely, while standard 27-32″ runners showcase wood edges, creating an elegant framing effect.
NOTE: For optimal durability, select runners with tight, low pile construction in high-traffic areas, and consider professional installation to ensure proper tension and secure fastening.
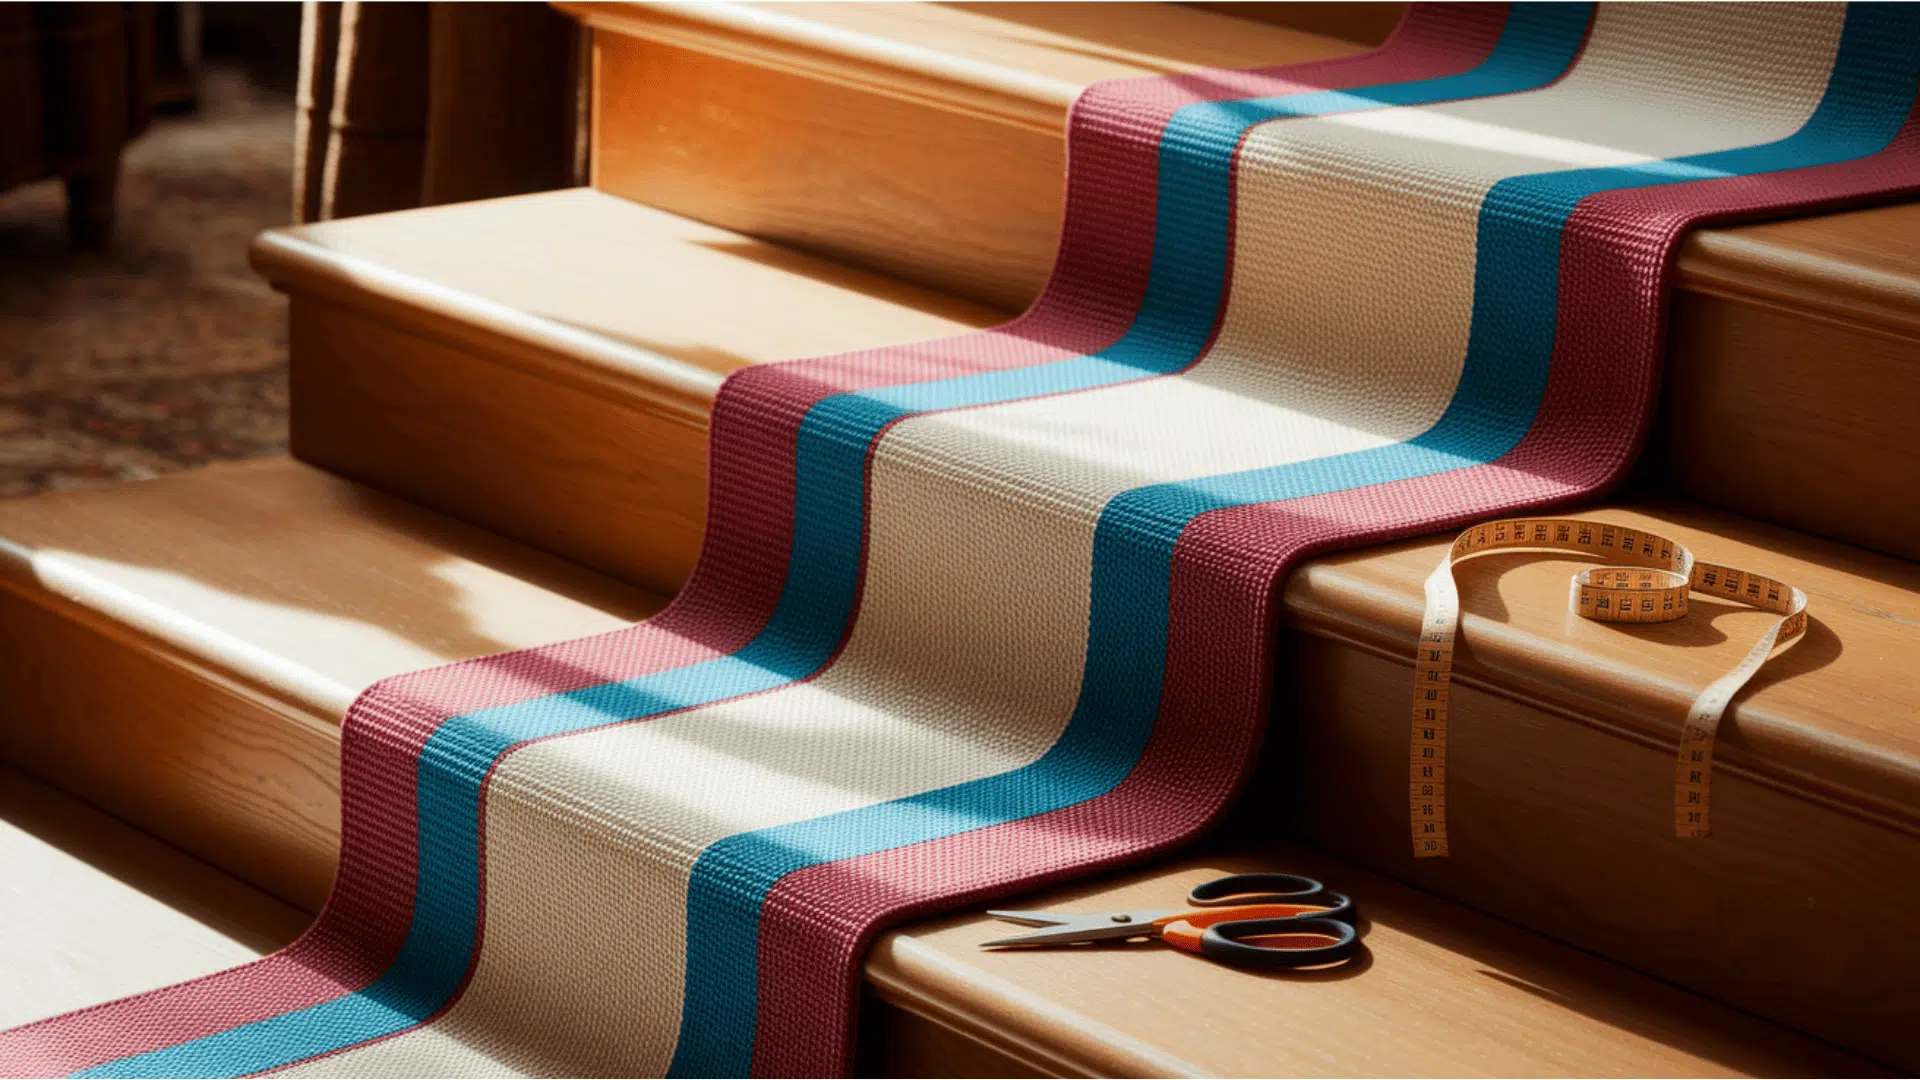
Tools and Materials You’ll Need
Before tackling your stair runner project, gather all these materials to ensure a smooth installation.
This complete shopping list includes everything from the basics to optional finishing touches.
| TOOLS & MATERIALS | ESTIMATED COST RANGE (USD) |
|---|---|
| Stair runner rugs | $100 – $400 (depends on stair length and quality) |
| Rug pads (cut to stair size) | $20 – $60 (per stair) |
| Pneumatic staple gun with ½-inch staples | $50 – $150 (tool + staples) |
| Painter’s tape | $5 – $10 |
| Measuring tape | $5 – $15 |
| Scissors | $5 – $20 |
| Sandpaper (120 grit) | $6 – $12 (multi-pack) |
| Wood filler | $7 – $15 |
| Rubio Monocoat oil finish and accelerator | $50 – $100 (per kit) |
| White paint (for risers) | $15 – $30 (per quart) |
| Black Sharpie (to conceal staple heads) | $2 – $5 |
| Painter’s tool (to tuck rug edges) | $10 – $20 |
| Brass stair rods and mounting hardware (optional) | $50 – $150 (depends on length and style) |
| Pipe cutter (for trimming stair rods) | $15 – $40 |
Minimize costs using available tools; most supplies will serve multiple projects beyond your stair runner installation.
A Complete Step-by-Step Installation Guide
Alter stairs easily with these simple steps, adding safety and style through straightforward, step-by-step runner installation.
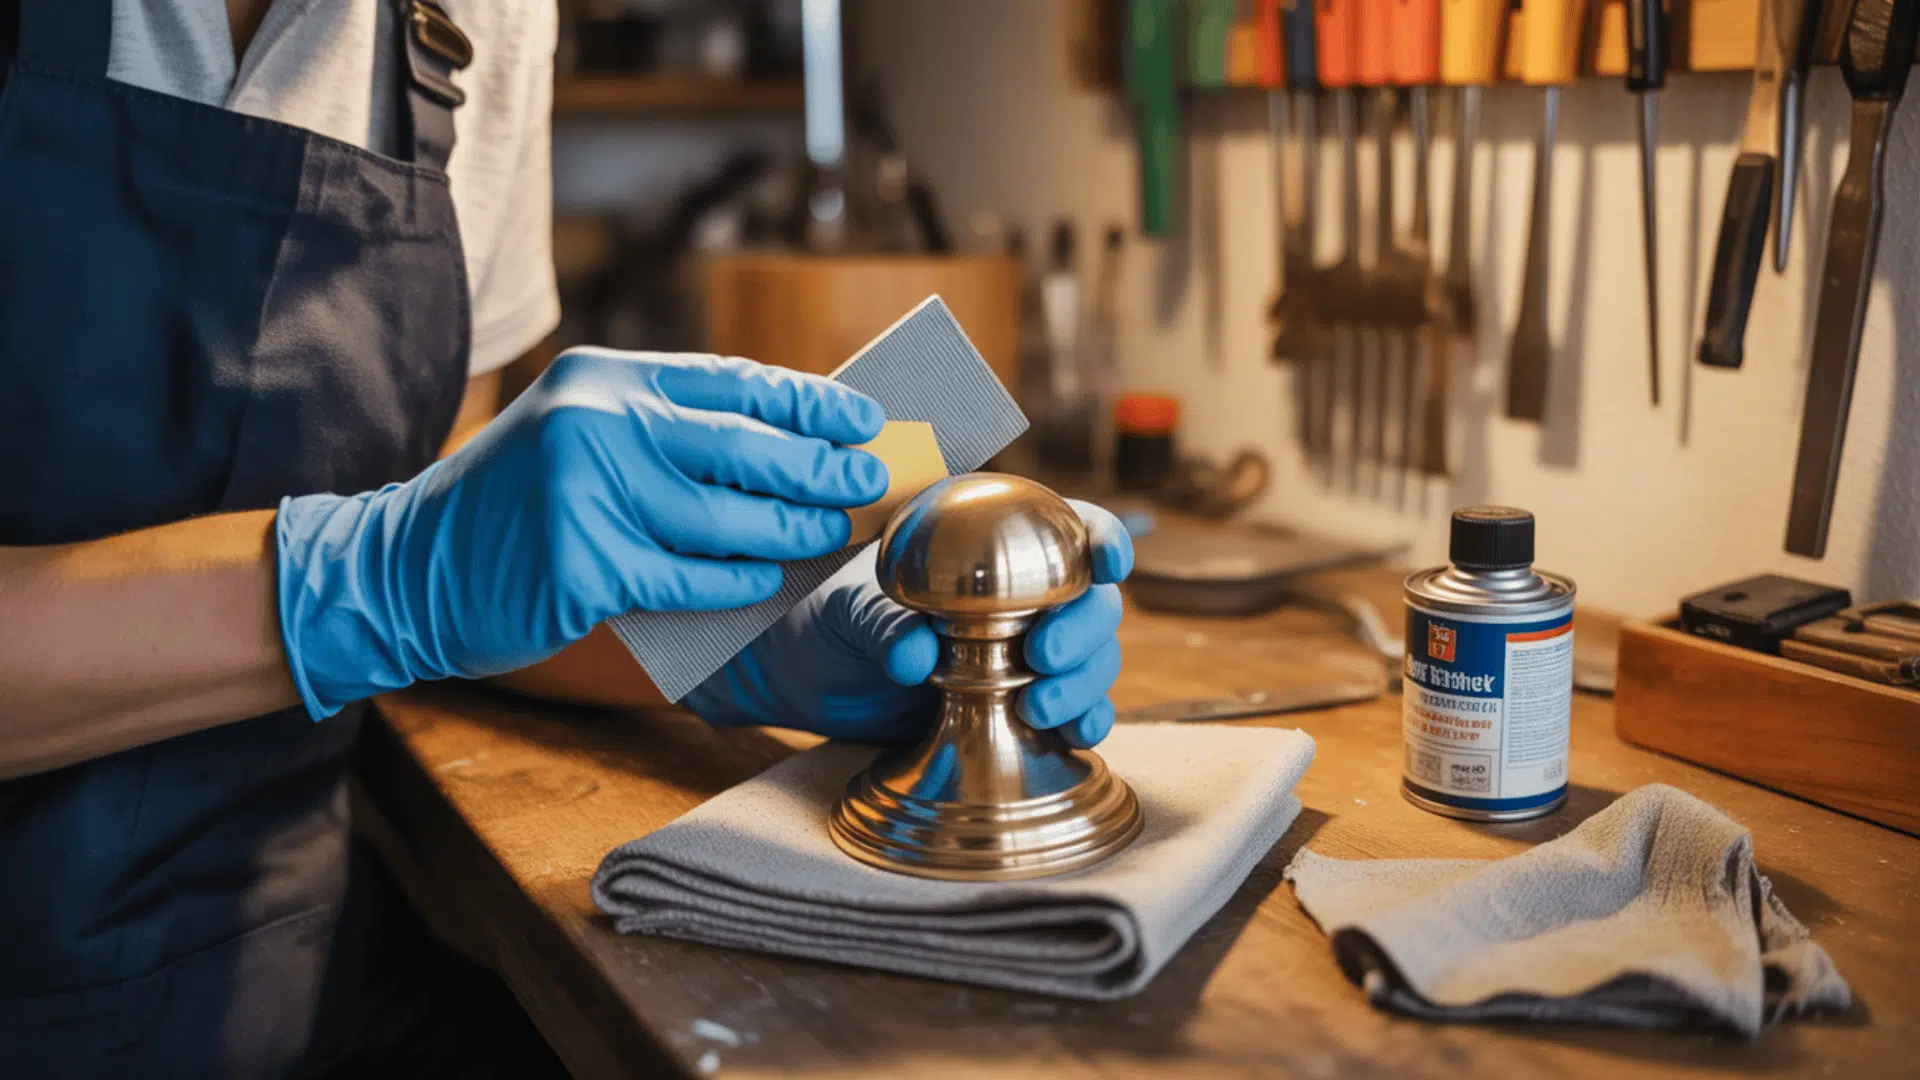
STEP 1: Prep the Stairs by Sanding and Finishing
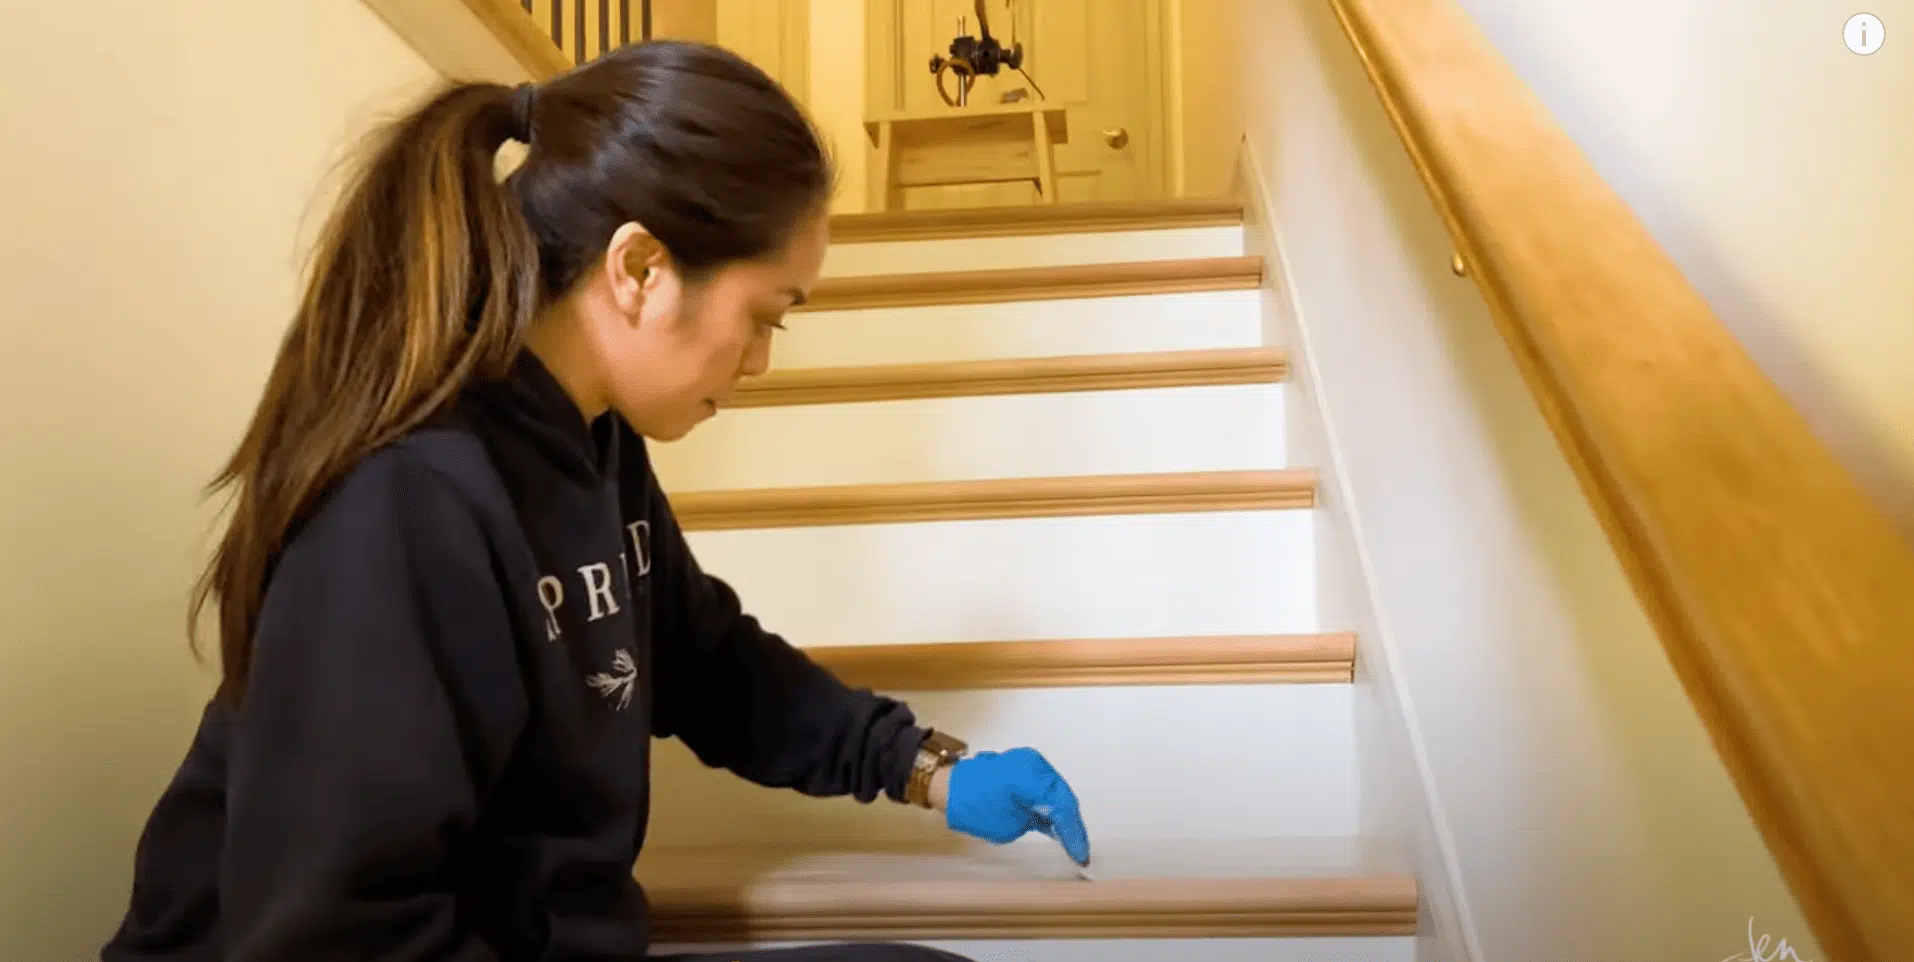
Before adding a runner, make sure your stairs are clean and smooth.
Sand the treads with 120-grit sandpaper to remove dirt and scuff marks.
Use a wood finish like Rubio Monocoat to protect the wood.
If there are nail holes, stain the stairs first, then fill the holes, and touch up after.
This helps everything blend in nicely and makes the stairs look new again.
Expert Insights
- Wipe the stairs after sanding to remove dust.
- Filling holes after staining makes them less visible.
- Let the finish dry overnight for best results.
STEP 2: Mark and Center the Stair Runner
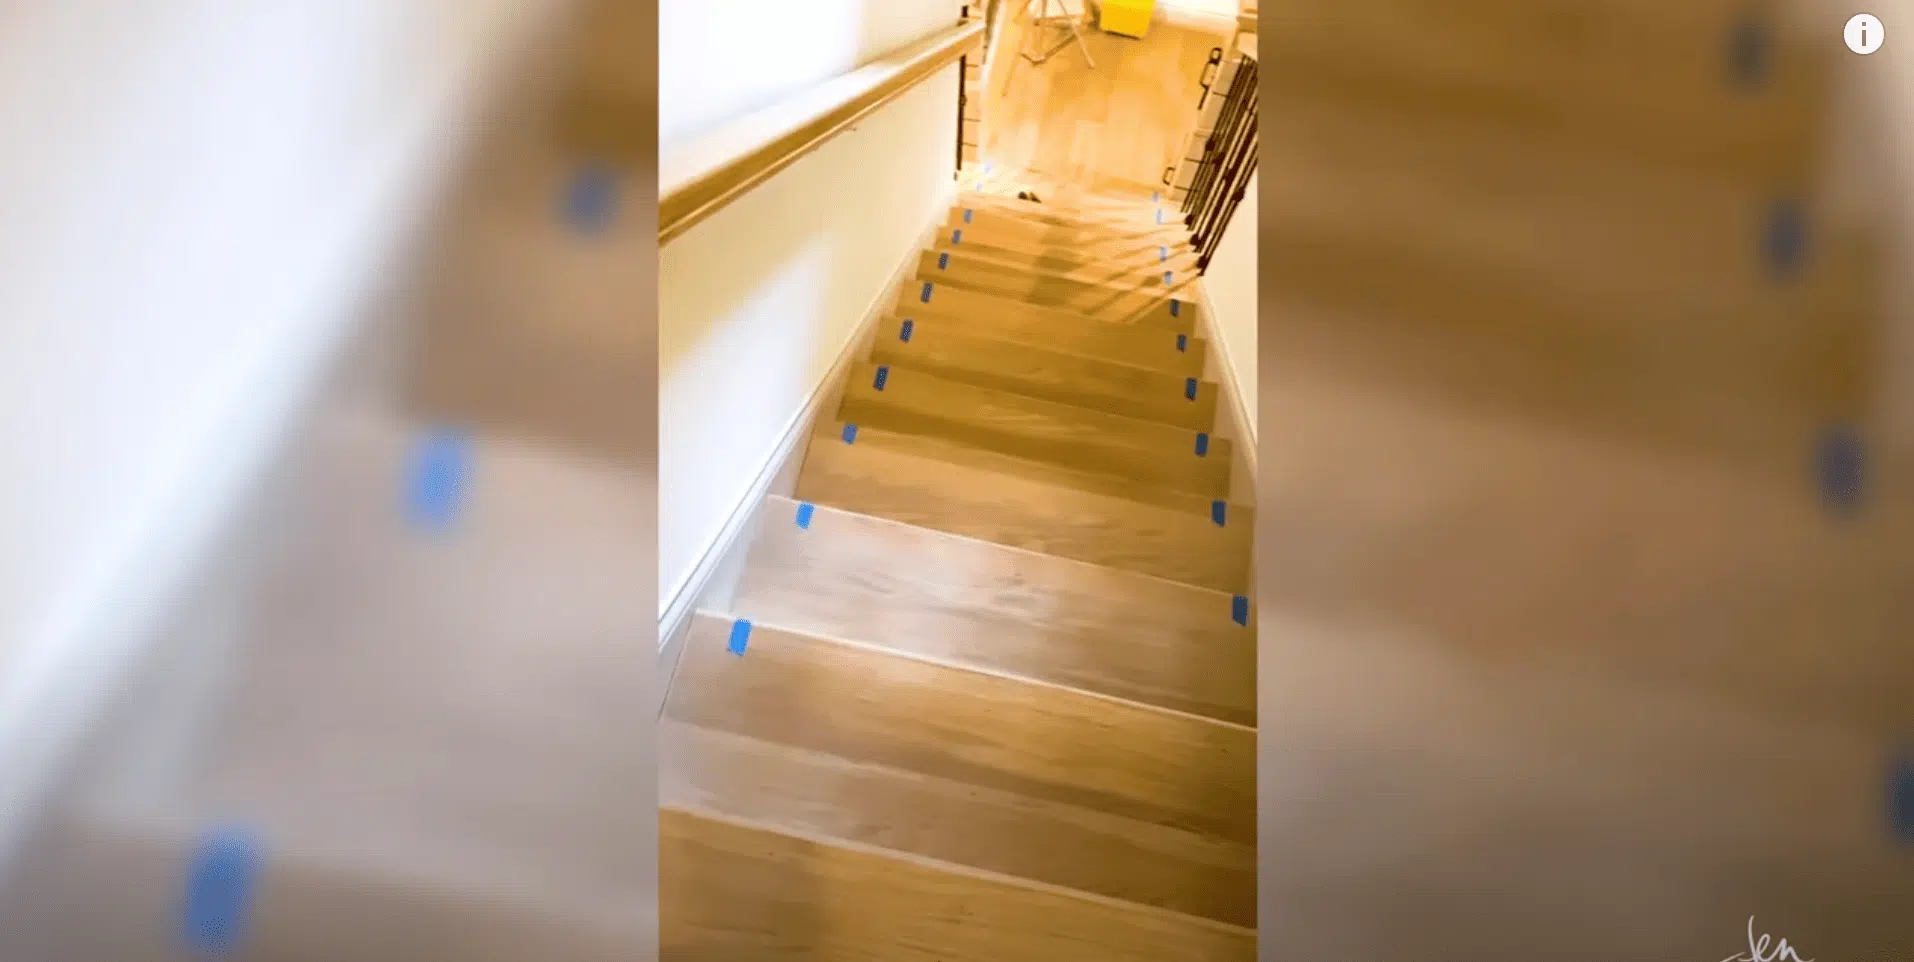
Find the middle of each stair to keep the runner straight.
Push the rug into one corner, measure the open space on the other side, and split it in half.
Use painter’s tape to mark those spots.
This makes it easy to lay the runner in the right place as you go.
Lining it up at the beginning saves time and avoids mistakes later.
Expert Insights
- Mark both sides of each stair for perfect alignment.
- Use tape that won’t leave sticky marks.
- Check your marks twice before installing.
STEP 3: Cut and Install Rug Pads
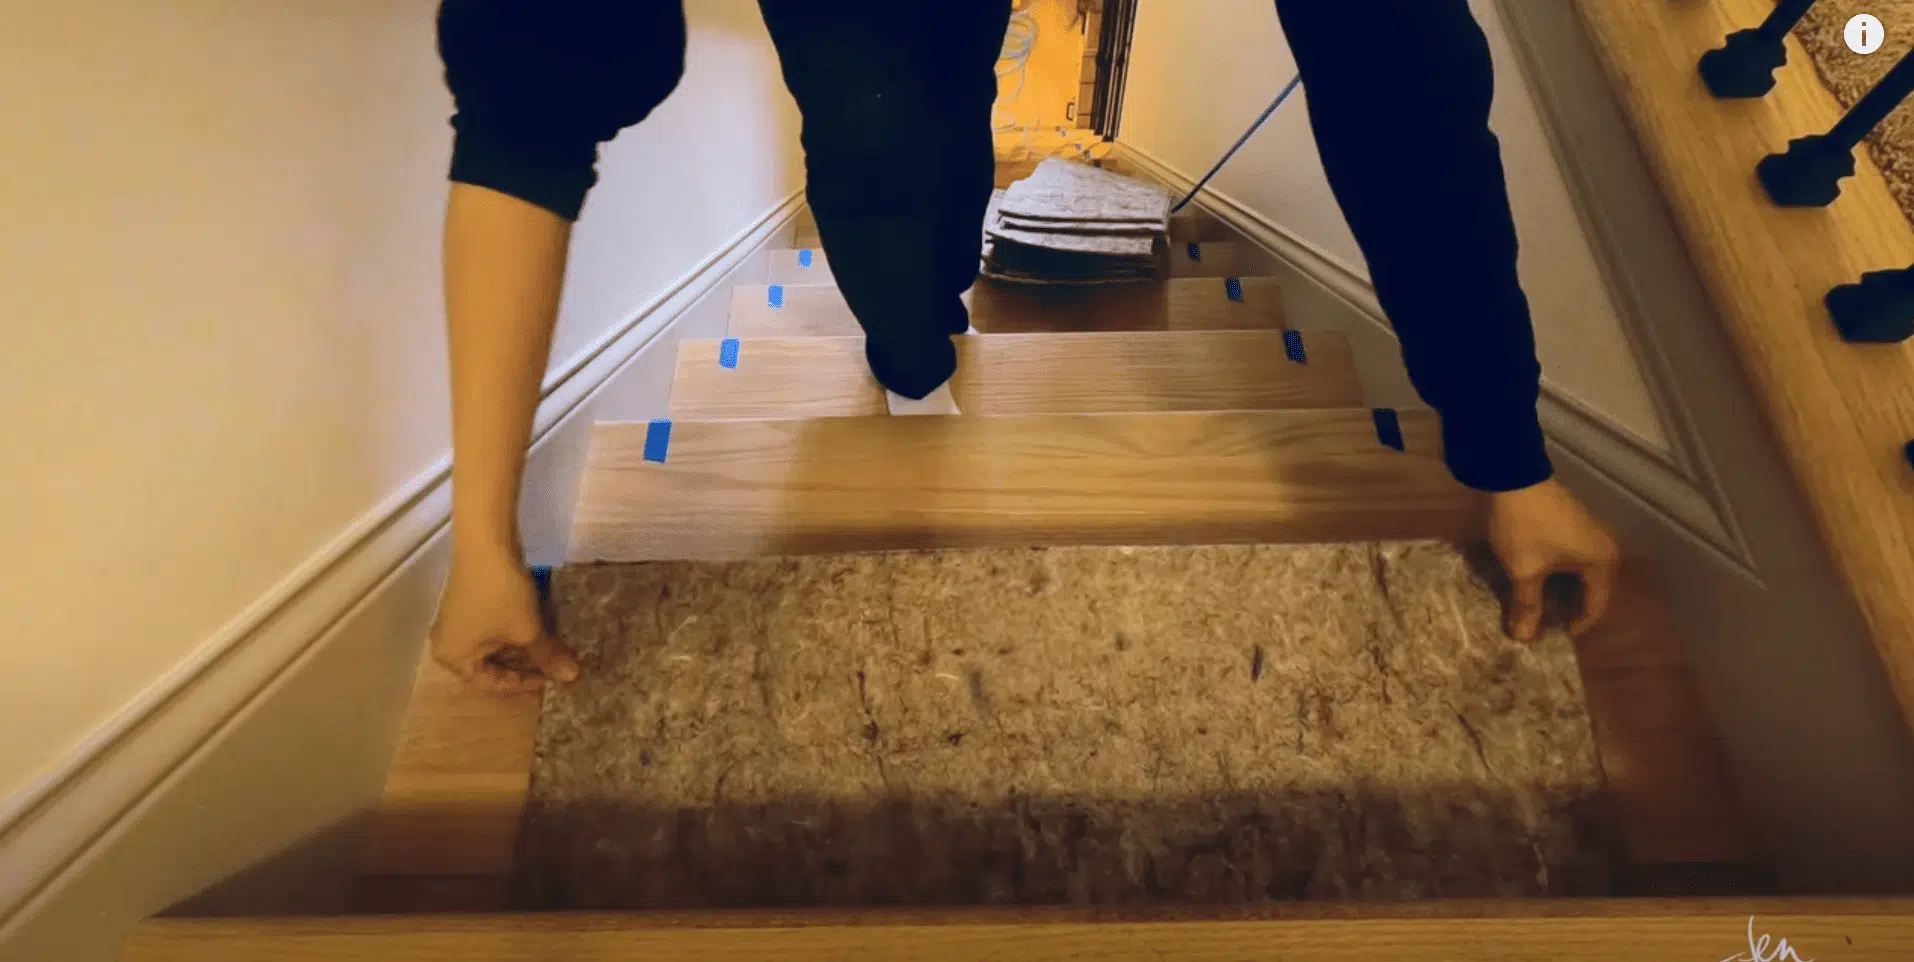
Cut a rug pad for each step so your feet feel comfy and the rug doesn’t slip.
Rug pads are easy to trim with scissors.
Staple each one to the tread so it stays in place.
This soft layer also helps keep your runner in good shape and protects your stairs.
Don’t skip this step—it’s quick and makes a big difference!
Expert Insights
- Use a marker to trace the pad size before cutting.
- Staple pads near corners so they don’t curl up.
- Pick thin pads so they don’t raise the rug too much.
STEP 4: Attach the Stair Runner

Start stapling the runner from the top of the stairs.
Put staples under the stair nose and where the riser meets the tread.
Keep them about 2 to 3 inches apart.
Use a painter’s tool to tuck the rug in tightly, and if the staples show, color them with a Sharpie.
If using more than one runner, line up the pattern carefully so it looks like one long piece.
Expert Insights
- Start with a few staples, then check your alignment.
- Cut extra rug pieces neatly to keep edges clean.
- Use a black Sharpie to hide visible staples.
STEP 5: Add Finishing Touches with Stair Rods
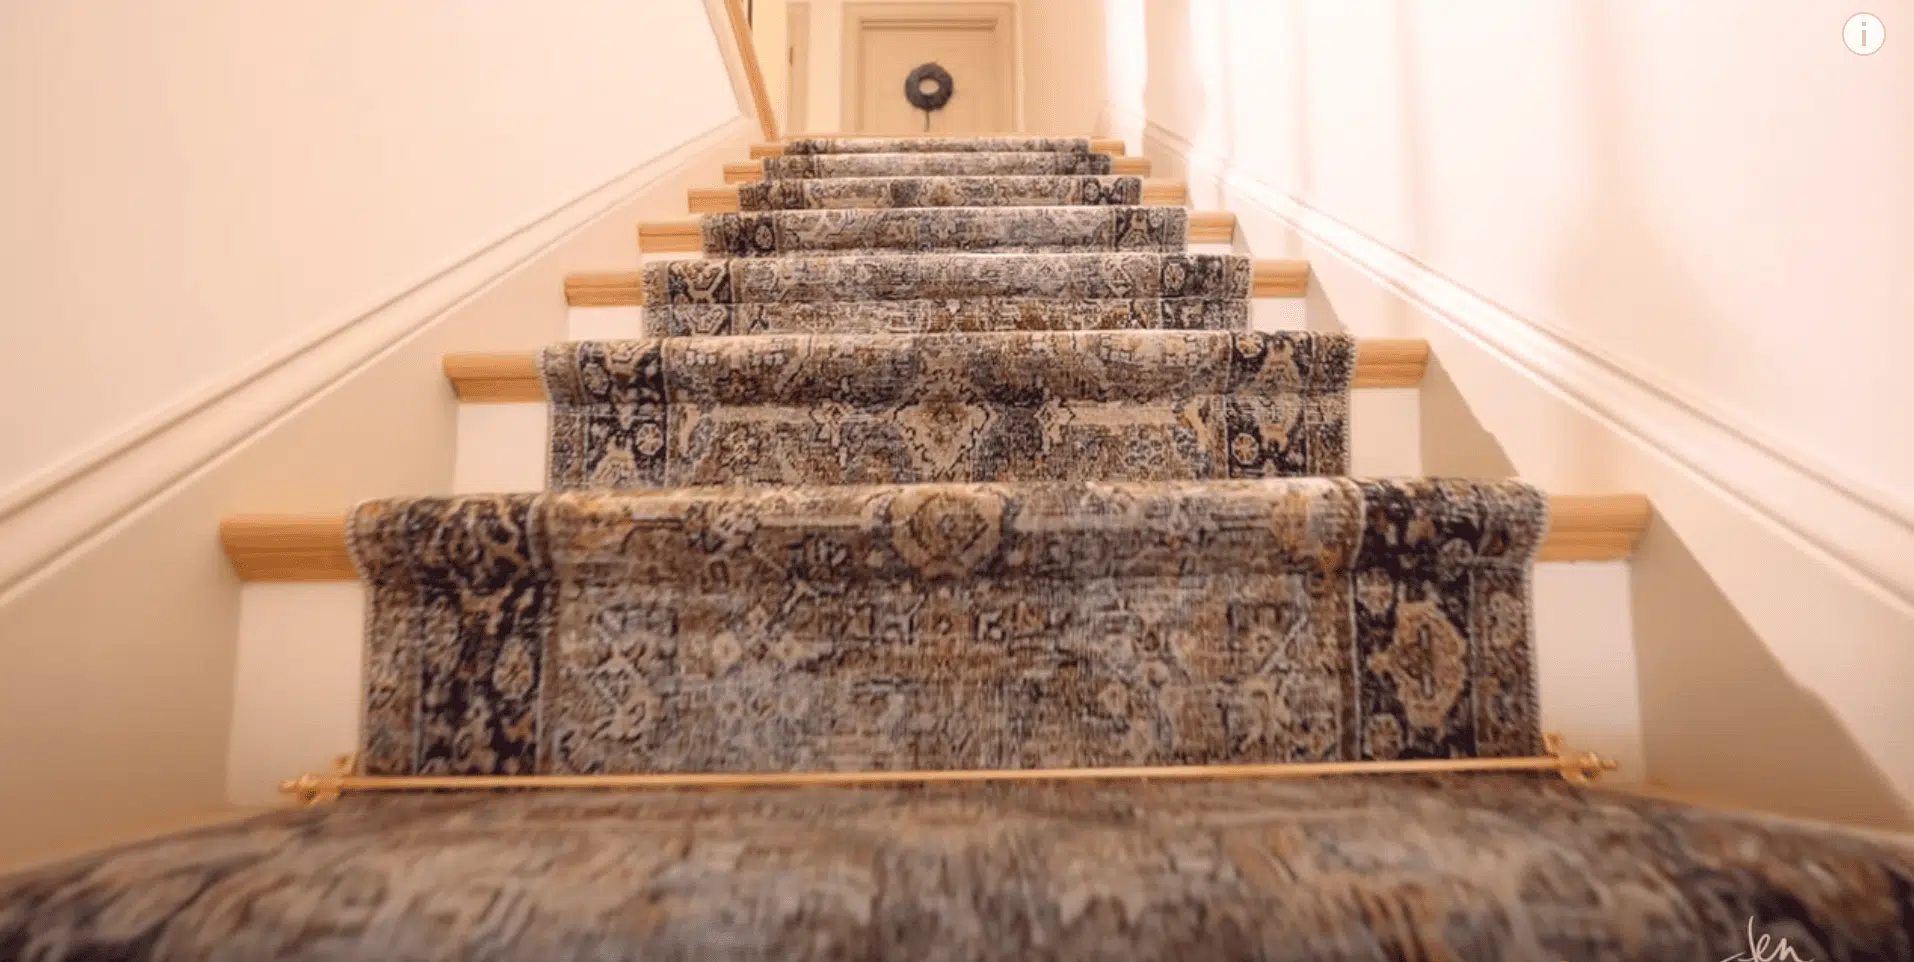
Stair rods are optional, but they add a fancy look to your runner.
Cut them to fit with a pipe cutter and screw them into place at the base of each stair.
These rods don’t hold the rug but make everything look polished.
They also help tie the whole project together and make your stairs feel complete.
Expert Insights
- Match the rod color with your home’s hardware.
- Measure twice before cutting rods.
- Use anchors if screws feel loose in the wood.
Stair Runner Installation Video Tutorial
For more information, check out this video tutorial by Jen Woodhouse
Special Staircase Situations
Not all staircases are straight and simple.
Some homes have unique stairs that need special approaches.
Don’t worry if your stairs are unusual – you can still install a beautiful runner with these tips.
Installing on Curved Stairs
Curved staircases require precision installation.
Create paper templates for each uniquely shaped step, adding an extra inch of material on all sides for secure tucking.
Work methodically in small sections, using additional staples to maintain tension.
Smooth fabric carefully into curves, employing specialized tools like curved needles when necessary.
Small strategic cuts in the backing facilitate proper bending around challenging contours.
Dealing with Unique Stair Shapes
Not every staircase is perfectly straight and uniform.
Many homes have stairs with special shapes that need extra attention during runner installation.
Here’s how to handle the most common tricky situations.
| STAIR TYPE | QUICK TIP |
|---|---|
| Pie-shaped stairs | Measure both sides to find the center; mark with tape. |
| Open-sided stairs | Wrap the runner around the edge; staple underneath to hide staples. |
| Varying-width stairs | Use a tape measure on each step to keep spacing consistent. |
Don’t let unusual stairs stop you from installing a runner.
With careful measuring and these simple techniques, you can make your runner look custom-made.
Take your time and check your work often for the best results.
Stair Runner Maintenance and Care
Taking good care of your stair runner helps it stay beautiful longer.
A little regular attention can add years to its life.
- Vacuum your runner at least once a week using the upholstery attachment to prevent dirt buildup.
- Clean spills right away with plain water first, then mild soap if needed.
- Use carpet protector spray twice a year to guard against stains and wear.
- Place a small rug at the bottom of the stairs to catch dirt before people step on the runner.
- Rotate your runner once a year if possible to spread out wear in high-traffic areas.
Even the best-maintained runners will eventually show signs of wear.
When you notice fraying edges or visible wear patterns, it might be time for repairs or replacement.
Troubleshooting and Fixes
Even careful DIYers encounter installation challenges; most have simple fixes if caught early—learn when to troubleshoot rather than restart.
Common Installation Problems
Every project hits a few bumps along the way.
These issues happen to almost everyone installing a stair runner for the first time.
- Bubbling happens when the runner isn’t pulled tight enough during installation.
- Runners that look crooked usually mean your initial measurements were off.
- Staples that pop up usually weren’t pressed in firmly enough.
- Visible staples can ruin the look of your beautiful new runner.
- Runner shifting occurs when padding isn’t secured properly to each step.
Spotted installation issues?
Don’t panic, early detection means simpler fixes without starting over!
Quick Fixes for Mistakes
Most mistakes can be fixed without removing the entire runner. These simple solutions save time and frustration.
- For bubbles, pull up nearby staples and reattach the runner with proper tension.
- Fix alignment by removing staples from one side and repositioning before re-stapling.
- Cover visible staples with a matching marker or small dots of paint.
- Patch small tears with fabric glue and matching thread from underneath.
- If more than half of your installation has problems, it’s usually better to start over.
Take your time and fix small issues as you notice them.
Small corrections now prevent bigger problems that might force you to redo the entire project later.
Wrapping It Up
Now you know how to install a stair runner like a pro!
With some simple tools and patience, you’ve changed your staircase into something beautiful and practical.
Remember to take your time measuring and centering; these details make a big difference in the final look.
Don’t rush, and fix small mistakes as you go.
The best part is how this project combines class, safeness, and sound reduction all at once.
Your runner will make your stairs look amazing while keeping them safer and quieter for everyone.
Regular maintenance will keep it looking great for years to come.
Ready to tackle those stairs this weekend?
We can’t wait to see how your project turns out!
Please share a photo in the comments below and tell us about your stair runner experience!
If you’re interested in more informational DIY projects content, feel free to click here and explore other blogs that you might enjoy.

Stephanie Grace, a graduate with a degree in Fine Arts from the Savannah College of Art and Design, has been inspiring DIY enthusiasts with her creative and practical guidance for over 14 years. Her career in design and crafting began in a small artisan workshop, where she developed a passion for transforming everyday materials into beautiful and functional items. Stephanie joined our website in 2018, rapidly gaining popularity for her easy-to-follow DIY tutorials and innovative project ideas. Since then, she has been the creative mind behind our DIY section, helping readers bring their artistic visions to life. Outside her professional pursuits, Stephanie enjoys pottery and urban gardening, hobbies that showcase her love for hands-on creativity and nature.