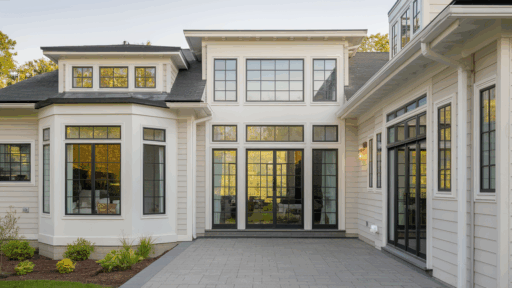
Is your business roof leaking? Perhaps you’ve noticed stains or cracks starting to appear. I know how stressful that can be, so I made this simple guide to help.
You’ll learn how to identify roof problems, understand their causes, and take steps to fix or prevent damage before it worsens. No confusing terms, just clear, useful steps.
If you run a small shop, manage a building, or want to protect your space, this guide is for you.
I’ve conducted research, consulted expert advice, and compiled practical tips to make things easier.
Roof repairs don’t have to feel overwhelming. With the right steps, you can address issues early and maintain a safe building. Let’s get started
What Is Commercial Roof Repair?
Commercial roof repair means fixing damage on business roofs, which are often flat and made from rubber, metal, or asphalt.
These roofs typically cover large areas and may contain vents, pipes, or equipment that increase their susceptibility to developing leaks, cracks, or wear over time.
Common causes of damage include harsh weather, aging materials, poor installation, and foot traffic from maintenance workers.
If left alone, small issues can quickly turn into major, costly problems.
Catching and repairing damage early helps protect your building from water leaks, mold, and structural issues.
A solid, well-maintained roof keeps your business dry, your equipment safe, and your building running smoothly. It’s a key part of protecting your investment.
Why Is It Important?
Commercial roof repair matters more than you might think. A roof does more than sit on top of a building.
It protects what’s inside, including people, equipment, and your business operations. Taking care of your roof means taking care of your business.
- It keeps the building safe: A damaged roof can allow water to enter the building, compromising its integrity. Leaks lead to ceiling stains, weak spots, and serious structural issues.
- It saves money: Fixing a small crack now is much less expensive than replacing an entire roof later. Quick repairs stop problems from growing.
- It protects workers and equipment: Leaks can cause mold, which is bad for health. Standing water can attract pests. Damaged areas can even lead to accidents or ruined tools.
Signs Your Roof Needs Repair
Your commercial roof can’t talk, but it does show signs when something’s wrong. Paying attention to these early clues can help you avoid major problems later.
- Water stains on ceilings: If you see brown or yellow spots on ceiling tiles or walls, don’t ignore them. These stains often indicate that water is leaking through the roof and seeping into the structure.
- Leaks or drips: A leaking roof doesn’t always gush water; it just drips during or after rain. If you find puddles or wet floors in your building.
- Cracks or bubbles on the roof surface: Blisters, bubbles, or cracks mean the roofing material is wearing down.
- Ponding water: (water that doesn’t drain) Flat roofs are common in commercial buildings. If rainwater forms pools and stays there for more than 48 hours, it’s called ponding.
- Missing or loose flashing: Flashing is thin metal placed around roof edges, vents, and joints to seal gaps.
- Moss or mold growth: The presence of moss, mold, or algae on your roof or inside the building indicates moisture problems. These growths not only make the roof look bad, but they can also weaken roofing materials.
Key Tools for Roof Repair
Once the leak is identified and the area is cleared, having the right tools on hand is crucial for achieving a durable commercial roof repair.
- Rubberized Flashing Cement: Works on wet surfaces, making it ideal for quick applications.
- Hook & Straight Blades: Hook blades for shingles, straight blades for general cuts.
- Webbing/Membrane: Adds strength between cement layers and helps prevent cracking.
- Handmade Spatula: Repurposed from old shingles; spreads sealant evenly.
- Silicone Sealant: Seals joints and cracks for long-lasting moisture protection.
Commercial Roof Repair: A Complete Step-by-Step Guide
Below is a clear breakdown of how the commercial roof is repaired, step by step:
Step 1: Assess and Prepare
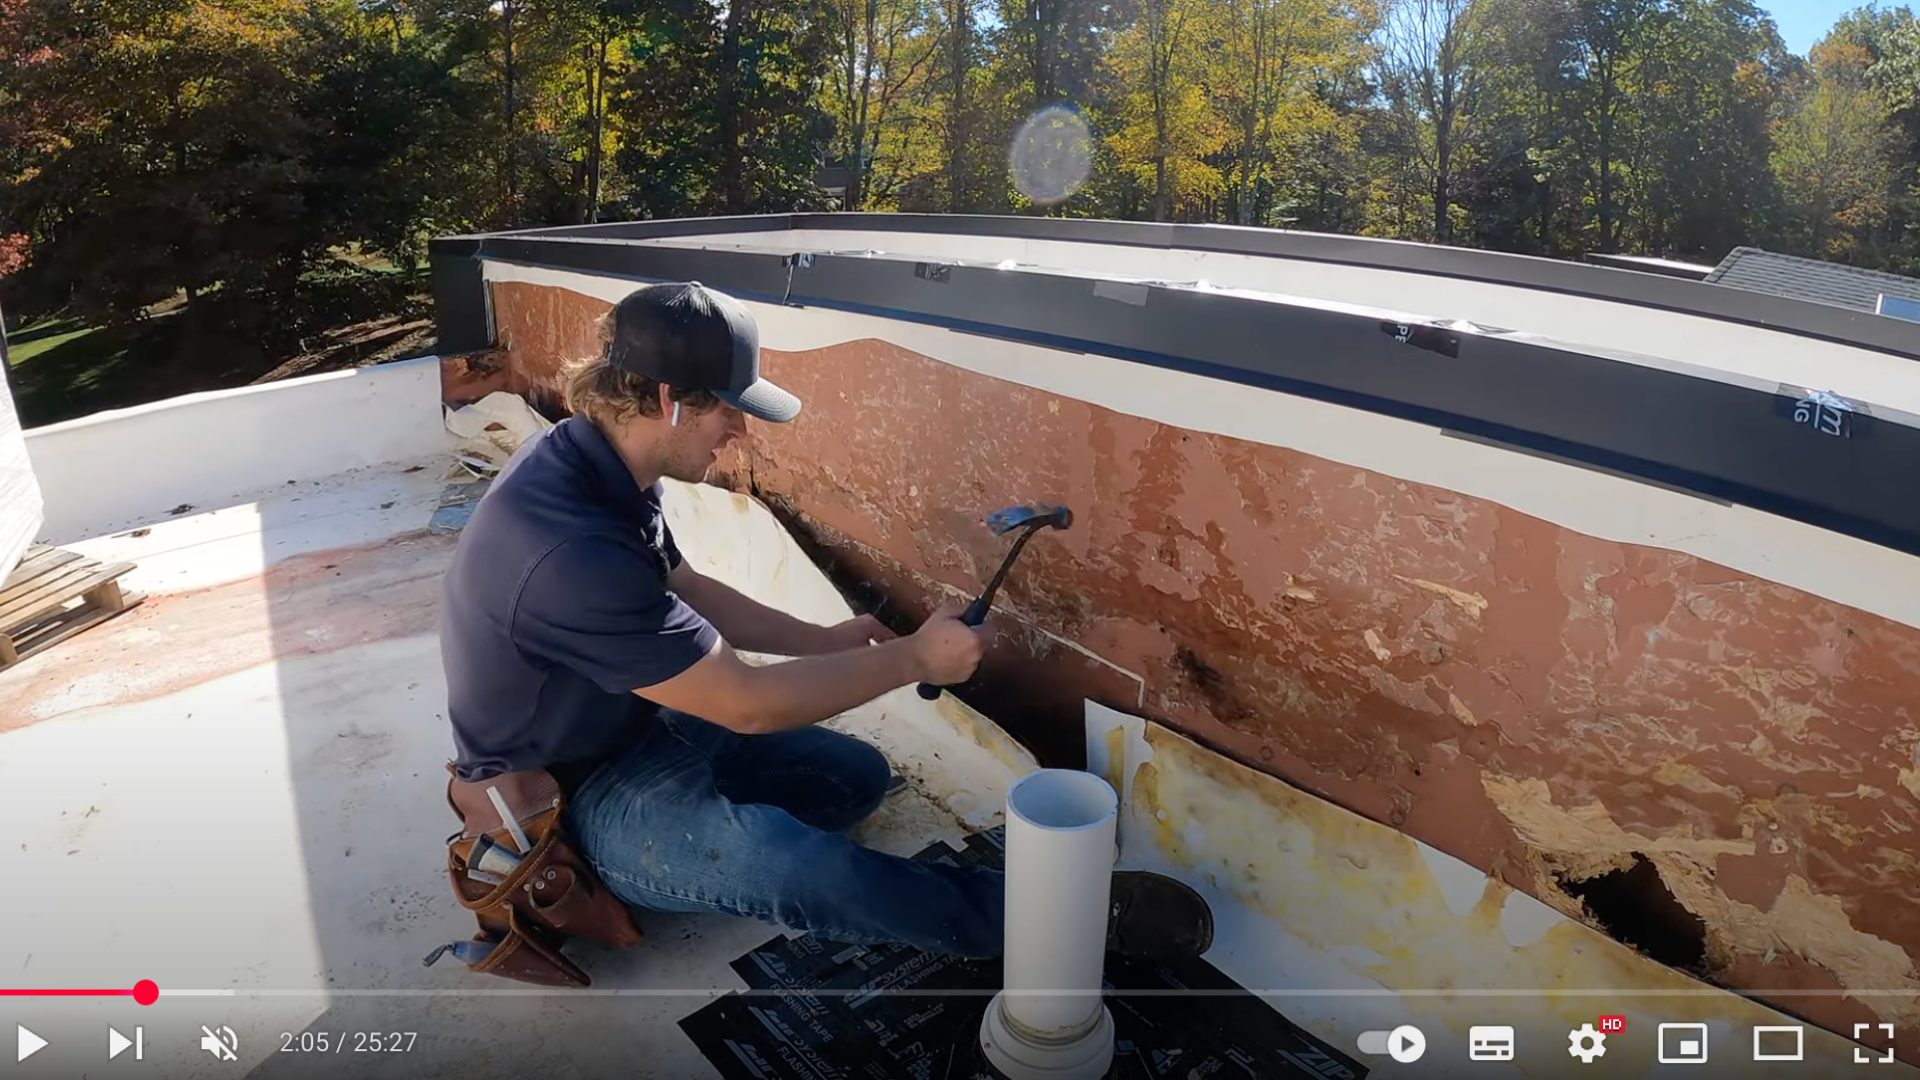
Begin by carefully cutting back the roofing membrane (such as TPO) along the parapet walls and roof edge.
Check the condition of the plywood, insulation, and underlying structure.
Watch for signs of rot, moisture, fungal growth, or weakened material.
If any fasteners were previously installed without proper sealing, note those areas as potential leak sources.
Only remove small sections at a time, especially if rain is in the forecast, to avoid unnecessary exposure and water intrusion.
Step 2: Remove and Rebuild
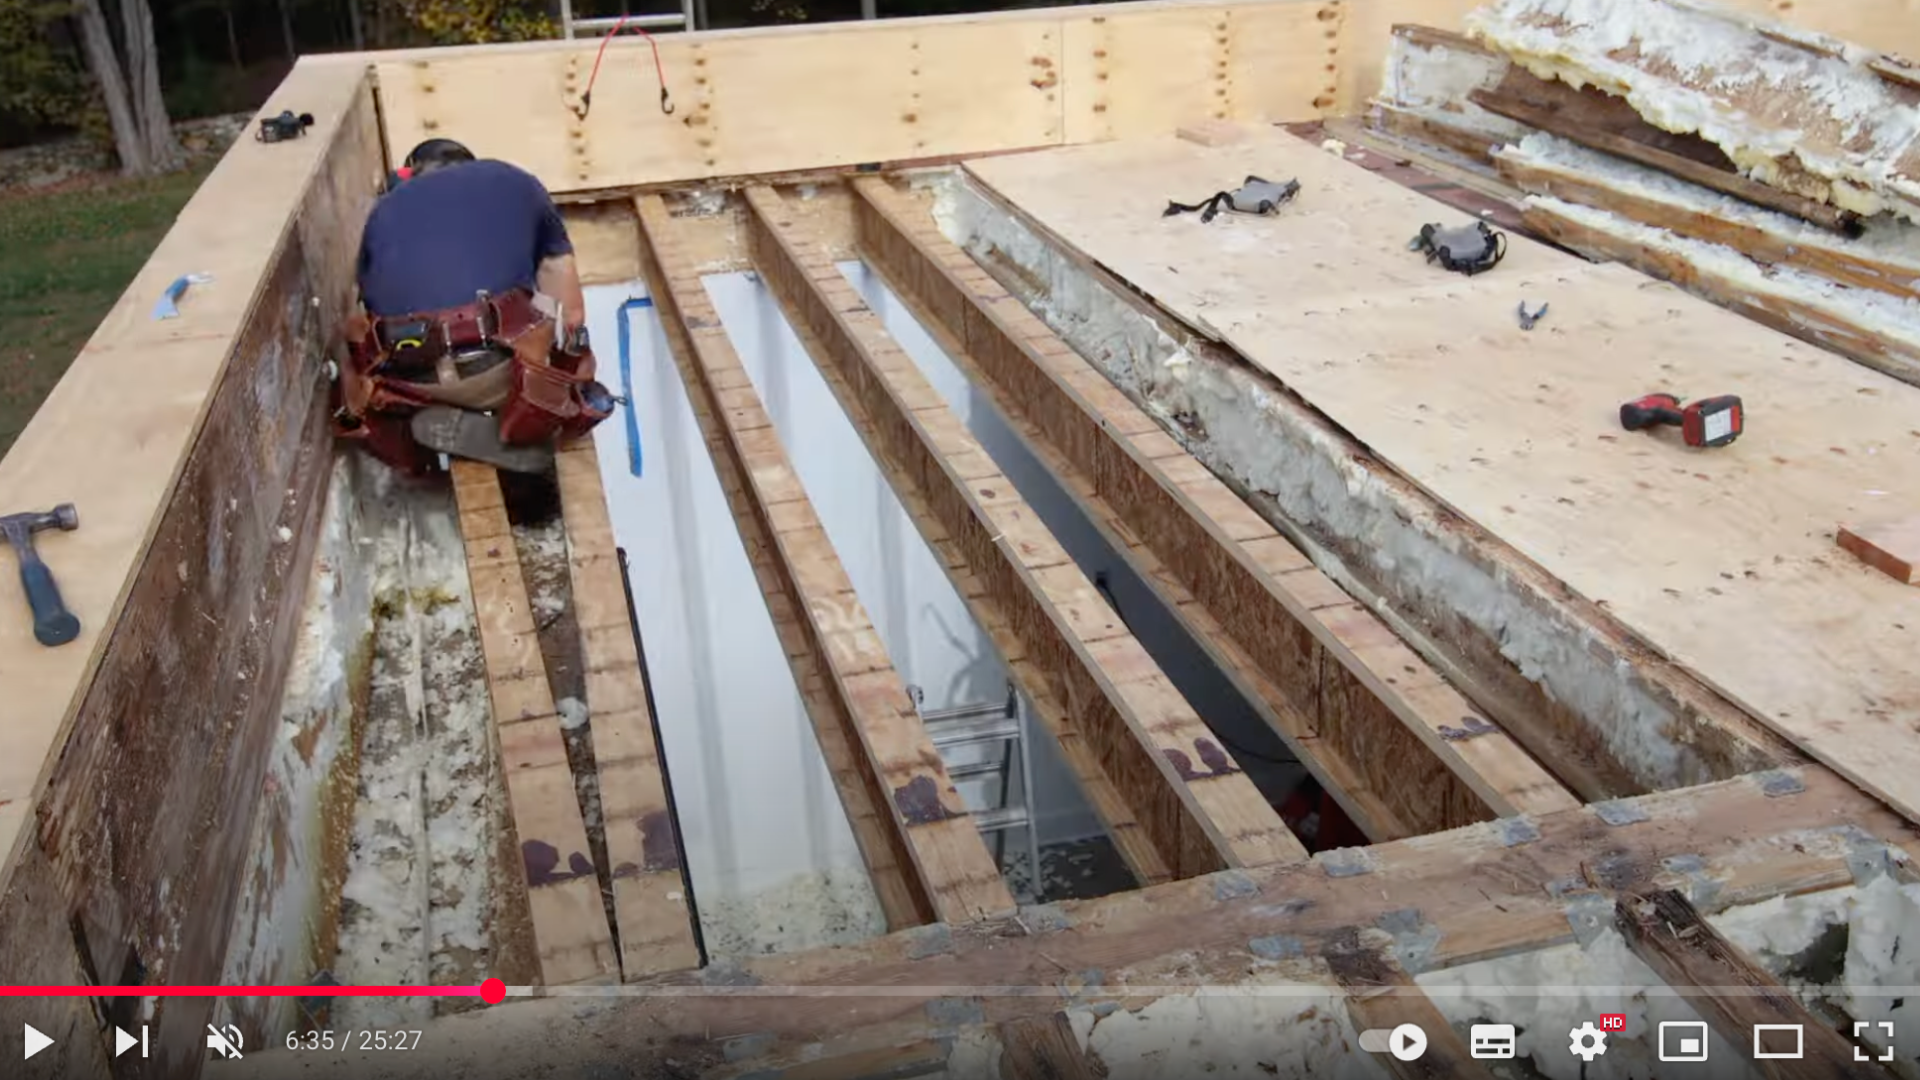
Remove all rotted plywood, saturated insulation, and weakened framing. Cut back to clean, dry material.
Replace structural elements such as I-joists if they show signs of water damage or reduced strength.
Install new plywood over the parapet walls and roof deck. Reinforce the top of the wall with additional support where needed to attach flashing or drip edges later properly.
Step 3: Add a Cover Board and Install the Roofing Membrane

To protect the roof from long-term shifting or punctures, attach a fiberglass-faced cover board (like DensDeck) over all plywood areas.
Secure it with insulation plates and screws. Then install the new membrane, such as peel-and-stick TPO or a traditional glue-down system.
Where seams will be welded, remove the adhesive first. Use a hot-air welder to seal all overlaps and edges.
Step 4: Fix Drainage with a Cricket
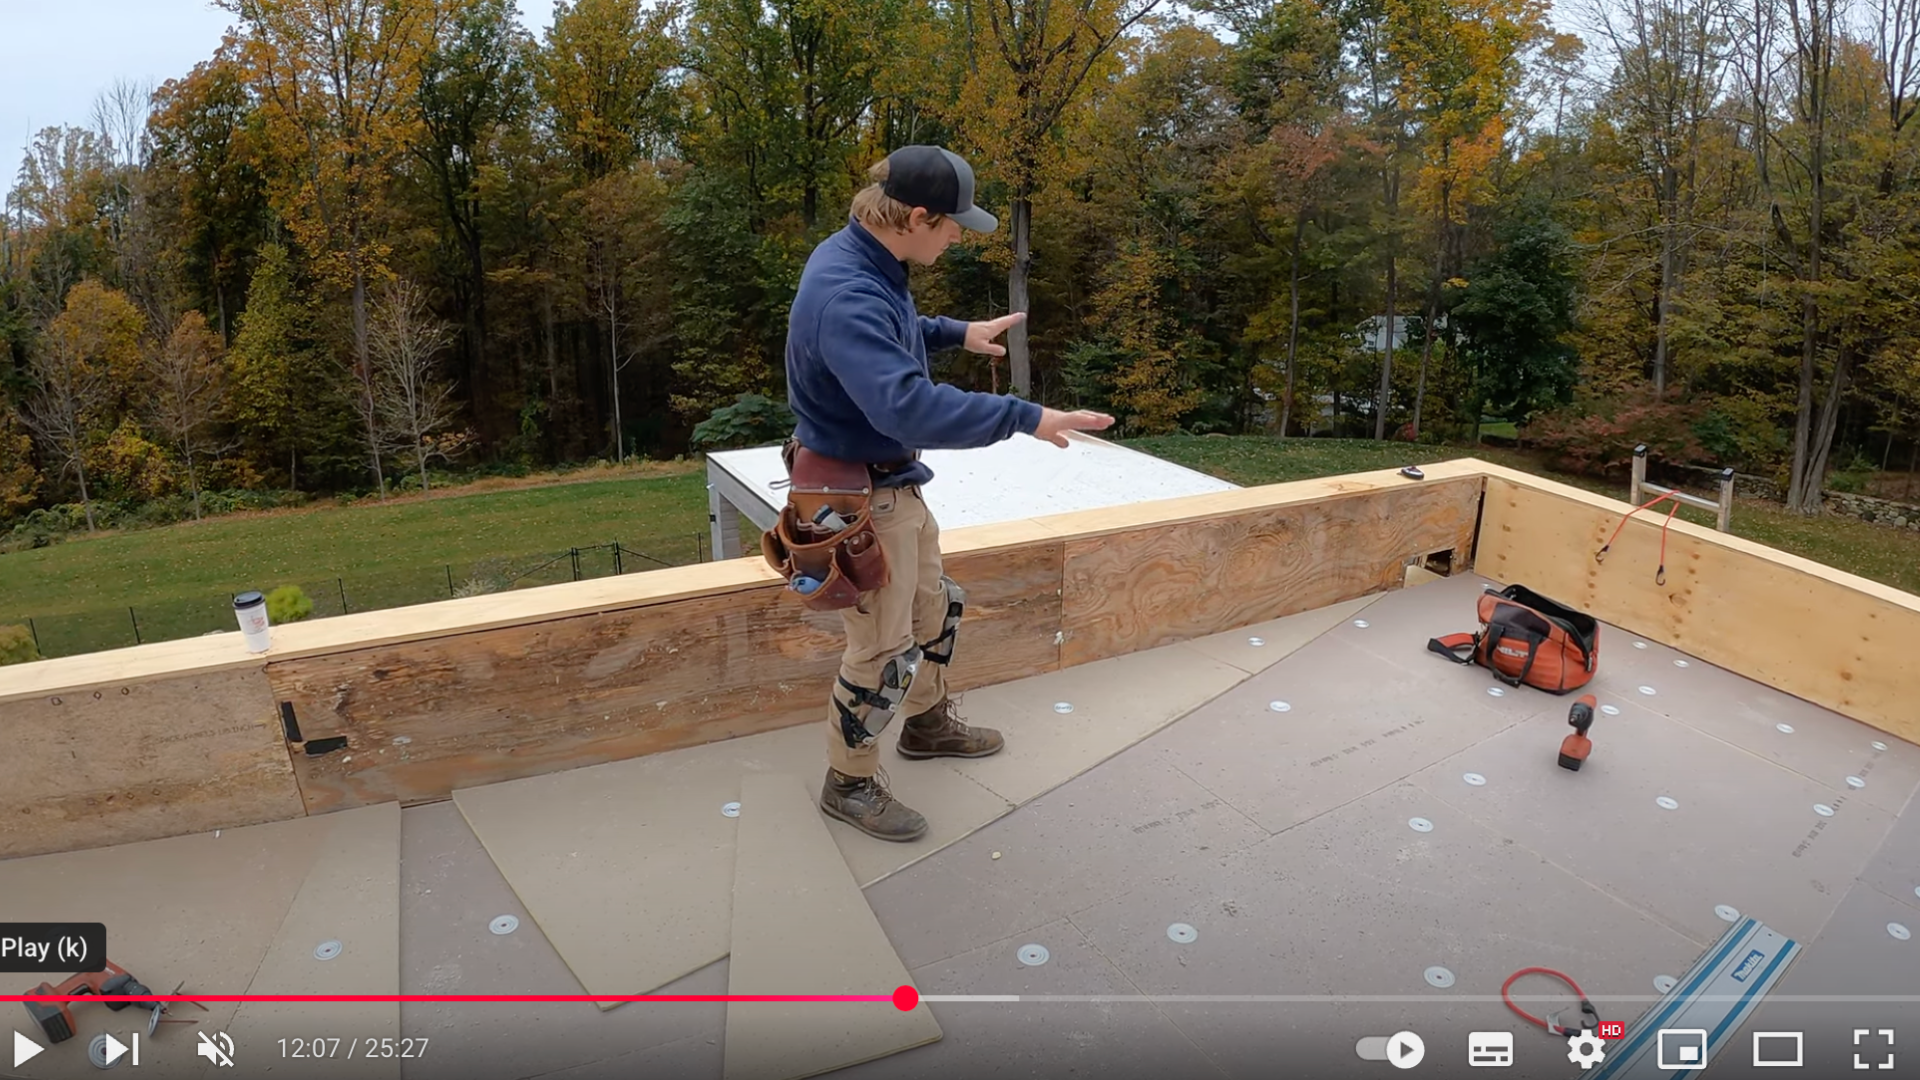
If standing water is present near drains or scuppers, build a “cricket.”
This is a raised, angled section made of insulation panels or taper boards that redirects water toward drainage points.
Cut panels to create a slope in multiple directions and ensure there is a peak that pushes water away from flat or low areas.
If drainage issues persist, double up the panels for a steeper incline.
Step 5: Final Details and Results
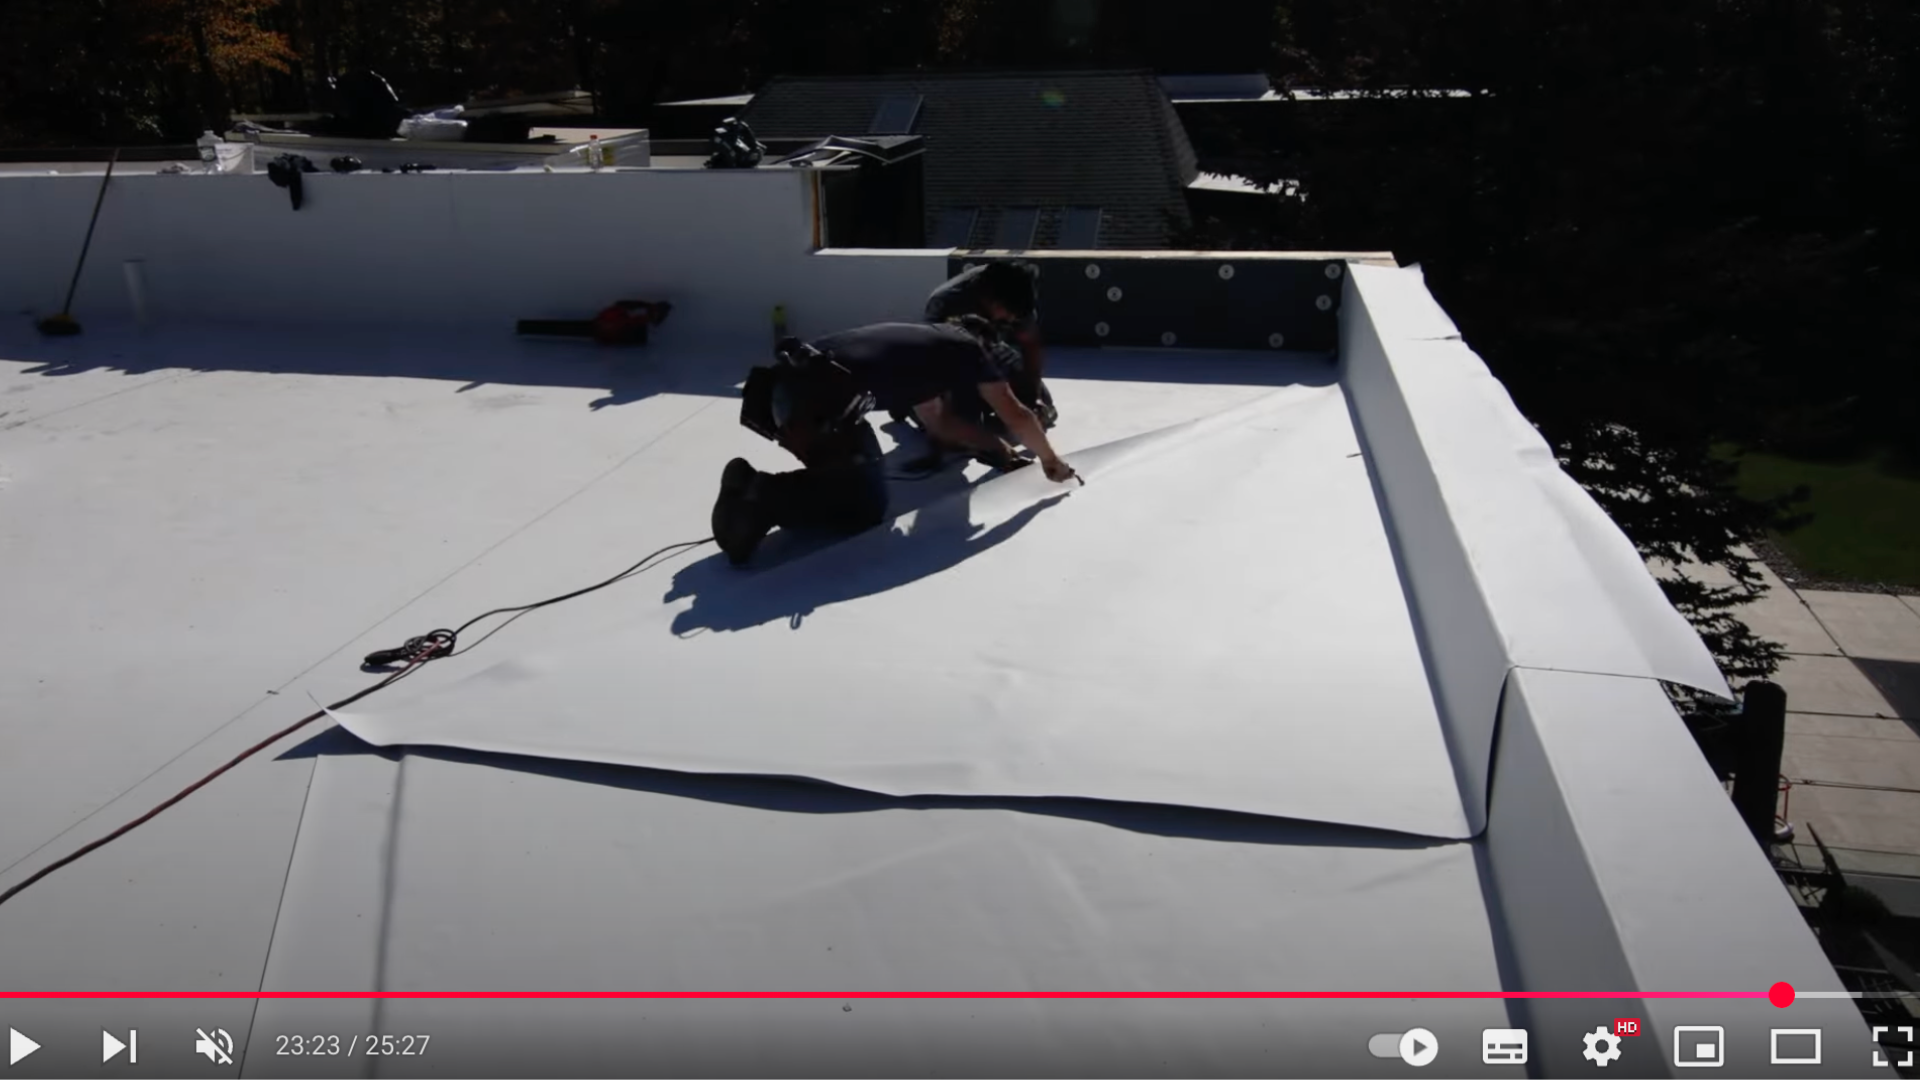
Finish the job by installing proper flashing at the parapet walls and around roof edges. Apply drip edge metal where required, and cover all seams with welded cover strips.
Inspect for any gaps or raised sections. Once sealed, test the roof after a rain to confirm proper drainage and waterproofing.
Even months later, the surface should remain dry and secure, with no signs of new leaks.
If you prefer learning by watching, this video walks you through the whole repair process.
It shows how to identify hidden damage, repair rot, and reinforce the structure.
You’ll see each step as it happens, so it’s easy to follow and understand. The video also adds a creative touch to keep things engaging. You can watch the full video here.
Roof Restoration vs. Roof Replacement
Roof restoration adds new layers over the existing roof, while replacement completely removes the old one. Knowing the difference helps you choose the right fix for your building:
| Feature | Roof Restoration | Roof Replacement |
|---|---|---|
| What it is | Adds a new layer over the existing roof | Removes and replaces the entire roof |
| Best for | Minor damage, surface wear, small leaks | Major damage, rot, structural issues |
| Cost | Lower | Higher |
| Time to complete | Shorter | Longer |
| Materials used | Coatings, membranes, sealants | Full roofing materials (decking, layers, etc.) |
| Lifespan added | 10–15 years (approx) | 20–30+ years (approx) |
| Waste generated | Very little | High (old roof is removed) |
| Disruption | Minimal | More disruptive to business operations |
| Need for structural fix | Not required unless damage is deep | Required for any serious or deep damage |
When to Call a Professional?
While minor roof issues can sometimes be addressed in-house, certain situations call for trained expertise.
A professional roofer brings the tools, experience, and safety knowledge needed to handle more serious damage.
Knowing when to step back and seek help can prevent more significant problems and ensure the job is done correctly. Contact a roofer if:
- The damage is widespread or hard to locate.
- The roof is aging or feels unsafe to walk on.
- You’re unsure how to repair properly.
- A previous repair attempt failed to resolve the issue.
- Building codes or insurance require certified work.
Tips to Prevent Roof Problems
These tips focus on regular maintenance and proactive checks to help you stay ahead of potential damage.
- Inspect Twice a Year: Check your roof twice a year, in the spring and fall. Regular inspections help identify wear, damage, or blocked drainage before they become serious.
- Clean Gutters and Drains: Clear out leaves, dirt, and other debris. Keeping gutters and drains clean helps prevent water buildup that can damage the roof surface.
- Trim Nearby Trees: Cut back overhanging branches to prevent damage to your property. These can scratch or fall onto the roof, causing physical harm or promoting moisture retention.
- Address Small Issues Promptly: Resolve minor issues promptly as they arise. Delaying repairs can lead to more complex and expensive issues over time.
Conclusion
A well-maintained roof helps keep your building safe, dry, and working as it should.
Regular checks can prevent small issues from escalating into larger, more expensive problems.
Clean your drains, check for leaks, and look out for signs of damage, such as stains or cracks. Trim trees near the roof to avoid damage from falling branches.
Act fast when you spot trouble. Fixing problems early costs less and keeps your business running smoothly.
Some repairs are straightforward, but others may require expert assistance. If you’re unsure or if the damage is large, it’s best to call a roofer.
Taking care of your roof protects your people, your equipment, and your work.
A little attention now can save you time and money in the future. Make roof care part of your routine.

