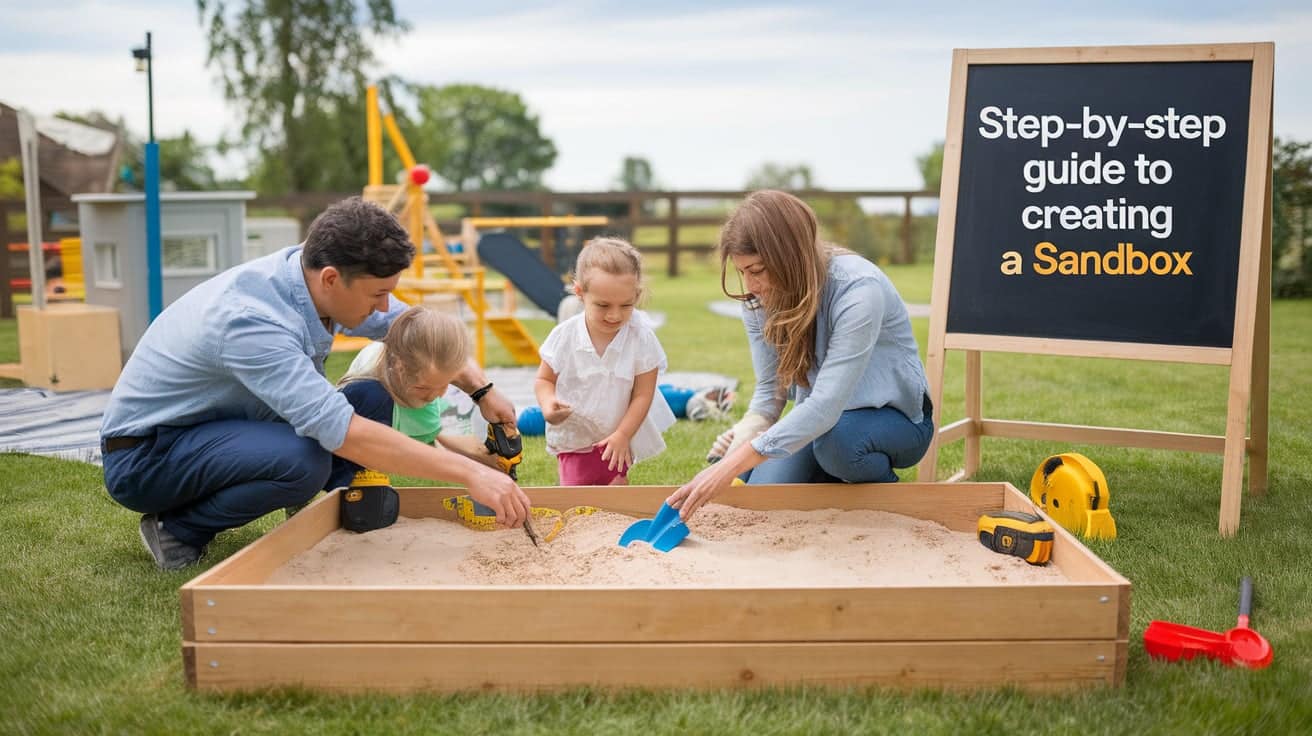
Are you looking for a fun project to make your backyard better for kids? A sandbox might be just what you need. I know how tricky it can be to start a DIY project without clear steps.
I created this guide to help you build the perfect sandbox for your space and budget.
I’ll show you each step to build a safe, fun sandbox that fits your yard. You don’t need to be a master builder – I’ll break down the process into simple tasks anyone can do.
I’ve covered you, from picking the right spot to adding the final touches.
Do you want a basic square design? Or maybe something special with built-in seats? I’ll help you choose what works for your family.
Let’s start building that perfect play space your kids will love.
Planning Your DIY Sandbox Project
Choosing The Right Location: Sun, Shade, And Safety
A good spot for your sandbox starts with checking sunlight and shade patterns in your yard. I recommend finding a place that gets both morning sun and afternoon shade. This mix keeps the sand at a nice temperature for play.
Pick a level area away from water runoff to keep the sand dry. Your sandbox should sit at least 10 feet from trees, which helps avoid falling leaves and branches. It’s also smart to stay clear of spots where water collects after rain.
Safety comes first, so place the sandbox where you can see it from your house. Please keep it away from fences that kids might climb. A spot with good airflow helps dry the sand after rain.
Check for underground pipes or wires before you dig. A quick call to your local utility company can prevent costly mistakes. These simple checks now will save you headaches later.
Picking The Perfect Size And Shape For Endless Fun
The size of your sandbox affects how kids play in it. A 4×4 foot box works well for one or two children. If you have more kids, consider a 6×6 foot space—it gives plenty of room for group play.
Shape matters, too. Square boxes are simple to build and fit nicely in most yards. Round shapes offer more edge space for sitting. An L-shape can tuck into a corner and create separate play zones.
Think about your building skills. Simple shapes need basic tools and less cutting, while bigger or fancier designs require more work and materials.
Remember to make the box deep enough—12 inches works best. This depth lets kids dig and build without hitting the bottom. Add 2-3 inches of extra depth if you use a cover.
Your yard size also helps you decide. Leave at least 3 feet of clear space around the sandbox for easy access and maintenance.
Materials And Tools Needed
| Category | Items |
|---|---|
| Wood | Two 2×10 boards (cut into 6ft and 5’9″ pieces) |
| Sand | 25 bags of play sand (50 lbs each) |
| Base Materials | Heavy-duty landscape fabric |
| 4×4 wood scraps for corners | |
| Fasteners | Corner brackets |
| Exterior wood screws | |
| Cover | Sandbox cover |
| Tools | Drill, screwdriver, sander |
Practical Tip: Check your garage or storage room first. Many home items work just as well as new materials.
Step-By-Step Diy Sandbox Construction Guide
1. Check Your Parts
Start by getting your wood cut at the store – two pieces at 6 feet and two at 5 feet 9 inches. This saves work at home and ensures straight cuts. Make sure you have all 25 bags of sand, your landscape fabric, and tools ready. A drill, screws, and sander are must-haves for this project.
2. Clear Your Space
Find a spot in your yard that’s mostly flat. Take time to remove all grass and rocks from the area. Use a shovel to level the soil if needed. Make sure water will drain away from your chosen spot – this keeps your sandbox dry after rain.
3. Set The Base
Start with your landscape fabric, laying down the first layer carefully. Add a second layer for extra protection against weeds. Let the fabric stick out past where your box will sit. Use a few rocks to hold the corners down while you work.
4. Build The Frame
Place your first board on the ground and make sure it sits level. Add your 4×4 blocks in each corner – these give you strong joints. Pre-drill your holes to prevent the wood from splitting. Join all boards with exterior screws, checking each corner stays square.
5. Add Support
Cut triangle pieces to fit each corner. These serve as both supports and seats. Screw them firmly into place at each corner. Give each one a good push to make sure they’re solid and can hold weight.
6. Fill With Sand
This is the heavy part. Open your sandbags one at a time and pour them evenly across the box. Aim for about 5 inches of depth throughout. Take your time spreading it out – this makes for better play areas.
| Category | Details |
|---|---|
| Sandbox Dimensions | Length: 6 feet, Width: 6 feet, Depth: 5 inches (0.42 feet) |
| Cubic Feet of Sand | Area Formula: 6 x 6 x 0.42 = 15.12 cubic feet |
| Weight of Sand | One cubic foot ≈ of 80-100 pounds |
| Total Weight | 15.12 cubic feet x 100 pounds = 1,512 pounds |
| Number of Bags | 50-pound bags needed: 25-30 |
| Cost of Sand | $4-5 per 50-pound bag |
| Total Cost | $100-125 for 25 bags |
| Quick Tip | Buy extra bags for settling or future topping off |
7. Final Touches
Use your sander to smooth any rough edges on the wood. Test all the corner seats to make sure they’re sturdy. Double-check that your frame stays solid and level. Now, you can add your sand toys and tools.
8. Put On Cover
Your cover likely comes in two pieces for easier handling. Place each half carefully over the box. Use rocks or built-in ties to secure the edges. Make sure it fits snugly to keep out rain and pets.
Remember to take breaks, especially when moving sand. This project works best with two people, but you can do it alone if needed. Keep checking that everything stays level as you build.
Want to see this in action? Check out this helpful step-by-step video guide showing the complete sandbox-building process. This visual walkthrough makes each step even clearer.
Enhancing Your Sandbox Space
- Hide small toys for treasure hunts. Add kitchen tools like cups and funnels for pouring games. Kids love finding buried treasures and making sand mountains. It’s simple fun that keeps them busy for hours.
- Use rulers and measuring cups to teach basic math while playing. Mix in some letter toys for spelling in the sand. Construction toys help kids understand building and space. These simple items make learning feel like playtime.
- Make different settings with a few toys – plastic animals for a zoo, boats for a beach, or trucks for a work site. Switch toys monthly to keep play fresh and new. Your kids will find new ways to use each toy.
- Store a small brush and water bottle nearby. Clean toys often and check the sand daily. Good care means more fun playtime. These basic items let kids create their own games. Often, the simplest toys lead to the best play sessions.
- Remember to supervise playtime and join in sometimes – kids love when adults participate in their sand adventures.
Creative Ways To Build Your Sandbox
1. Portable Sandbox Solutions
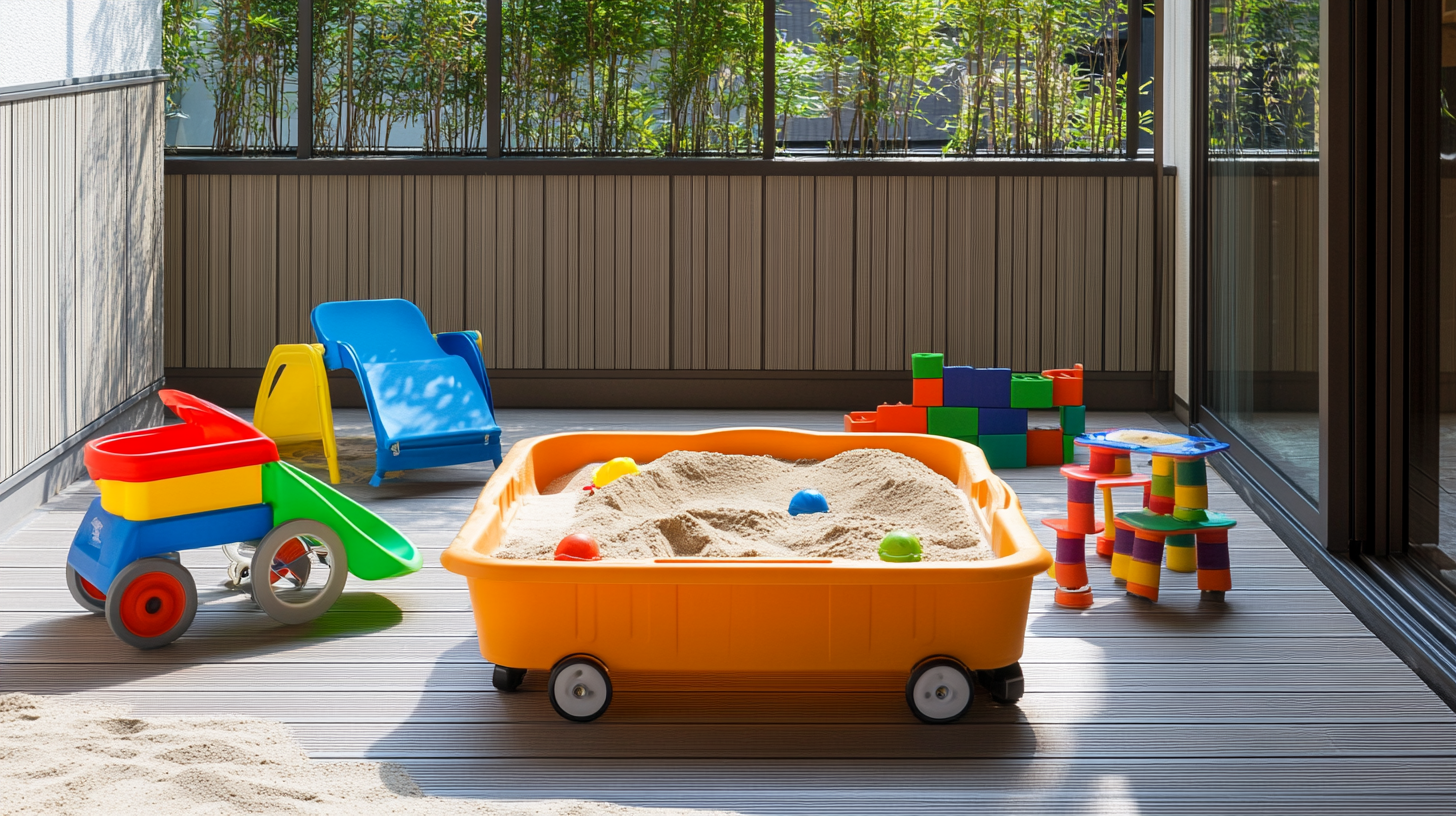
Add a strong base with casters to turn your sandbox into a wheeled model. Build a foldable sandbox with hinged sides that close up when not used. Try a small table-top sandbox for tiny spaces—perfect for balconies or patios.
2. Small Yard, Smart Design
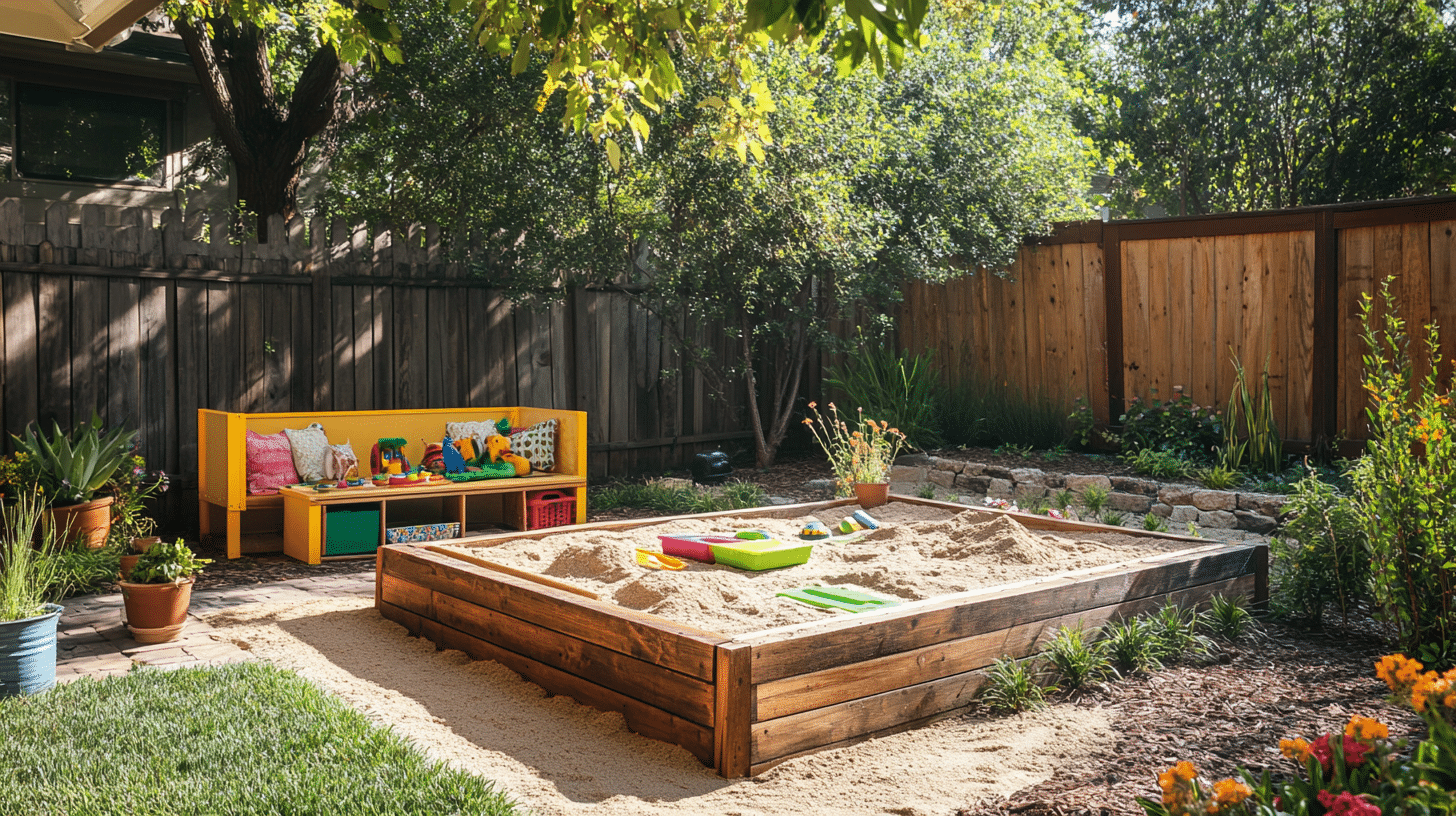
Build a corner sandbox that fits snugly in unused yard space. Make a half-size sandbox with built-in storage below. Try an L-shaped design that hugs your fence line. Add a flip-top lid that serves as a play table when closed.
3. Part Of The Play Space
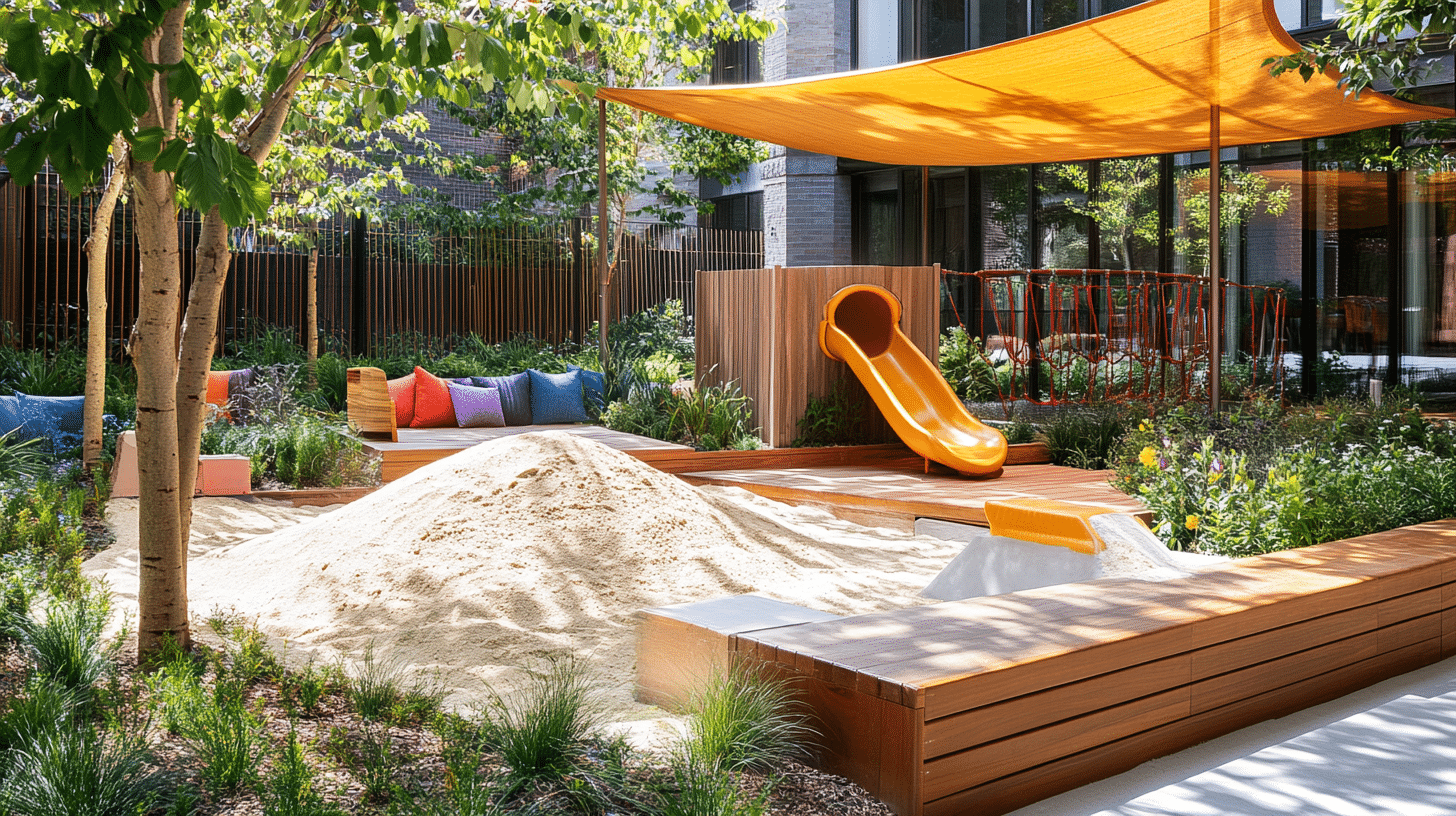
Connect your sandbox to a slide with wooden steps. Add a small deck next to it for a PlayStation. Build low walls around it that work as balance beams. Put in a canopy above for shade and rain protection.
Quick Tips: Put rubber mats around the edges to catch spilled sand. Paint the outside to match your yard items. Add rope handles to sandbox covers for easy lifting—store toys in wall-mounted boxes beside the sandbox.
Your backyard size and style will help you pick the right design. Remember, any sandbox can be made special with simple add-ons that fit your space.
Conclusion
Building a sandbox adds more than just a play space to your yard—it creates a spot where memories grow. In this guide, I’ve shared steps to build a safe, fun area where kids can dig, build, and learn.
Making your sandbox saves money and lets you customize every detail, from size to special features. Whether you choose a basic square design or add creative touches, keeping it simple and sturdy is the key.
Ready to start building? Remember to check your space, gather materials, and take time with each step.
Your effort will pay off when you see kids playing in their new sandbox. Let’s create some sandy fun!
Frequently Asked Questions
How Can I Make Sure The Paint Lasts?
The paint needs 7 days to harden fully. During this time, keep the bed frame in a dry place and handle it gently.
What If I Spot Drips While Painting?
Catch them fast with a dry brush and smooth them out. For dried drips, sand gently and add a thin layer of paint.
Should I Take Time To Sand?
Yes, even a quick sanding makes a big difference. It helps paint stick better and prevents peeling later.
Brush Or Spray – Which Works Better?
Each has its place. Brushing gives you more control and wastes less paint. Spray painting works faster but needs more prep and space.

