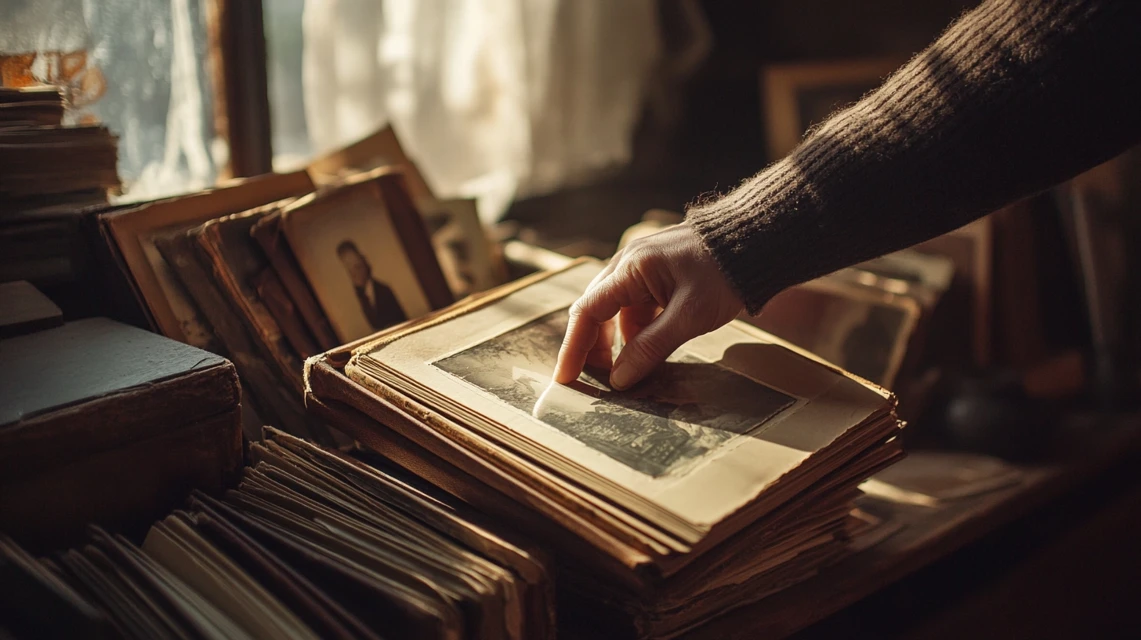
I will never forget the day I found my mom’s old photo albums in our attic.
Looking through those pages filled with memories made me realize how special these printed moments are.
Back then, we didn’t have phones to take photos – each picture meant something special.
That’s why I started making yearly photo books for my family.
These books now sit proudly on our shelves, telling our story one page at a time.
In this post, I’ll share my tips on creating these special memory collections so you can keep your stories alive for years to come.
Importance of Yearbooks
I’ve learned that keeping family photo books isn’t just about storing pictures. It’s about saving real feelings and special times.
When I look at my children’s photos from years past, each page brings back the sounds of their laughter and the tiny details I might have forgotten.
These books have turned into our most loved items at home.
My kids often pull them out, asking to hear stories about when they were little.
They point at photos, smile, and ask questions. It’s more than just pictures – it’s our family’s story, kept safe and ready to share whenever we want to remember those special times.
Preserve Memories with these Easy Steps
I want to tell you how simple it can be to start your own photo book tradition.
After trying many methods, I found that keeping it basic works best.
First, I pick out my favorite photos each month – not too many, just the ones that make me smile.
I set aside a few hours to put them together at the end of each year.
Making these books isn’t about getting everything perfect.
It’s about capturing the real moments – the messy hair, the silly faces, and those times when not everyone is looking at the camera.
These end up being the photos we love most.
1. Gather Your Images

I start by first looking through all my phone photos since that’s where most of my daily shots are stored.
I spend about 15 minutes moving special photos to a specific album on my phone each month.
But I don’t stop there – I also text friends and family to share their photos. Sometimes, the best shots come from other people!
I check my texts, social media, and email for photos others have taken of us.
School events, birthday parties, and family gatherings often have photos I didn’t take myself.
This gives me different views of our life and makes sure I’m in some pictures too.
2. Organize Your Images

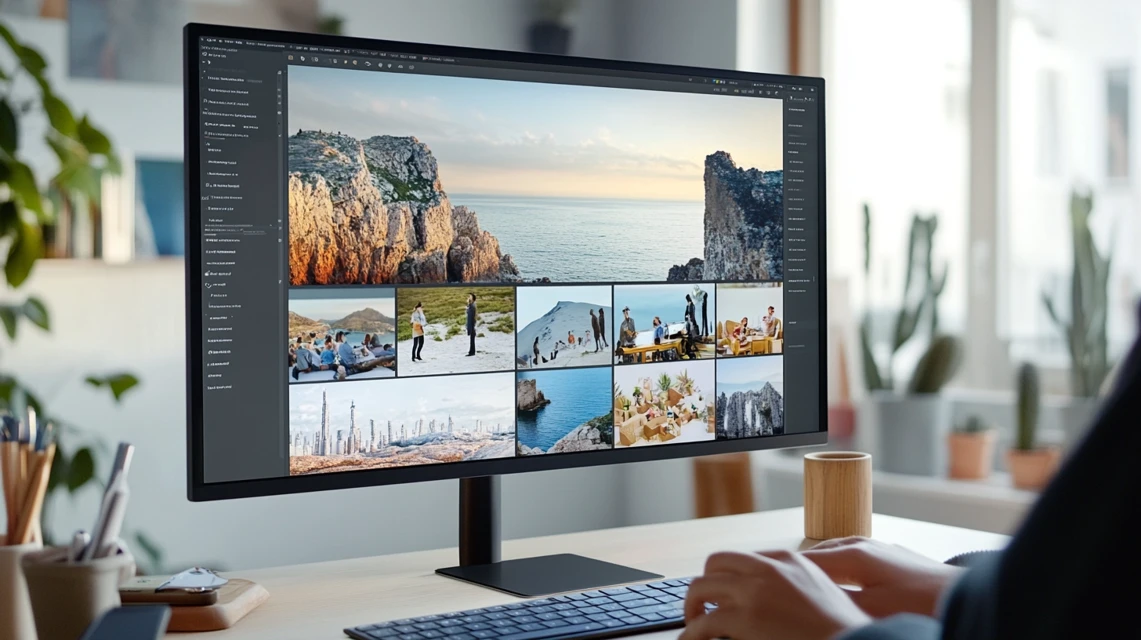
I keep my system simple but effective. On my computer, I make folders by year and then by month.
Each month gets sub-folders for big events like birthdays or holidays.
When naming my files, I use the date first (like 2024-01-15) to automatically line up in order.
I found this makes it much easier when I’m ready to make the book.
For phone photos, I use my phone’s built-in album feature.
It takes a few minutes to sort photos when I get them, but it saves hours of time later when I’m putting the book together.
3. Keep Collecting Regularly

I’ve made it a habit to save photos right after important moments.
Every Sunday evening, I spend five minutes moving that week’s best photos to my special album.
This quick task saves me from the huge job of sorting through thousands of pictures at year’s end.
I also send quick messages to friends after get-togethers, asking them to share their photos.
By doing this regularly, I don’t miss out on great shots, and my photo collection grows naturally throughout the year.
4. Don’t Forget Formal Photos

I like to mix casual snapshots with proper photos in my books.
Each year, I make sure to get some good-quality photos of our family.
These shots become the first page of our yearly book.
You don’t need to spend much – I often catch good deals on photo sessions during off-peak times.
I keep a list of moments worth capturing: first day of school, sports team photos, dance recitals, and family photos during holidays.
These photos look great in print and help mark how we’ve changed each year.
5. It’s Better to Crosscheck Your Planner

I learned this tip the hard way after missing some good photo chances.
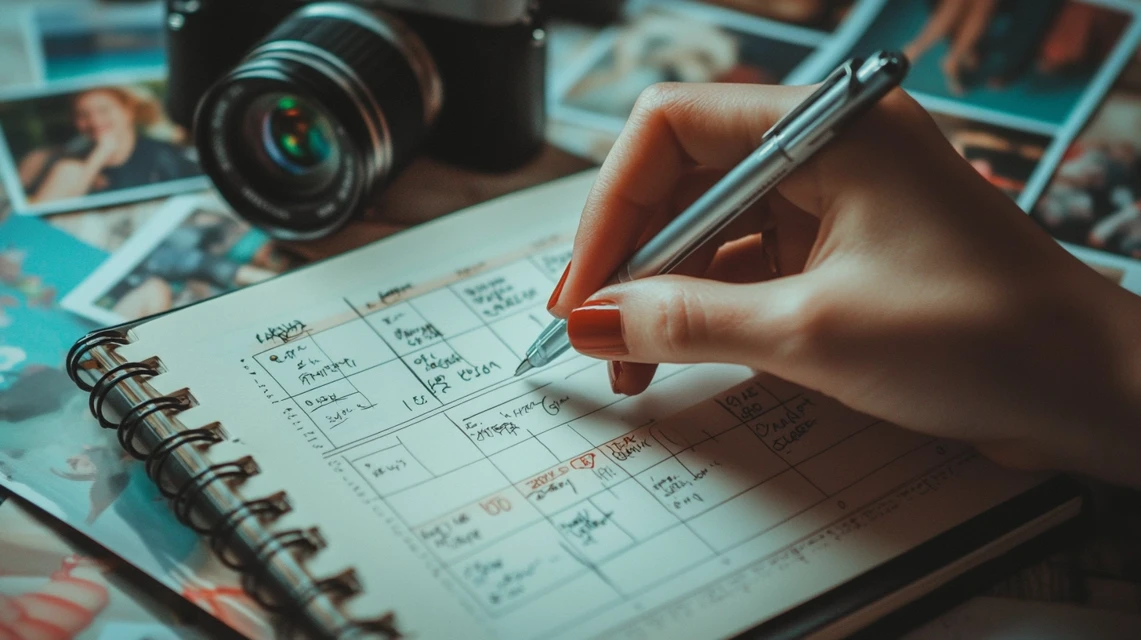
Now, I check my calendar at the start of each month to spot upcoming events worth photographing.
I mark school plays, sports games, family visits, and trips.
This helps me remember to bring my camera or make sure my phone has enough storage space.
I also write down when I need to ask others for their photos, like after birthday parties or group outings.
Looking at my planner shows me if I’ve missed taking photos of any important events.
6. Upload on a Digital Album

I keep all my chosen photos in two places – on my computer and in an online storage space. This way, I know they’re safe.
I use my phone to send photos to my online storage – it happens automatically when connected to WiFi.
I can look at our photos from any device and share them easily with family members who want copies.
I label my online folders clearly, just like I do on my computer.
7. Do the Necessary Changes

I make small fixes to photos but try not to change them too much.
If a photo is too dark, I make it a bit brighter. If it needs cropping, I trim the edges.
But I keep the natural look – these are real memories.
I check that all photos are clear enough to print well.
When photos come from different phones or cameras, I adjust them to look similar in brightness and color.
This makes the final book look better but still keeps the true feeling of each moment.
8. Your Album is all Set

I take a final look through all my photos before making the book.
I ask my family to help choose their favorites – my kids love this part! We sit together and pick which moments meant the most to us that year.
I ensure each family member shows up in the book and that big moments are included.
Before ordering, I double-check that photos are in the right order and that nothing important is missing.
Sometimes, the best photos aren’t the perfect ones – they’re the ones that make us laugh or bring back good feelings.
Things to Be Considered Before Making Your Family Yearbook
I’ve learned what works best from my years of making these books.
I focus on three main things: how the book feels in your hands, how well it shows the photos, and how long it will last.
These choices affect the cost, too, but I’ve found ways to get good quality without spending too much money.
Size
I tried different sizes before finding what worked best for my family.
Big books are great for showing lots of photos, but they take up more shelf space.
Small books are good for quick viewing but might make photos hard to see. I picked a middle size – 10×10 inches – because it fits nicely on our shelves and shows photos clearly.
For the cover, I chose hardcover because it stands up better to my kids looking through the books often.
Soft covers cost less but don’t last as long.
Price
I spent time comparing prices from different companies.
Basic books start around $30, while fancier ones can cost over $100.
The price goes up when you add more pages or pick better paper.
I usually spend about $40-50 per book, which gets me good paper and a hardcover.
I save money by watching for sales – many companies offer good deals in January.
I also found that ordering multiple copies at once sometimes gets you a discount.
Layout and Software
I use simple design software that makes the layout easy.
My favorite lets me drag photos right where I want them. I keep the layout clean – not too many images on one page.
When I place photos, I ensure they’re big enough to see well.
I tried fancy designs but returned to basic layouts because they looked better over time.
The software I use shows how the book will look when printed, which helps avoid mistakes.
Quality of the Book
I chose thick paper so photos don’t show through from the other side. Some companies call this “premium paper.”
The pages should lay flat when the book is open – this costs more but makes viewing much better.
I pick books with strong binding so pages don’t fall out even after lots of use.
The cover material matters, too – I like linen because it stays clean and doesn’t show fingerprints.
These choices cost more but make the books last longer.
Conclusion
Making these photo books has become one of my favorite yearly tasks.
Each book tells our family’s story, starting with my wedding album and continuing through my children’s early years.
They’re more than just photo collections – they’re treasures my kids will have forever.
I hope my tips help you create your own family books.
Remember, they don’t need to be perfect – they need to capture your special moments.
The most important thing is to start making them. Your future self will thank you for saving these memories.
Frequently Asked Questions
What Can I Do With Old Family Yearbooks?
I love giving old yearbooks new life by scanning them to save digitally, making a display shelf at home, or sharing them during family gatherings.
What to Include in a Family History Book?
I include birth records, marriage papers, family stories, photos, important dates, maps of family homes, and special memories passed down through generations.


