Revamping your kitchen can feel daunting, especially when working with a tight budget or uncertain about the outcome of major changes.
That’s where contact paper comes in.
This inexpensive, adhesive-backed material offers a quick and versatile way to refresh your countertops without committing to an expensive or permanent solution.
Whether you want to brighten your kitchen, cover imperfections, or experiment with a new style, applying contact paper is an easy, rewarding, and transformative DIY project.
Let’s dive into the details to confidently tackle your countertops and create a space you’ll love.
Why Use Contact Paper for Countertops?
Contact paper is a game-changer for DIY enthusiasts and those looking for a simple, low-cost solution to upgrade their space.
Here’s why it’s an excellent choice:
- Affordability: At around $6 per roll, contact paper is significantly cheaper than replacing or refinishing countertops.
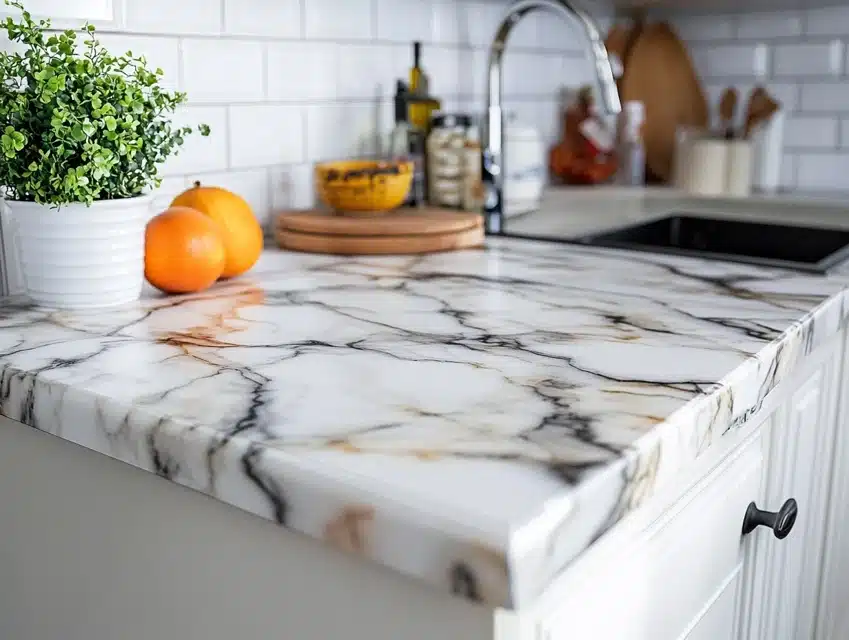
- Variety: It comes in a wide range of patterns, including faux marble, granite, quartz, and solid colors, allowing you to find the perfect match for your kitchen’s aesthetic.
- Ease of Use: Applying contact paper doesn’t require advanced DIY skills. With the right tools and preparation, anyone can achieve a polished look.
- Non-Permanent Solution: Ideal for renters or those hesitant about permanent renovations, contact paper can be removed without damaging the original surface.
Materials You’ll Need
Before starting, gather these supplies to ensure a smooth application process:
- Contact paper rolls (order extra to cover mistakes or ensure pattern consistency)
- Measuring tape
- Utility knife or scissors
- Squeegee or credit card (to smooth out bubbles)
- Ruler or straight-edge
- Dish soap, water, and a sponge (for cleaning)
- Paper towels or lint-free cloth (for drying)
Step-by-Step Guide: Applying Contact Paper to Your Countertops
1. Gather and Prepare Materials
Before diving into the project, ensure you have everything you need. Missing materials can disrupt the process and cause frustration.
- Contact Paper: Choose the design you want and order extra rolls to account for errors or inconsistencies in color.
- Tools: Gather a measuring tape, scissors or utility knife, a squeegee or credit card for smoothing, a ruler or straight edge, and a cutting mat for precise cuts.
- Cleaning Supplies: Soap, water, a sponge, and paper towels to clean the countertop.
2. Clean the Countertop
A clean surface is critical for proper adhesion and a smooth finish.
- Wash: Mix dish soap with warm water and thoroughly scrub the countertop to remove grease, grime, and debris.
- Rinse: Wipe down the surface with a damp cloth to remove soap residue.
- Dry: Use paper towels or a lint-free cloth to ensure the surface is completely dry.
- Inspect: Check for any rough patches, scratches, or imperfections that could show through the contact paper. Sand these areas gently if necessary.
3. Measure and Cut the Contact Paper
Proper measurements and cutting will save time and minimize waste.
- Measure the Counter: Use a tape measure to determine the length and width of your countertop. Add an extra inch to the measurements for overlap.
- Mark the Contact Paper: Flip the paper over and mark your measurements on the backing using a ruler or straight edge for accuracy.
- Cut Precisely: Use scissors or a utility knife to cut the contact paper. Work slowly to ensure clean, straight edges.
- Plan Overlaps: If you need multiple pieces, plan for slight overlaps to avoid gaps.
4. Apply the Contact Paper
Applying the paper is the most crucial step. Take your time to ensure a smooth, bubble-free finish.
- Start Small: Peel back a few inches of the backing to expose the adhesive.
- Align Carefully: Position the exposed edge at one end of the counter. Ensure it’s straight and aligned with the edges.
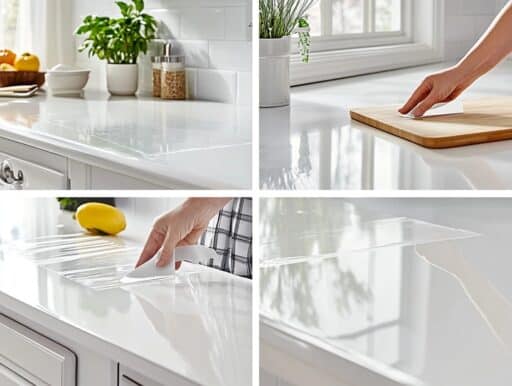
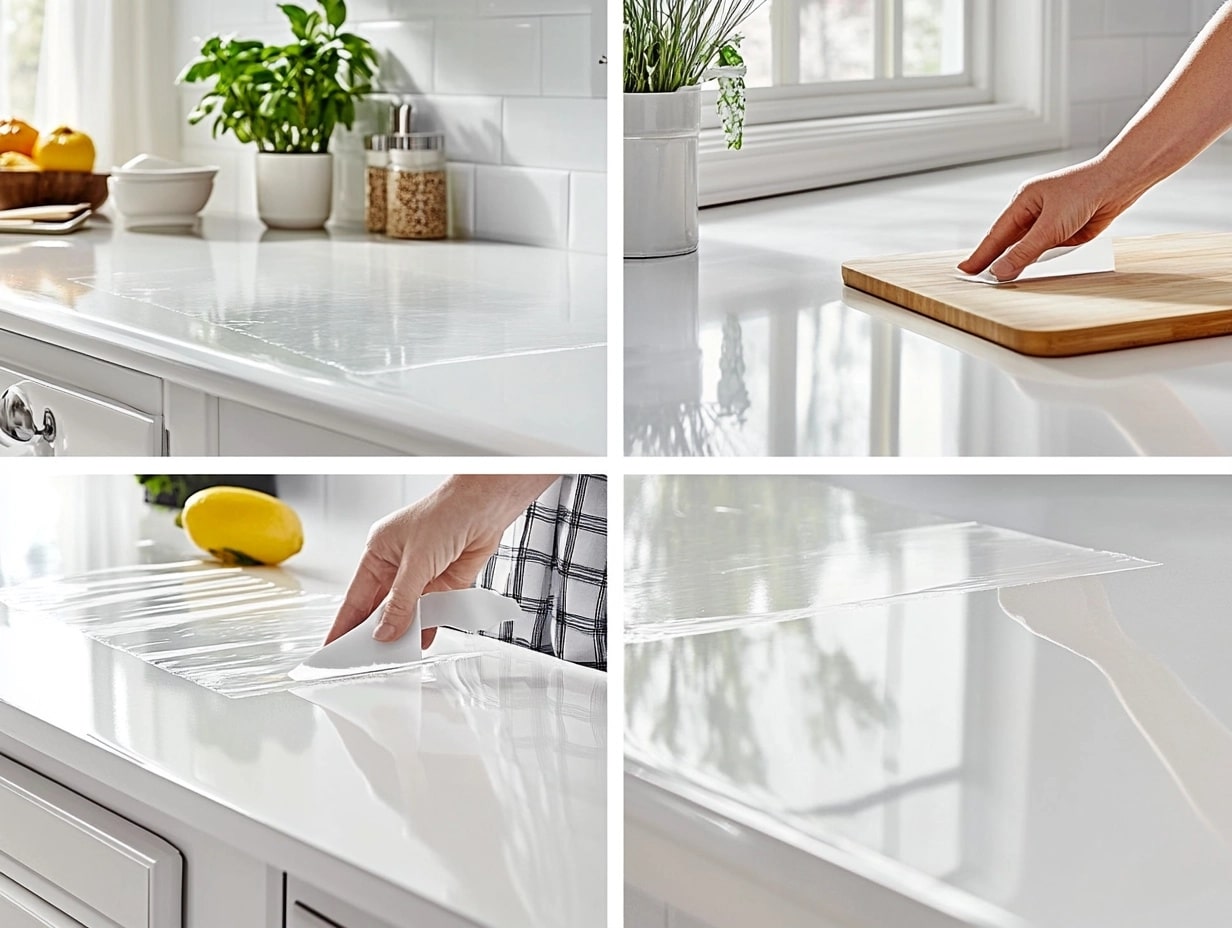
- Press and Smooth: Press the adhesive side onto the counter while smoothing it with a squeegee or credit card to remove air bubbles. Work slowly to avoid wrinkles.
- Continue Gradually: Peel the backing away a little at a time, smoothing as you go. This method prevents large air pockets from forming.
- Work in Sections: For large countertops, divide the application into manageable sections.
5. Handle Edges and Corners
Pay special attention to edges and corners for a seamless, professional look.
- Wrap Edges: Press the contact paper firmly around the edges, using a squeegee to secure it.
- Trim Excess: Use a utility knife to carefully cut off any excess paper along the edges.
- Smooth Corners: If corners are tricky, cut small slits in the paper to allow it to fold neatly around curved or angled surfaces.
6. Remove Bubbles and Imperfections
Even with careful application, bubbles can appear. Here’s how to fix them:
- Press Out Bubbles: Use the squeegee or your fingers to push bubbles toward the edges of the paper.
- Poke Tiny Bubbles: For stubborn bubbles, use a pin or needle to poke a small hole and release the trapped air. Smooth the area afterward.
7. Finish the Seams
Seams can be noticeable if not handled properly.
- Overlap Slightly: Overlap pieces of contact paper by a few millimeters to avoid gaps.
- Match Patterns: If your contact paper has a pattern, align it carefully where pieces meet to create a seamless look.
- Press Firmly: Use the squeegee to press along the seams and ensure they adhere well.
8. Inspect and Clean Up
Once the application is complete, inspect the surface and clean up any residue.
- Check for Flaws: Look for any missed bubbles, wrinkles, or poorly adhered edges. Fix them as needed.
- Clean the Countertop: Wipe the new surface gently with a damp cloth to remove any fingerprints or residue.
- Reorganize: Return items to the countertop, being careful not to scratch the new surface.
9. Maintain Your Contact Paper Countertop
To keep your contact paper countertop looking its best:
- Avoid Excess Water: While contact paper is water-resistant, prolonged exposure to moisture can weaken the adhesive.
- Use Cutting Boards: Prevent scratches by using cutting boards for food preparation.
- Clean Gently: Wipe the surface with a damp cloth and mild soap. Avoid harsh chemicals or scrubbing pads.
- Inspect Periodically: Check for peeling or damaged areas and reapply as needed.
Advantages of Using Contact Paper for Countertops
1. Affordable Solution
Contact paper is a budget-friendly option for refreshing your countertops.
Compared to expensive stone or laminate replacements, a roll of contact paper costs only a fraction of the price.
For renters or those on a tight budget, it’s an accessible way to revamp your kitchen without overspending.
2. Wide Range of Styles
One of the most appealing aspects of contact paper is the variety of designs available.
To match your kitchen’s aesthetic, you can choose from realistic faux marble, granite, quartz, or solid colors.
This versatility makes it easy to customize your space to your taste.
3. Non-Permanent and Removable
Unlike permanent countertop materials, contact paper is easy to remove.
This makes it ideal for renters or anyone looking for a temporary design solution.
When ready for a new look, peel it off without damaging the original surface.
4. DIY-Friendly
You don’t need to be a DIY expert to apply contact paper.
The process is simple, requiring only basic tools and a little patience.
Even beginners can achieve professional-looking results by following step-by-step instructions.
5. Easy Maintenance
Contact paper is water-resistant and easy to clean. A damp cloth and mild soap are all you need to keep your countertops looking fresh.
However, it’s best to avoid abrasive scrubbing or harsh chemicals to maintain durability.
Challenges of Using Contact Paper
1. Durability Limitations
While contact paper is sturdy, it’s not as durable as natural stone or laminate.
It may peel or scratch over time, especially in high-use areas.
Using cutting boards and being mindful of spills can help prolong its lifespan.
2. Heat Sensitivity
Contact paper is not heat-resistant.
Placing hot pans or appliances directly on the surface can weaken the adhesive or warp the material.
Always use trivets or heat pads to protect the countertop.
3. Application Challenges
Applying contact paper requires precision and patience.
Misaligned seams, bubbles, or wrinkles can detract from the final appearance.
Working with a partner or taking time during application can help avoid these issues.
4. Not Ideal for Long-Term Use
Contact paper is a temporary solution.
While it’s great for short-term upgrades, it’s not meant to replace the durability and longevity of permanent countertop materials.
Final Thoughts
Using contact paper to upgrade your countertops is an easy, affordable way to breathe new life into your kitchen.
While it may not have the longevity of traditional materials, it’s an excellent option for renters, budget-conscious homeowners, or anyone looking for a quick design fix.
You can achieve a polished, stylish look that enhances your space with proper application and care.
If you’re hesitant about permanent changes, this temporary solution allows you to experiment and refine your kitchen aesthetic.
Give it a try—you might just be amazed at the transformation!
Frequently Asked Questions
How Long Does Contact Paper Last on Countertops?
Contact paper can last anywhere from 6 months to 2 years, depending on the quality of the material, the level of use, and how well it was applied.
High-traffic areas may experience wear and tear sooner.
To extend its lifespan, avoid exposing it to excess moisture, heat, or sharp objects, and clean it gently with mild soap and a damp cloth.
Can I Use Contact Paper on Textured or Uneven Surfaces?
Contact paper adheres best to smooth, flat surfaces.
Applying it on textured or uneven countertops may result in bubbles, wrinkles, or poor adhesion.
If your surface isn’t smooth, consider sanding or leveling it before application.
Alternatively, use a thicker, high-quality contact paper designed for less-than-perfect surfaces.
Is Contact Paper Heat-Resistant?
No, contact paper is not heat-resistant.
Placing hot pans, pots, or appliances directly on the surface can cause it to warp or peel.
Always use trivets, heat pads, or coasters to protect the surface and maintain the contact paper’s appearance and durability.

