In today’s post, I’m going to show you how I turned a dated 70s kitchen into a modern cooking space that makes me smile every time I walk in.
This complete makeover took my dark, cramped kitchen from 1975 to 2024 in just six weeks.
The changes I made helped me sell my house for $45,000 above the asking price – all because of this single room update.
Let me take you through the steps I followed to create this stunning transformation.
Trust me, if I could do this while working full-time and staying within budget, you can too. Ready to see the magic happen?
Let’s get started!
Limitations with 70s Kitchen Designs
When I first looked at my 70s kitchen, I felt like I had stepped into a time capsule. The problems were clear from day one.
The cabinets went all the way to the ceiling, making it hard to reach the top shelves without a step stool. Dark wood paneling covered the walls, making the space feel small and dim.
Storage was a big headache too.
The cabinet shelves were fixed in place, which meant I couldn’t adjust them for taller items.
The drawers? They ran on metal tracks that squeaked with every pull. Plus, the layout followed the old work triangle rule so strictly that it left dead spaces in the corners.
Let’s talk about the countertops – they were covered in yellow laminate that had seen better days. The grout lines between the 4-inch tiles had turned from white to brown over time.
The lighting didn’t help either – a single fluorescent box in the middle of the ceiling cast unfriendly shadows everywhere.
The appliances took up too much space while offering too little function. My refrigerator stuck out past the counters by several inches, and the oven could only fit one cookie sheet at a time.
Benefits of Updating an Outdated Kitchen
Let me tell you why updating my old kitchen was one of the best decisions I’ve made for my home.
Beyond just making the space look better, the changes brought real value to my daily life and my property.
First, let’s talk money. When I sold my house, the kitchen update paid for itself – and then some. Real estate agents often say that kitchens sell homes, and I found this to be true.
A modern kitchen can boost your home’s value by 5-15% on average.
Here are the key benefits I experienced after my kitchen update:
- Better functionality: My new pullout drawers and adjustable shelves mean I can store 40% more items in the same space. No more getting on my knees to find that lost container at the back of the cabinet!
- Lower energy costs: My monthly bills dropped by $75 after installing energy-efficient appliances and LED lighting. The new windows I added bring in natural light and reduce the need for artificial lighting during the day.
- Improved safety: Updated electrical systems and proper ventilation made cooking safer and more pleasant. My smoke detector doesn’t go off every time I sear a steak anymore!
My 70’s Kitchen Before the Transformation
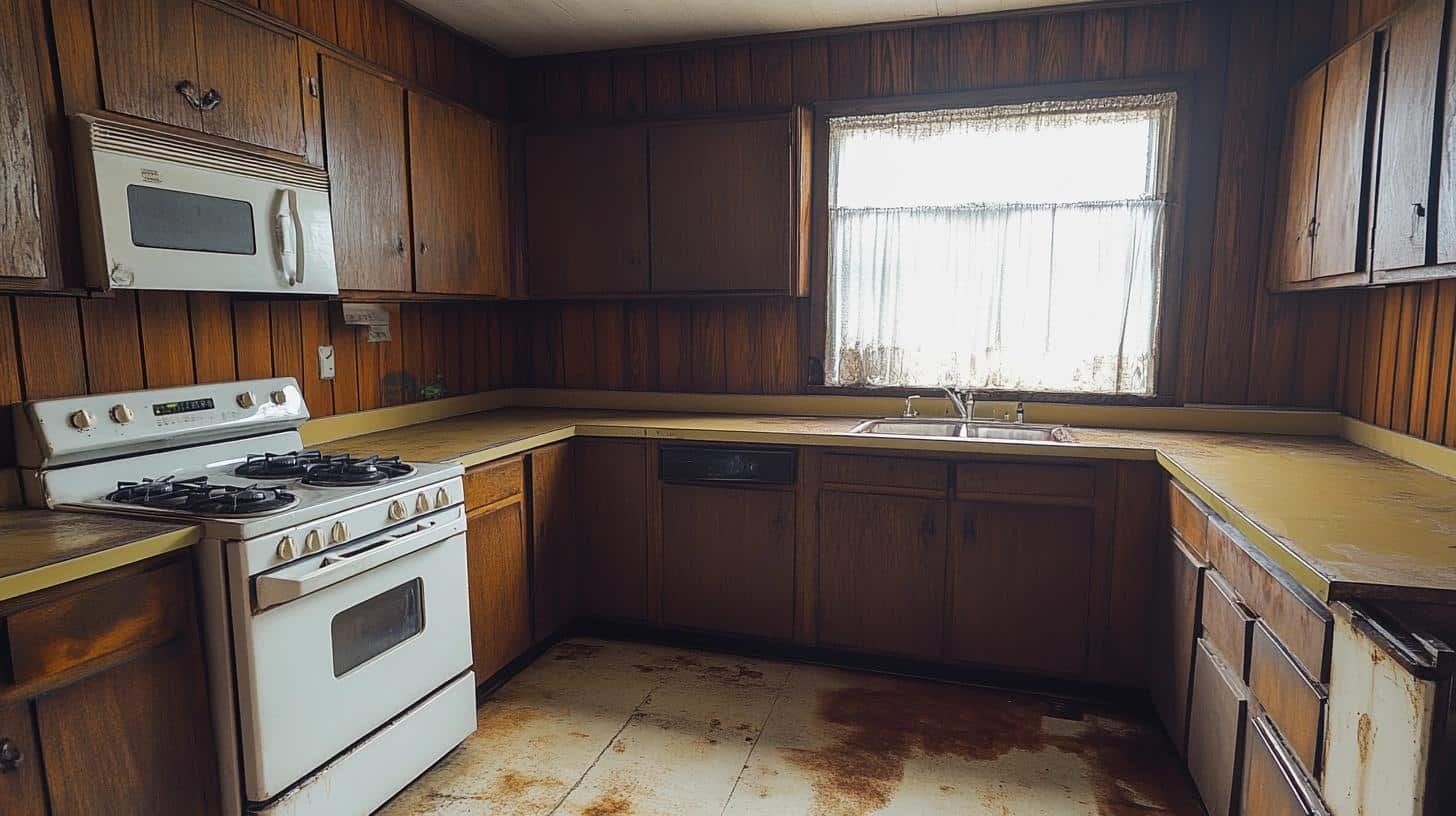
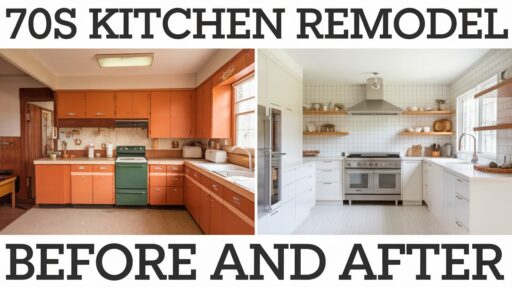
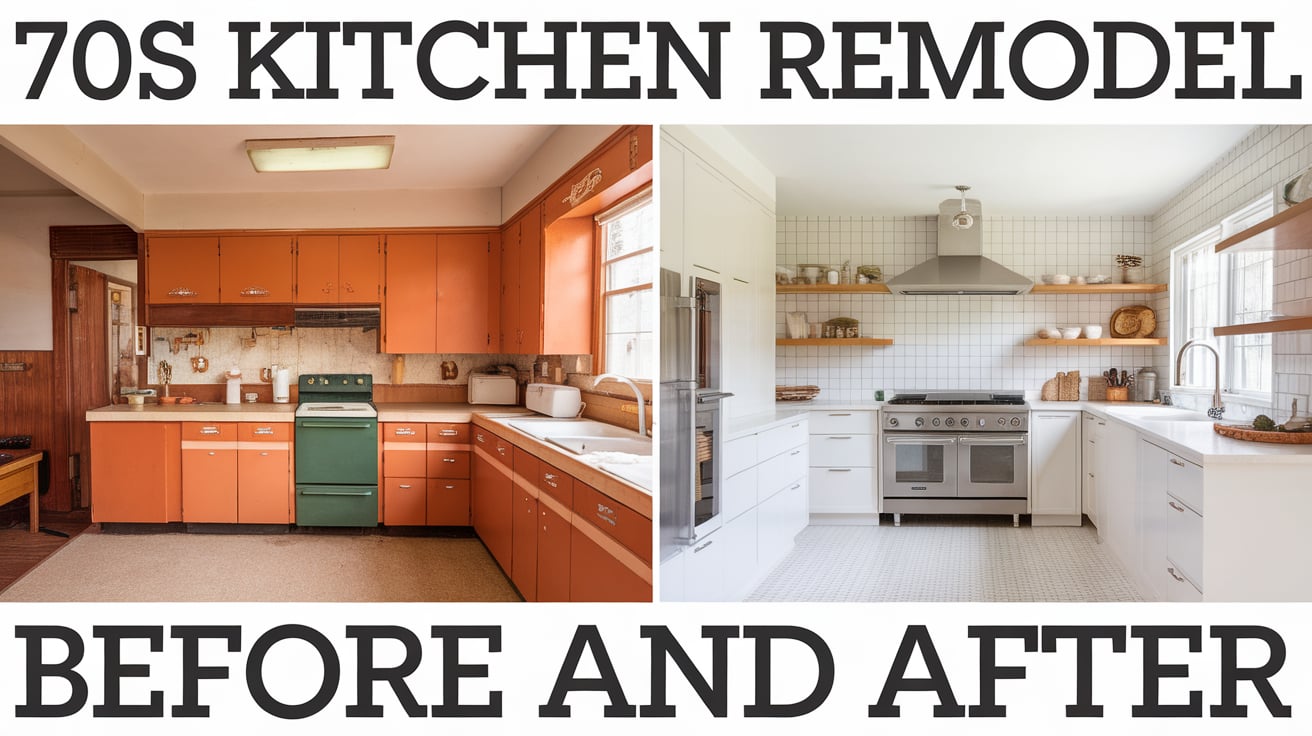
Walking into my old kitchen felt like stepping straight into 1975. The kitchen told its age through every detail.
The walls had brown wood paneling from floor to ceiling. Old contact paper peeled at the corners of the countertops, showing years of wear.
The off-white linoleum floor had turned yellow near the windows from years of sun exposure.
My cabinets stretched up to meet the 8-foot ceiling, painted in a shade of green that hadn’t been popular since bell-bottoms were in style. The handles? Plastic knobs in a matching green that felt sticky to touch.
The appliances showed their history too. The white stove had rust spots around the burners. My refrigerator hummed so loud it would wake me up at night.
The sink was stained with marks that no amount of scrubbing could remove.
The layout wasn’t doing me any favors either. A wall blocked the dining room view, making me feel closed off when cooking.
Tips for a Successful 70s Kitchen Makeover
I learned many valuable lessons during my kitchen renovation. Here are my top tips to help you avoid common mistakes and get the best results from your makeover:
- Measure your space three times before ordering any cabinets or appliances.
- Take photos of all electrical and plumbing locations before starting demolition.
- Keep at least one working outlet and water source during the renovation.
- Check local building codes and get permits before knocking down any walls.
- Consider the direction of natural light when picking paint colors and finishes.
- Save money by keeping plumbing fixtures in their original locations.
- Order all materials before starting the project to avoid construction delays.
- Install under-cabinet lighting before mounting the cabinets.
- Choose materials that match your daily cooking and cleaning habits.
- Plan for enough counter space on both sides of your sink and stove.
- Include dedicated spots for small appliances you use often.
- Add extra electrical outlets – you’ll need more than you think.
- Leave room in your budget for unexpected issues behind old walls.
- Test your layout by walking through common kitchen tasks.
- Pick cabinet hardware that’s easy to clean and comfortable to grip.
Tools and Materials Required
| Tools | Materials |
|---|---|
| Wet saw | Backsplash tiles |
| Grout float | Hood vent |
| Tile spacers | Counter materials |
| Level | Cabinet hardware |
| Measuring tape | Paint |
| Utility knife | Grout |
| Paint brushes | Mortar |
| Drill/screwdriver | Light fixtures |
| Safety glasses | Cabinet materials |
Essential Steps for a 70s Kitchen Revamp
Step 1: Planning and Layout
Before touching any tools, spend time understanding your kitchen’s flow. Take detailed measurements and observe how you move through the space during meal preparation.
Consider which aspects of your current layout create friction points and where time gets wasted.
Map out your ideal placement for major appliances, paying special attention to creating unbroken counter spaces for food prep.
Document every measurement twice, including window heights, door swings, and existing plumbing locations.
Step 2: Demolition Phase
Approaching demolition with a clear plan saves both time and money.
- Remove old cabinets carefully – they might be reusable or sellable
- Take out dated appliances and fixtures
- Strip away any wall paneling
- Clear out old flooring
- Document electrical and plumbing points before removal
Step 3: Structural Updates
This phase forms the backbone of your new kitchen. Create a fresh foundation for your new kitchen by:
- Updating electrical systems to meet current codes
- Replacing outdated plumbing
- Installing proper ventilation
- Adding new lighting points where needed
Step 4: Cabinet Installation
The success of your cabinet installation relies heavily on preparation. Start by marking your level lines across all walls – these will guide your base cabinet installation.
Work from the corners out, using shims to ensure perfect leveling.
Place your wall cabinets first, then base cabinets. Focus on getting perfect spacing around windows and appliance openings.
Step 5: Creating a Functional Workspace
Your workspace design should reflect how you actually use your kitchen. Map out distinct zones for prep work, cooking, cleaning, and storage.
Consider the placement of everyday items – coffee makers should sit near breakfast tables, cutting boards near prep sinks.
Pay special attention to counter heights – standard height isn’t always right for every user.
Step 6: Plumbing and Appliance Updates
Proper planning for utilities can prevent future headaches.
- Install an undermount sink with quality faucet
- Position the dishwasher near the sink
- Update to energy-efficient appliances
- Ensure proper distances between major appliances
- Consider a separate beverage station if space allows
Step 7: Modern Finishes
A careful selection of materials makes your kitchen timeless:
- Select easy-clean countertop materials
- Choose glass tiles or other durable backsplash options
- Pick cabinet finishes that complement your home’s style
- Use neutral colors for permanent fixtures
- Add personality through changeable decor elements
Step 8: Lighting Solutions
Incorporate a layered lighting approach through:
- Bright task lighting over work areas
- Ambient lighting for general illumination
- Under-cabinet lights for workspace visibility
- Statement lighting over eating areas
- Motion-sensor options for convenience
Step 9: Final Touches and Decor
This final phase brings your kitchen to life. Consider your storage needs carefully – everything should have a designated space.
Use these elements to personalize your space while maintaining function:
- Add hardware that’s both beautiful and practical
- Create designated zones for frequent tasks
- Include a mix of open and closed storage
- Consider adding small appliance garages
- Use trays and organizers to keep counters clear
For a more detailed tutorial, check out the below video by living with cambriea.
My Kitchen After (IT IS STUNNING)
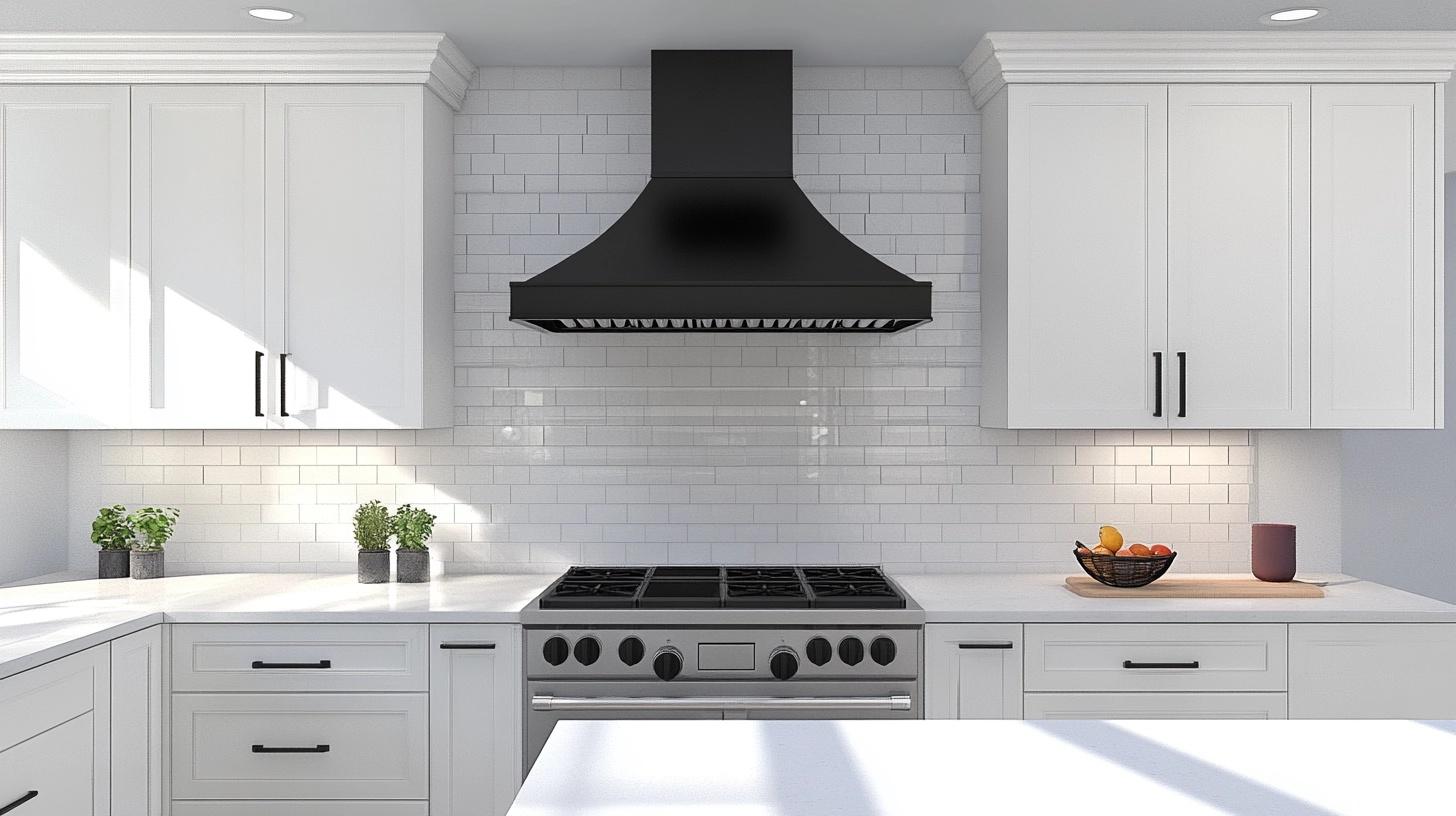
Let me take you through the finished space that makes me smile every time I walk in. The white cabinets now shine against the statement backsplash, creating a bright, open feel.
A modern hood vent adds both function and style above the stove.
Key highlights that transformed the space:
- Glass tile backsplash stretching to the ceiling
- Black hardware adding perfect contrast
- Motion-activated hood vent
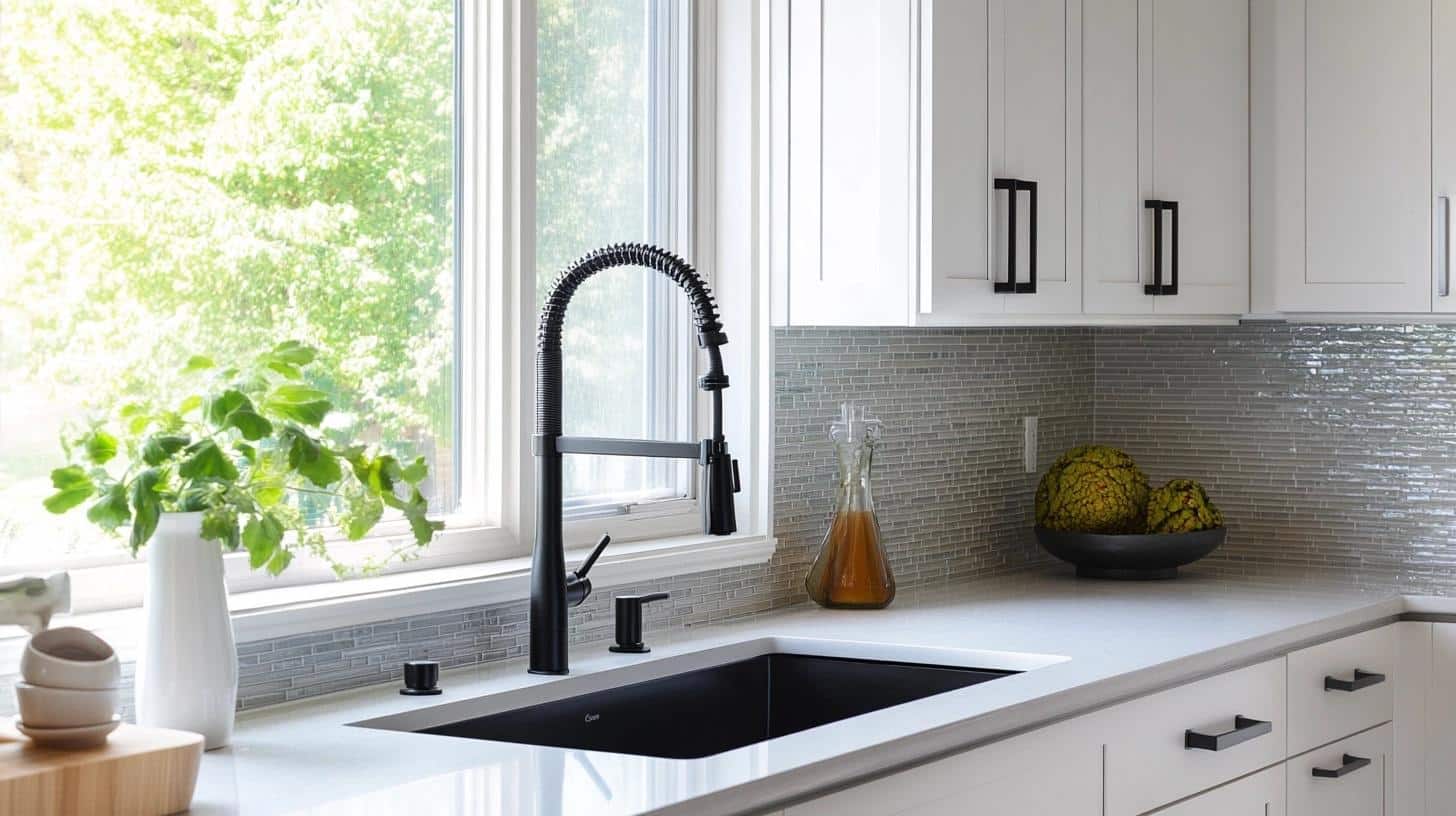
- Undermount sink with black faucet
- Soft-close cabinet doors
The neutral palette lets me change decor seasonally while keeping the core design timeless.
My favorite morning ritual? Sipping coffee at the counter, watching sunlight play on the glass tiles.
Cost-Saving Strategies and Budget-Friendly Tips
Smart planning can help you save significantly during your kitchen makeover.
As someone who completed a full kitchen remodel while sticking to a budget, I’ve learned countless ways to save money without cutting corners on quality.
Let me share my tried-and-true tips that helped me create my dream kitchen without breaking the bank.
Keep What Works:
I saved thousands by carefully evaluating what could stay. The cabinet boxes were solid wood and in good shape – they just needed new doors and paint.
A good cleaning and fresh coat of paint gave them new life at a fraction of the cost of full replacement.
Smart Material Choices: When picking materials, I learned to be strategic:
- Choose mid-grade appliances with good energy ratings
- Look for tile sales at big box stores
- Mix higher-end and budget-friendly materials
- Use quality materials only where they matter most
- Buy cabinet hardware in bulk
Time Your Purchases: Planning your purchase timing can make a big difference:
- Shop post-holiday sales for appliances
- Watch for seasonal clearance events
- Check floor models and display items
- Visit store clearance sections regularly
- Ask about upcoming sales
DIY Where Possible: I found several tasks I could handle myself:
- Cabinet painting
- Basic tile work
- Installing new hardware
- Simple lighting updates
- Basic plumbing like faucet installation
Shop Second-Hand:
I discovered great savings through:
- Local salvage yards
- Online marketplaces
- Building material reuse stores
- Estate sales
- Store returns sections
The Bottom Line
From a dated 70s space to a modern heart of our home, this kitchen makeover shows how vision and planning can create magic.
The journey taught me valuable lessons about patience, creativity, and the power of smart choices.
By keeping the good bones, updating key elements, and adding personal touches, I turned a dark, cramped kitchen into a bright, functional space.
Remember, a successful kitchen update isn’t just about following trends – it’s about creating a space that works for your lifestyle.
Ready to start your own kitchen transformation?
Take it step by step, stay flexible with your plans, and don’t forget to enjoy the process.
Your dream kitchen awaits!

