
Nothing ruins a cozy evening faster than the plink-plink of water hitting a bucket in the hallway. When a roof leak appears, panic follows—especially if the forecast calls for more rain.
While a full repair or replacement should always be the end goal, most homeowners need quick, practical steps that can be done within minutes to limit damage. The following temporary fixes will keep water at bay until a professional can perform lasting work.
Locate and Contain the Drip
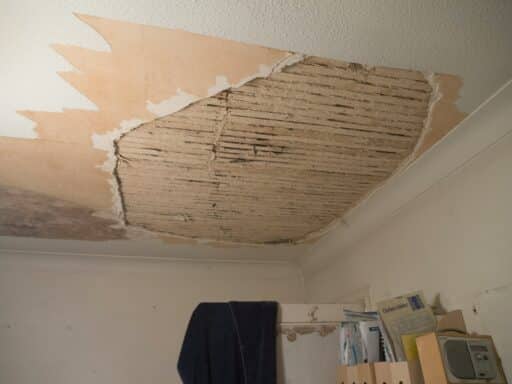
Before climbing a ladder or hunting for tools, start by pinpointing exactly where the water is entering your living space. Trace stains upward across ceilings and walls until you find the highest damp point, then move furnishings and electronics out of harm’s way. Place a wide, solid container under the drip, and line the floor with old towels or plastic sheeting to prevent splash damage.
If water bubbles form under paint, puncture them gently with a screwdriver so moisture can escape instead of spreading. Taking ten minutes to stabilize the room protects drywall, flooring, and personal items, buying you valuable time for more ambitious fixes overhead. Remember to snap quick photos of the damage for insurance purposes before making any temporary changes.
Patch Small Holes with Roofing Cement
For minor breaches—such as nail pops or pin-size holes in shingles—roofing cement is the fastest defense. Wait for a break in the weather, then access the roof with sturdy shoes and a helper holding the ladder. Using a putty knife, scoop a generous dollop of cement and press it firmly over the damaged spot, working it under lifted shingle edges to create a watertight seal. Smooth the surface so rainwater flows past instead of pooling.
In cold conditions, warm the can indoors so the compound spreads easily. For added strength, sprinkle a few granules from an old shingle onto the wet cement so the patch blends and resists UV breakdown. This simple patch can last several weeks, sparing sheathing and insulation from additional saturation.
Use a Tarp to Stabilize Larger Breaches
When water pours through a torn ridge or a cluster of missing shingles, a tarp acts as an instant umbrella. Choose one that extends at least three feet past the damaged area on every side, then roll it north-south to follow the roof’s slope for better runoff. Starting at the peak, tuck the top edge beneath a course of shingles and secure it with cap nails driven just below the sealant strip.
Pull the tarp taut over the leak and fasten the sides and bottom to fascia boards or sandbag them on the ground to avoid extra nail holes. Even a midnight installation can arrest gallons of rain until daylight repairs are possible.
Seal Around Flashings and Vents
Leaks often sneak in where metal flashings meet brick chimneys, around skylight curbs, or at vent boots that have cracked with age. To halt these trickles, brush away debris and dry the surface with a rag, then apply a bead of high-grade exterior silicone along the joint, pressing it into gaps with a gloved finger.
If the neoprene collar on a vent pipe has split, wrap it with self-fusing rubber tape before sealing. While these stopgaps rarely last an entire season, they can keep ceilings stain-free until a trusted roofing contractor schedules a full inspection and implements a lasting repair.
Conclusion
Temporary roof-leak repairs are not a substitute for permanent solutions, yet they still preserve the structural health of a home. By acting quickly—containing water indoors, applying targeted patches outside, covering larger openings, and sealing vulnerable joints—you minimize mold growth, wood rot, and escalating repair bills.
Keep basic supplies on hand and review ladder safety before storms arrive, and you’ll feel less helpless the next time the weather surprises you. In short, a little preparedness today prevents massive headaches tomorrow.

With a Master in Architectural Studies from University of Pennysylvania, Marwa Haydar has pioneered living spaces since 2005. Her expertise, initially honed in a prestigious architectural firm, is evident in her approach to creating environments. Marwa became part of our team in 2019 and has since been a driving force in our home improvement section, known for her practical yet stylish solutions. She’s been spearheading our design workshops since then, infusing her passion for teaching into her work. In her leisure time, Marwa enjoys exploring historic architecture and is an enthusiastic pottery hobbyist, further enriching her understanding of form and texture.