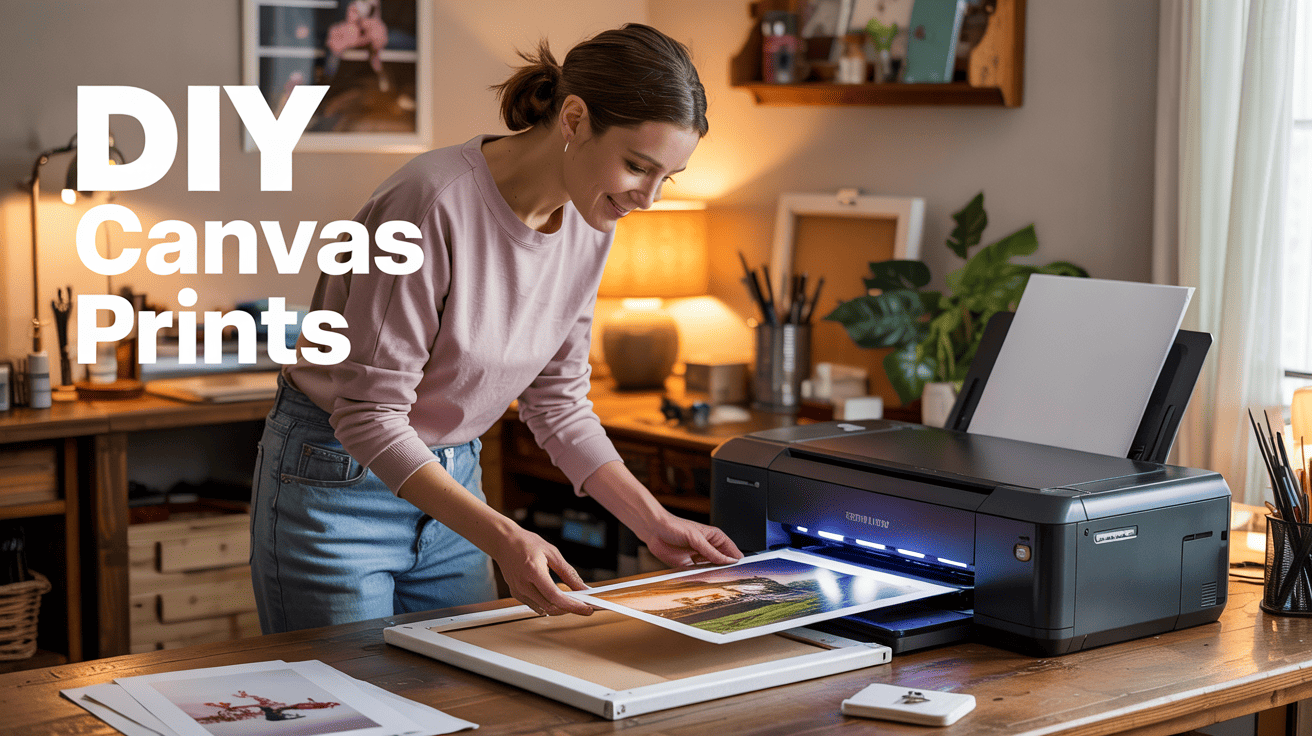
Looking to add some personality to your walls without spending a fortune? DIY canvas prints are the perfect solution! Turn your favorite photos and artwork into beautiful wall décor that tells your unique story.
Anyone can make canvas prints at home – from crafting beginners to seasoned DIY enthusiasts. Making your own canvas prints is easier than you might think.
With just a few basic supplies and simple techniques, you can create professional-looking artwork that brightens up any room in your home.
DIY canvas prints also make thoughtful, one-of-a-kind gifts that friends and family will treasure for years to come.
This blog covers everything you need to know to create canvas prints that look like they came from an expensive art gallery – but at a fraction of the cost!
What are DIY Canvas Prints?
DIY canvas prints are personalized artwork pieces you create by transferring photos onto canvas material. Store-bought canvas prints come pre-made and often at premium prices.
DIY versions let you customize every aspect while saving money. When you make your own canvas prints, you control the size, finish, and overall look, making each piece uniquely yours.
Store-bought options offer convenience. But they lack the personal touch and satisfaction of creating something yourself. DIY canvas prints make wonderful home decorations.
They instantly warm up any space with personal memories. They also serve as heartfelt gifts for special occasions like birthdays and anniversaries.
Recipients treasure them because of the thought and effort behind them. With simple materials and techniques, anyone can turn ordinary photos into beautiful wall art. These pieces tell your personal story.
Why Choose DIY Canvas Prints?
DIY canvas prints give you complete control over your home decor. You can turn any photo into wall art that means something special to you. Unlike store options, you pick exactly which images to use.
This means your walls can showcase your family photos, vacation memories, or pet pictures in a style that matches your home. Making your own canvas prints costs much less than buying pre-made ones. You can create large wall art for a fraction of retail prices.
DIY canvas prints make thoughtful gifts that friends and family will love. They work perfectly as presents for birthdays, anniversaries, housewarmings, or to show someone you care.
The size options are infinite – make tiny prints for shelves or large statement pieces for empty walls. You can keep it simple with plain photos or get creative with paint, mixed media, or text. Your home should tell your story, and DIY canvas prints help do exactly that.
Tools and Materials You’ll Need for DIY Canvas Prints
1. Canvas
- Pre-stretched canvas on wooden frames (easiest for beginners)
- Rolled canvas (more affordable but requires stretching)
- Ready-to-hang canvas with built-in hanging hardware
- Various sizes available from small 8×10″ to large 24×36″
2. Printer
- Inkjet printers work best for photo transfers (more vibrant colors)
- Laser printers can work but may produce less detailed images
- Consider using a photo lab service if you don’t have a suitable printer
3. Photo Paper/Transfer Paper
- Matte photo paper for gel medium transfers
- Special iron-on transfer paper for the heat transfer method
- Wax paper for simple DIY transfers
- Freezer paper for fabric printing
4. Paint & Brushes
- Mod Podge or gel medium for image transfers
- Acrylic paints for touching up edges or adding designs
- Small detail brushes for fine work
- Foam brushes for applying adhesives evenly
5. Other Tools
- Sharp scissors or craft knife for trimming
- Painter’s tape for clean edges
- Craft glue or hot glue gun
- Ruler for measuring
- Sandpaper for smoothing edges
- Protective spray sealer for finishing
Estimated Cost Range – $20–$40.
Step-by-Step Guide to Creating Your DIY Canvas Print
A DIY canvas print is a fun and personal way to add a unique touch to your home décor. It allows you to change your favorite photos or artwork into beautiful pieces of wall art.
You can create a stunning display with your cherished memories or favorite designs. This is a budget-friendly option compared to buying ready-made artwork.
Step 1: Select and Prepare Your Canvas
Start by picking up a canvas pad or pre-stretched canvases. You can find canvas pads online or at local stores. Choose a 100% cotton canvas for the best results.
The canvas usually has two sides: a white side and a cream-colored beige side. The beige side may look more realistic, but both work well for printing your images.
Step 2: Cut the Canvas to Size
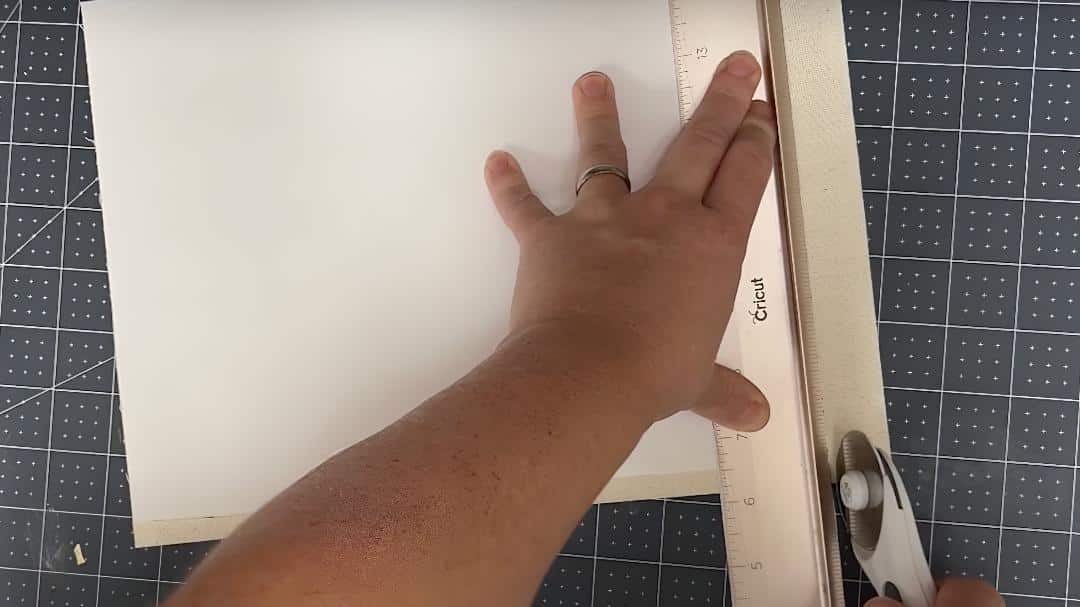
If your canvas pad is larger than the printer’s size, use a rotary cutter and a ruler to trim it down to fit. For example, if your printer takes 8.5″ x 11″ paper, cut the canvas sheet to match that size.
This step ensures the canvas will fit properly into your printer and avoid any jams during printing.
Step 3: Choose and Edit Your Image
Pick a high-resolution image or photo that you’d like to print on your canvas. You can choose family pictures, art, or anything meaningful to you.
Before printing, use photo editing software to adjust the image, such as cropping, enhancing brightness, or adding text. Make sure the image fits the canvas size without leaving large margins around the edges.
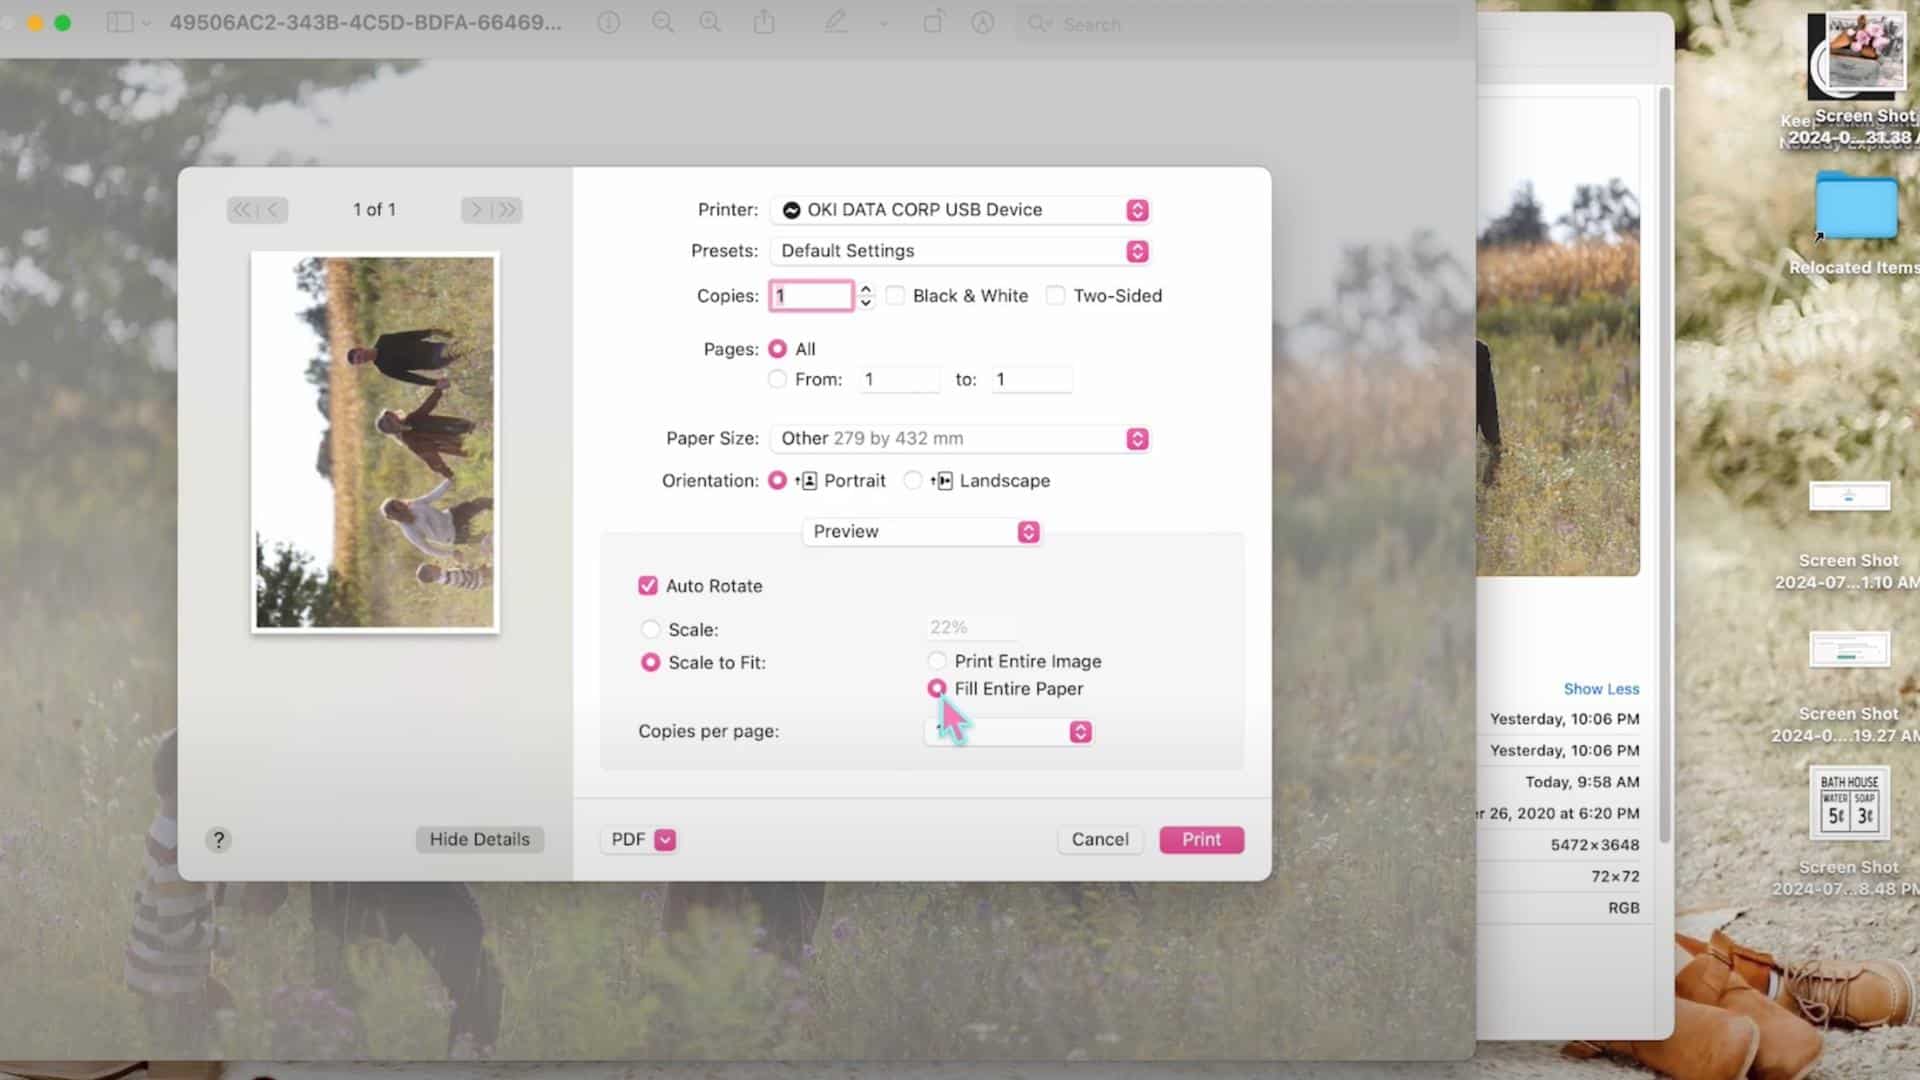
Step 4: Print the Image onto the Canvas

Next, print your image on the canvas using an inkjet or laser printer. Adjust the printer settings to match the canvas size and ensure the image fills the entire canvas without margins.
Be careful to print on the correct side of the canvas—either the white or beige side—depending on the look you want. Feed the canvas carefully into the printer to prevent any jams.
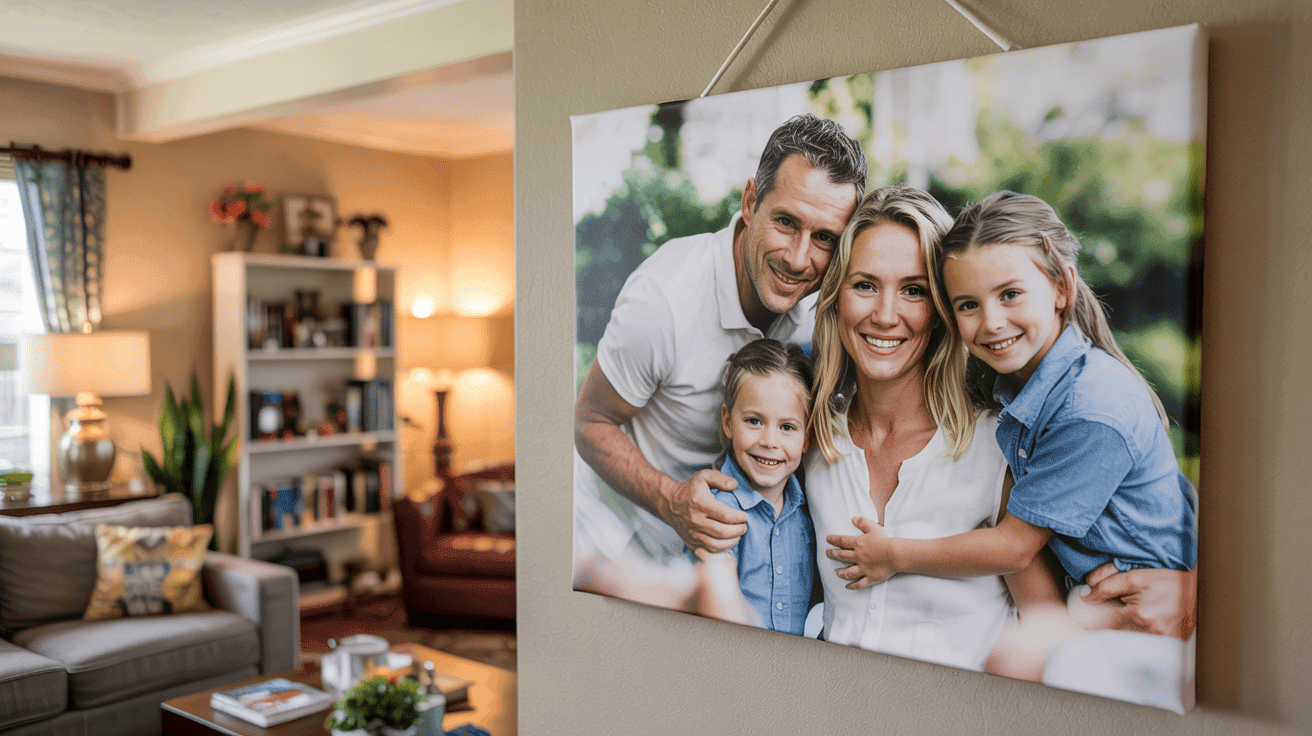
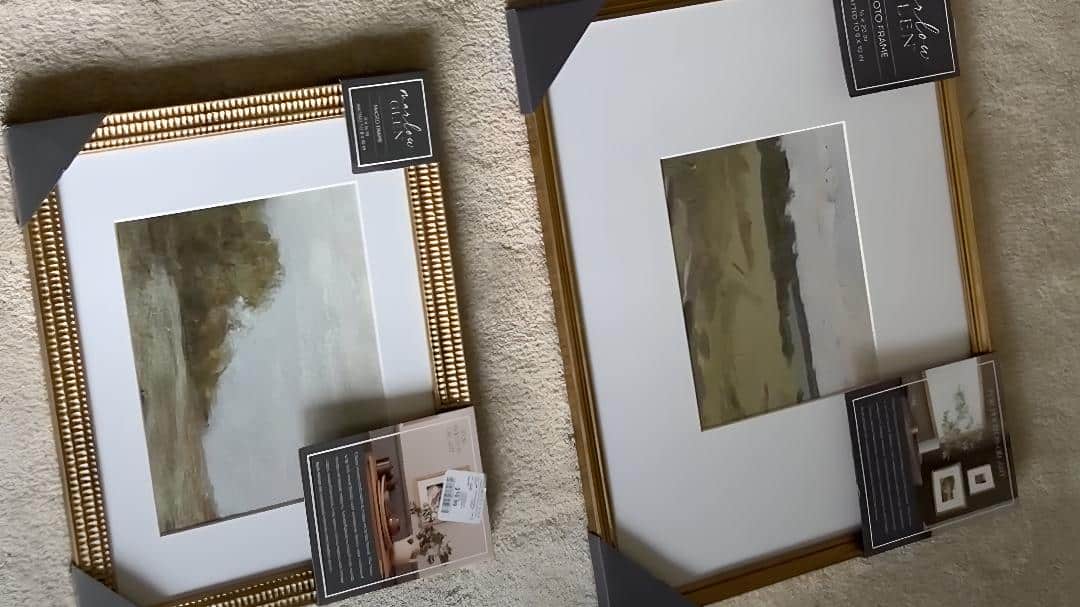
Step 5: Frame and Display Your Canvas Prints
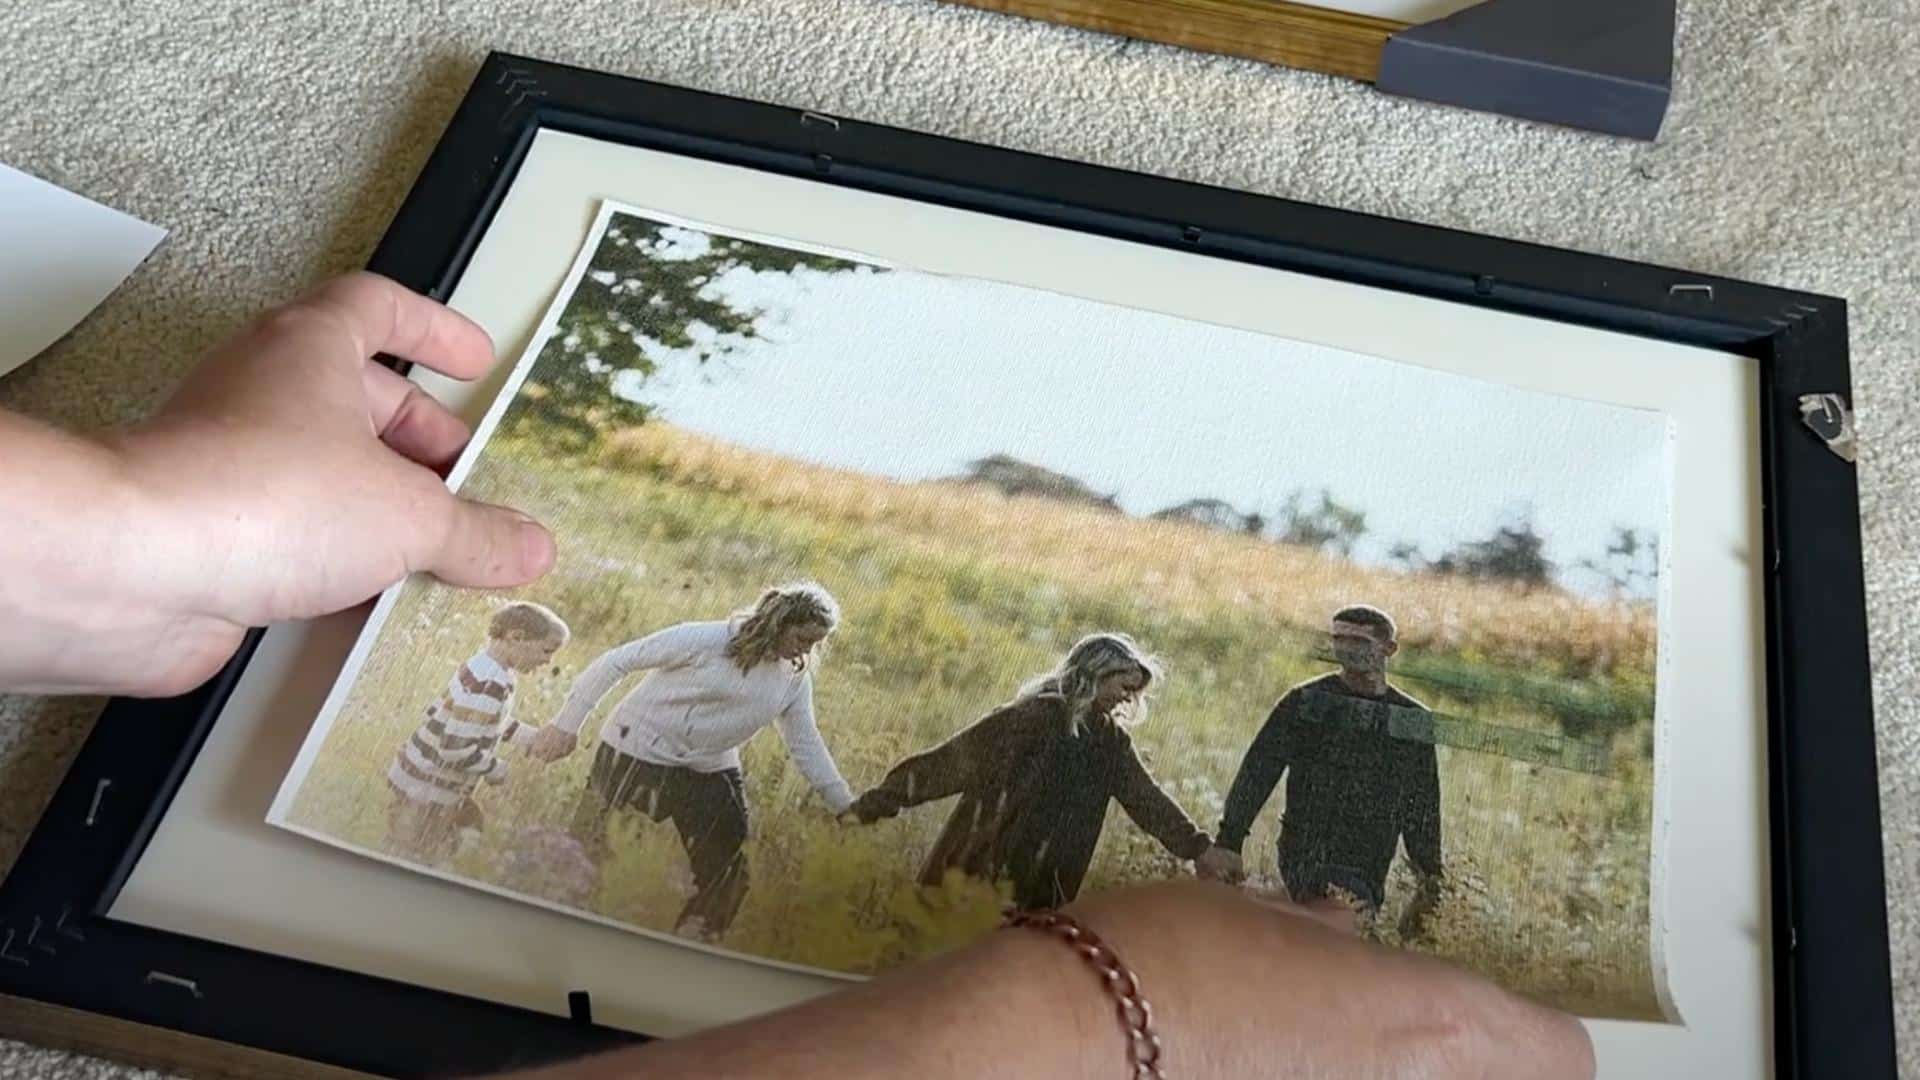
Once your image has printed and dried, it’s time to frame your canvas. Place your printed canvas into a frame and use tape to secure it in place. This prevents the print from shifting inside the frame.
Now, you can proudly display your DIY canvas print on a wall or shelf as a beautiful, personalized decoration for your home.
Video Tutorial
For more information, check out this video tutorial by Holly Grace
Tips for Professional-Looking DIY Canvas Prints
Creating beautiful DIY canvas prints doesn’t need to be complicated. With a few simple techniques, you can make professional-quality art at home. Follow these tips to avoid common mistakes and achieve impressive results every time.
- Choose high-resolution images for the sharpest prints.
- Work in a clean, dust-free area to prevent debris on your canvas.
- Apply the adhesive evenly to avoid bubbles and wrinkles.
- Let each layer dry completely before adding the next.
- Use a credit card or brayer to smooth out the air bubbles.
- Wrap your image around the edges for a gallery-style finish.
- Seal your finished print with a clear protective spray.
- Handle your canvas by the edges while working to avoid fingerprints.
Final Thoughts
DIY canvas prints offer infinite ways to show your style and memories in your home. They let you make custom art without the high price tag of store-bought pieces.
The best part about making your own canvas prints is that anyone can do it – no special artistic skills are needed! Just follow the simple steps and tips outlined above to create wall art you’ll be proud to display or give as gifts.
With the right materials and a bit of care, your DIY canvas prints will look professional and last for years. So gather your favorite photos, pick up some supplies, and get started on your canvas-printing project today.
Your walls (and your wallet) will thank you for adding these personal touches to your home!

James McLaren, with a rich background in architecture from the University of Manchester, has been contributing his expertise to the world of creative construction and home innovation for over 20 years. His journey began as a project manager for a leading construction firm, where he honed his skills in bringing complex designs to life. James joined our platform as a freelancer in 2019, quickly becoming a favorite for his insightful and practical advice. He has been a pivotal force to our wing ever since, bringing our readers a blend of technical know-how and creative flair. Beyond his professional life, James is an avid woodworker and enjoys restoring vintage furniture, a hobby that complements his professional insights beautifully.