Have you noticed cracks in your basement walls or water stains that seem to get worse over time?
Basement wall repair might be exactly what you need to protect your home and family!
Basement wall problems range from minor cracks and water seepage to major structural damage that threatens your foundation.
These issues can cause mold growth, foundation settling, and expensive damage to your belongings and living spaces.
These repairs are crucial for home safety because they prevent small problems from becoming dangerous structural failures.
Understanding how to identify, repair, and prevent these issues protects both your family’s health and your home’s value.
Learn how to keep your basement walls strong, dry, and safe.
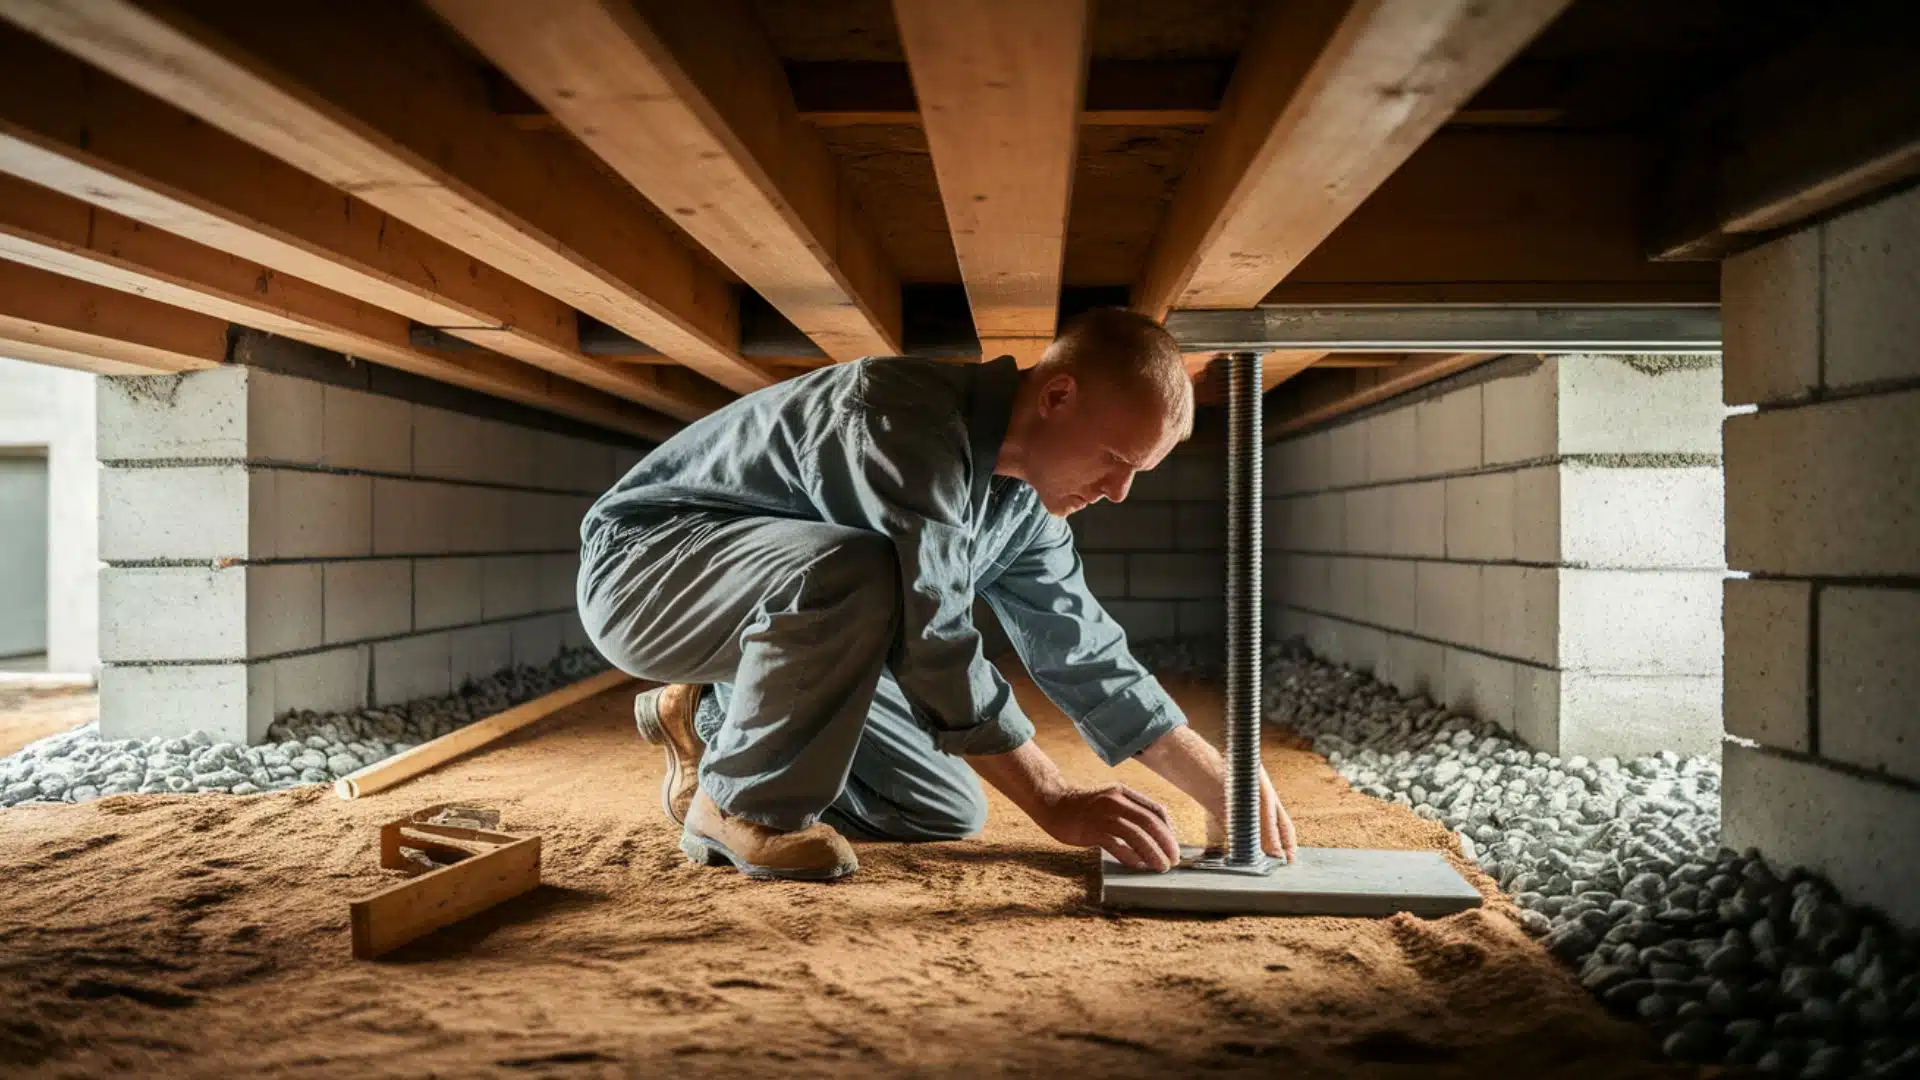
Understanding Basement Wall Repair Basics
Basement wall repair fixes cracks, leaks, and structural problems in the walls that support your home’s foundation.
The scope of repairs ranges from simple crack filling to major structural reinforcement, depending on the severity of the damage.
Most basement walls are made from poured concrete, concrete blocks, or stone, each requiring different repair approaches.
Common repair methods include epoxy injection for cracks, carbon fiber reinforcement for bowing walls, and sealants for water issues.
You need repairs when you notice cracks, water leaks, or walls that bow or bulge outward.
Small cracks and minor water issues can usually be repaired; however, severely damaged walls may require complete replacement.
Acting quickly prevents small issues from becoming costly disasters.
Signs You Need Basement Wall Repair
Your basement walls often show clear warning signs when problems start developing that need attention.
Catching these issues early saves you money and prevents major structural damage later.
- Visible cracks in walls that appear horizontal, vertical, or in stair-step patterns.
- Water seepage and moisture issues that create wet spots or standing water.
- Bowing or bulging walls that curve inward or outward from the normal position.
- White chalky residue on walls from minerals left behind by water damage.
- Musty odors and mold growth indicate ongoing issues with moisture and air quality.
Don’t wait until these problems worsen, because foundation issues never resolve themselves over time.
The sooner you address basement wall problems, the less expensive and complicated the repairs will be.
Types of Basement Wall Repairs
Basement wall repairs fall into three main categories depending on the type and severity of damage.
Understanding these repair options helps you select the most suitable solution for your specific issue.
1. Minor Crack Repairs
These repairs fix small cracks that don’t threaten your home’s structural integrity but need sealing properly.
- Epoxy injection methods pump strong resin into cracks under pressure for permanent sealing and protection.
- Concrete crack fillers use flexible compounds that expand and contract with temperature changes to prevent reopening.
- Hydraulic cement applications stop active water leaks by setting quickly, even when surfaces are wet.
These affordable solutions suit homeowners with minor basement wall cracks.
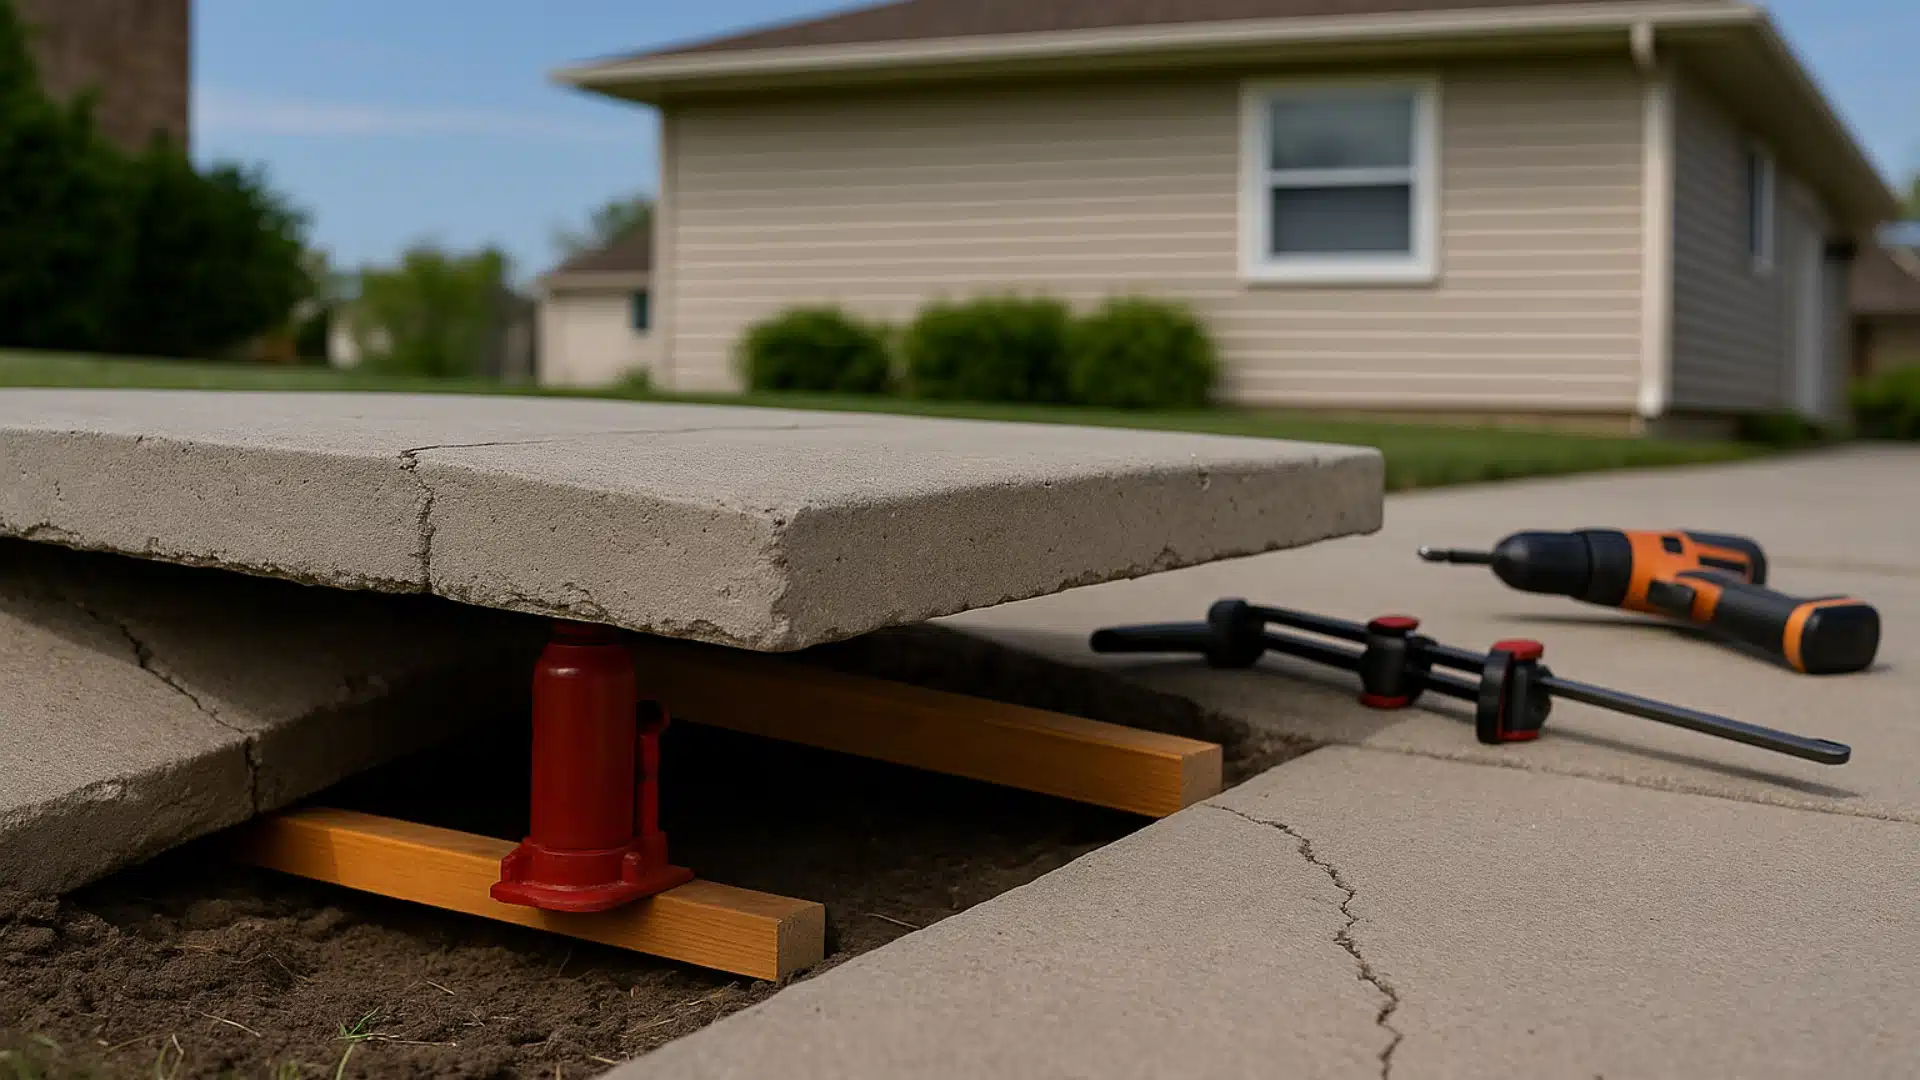
2. Structural Repairs
These repairs address serious wall problems that affect your home’s foundation stability and require professional expertise.
- Wall reinforcement techniques strengthen weakened areas using various materials and methods to prevent further dangerous movement.
- Carbon fiber strip installation adds flexible, incredibly strong strips that hold cracked walls together permanently and safely.
- Steel beam support systems provide maximum strength for severely damaged walls that need permanent structural support systems.
Professional installation ensures these structural repairs provide long-term safety and stability for your home’s foundation.
3. Waterproofing Repairs
These repairs stop water from entering your basement through walls, protecting your home from moisture damage.
- Interior sealant applications create waterproof barriers on inside walls using special coatings that block water penetration completely.
- Exterior waterproofing methods involve applying waterproof membranes to outside walls for maximum long-term water protection and prevention.
- Drainage system improvements redirect water away from your foundation using French drains, sump pumps, or improved grading techniques.
Proper waterproofing repairs prevent ongoing moisture problems and protect your basement from future water damage issues.
Material You’ll Need
If you’re planning to repair a basement wall crack, it’s helpful to know the typical material costs.
The table below displays estimated prices for tools and supplies used in DIY basement wall repairs.
This can help you plan your budget more easily.
| MATERIALS | ESTIMATED COST (USD) |
|---|---|
| Applied Technologies Crack Repair Kit | $120–$250 |
| Epoxy Crack Seal (2-part paste) | $55–$100 |
| HydraStop 300 Polyurethane Foam | Included in kit or $60–$120 |
| Surface and Corner Injection Ports | $10–$30 |
| Mixing Sticks | $5–$10 |
| Vinyl Gloves | $5–$10 |
| Safety Glasses | $6–$15 |
| Squeeze Bottle (for water injection) | $2–$5 |
| Steel Wire Brush | $4–$10 |
| Caulk Gun | $10–$25 |
| Angle Grinder with 80-grit Disc | $40–$80 (grinder) + $2–$5 (disc) |
| Marker for Port Placement | $1–$3 |
| Dust Mask or Respirator | $5–$20 |
| Scraper (optional for hardened foam) | $5–$10 |
These cost estimates are ideal for planning a small to medium DIY basement wall repair project.
Buying a full kit can also save money and time.
Total Estimated Material Cost
With full kit: $120–$250
Buying separately: $170–$350
NOTE: Material costs only, excluding labor. Basic basement wall crack repair using injection methods: prices may vary by location and time.
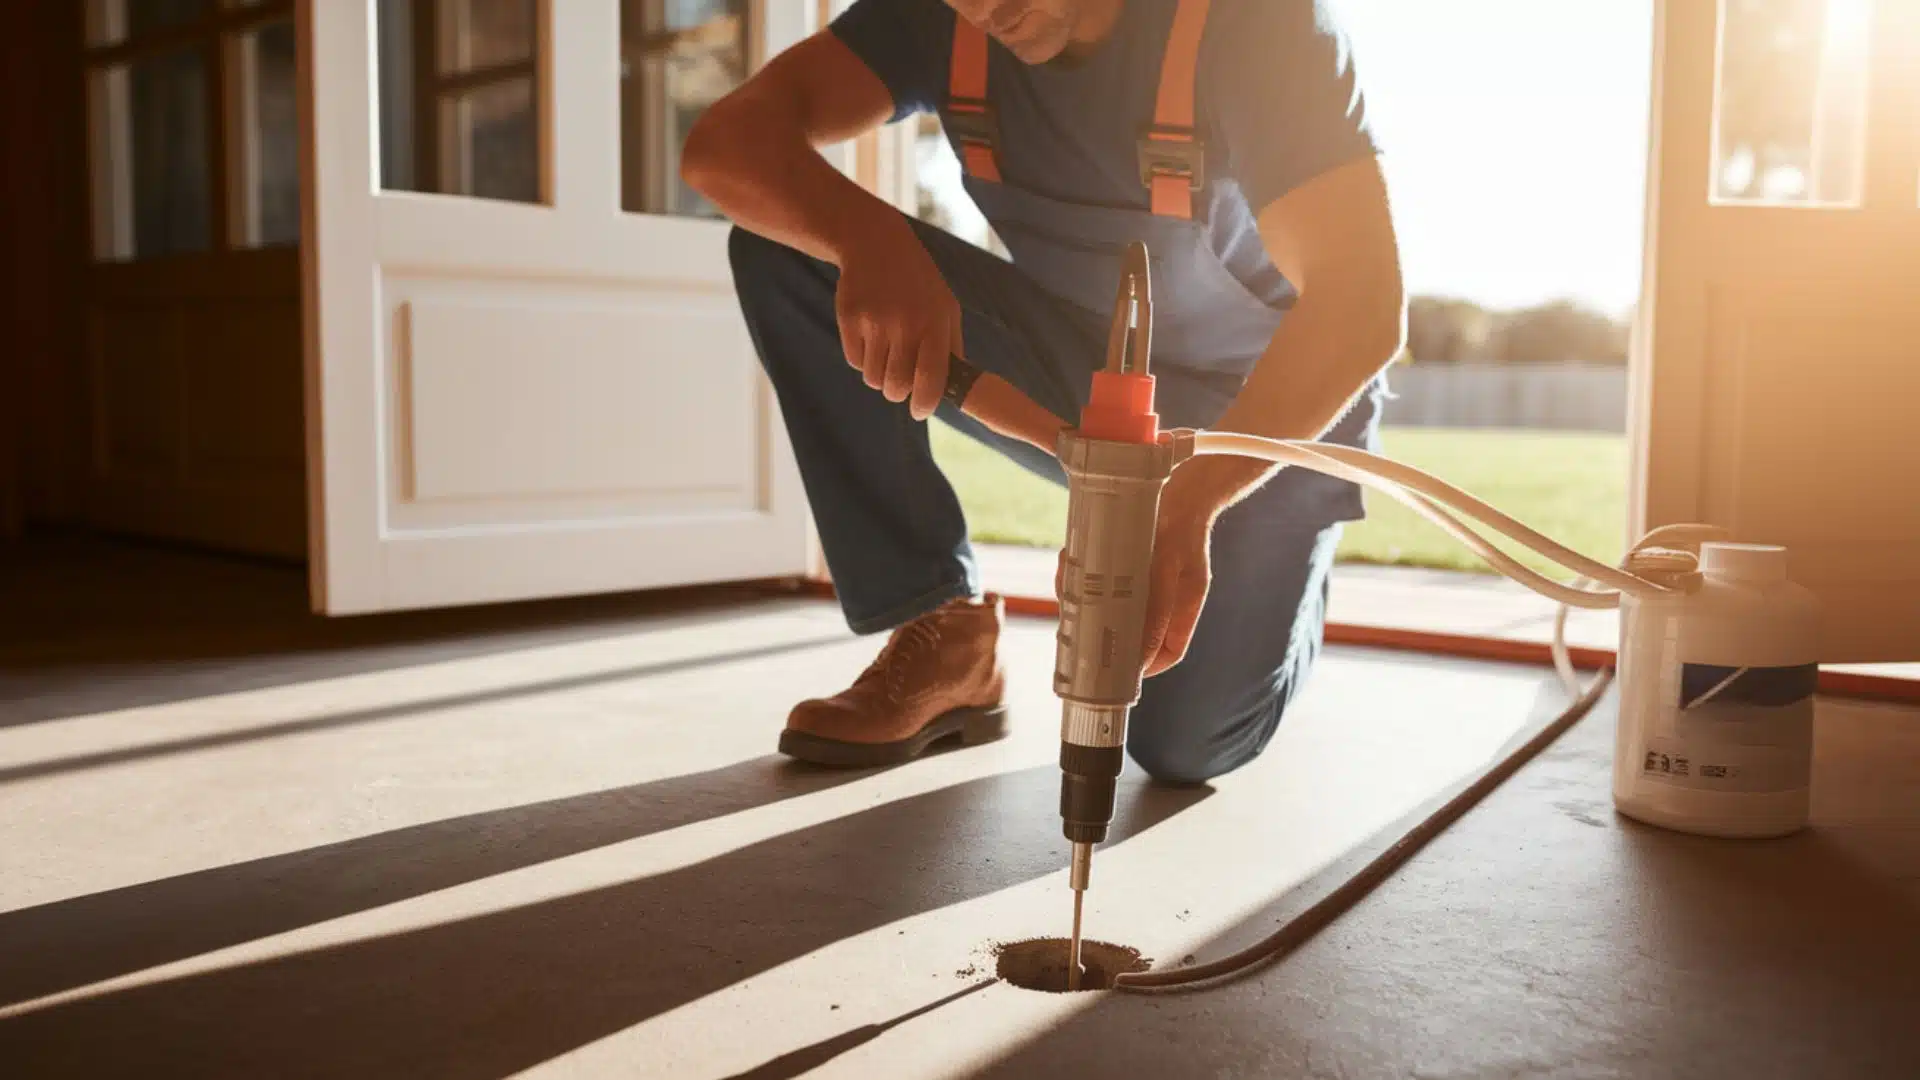
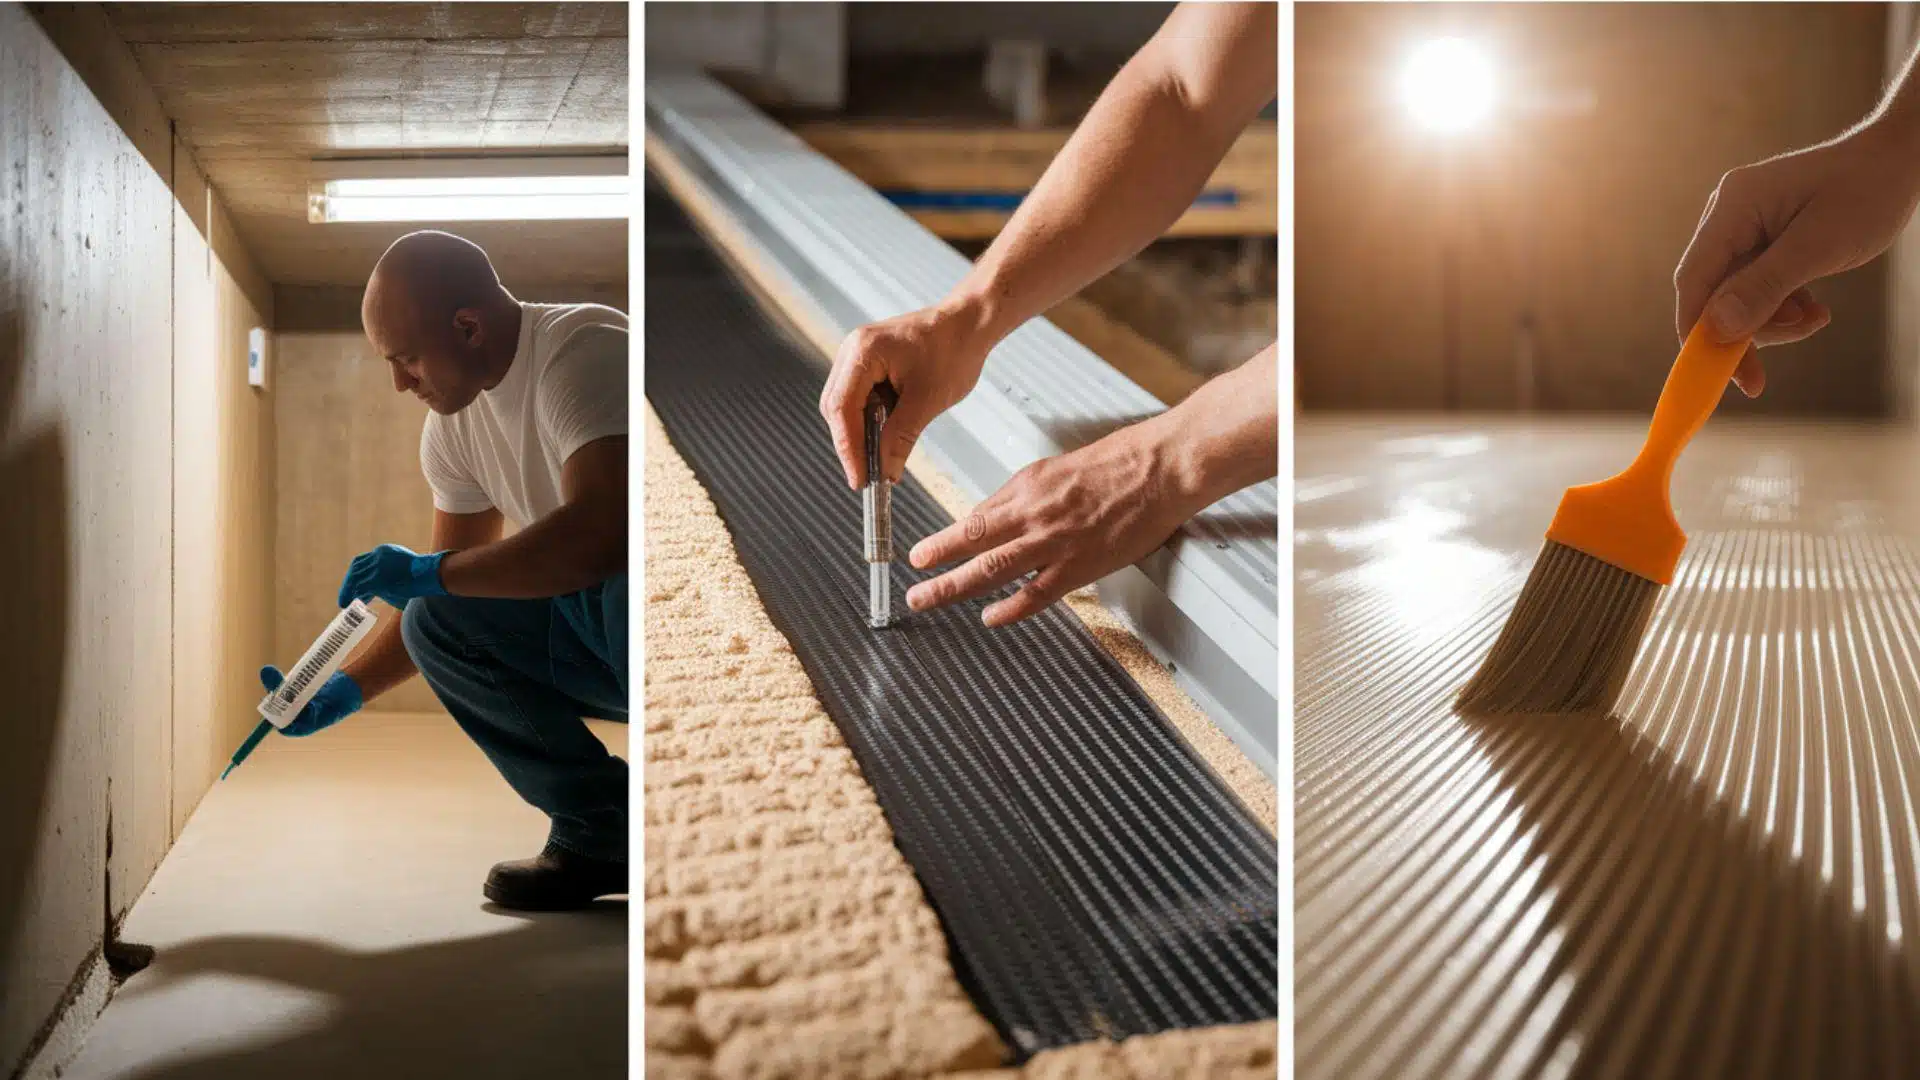
Basement Wall Repair: Step-By-Step Process
Basement wall repair follows a proven five-step process that ensures cracks are permanently sealed and waterproofed.
The process involves clearing the work area, preparing the crack surface, installing injection ports, filling the crack with foam, and allowing for proper curing time.
STEP 1: Clear the Area and Expose the Wall
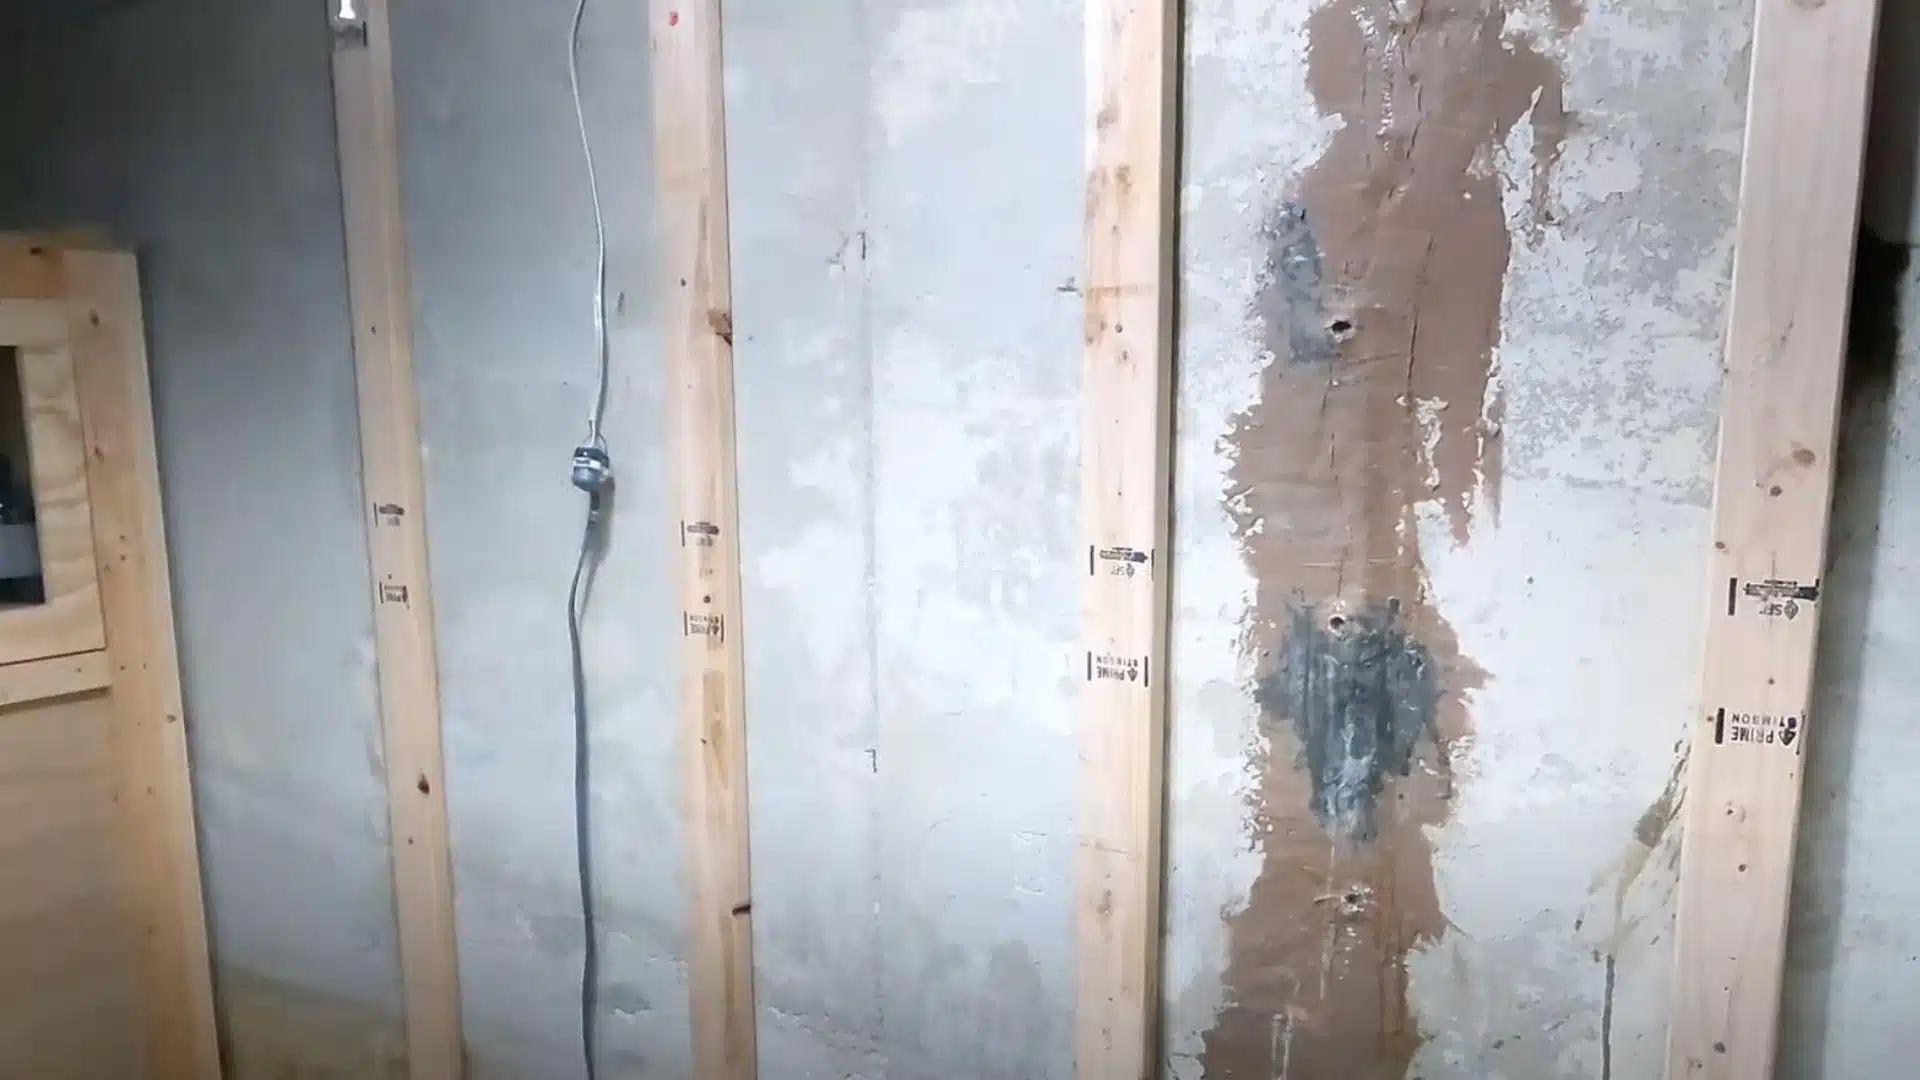
Start by removing all tools, machines, and the plywood covering the wall.
This gives clear access to the crack.
You need to fully open the space to make room for sanding and brushing.
This also helps inject foam safely without obstruction.
Expert Advice
- Move all machines and tables out of the work zone.
- Remove plywood or any panel covering the crack.
- Keep cords and loose tools off the floor.
STEP 2: Mark the Crack and Prep the Surface
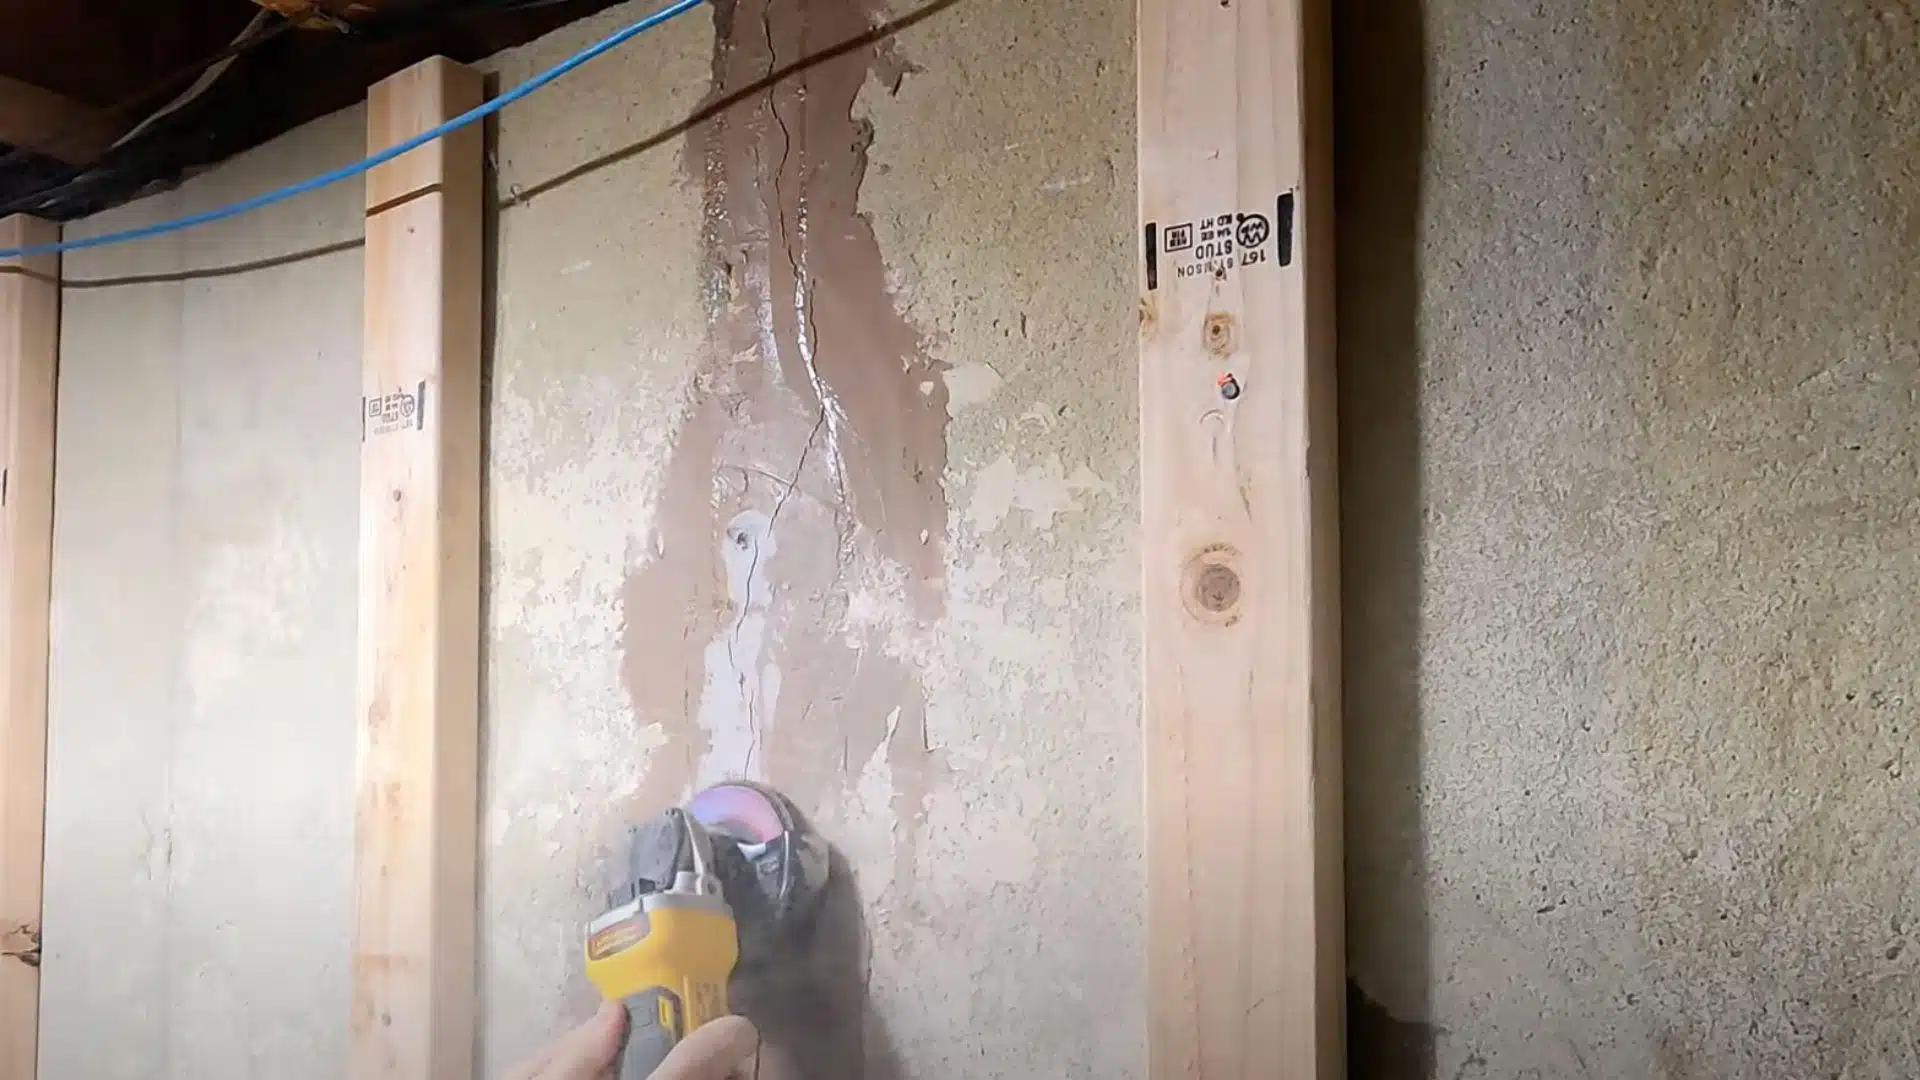
Use an angle grinder with an 80-grit sanding disc to sand old repairs.
Then brush debris out with a steel wire brush.
Finally, mark the crack every 6 to 8 inches to prepare for port placement.
This helps foam flow evenly during injection.
Expert Advice
- Wear a dust mask while sanding or grinding concrete.
- Clean both inside and around the crack completely.
- Make clear marks where each injection port will go.
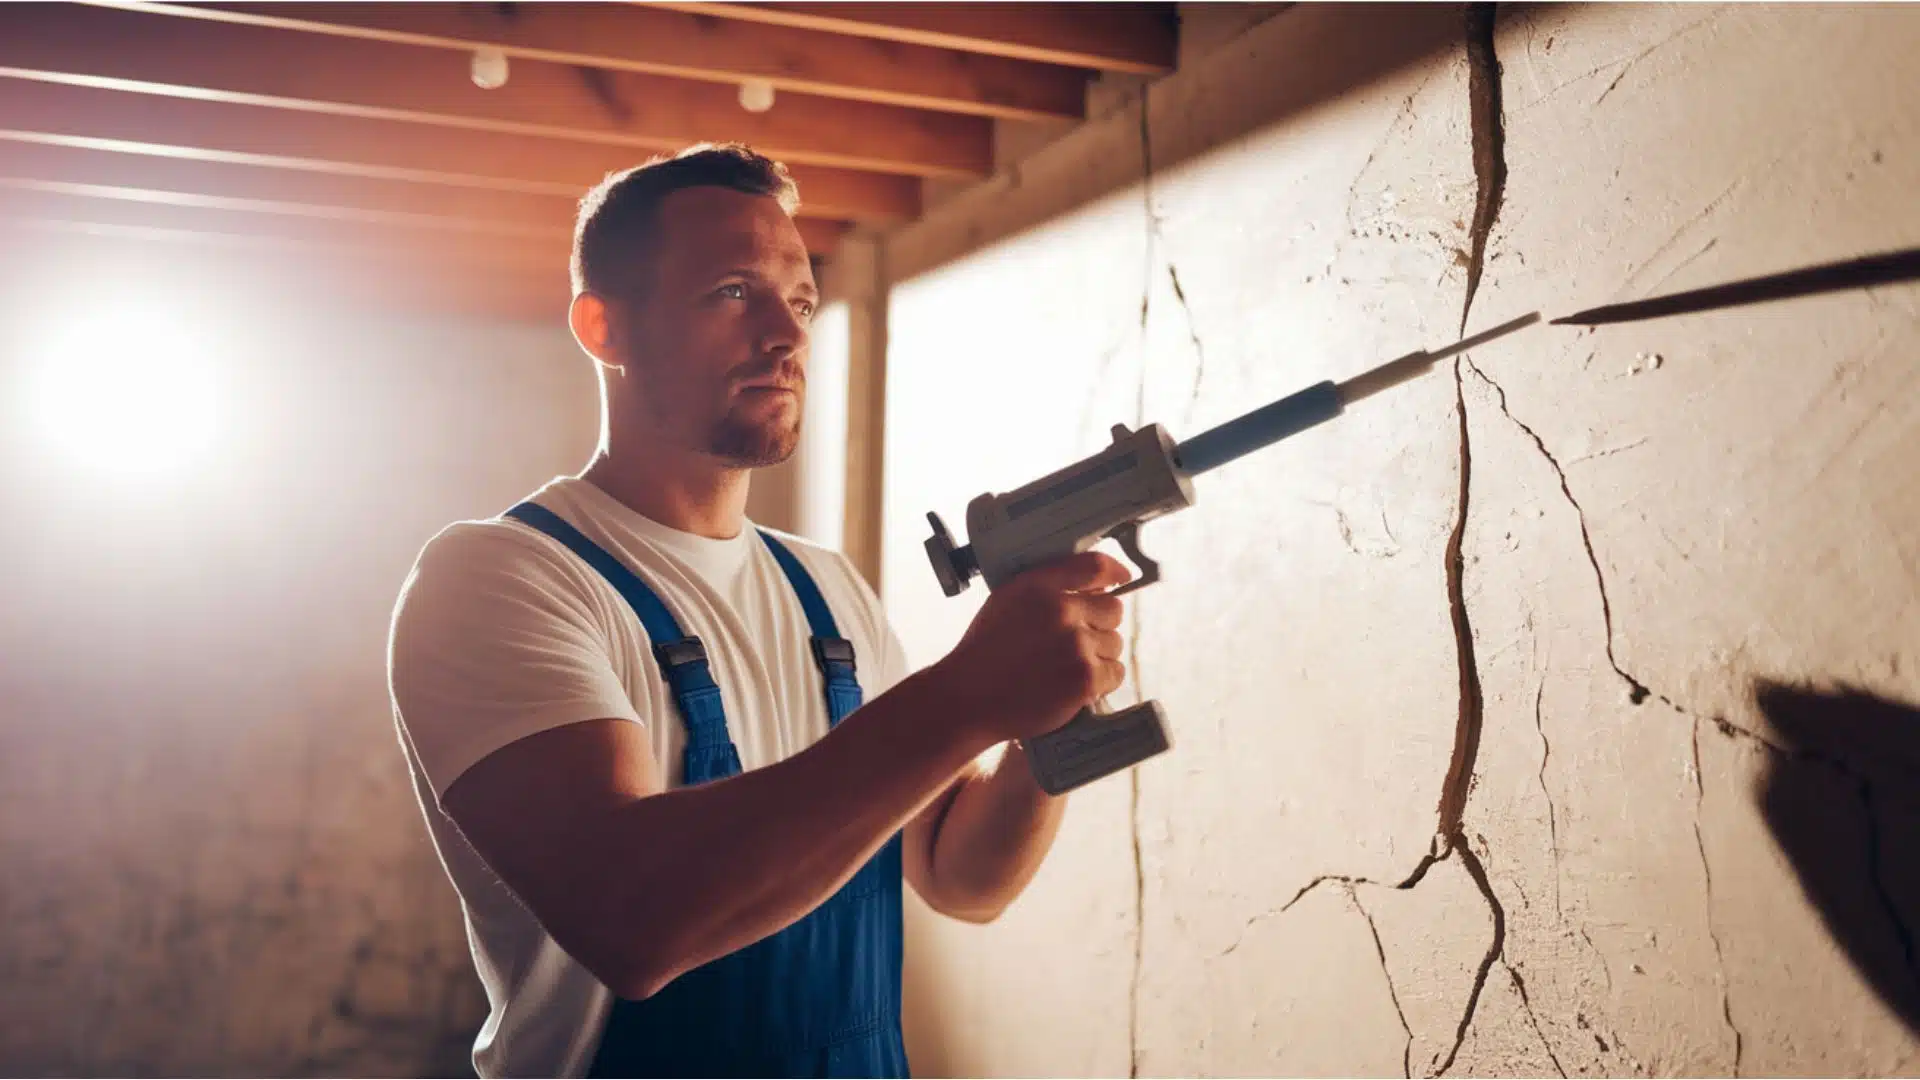
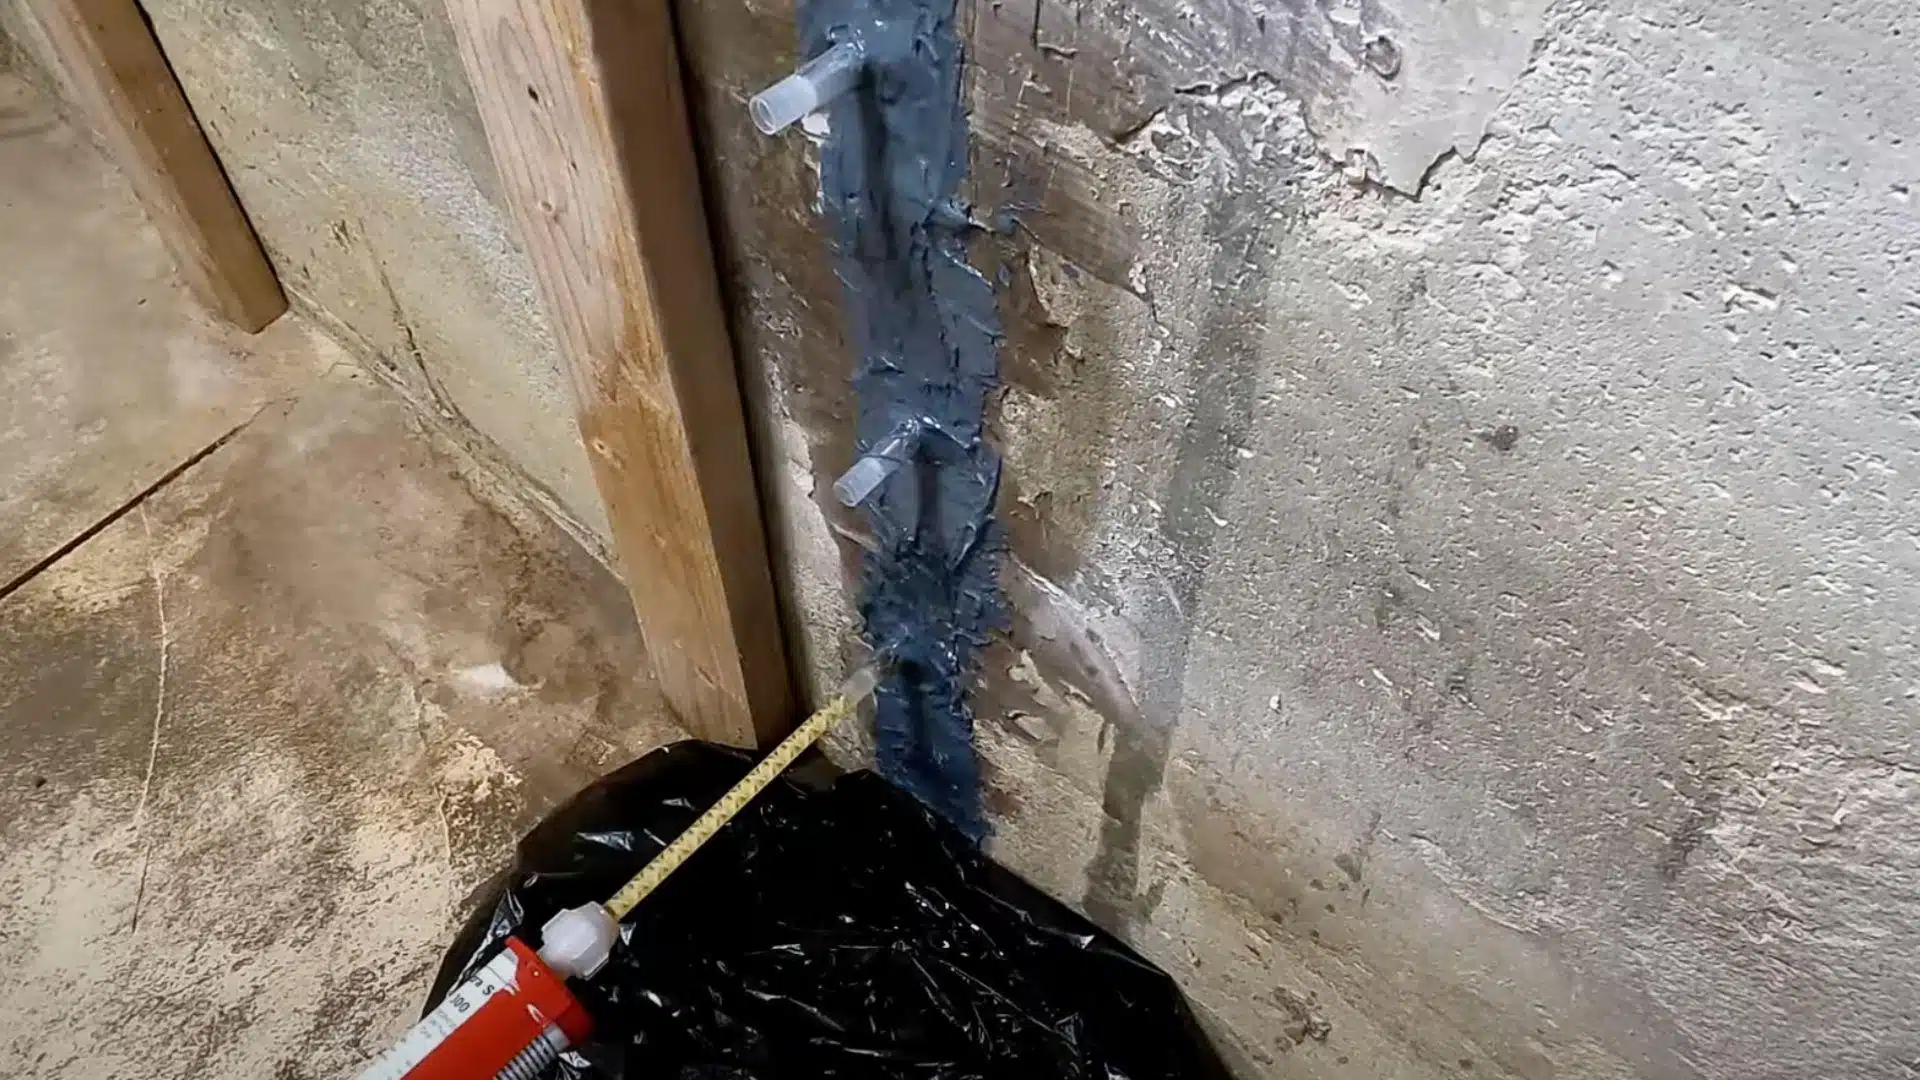
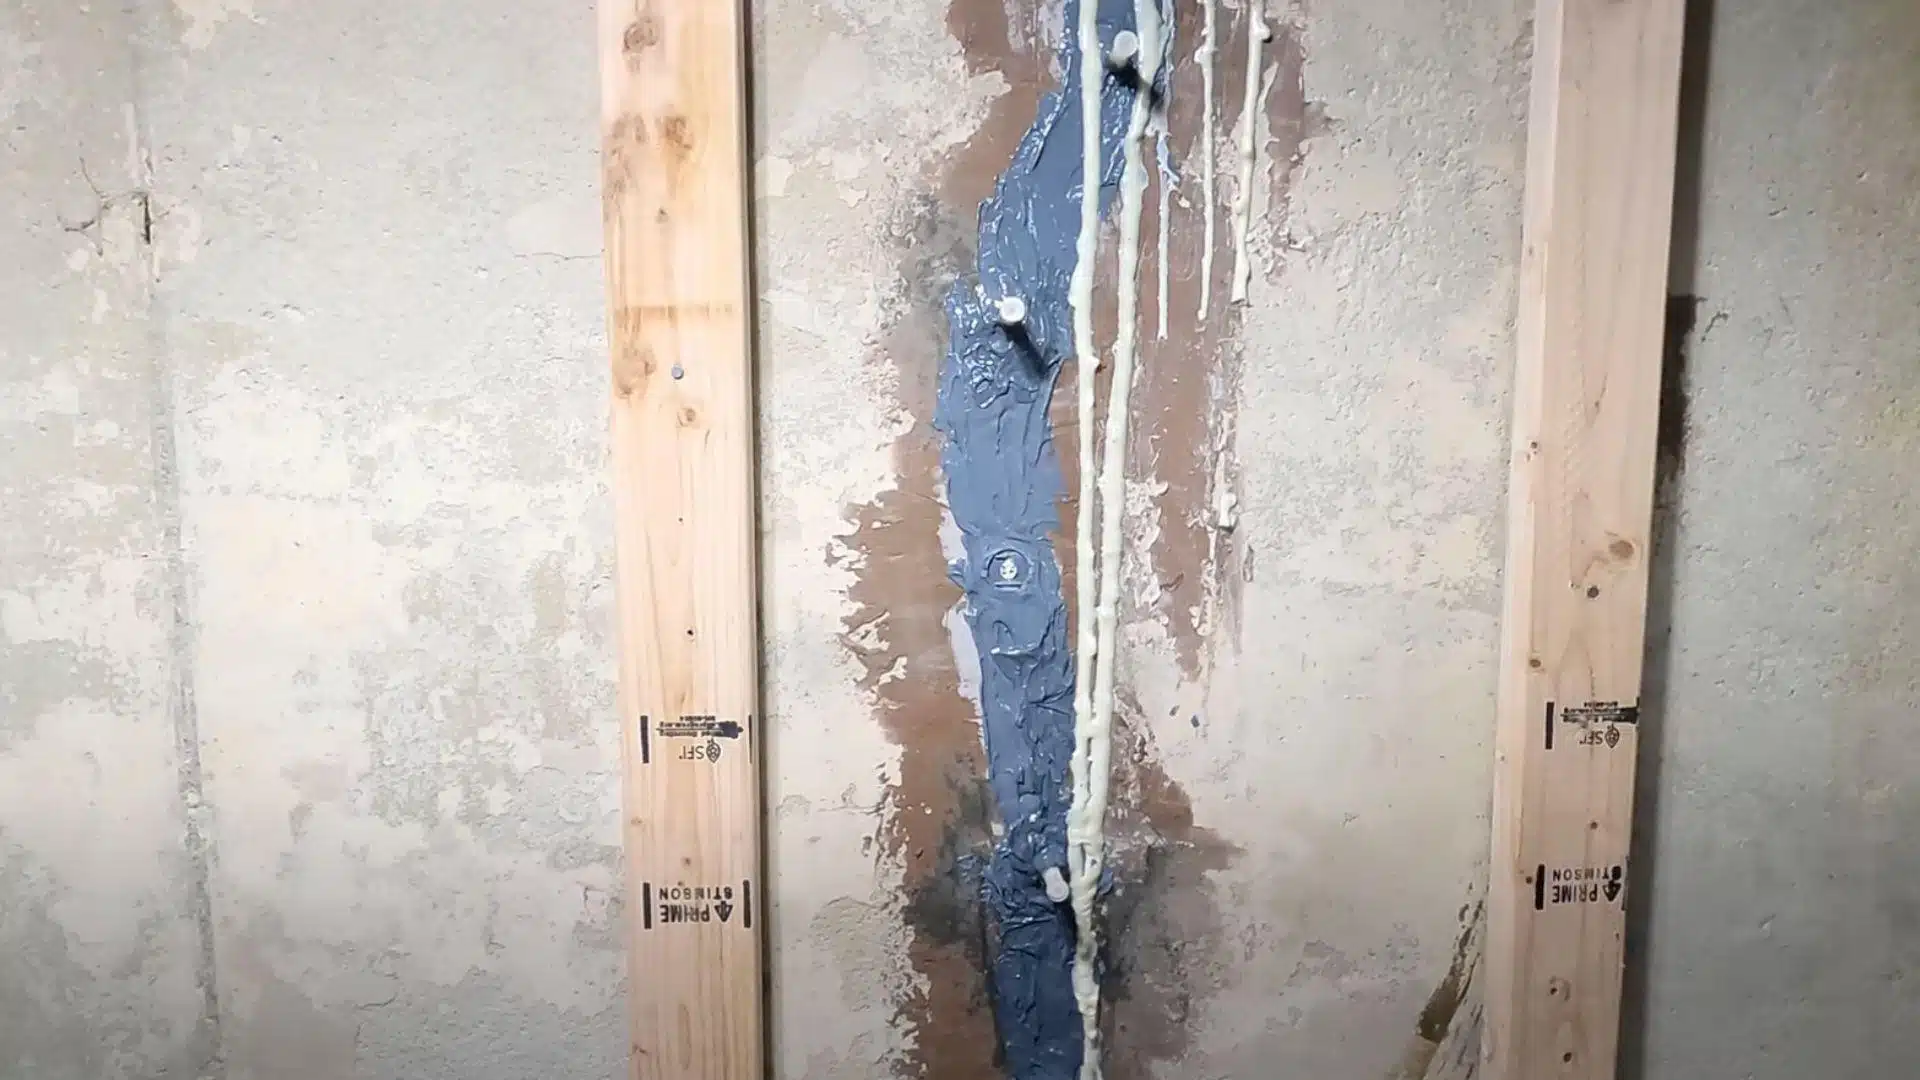
STEP 3: Attach Injection Ports and Seal Crack

Mix the black and white paste one-to-one to make gray epoxy.
Apply a thin line under each port and place it on the crack.
After 10 minutes, seal the crack and surround each port with more epoxy to prevent leaks during the foam injection step.
Expert Advice
- Mix only small batches of epoxy to avoid waste.
- Make sure the port opening stays uncovered.
- Press each port firmly to avoid air gaps.
STEP 4: Inject Polyurethane Foam
Begin at the lowest port and inject HydraStop 300 slowly.
When foam reaches the next port, stop and seal the first port.
Repeat this process moving upward until every port is filled and sealed.
Be patient—it may take up to five minutes per port.
Expert Advice
- Use steady pressure with the caulk gun while injecting.
- Plug each port as soon as foam reaches the next.
- Wipe away any foam overflow before it hardens.
STEP 5: Let It Cure and Rebuild the Wall
Let the foam sit for 24 hours to fully cure.
Check for leaks after the next rain. If dry, it means your repair worked.
Now you can reattach the plywood and start building cabinets.
The crack is sealed and safe from future water damage.
Expert Advice
- Wait a full day before touching the repair.
- Use leftover kit supplies for patching any leaks.
- Don’t rush to rebuild until testing in the rain.
Watch how It’s Done: Basement Wall Repair Video Tutorial
For more details, check out the video explanation by Polar Beaver Woodworking
When to Call Professionals
Some basement wall problems require professional expertise to ensure your family’s safety and proper repair results.
Structural safety concerns, such as bowing walls, large horizontal cracks, or foundation settlement, require immediate professional attention.
Complex repair requirements involving carbon fiber reinforcement or steel beam installation are beyond most DIY capabilities.
Permit and code compliance often require licensed contractors familiar with local regulations and inspections.
Insurance claim considerations may need professional documentation and work to ensure coverage for your basement wall damage.
Time and skill limitations make professional help worthwhile when you lack experience with foundation work or tools.
Avoid compromising your home’s structure by attempting repairs beyond your skills.
Common Mistakes to Avoid
Even experienced homeowners can make costly errors when dealing with basement wall problems that need attention.
Learning what to avoid helps ensure that your repairs work properly and last for many years to come.
- Ignoring small cracks: They may seem harmless, but they can quickly develop into significant structural problems that require expensive repairs.
- Using inappropriate materials: Such as regular concrete instead of waterproof compounds designed for basement wall applications.
- Improper surface preparation: By not cleaning cracks thoroughly or failing to remove loose debris before applying repair materials.
- Inadequate moisture management: That doesn’t address the underlying water issues causing the wall problems in the first place.
- Attempting complex structural repairs: Without professional expertise, risks safety hazards and makes problems worse than they were originally.
These mistakes can turn manageable basement wall issues into expensive disasters that affect your entire home.
When in doubt, consult with professionals to avoid costly errors and ensure repairs are done right.
Wrapping It Up
Basement wall repair demonstrates that taking action early protects your home’s foundation and saves money in the long term.
From preventing structural damage to improving indoor air quality, proper repairs deliver benefits that last for decades.
The earlier you address wall problems, the less costly and complicated the solutions will be.
While minor cracks can often be addressed through DIY projects, serious structural issues require professional expertise for safety.
Don’t let minor basement wall problems turn into major disasters that threaten your home’s stability.
Professional consultation ensures repairs are done right the first time.
Ready to protect your biggest investment?
Schedule a basement wall inspection today and sleep soundly tonight!
If you’re interested in more DIY project content, check out our other blogs that you might enjoy.

With a Master’s in Architecture from the University of California, Berkeley, Alexander Martin has dedicated the last 18 years to enhancing outdoor living through thoughtful and robust structure design. His career kicked off in urban planning, giving him a unique perspective on integrating structures into diverse environments. In 2019, Alexander brought his expertise to our website, offering insights into creating versatile outdoor spaces. Since then, he has been the lead advisor for our outdoor design projects and is known for his ability to merge functionality with environmental consciousness. Alexander enjoys rock climbing outside of work and participates in community development projects, activities that reflect his passion for the outdoors and sustainable design.